Single sign-on is an authentication scheme that allows users to log in with a single ID to any of several related yet independent software systems. True single sign-on allows users to log in once and access services without re-entering authentication factors.
Before the Account administrator starts the trial configuration, they must have the information for the Client ID, Client Secret, OIDC URLOIDC, Url Autorización/Endpoint, OIDC Url Token/Endpoint, OIDC Url, Userinfo, OIDC Url Jwks_uri fields provided by the authentication provider.
The Single Sign-On feature offers a trial period for the Account administrator in order for them to decide if they are contracting the service. Please follow the next steps to configure the trial period:
SSO TEST SETUP
This section shows you how to setup SSO for your organization.
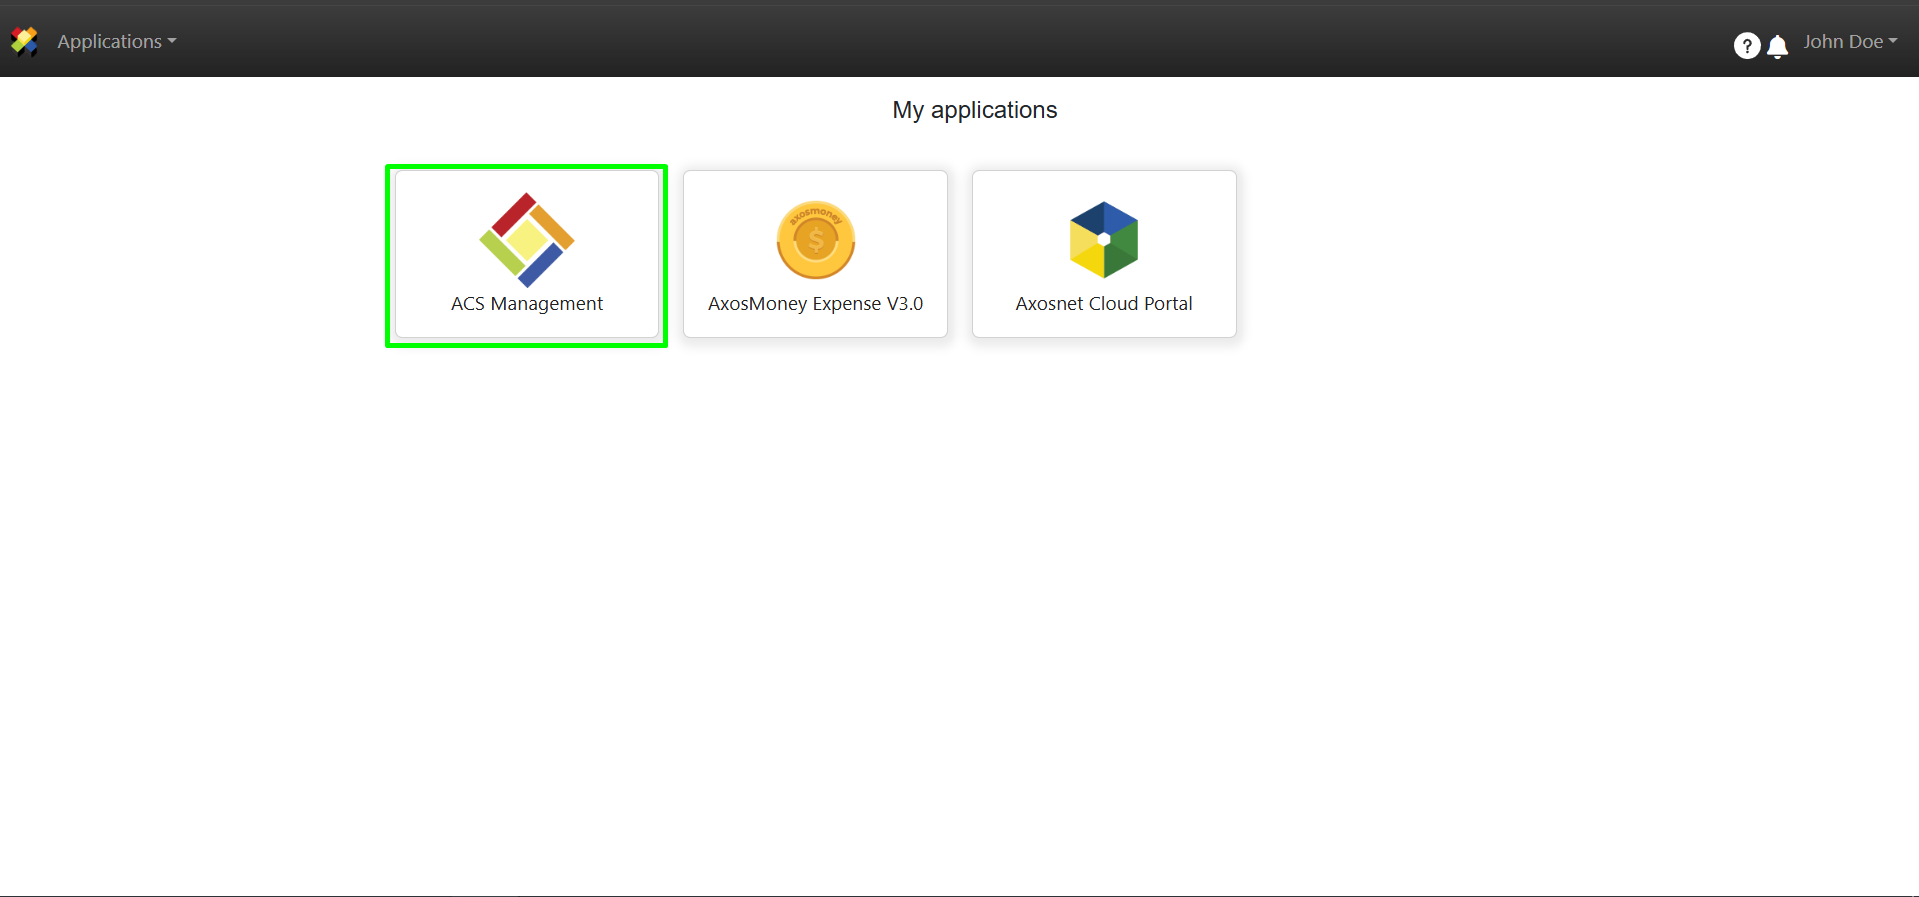
1. Go to ACS Management.
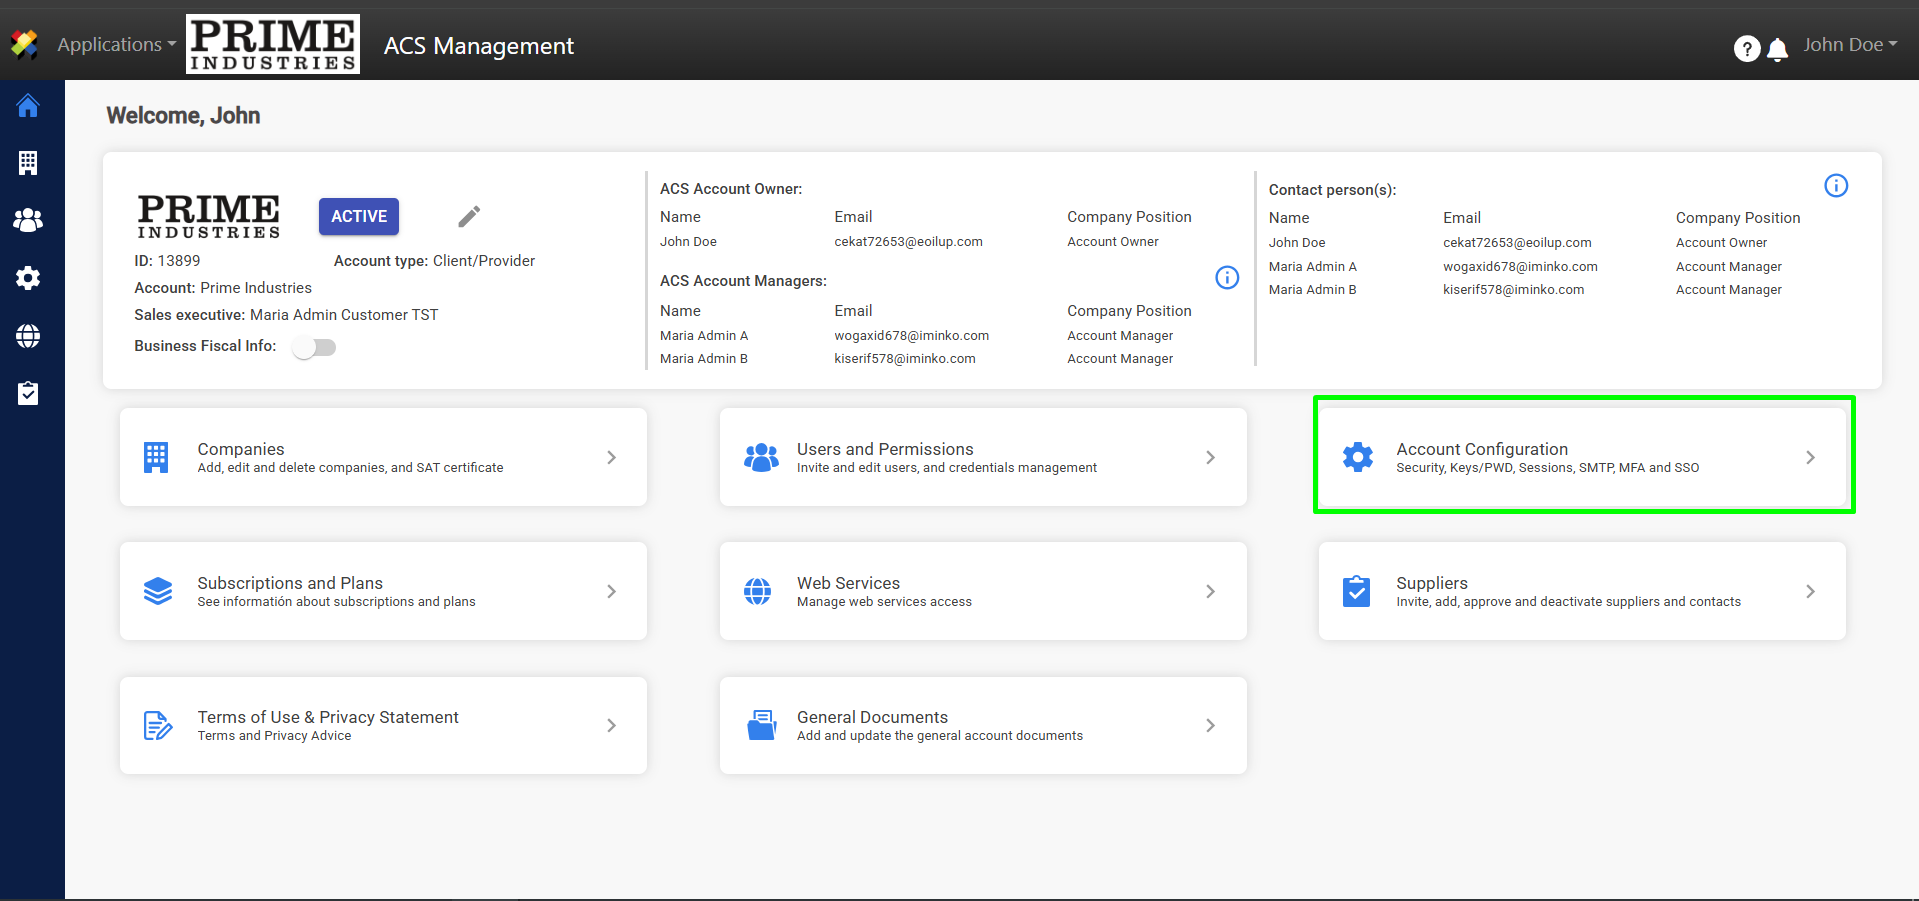
2. Go to the “Account Configuration” section.
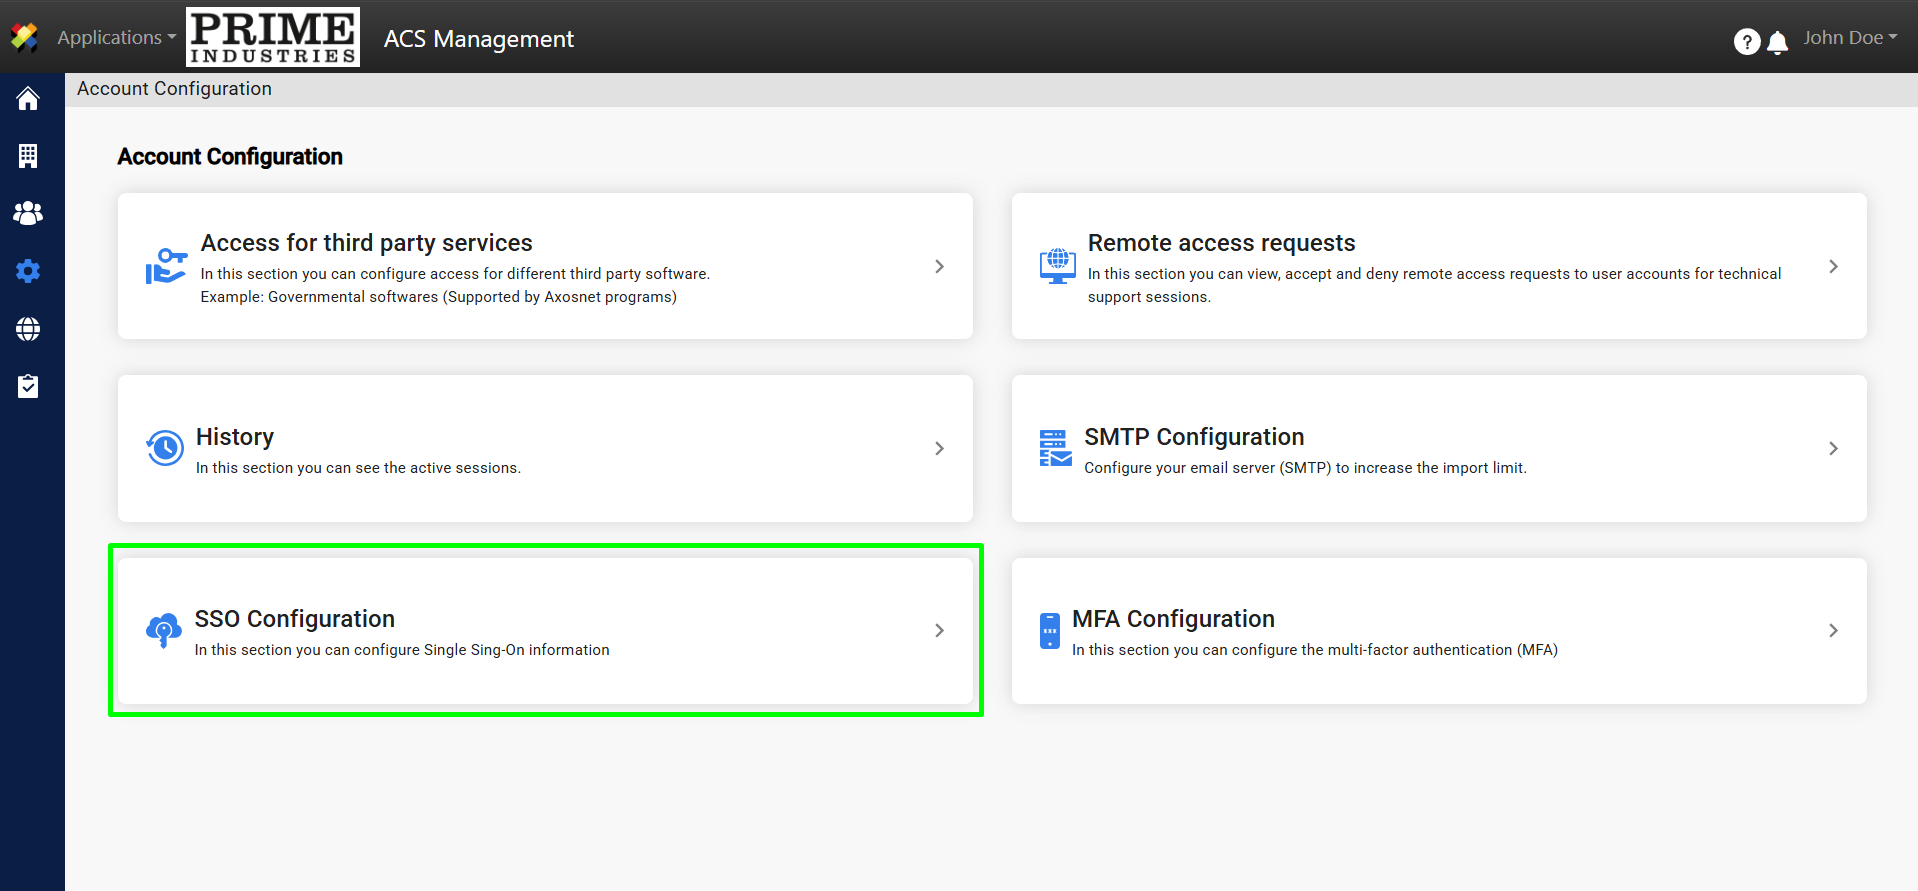
3. Go to “SSO Configuration”.
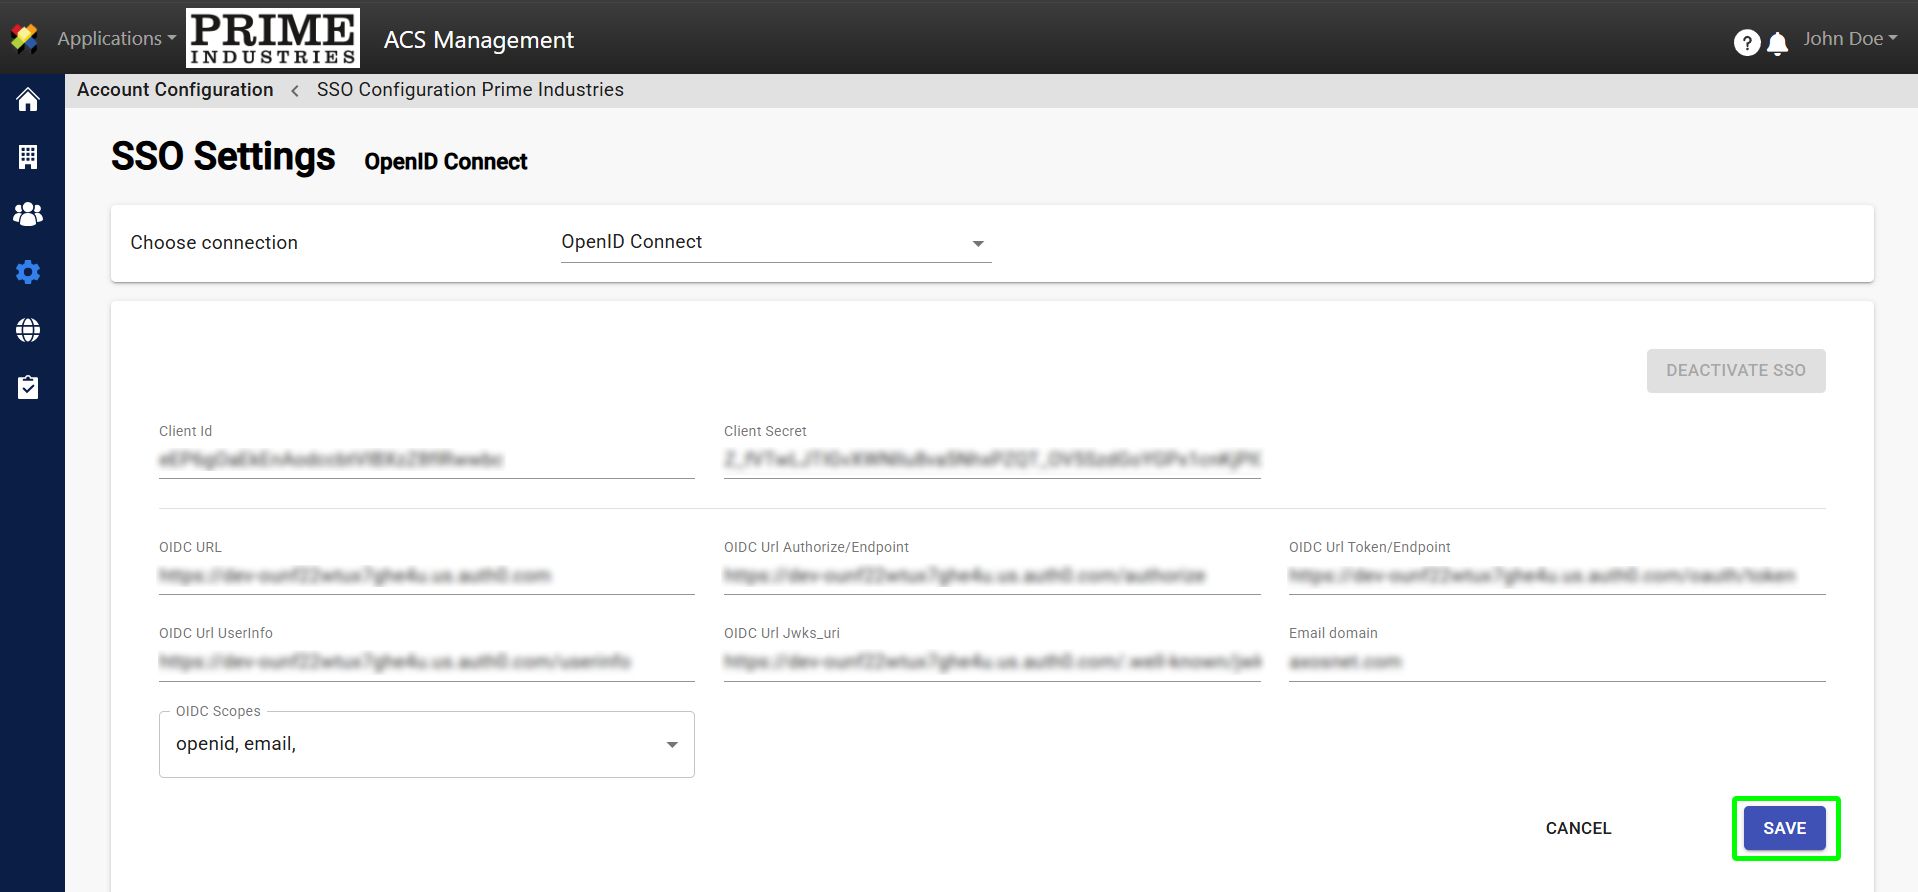
4. In the drop-down menu, choose the “OpenID” option.

5. Configure the SSO connection with the information given by your authentication provider, and complete the following fields:
- Client ID
- Client Secret
- OIDC URL
- OIDC Url Autorización/Endpoint
- OIDC Url Token/Endpoint
- OIDC Url Userinfo
- OIDC Url Jwks_uri
When finished, click SAVE.
6. A “Next Steps” message will come out, then proceed by checking the “I agree” box and clicking the ACCEPT button.
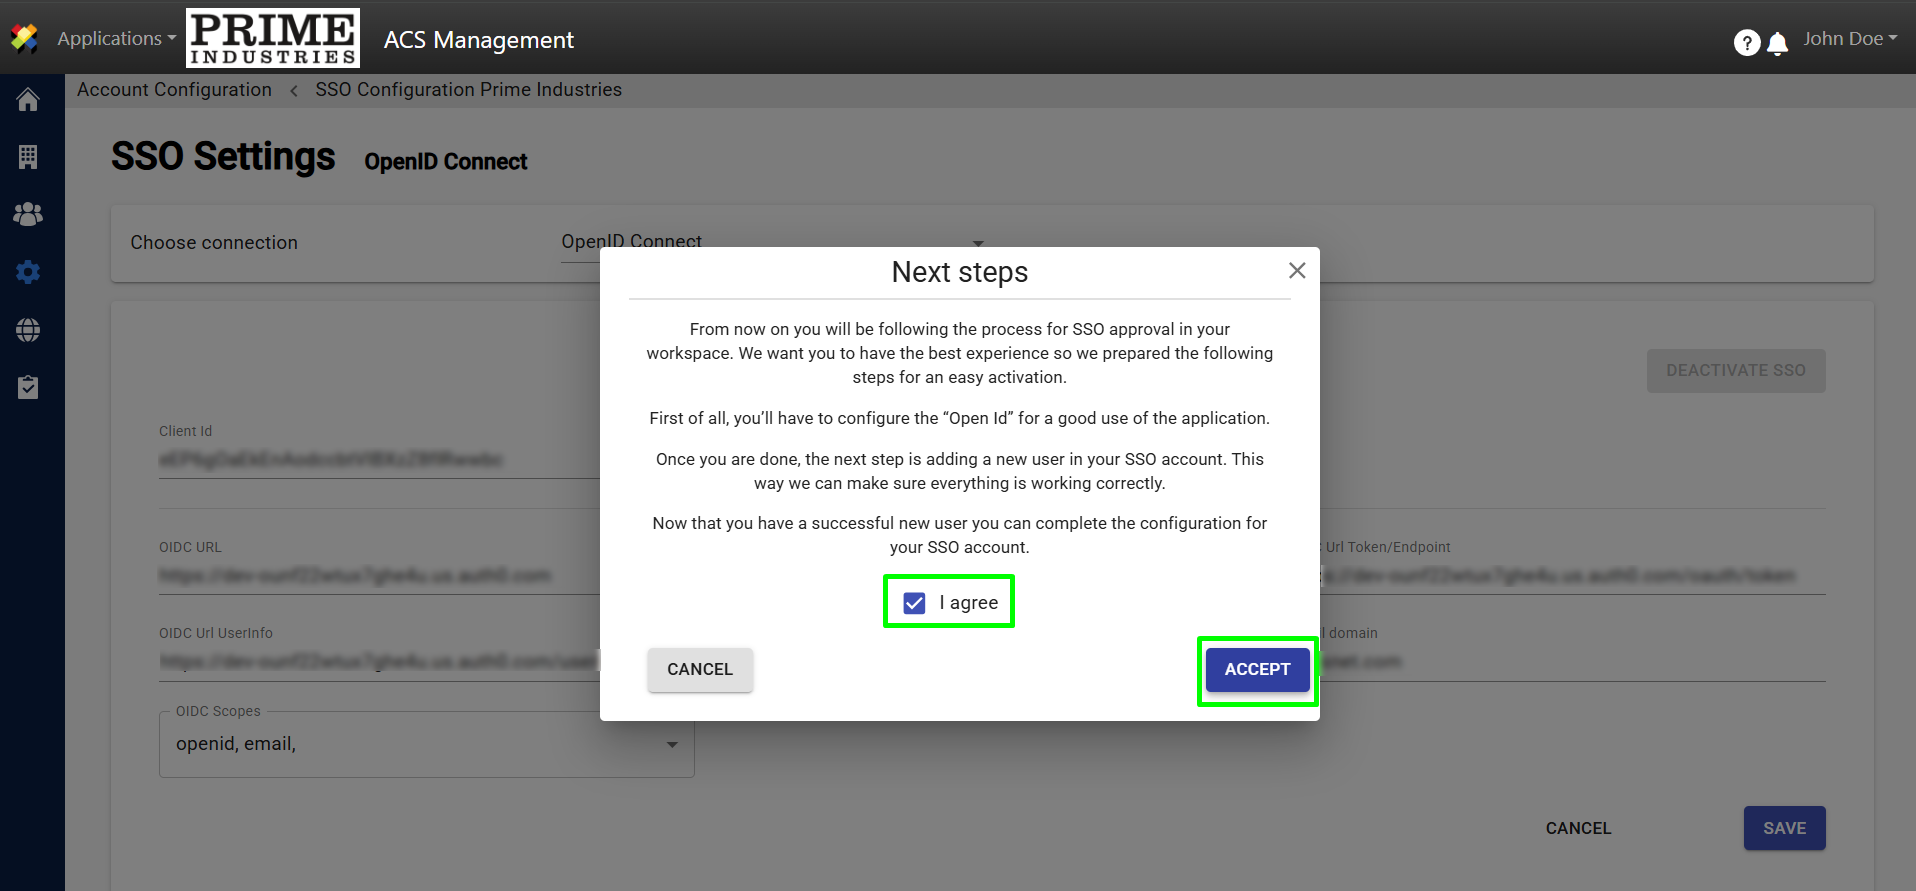
7. In the screen’s bottom left corner, the “Domain” will appear with a specific address (URL). You will need to share this address with the people supporting you to carry out the SSO authentication tests.

Enable SSO for your company
Once the tests are complete, the Account administrator can Approve the Single Sign-On feature for all the users in their company by following the following steps:
1. Go to the “Account Configuration” section in ACS Management.
2. Go to “SSO Configuration”.
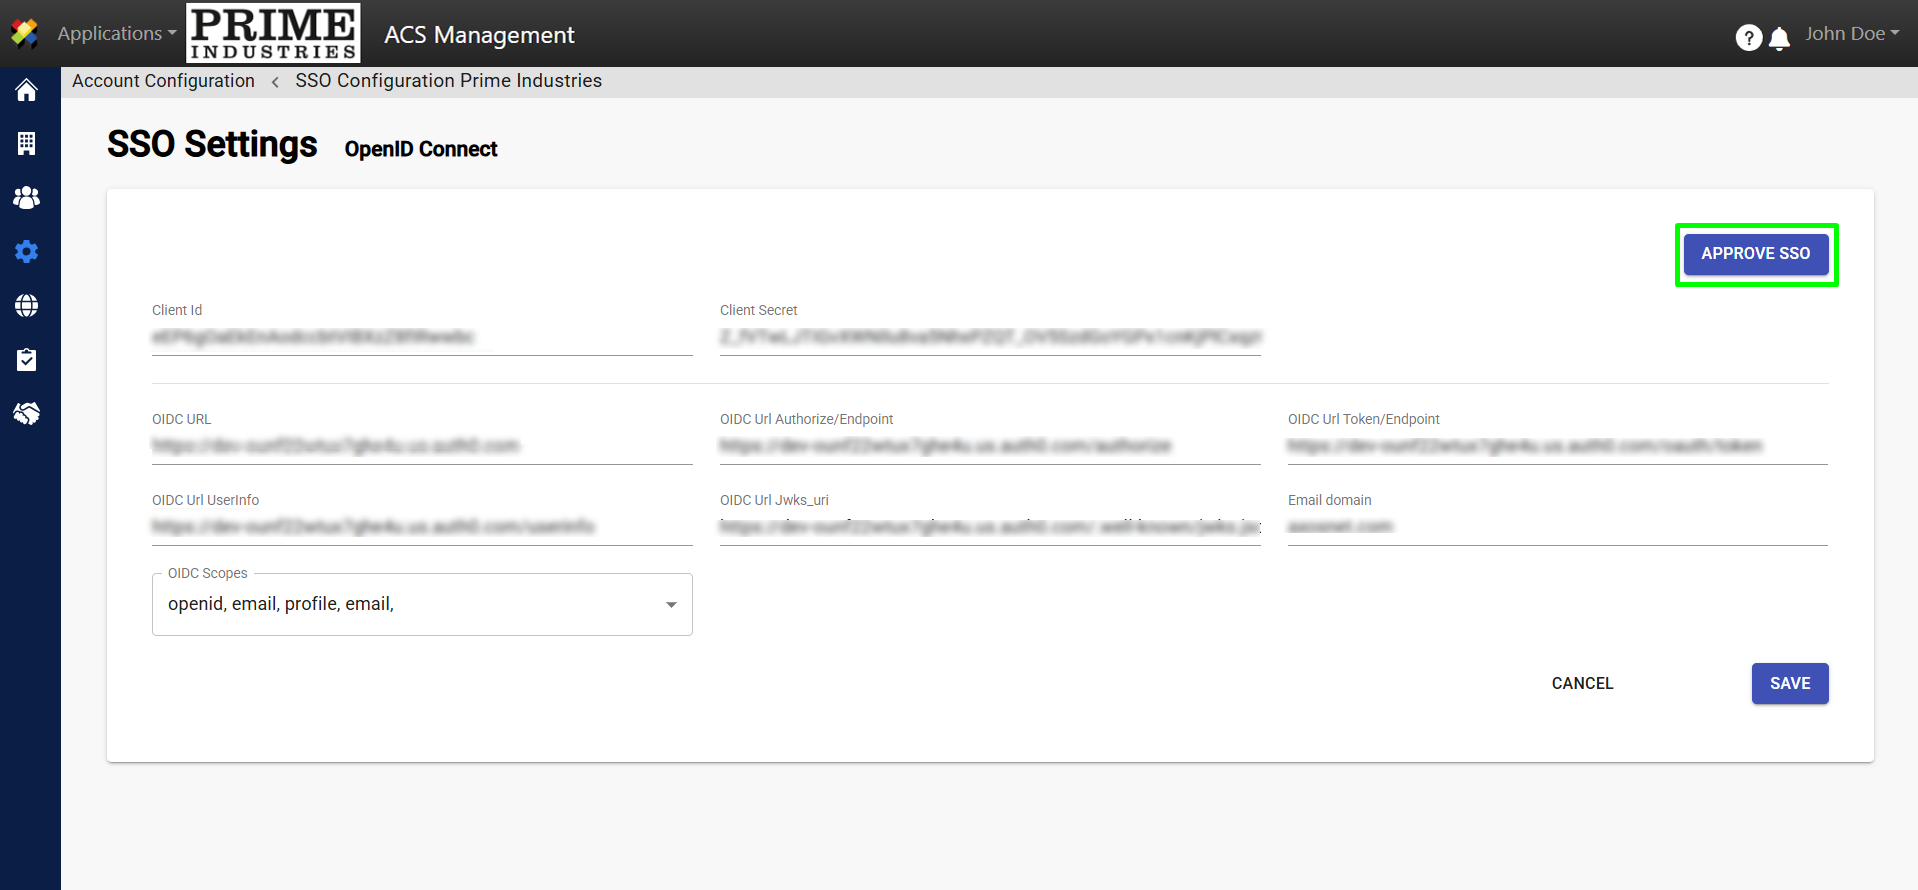
3. Click on “APPROVE SSO.”
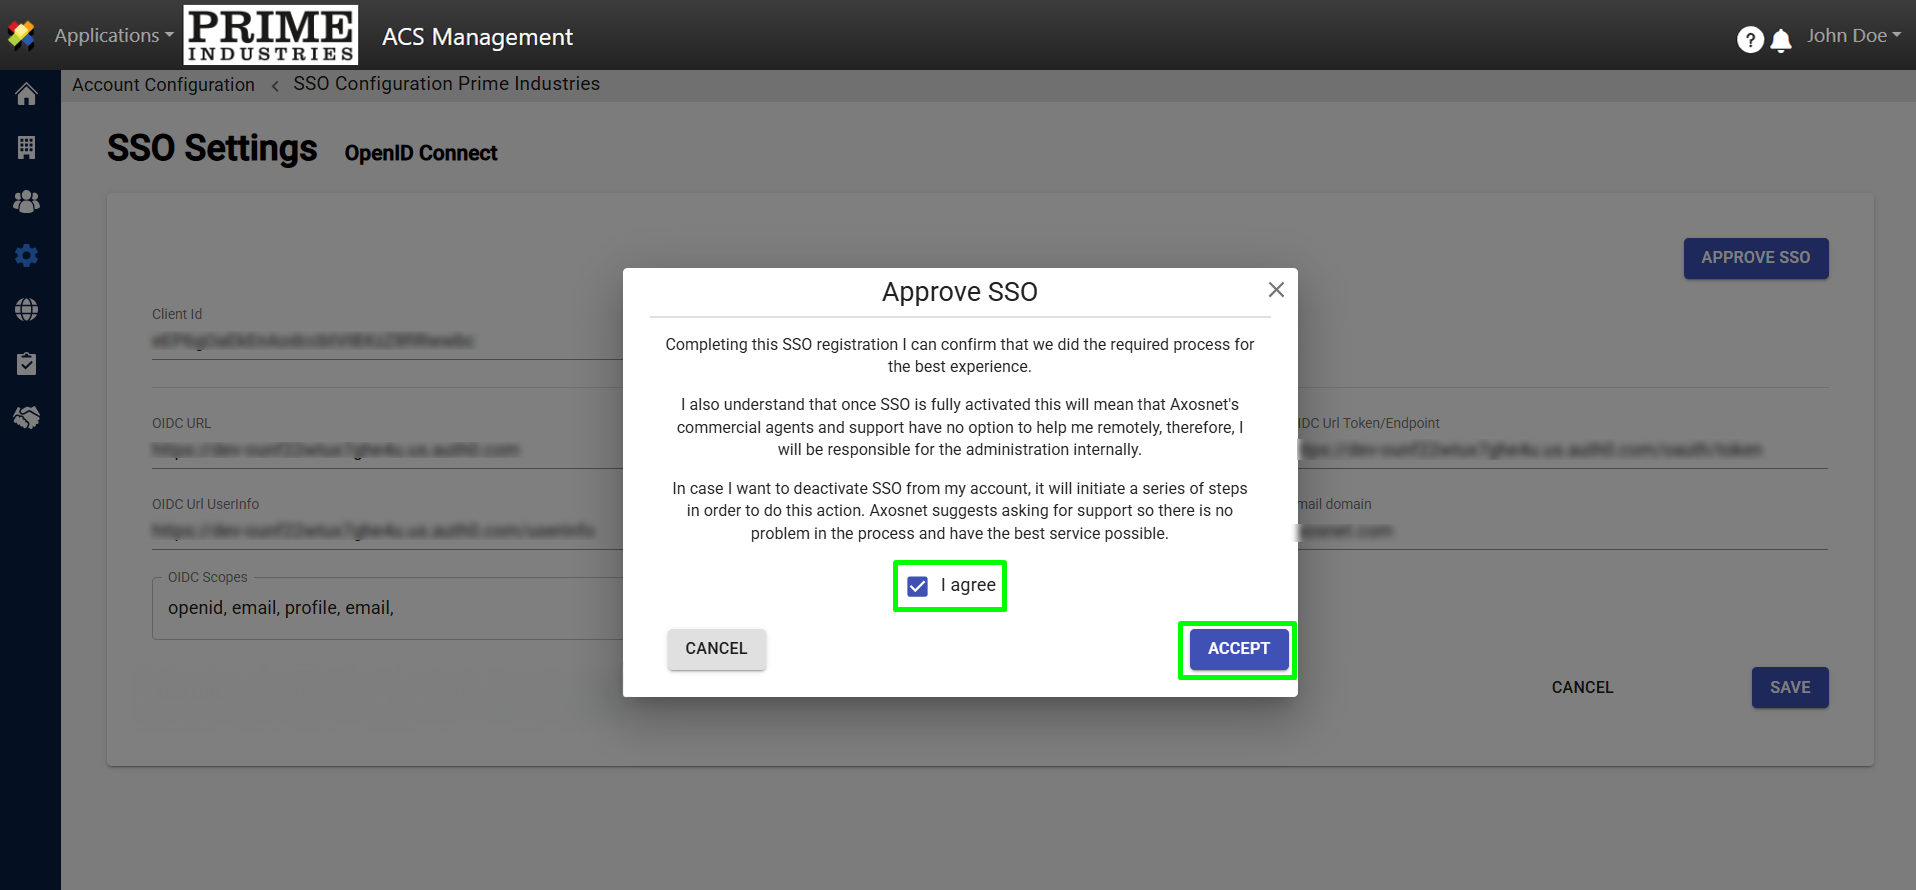
4. It will show an “APPROVE SSO” message. Next, read and check the “I agree” box. Then click ACCEPT to continue.
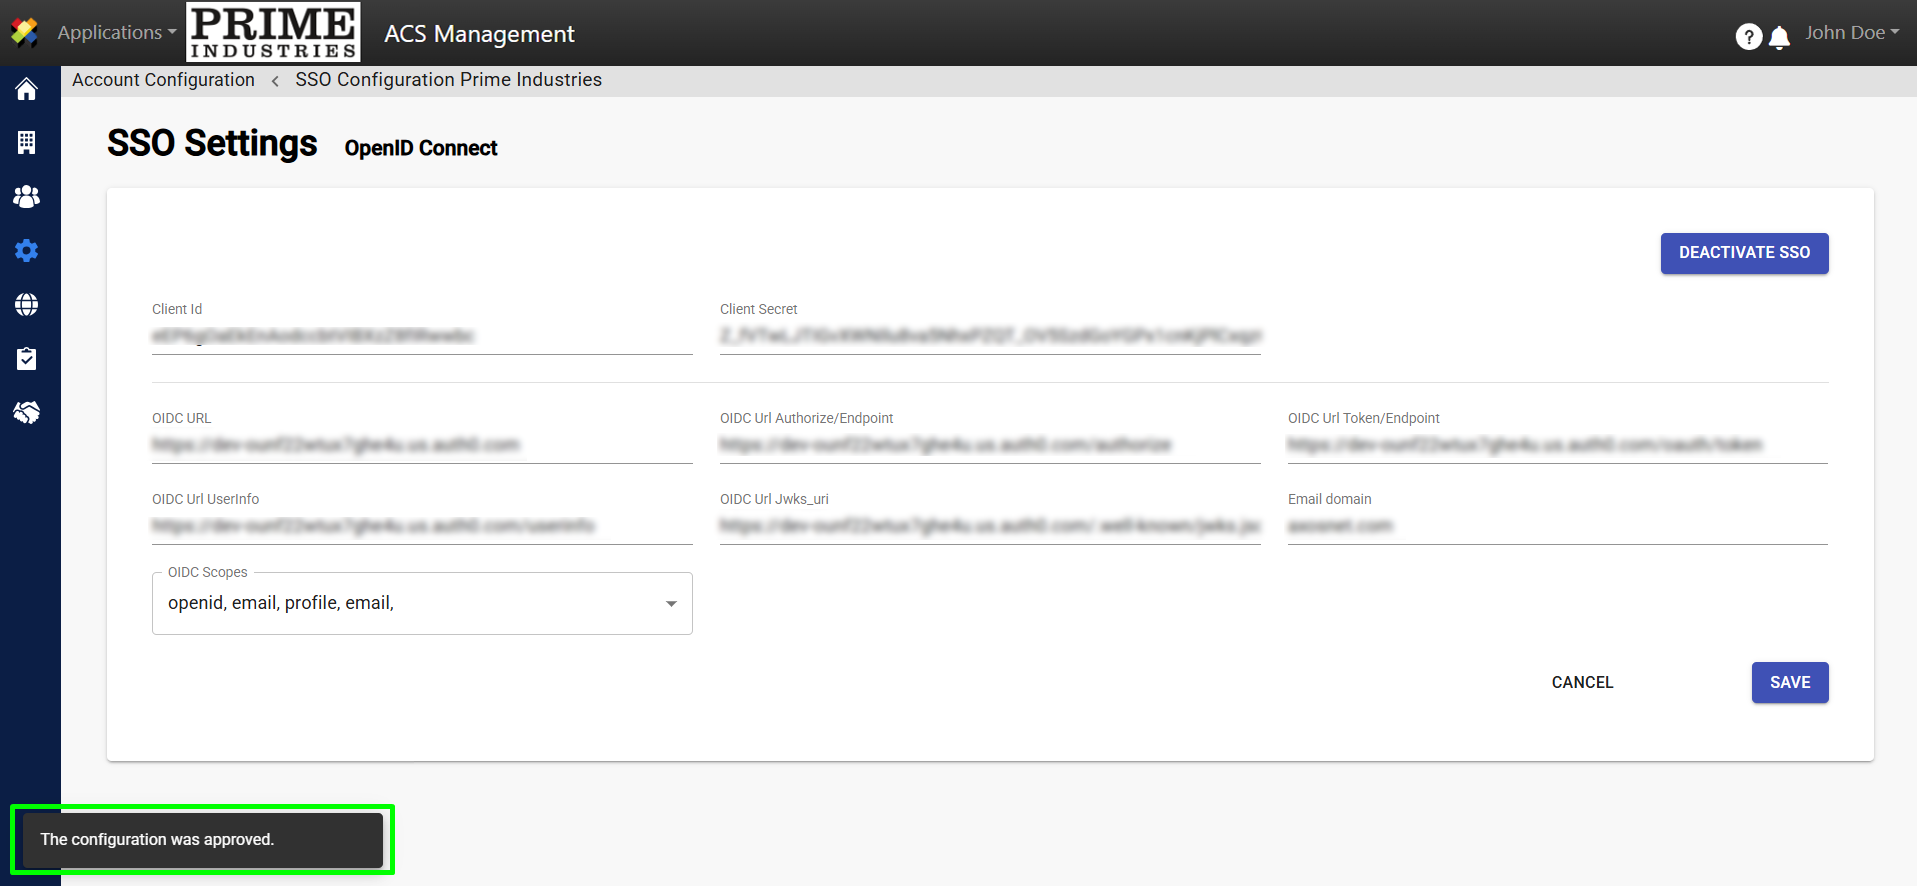
5. After clicking on ACCEPT, the SSO Configuration Page will show a message.
Deactivate SSO
On the contrary, if the Account administrator decides that the Single Sign-On feature does not fulfill their organization’s needs, they can deactivate the feature following the next steps:
1. Go to the “Account Configuration” section in ACS Management.
2. Go to “SSO Configuration”.
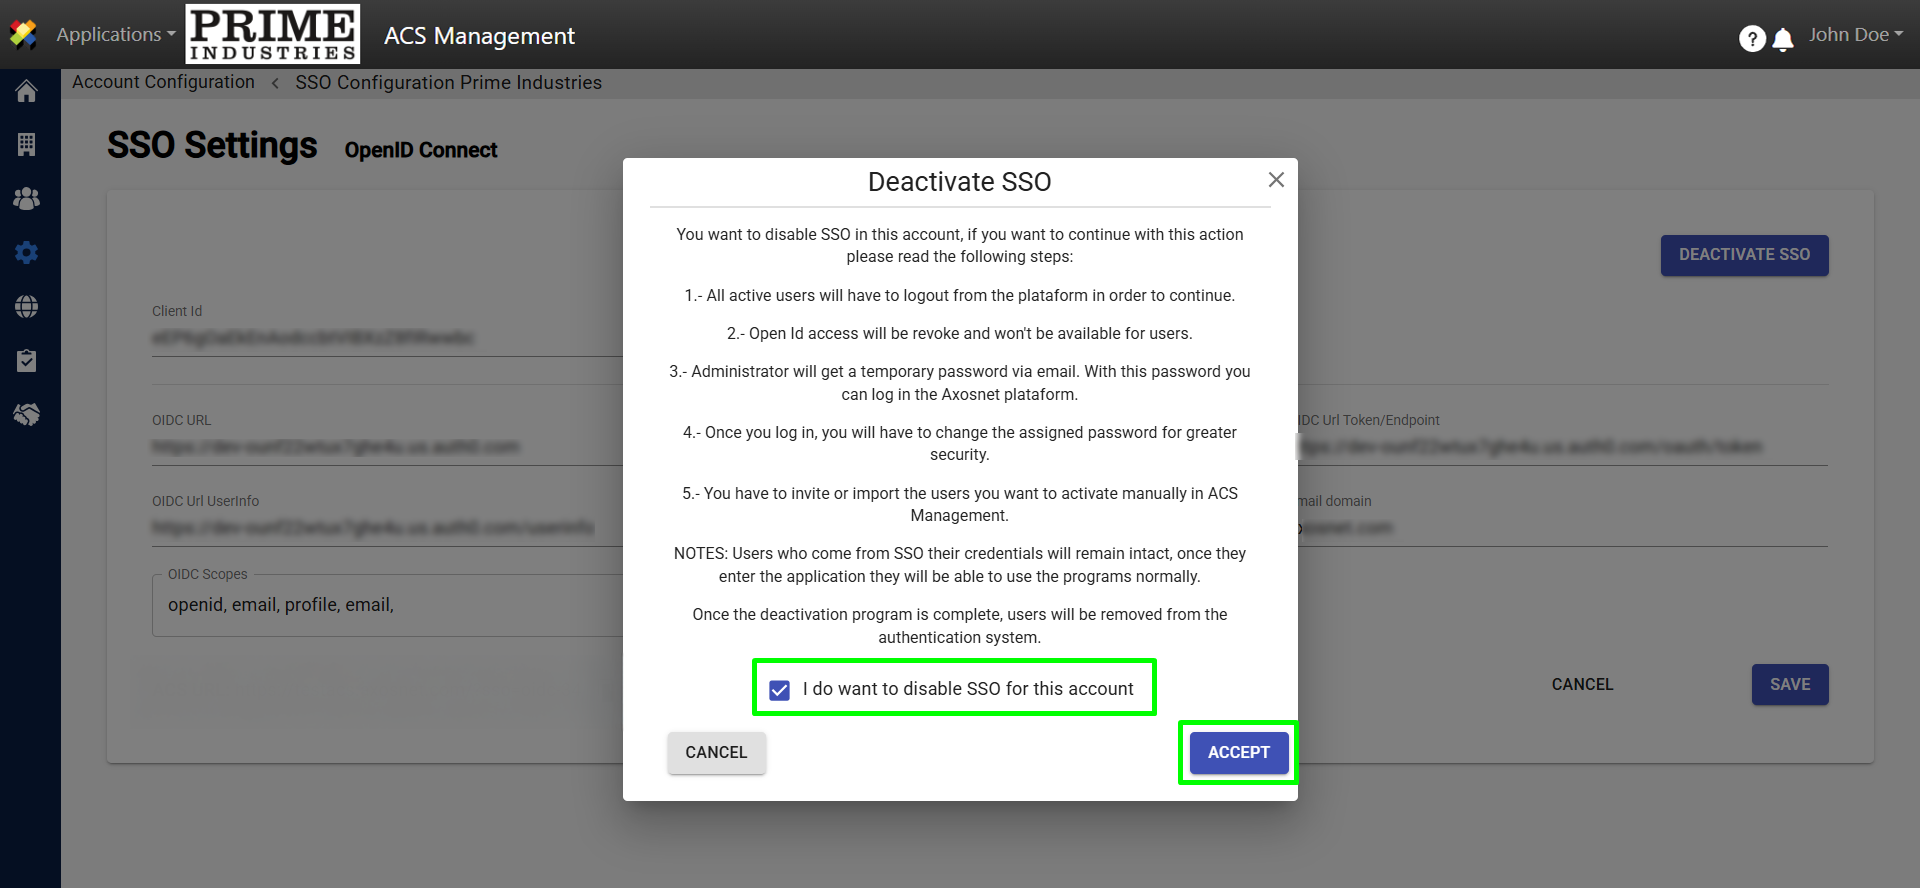
3. In the “SSO Settings” screen, click on the “DEACTIVATE SSO” button.

4. The “Deactivate SSO” message will appear, check the box “I agree,” then click the “ACCEPT” button to continue.
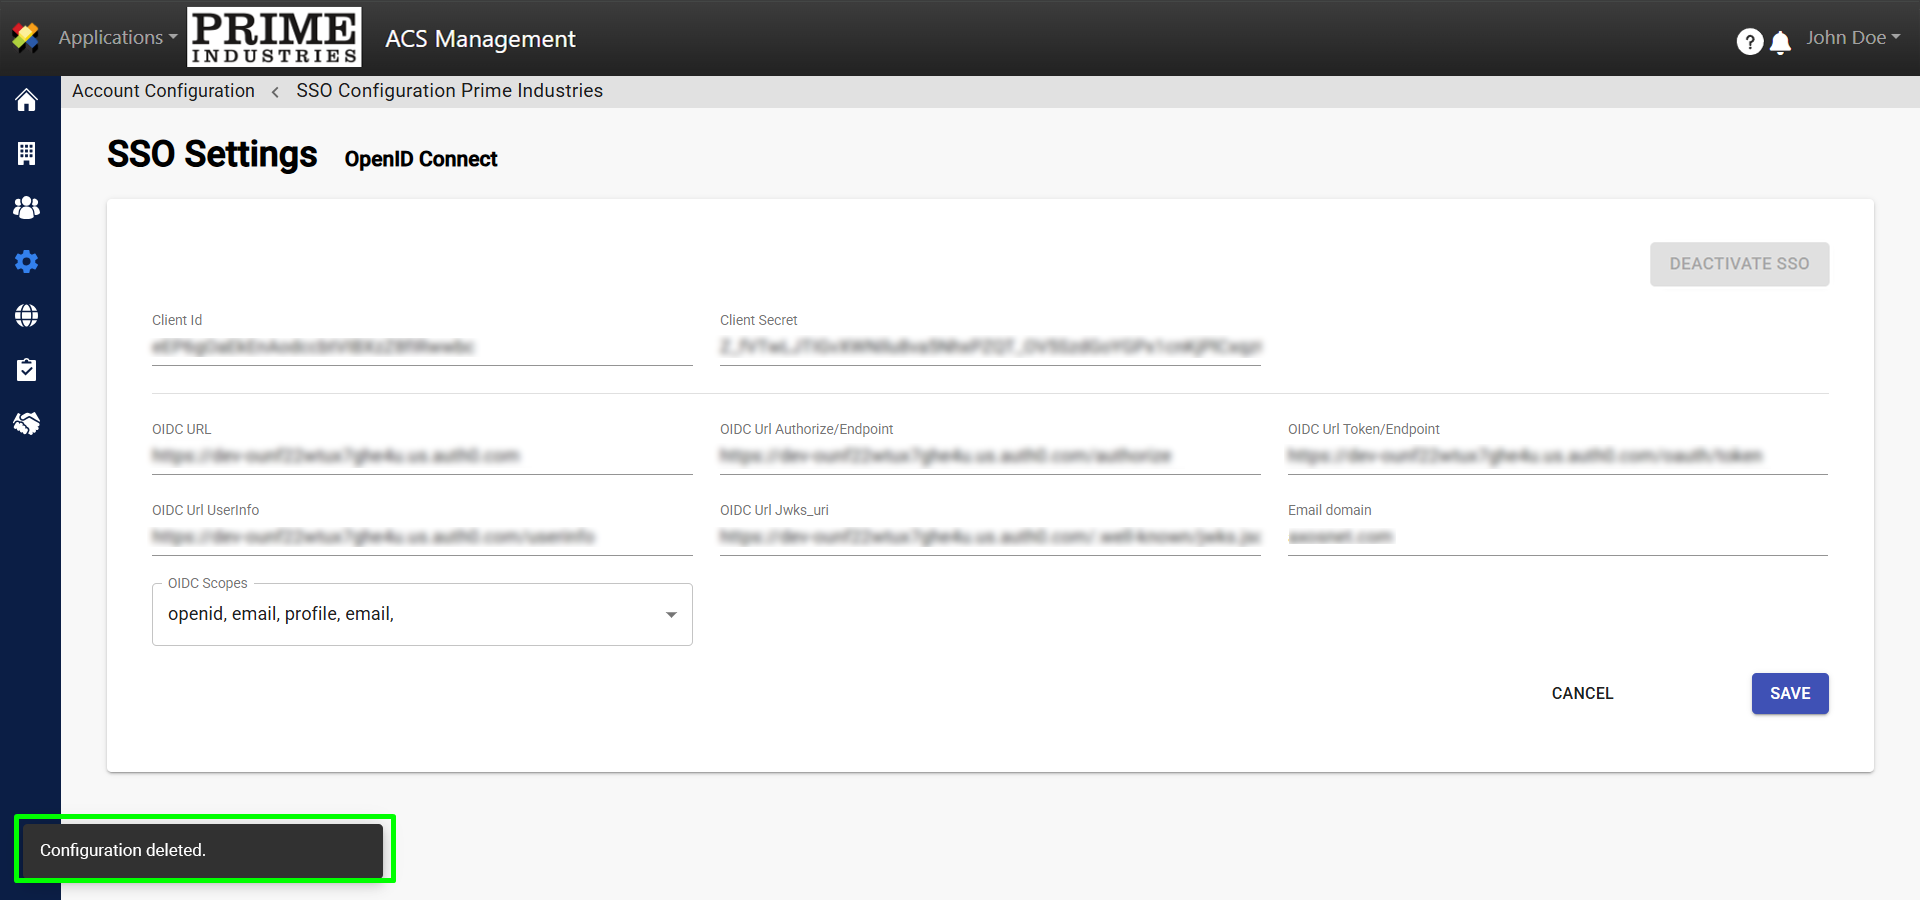
5. Then, the “SSO Configuration” screen will be displayed as if there was no previous configuration.
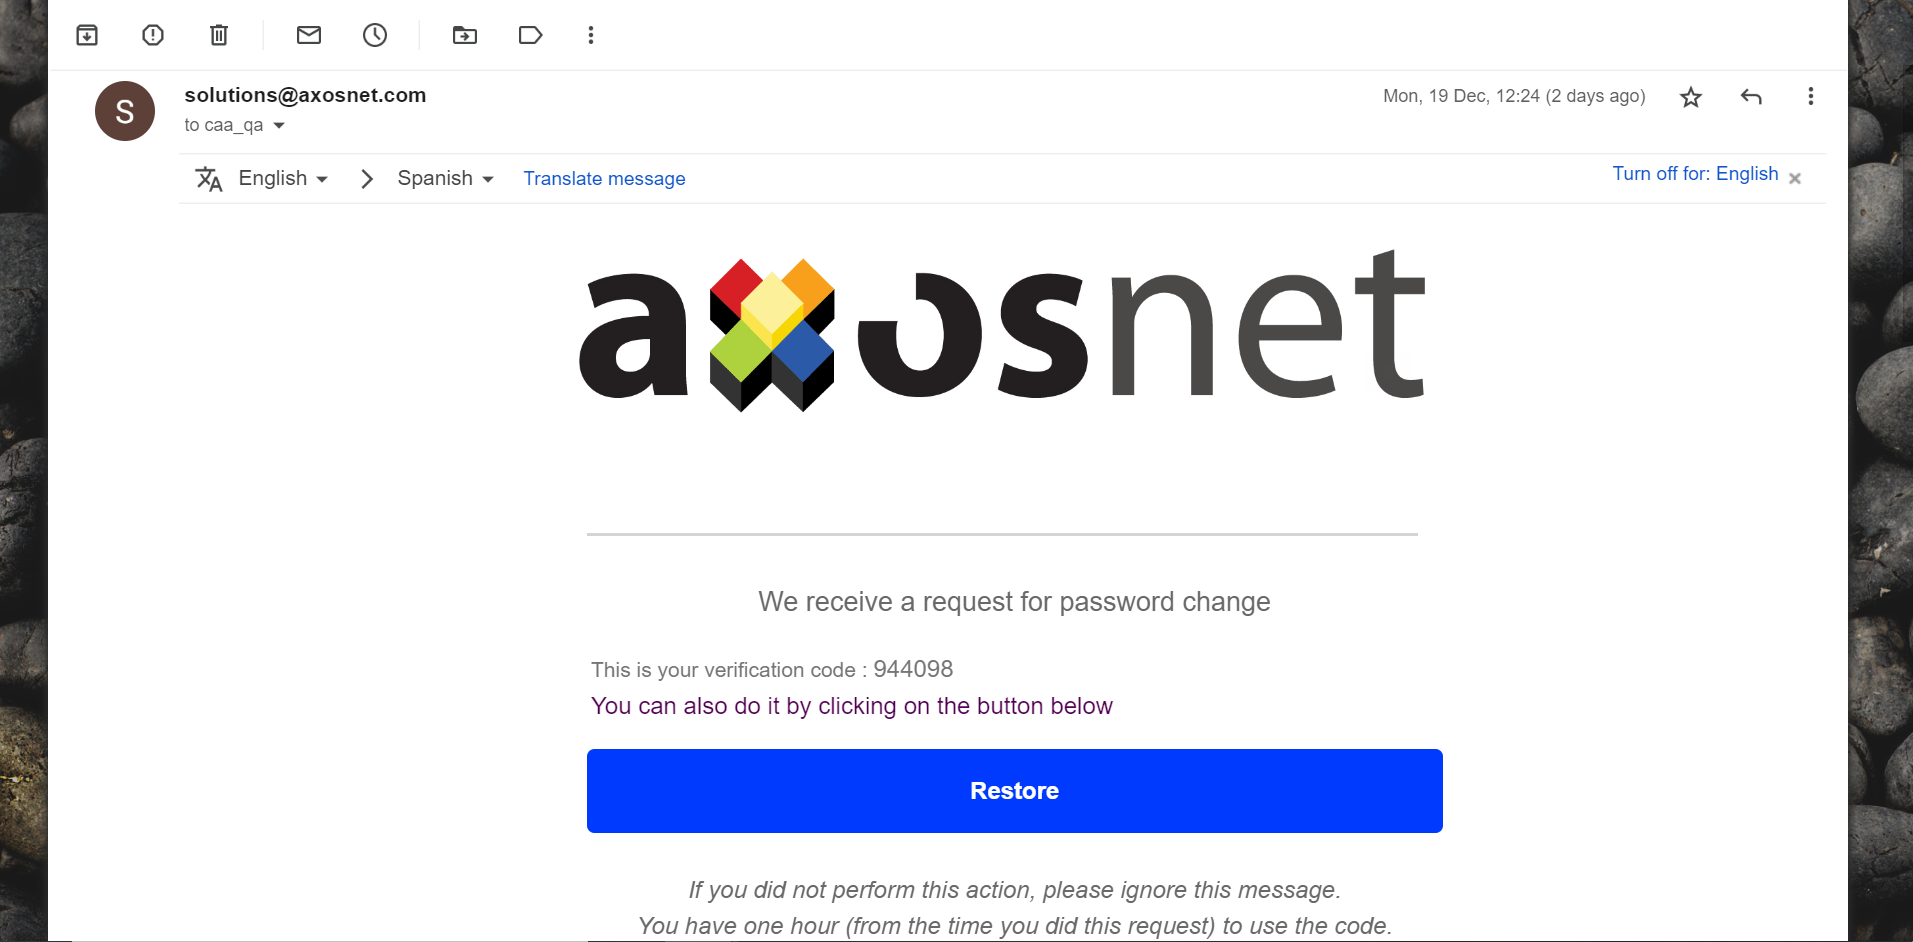
6. When the Account Administrators migrate to SSO and then deactivate the feature, the platform will send an email to your inbox in order to let you retrieve your ACS account and reset the password.
7. If the number of user accounts is too high, you must contact the Axosnet Service Desk to migrate your users’ accounts on SSO back to ACS. Otherwise, it will be impossible for them to access it.
