This functionality allows importing and exporting multiple users into or from ACS Management.
Importing users
We will review the import process first.
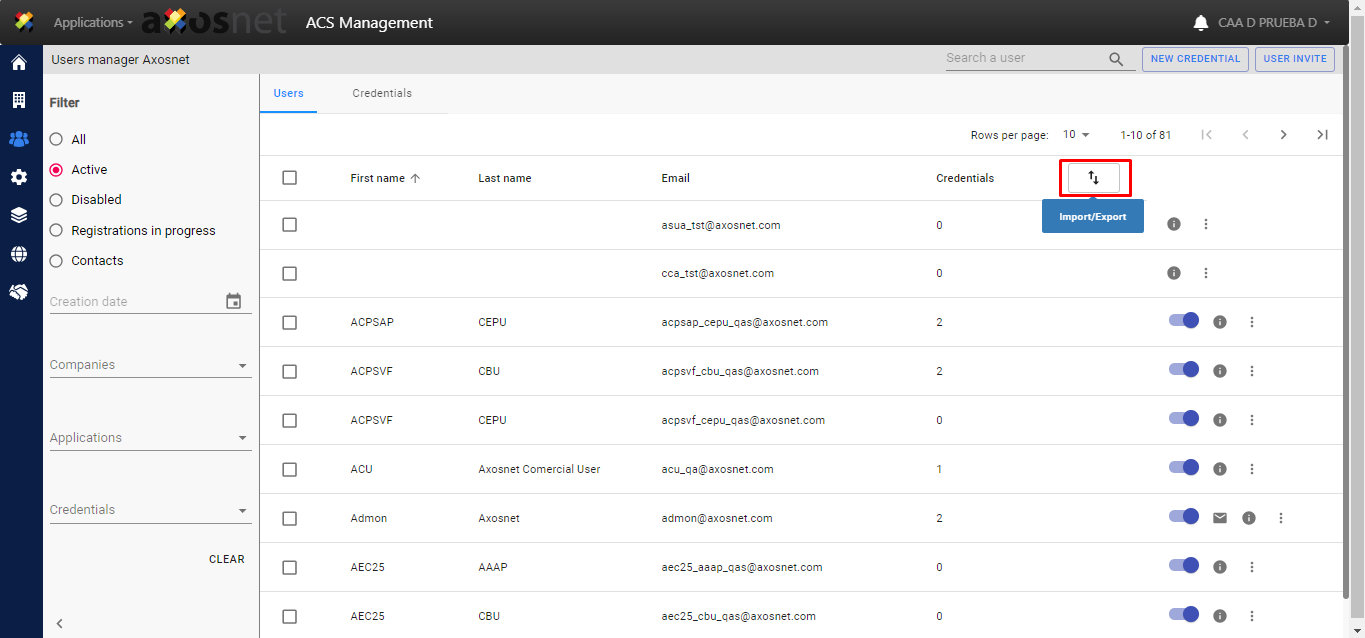
1. Click the sort ![]() button to start the Import of users.
button to start the Import of users.

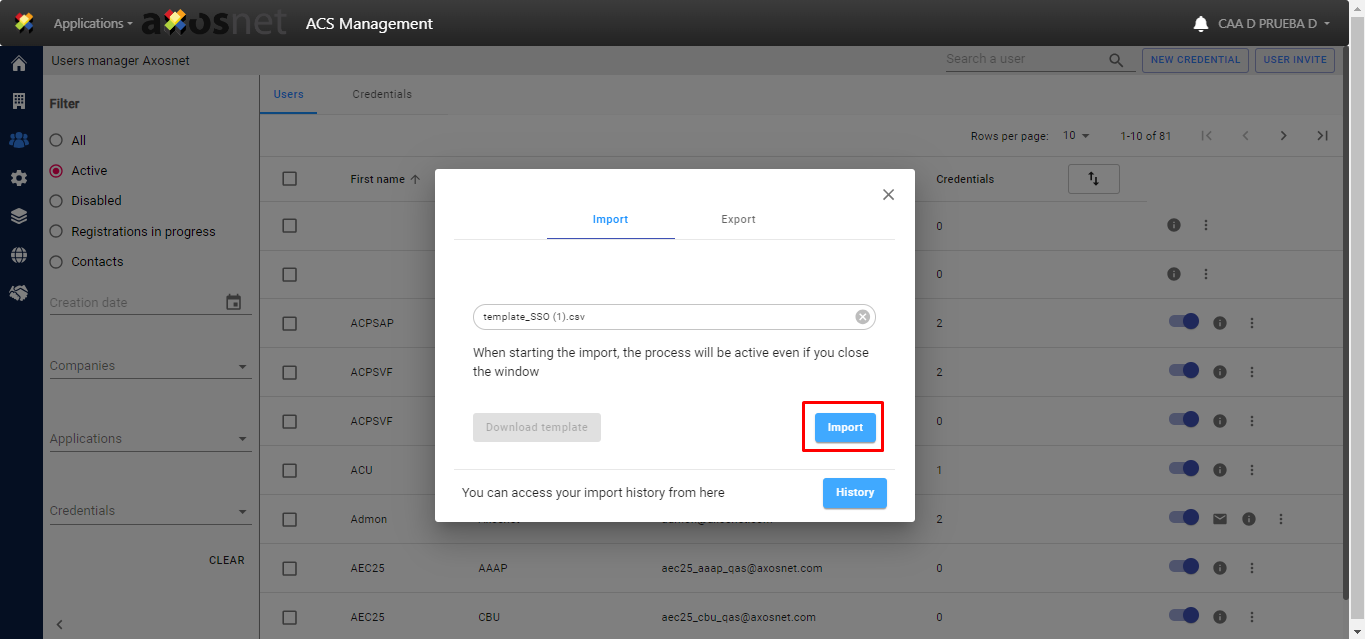
2. A new pop-up window will appear containing two tabs; the first one is “Import.” Download the template (.csv file) to enter the information in the correct order.

3. What does this file should contain? It is a matrix where Users are put in rows (a row per user), and columns ask the following information:
-
- Name: enter the first name of the user
-
- LastName: enter the surname of the user. Note: First and last names are optional for users already added to the company and mandatory fields for new users.
-
- Email: enter the business email of the user
-
- Credential: Enter the code on the top left corner of the credential’s card; it’s a matter of clicking the “copy” button.
-
- Reset: Enter “Y” if you want to reset the credentials and permissions for your user. This implies any changes you had previously. Enter an “N” in case you do not want to make any changes to the credentials added to the user.
-
- Active: Enter “Y” if the user is active or an “N” to disable them.
Remember that only 500 user records can be attached to each template to import.

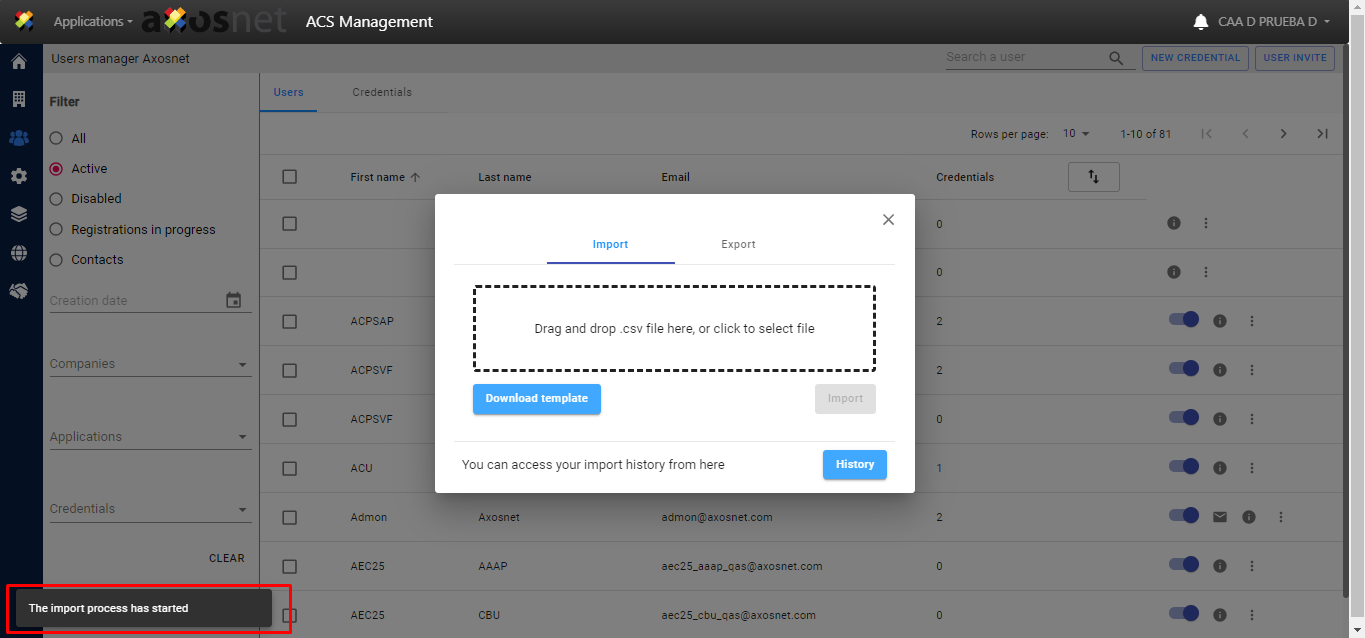
4. When uploading your .csv file, the “Import” button will become available. Click it to upload the file.
5. A notification will show you that the file is being uploaded. Soon after, the drag and drop field will reset to start another import if needed.
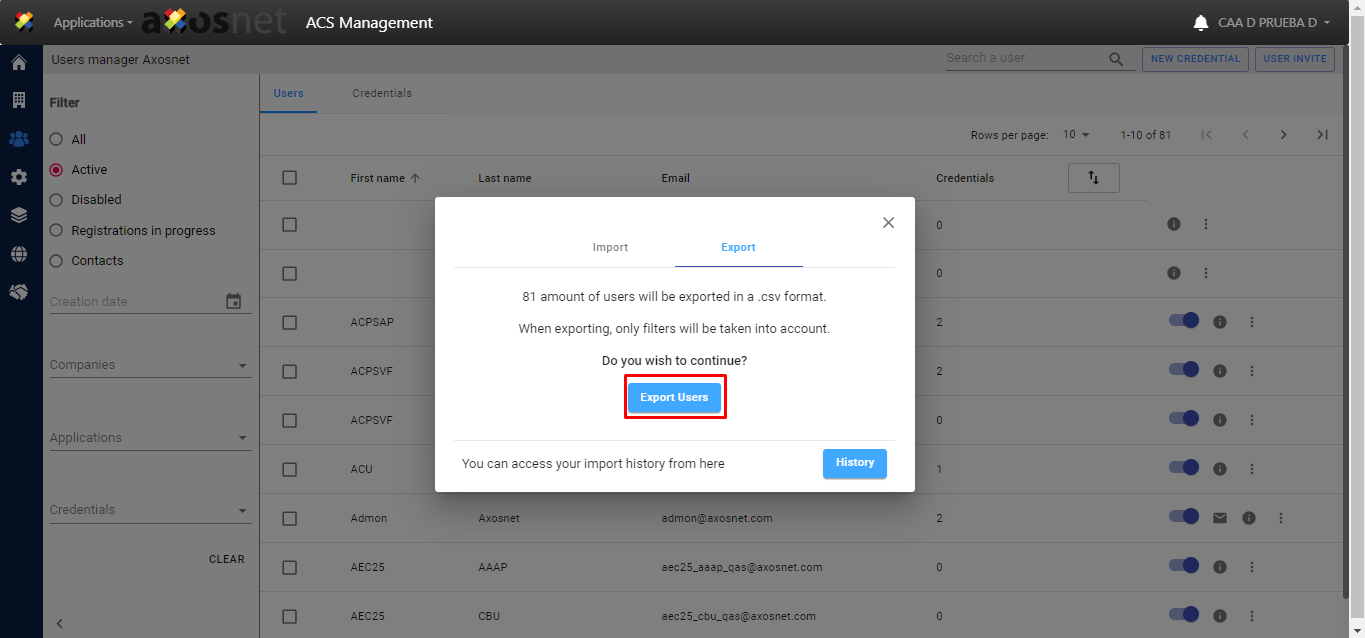
Exporting users
Now we will review the export process.
1. Click sort ![]() button to start the Export of users.
button to start the Export of users.
2. Go to the export tab. Here you can export all users to a practical .csv file.
Observation: all users exported are based on the filter selection on the left.
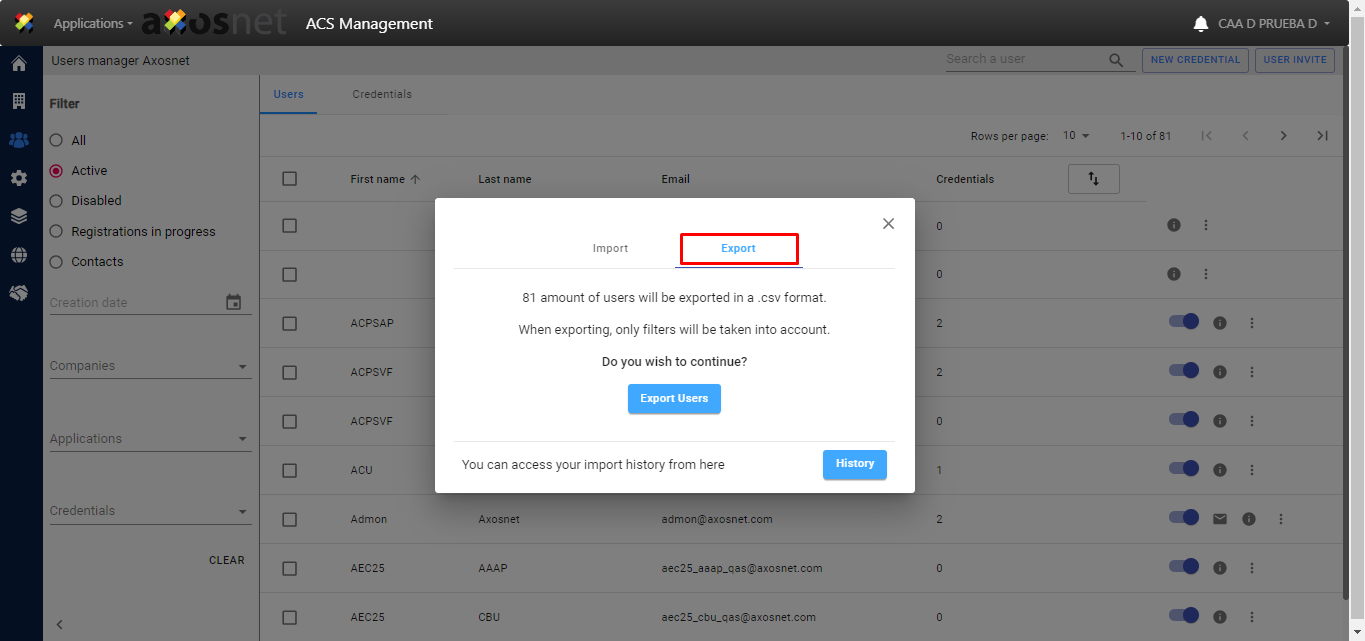
3. When wanting to export the whole user’s list, with active and disabled ones, click the “Export Users” button to download a .csv file which allows you to audit information and edit it if necessary, to then continue with the import process if it’s convenient to you.
Observation: filters on the left modify the users being downloaded.
Import History
If you need to consult the number (and other details) of imports that have occurred since your account was created, follow the steps below.
1. Select the import/export icon again and click the History button.

2. Once here, you can scroll down if you have multiple imports to check the different import cards or use the filter on the left, Creation date, to verify an exact date of import. Press “View Users” to check what user was uploaded.