New External Login
To add a new external login follow the steps below:
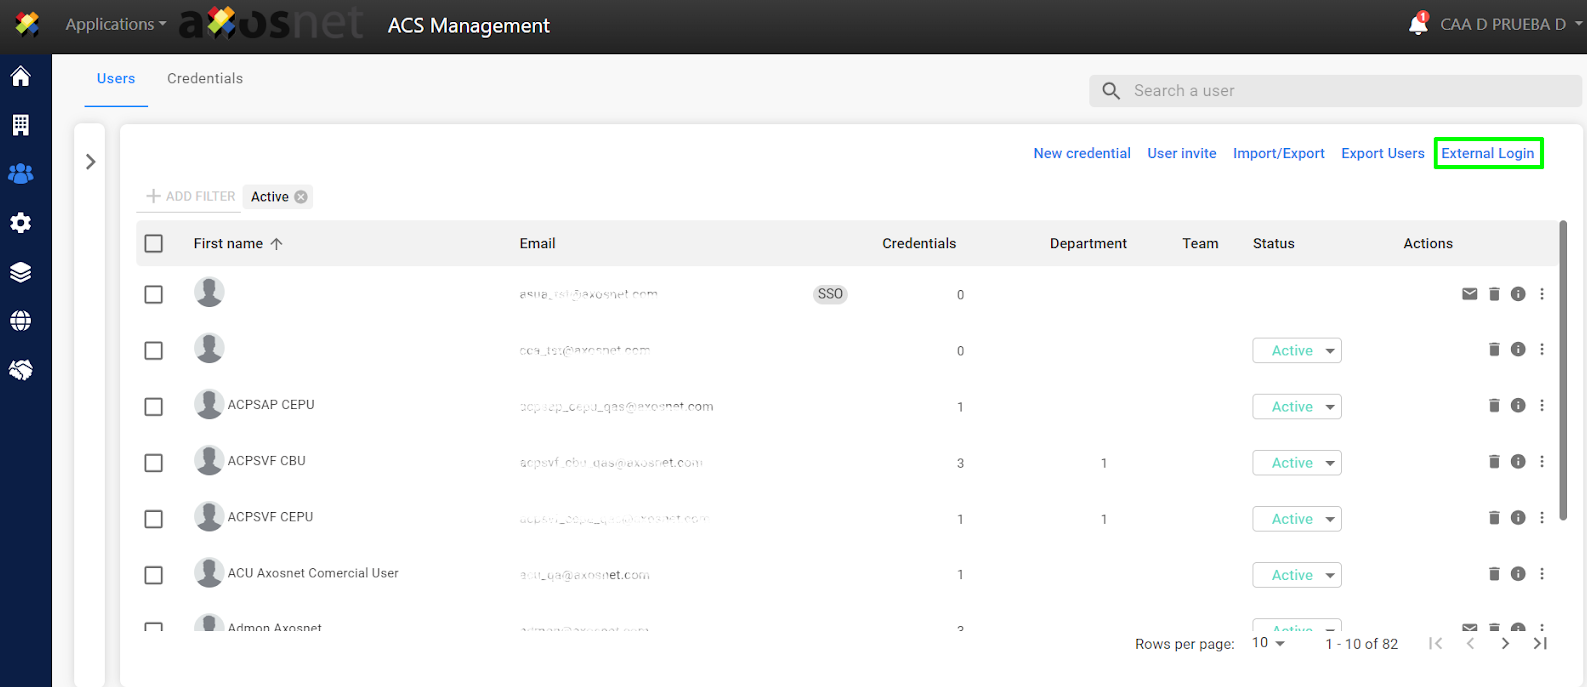
1. Log in to ACS Management
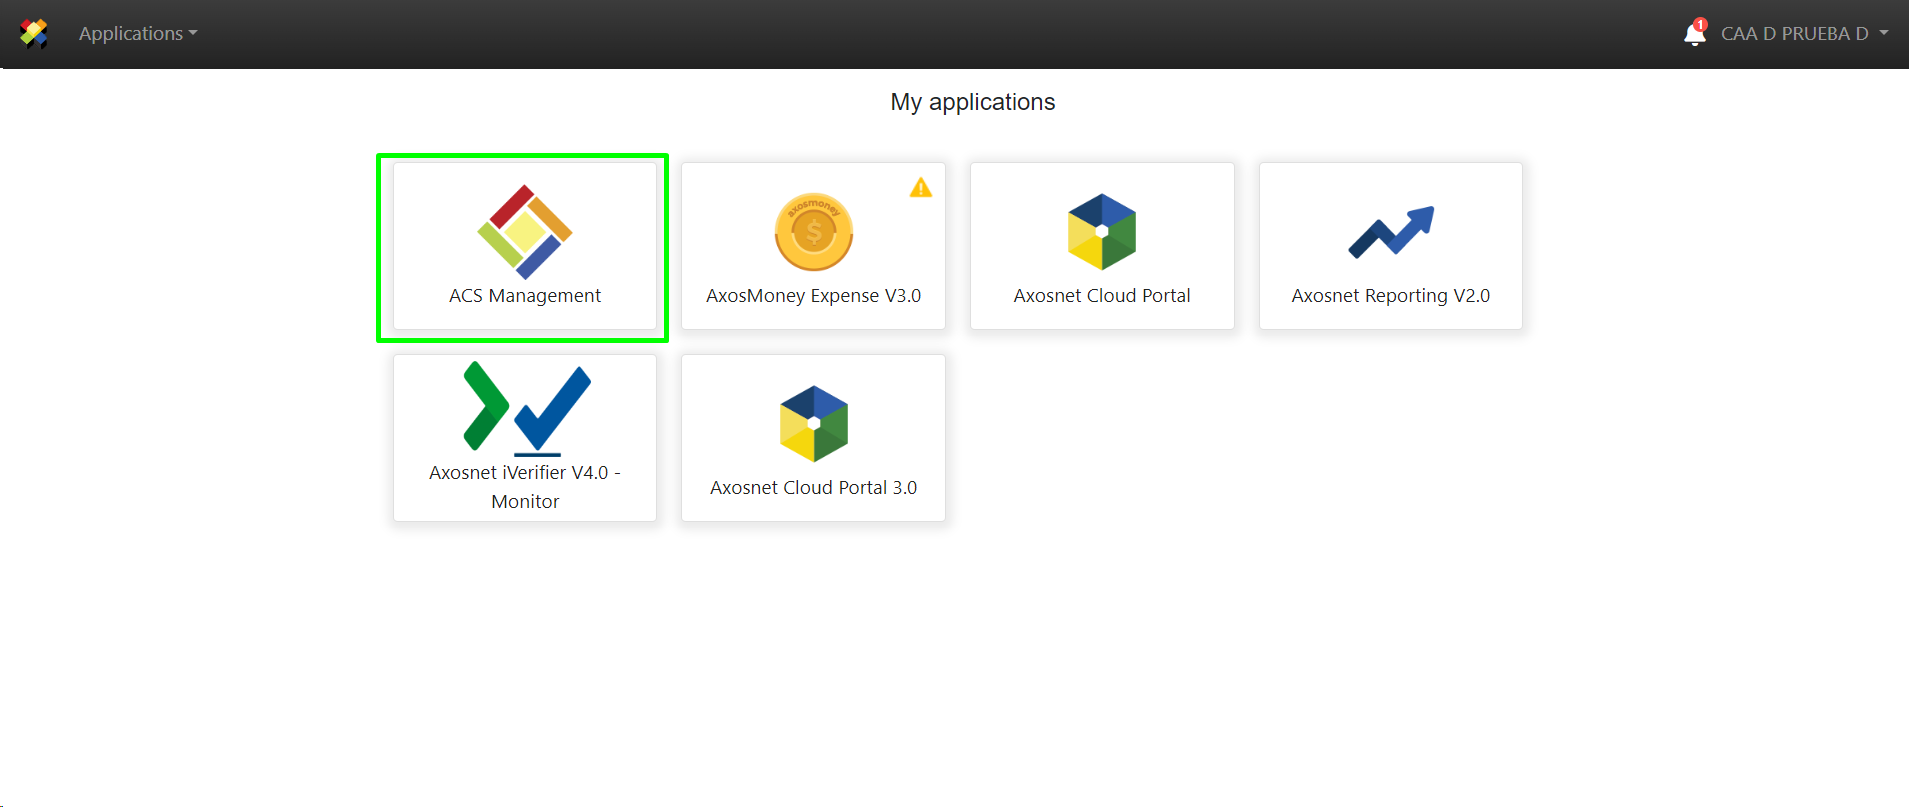
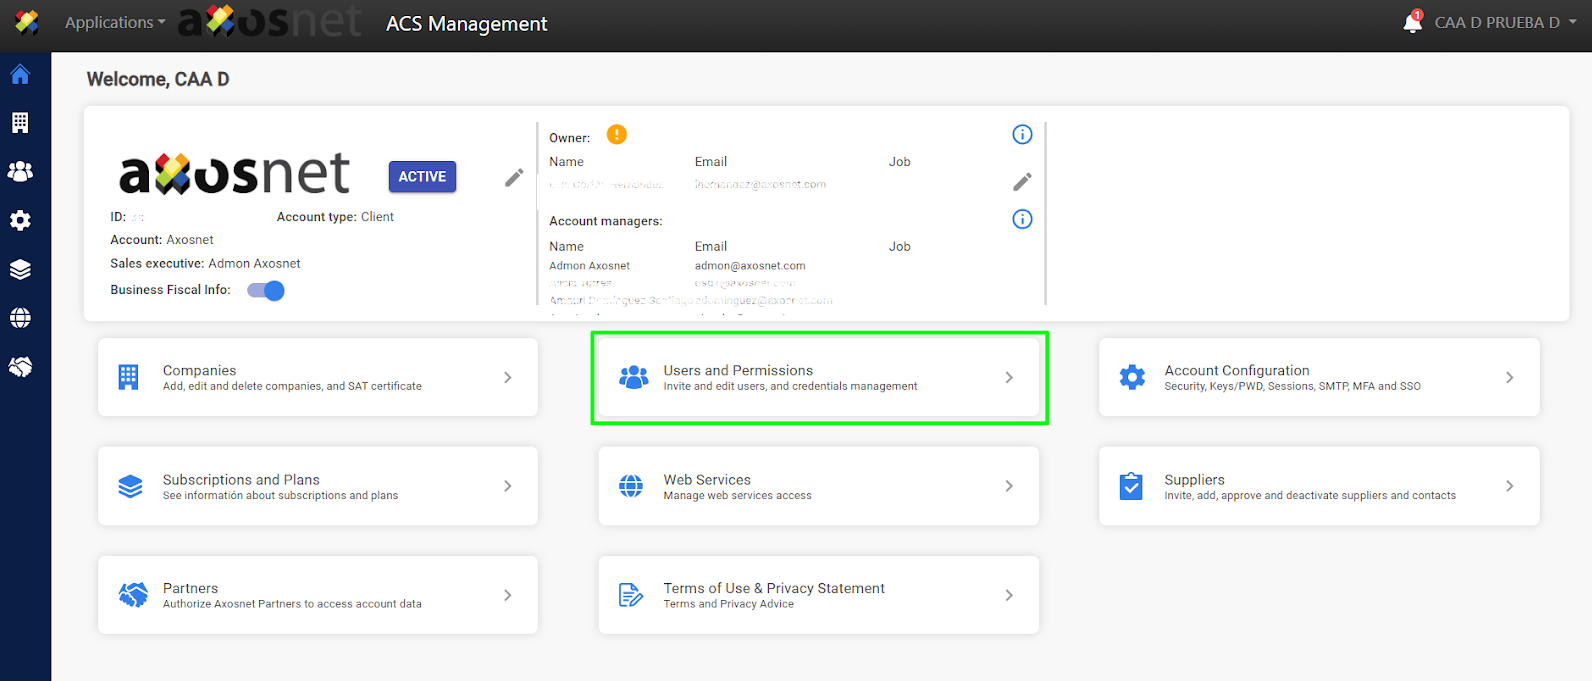
2. Click on Users and Permissions

3. Select the “External Login” option.

4. Click on “New login”

5. Complete the information in the form and then click the “Save” button

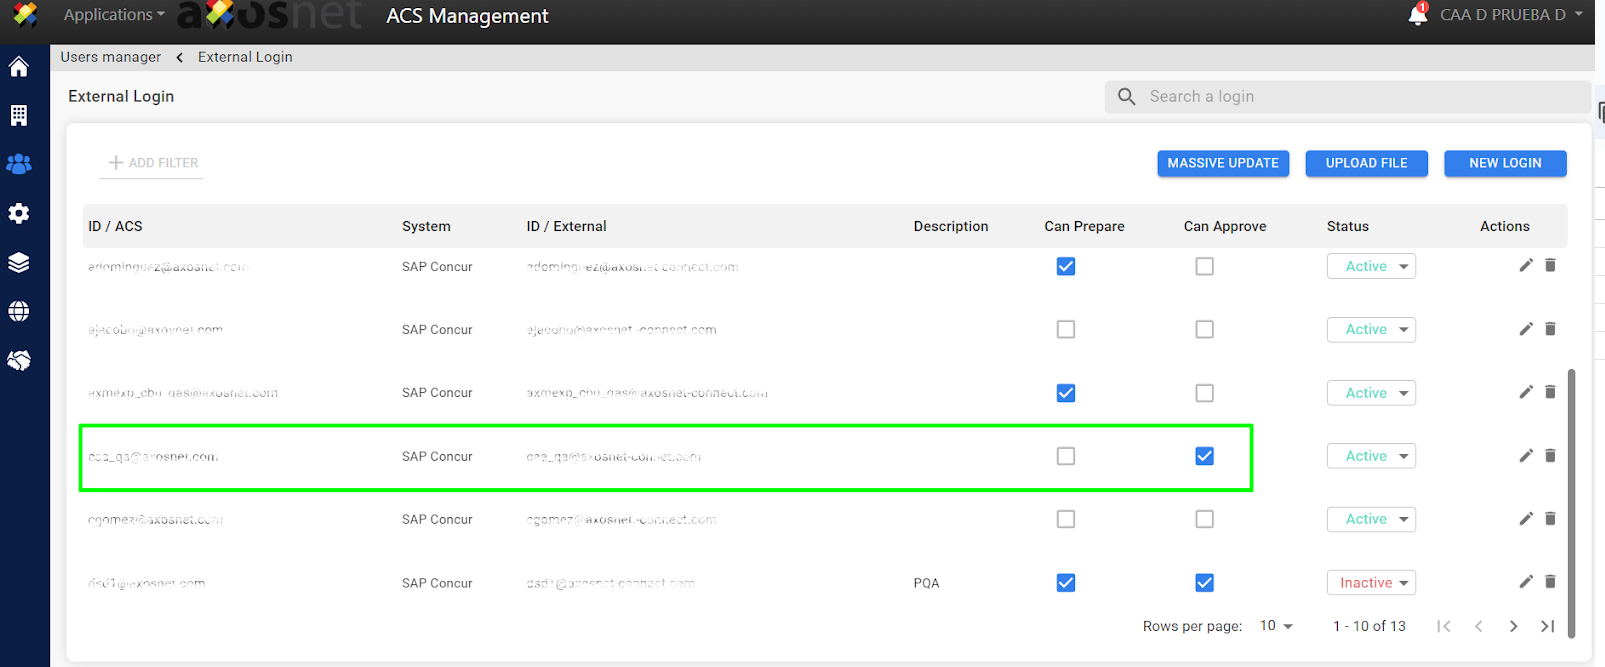
6. You will see the new external login shown in the list.

Edit an External Login Manually
To edit an external login follow the steps below:
1. In ACS Management click on “Users and Permissions”.
2. Within “Users and Permissions”, select the option “External Logins”

3. Click on the edit icon to access the edit function.

4. Edit the desired data and click on “Save”.

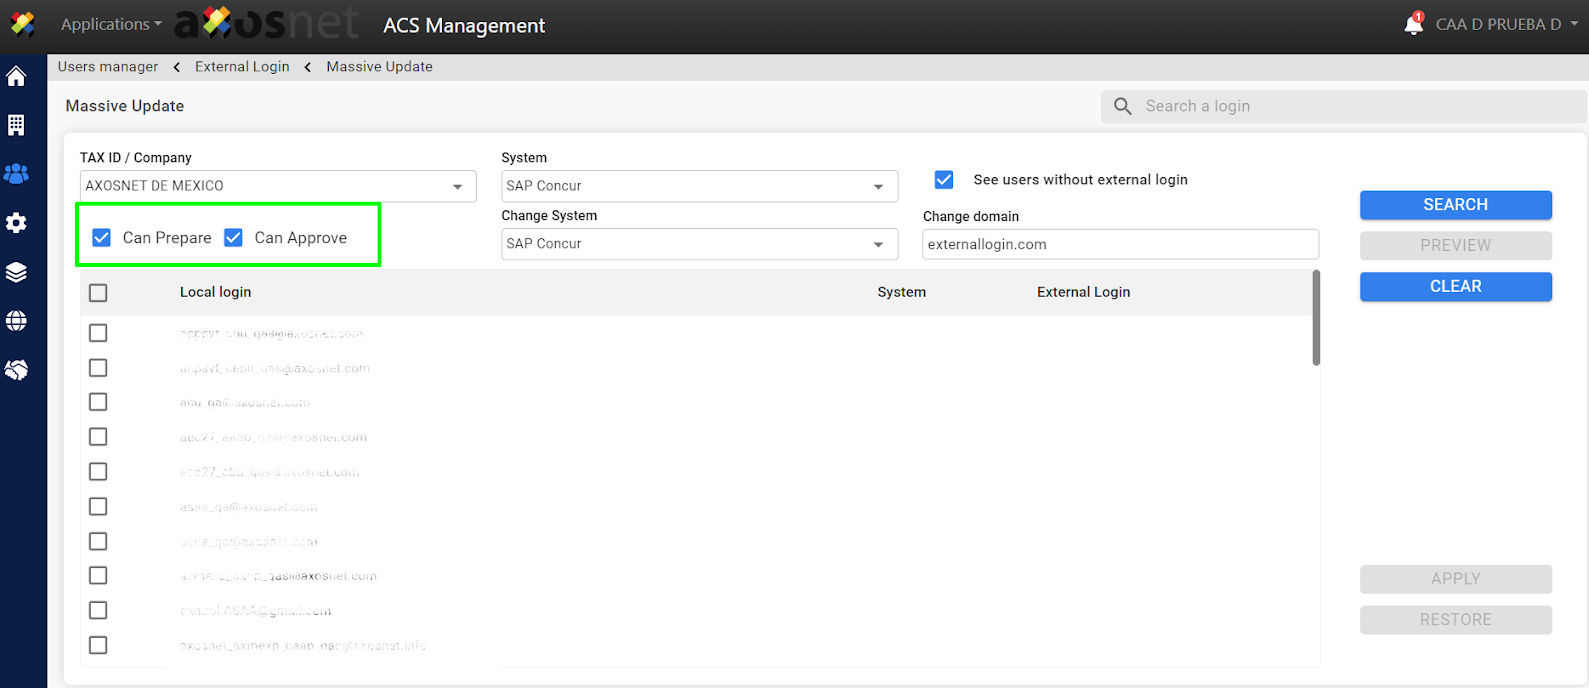
Note: The permissions that a super delegate user can have are “Can prepare” and “Can approve”, the first one allows to generate reports and the second one allows to perform report approvals, all from AxosMoney®.
5. The changes made will be displayed in the external login screen.
File Upload
It is also possible to add external logins by uploading a file, to do this follow the steps below:
1. Click on “Users and permissions”.

2. Select the “External login” option

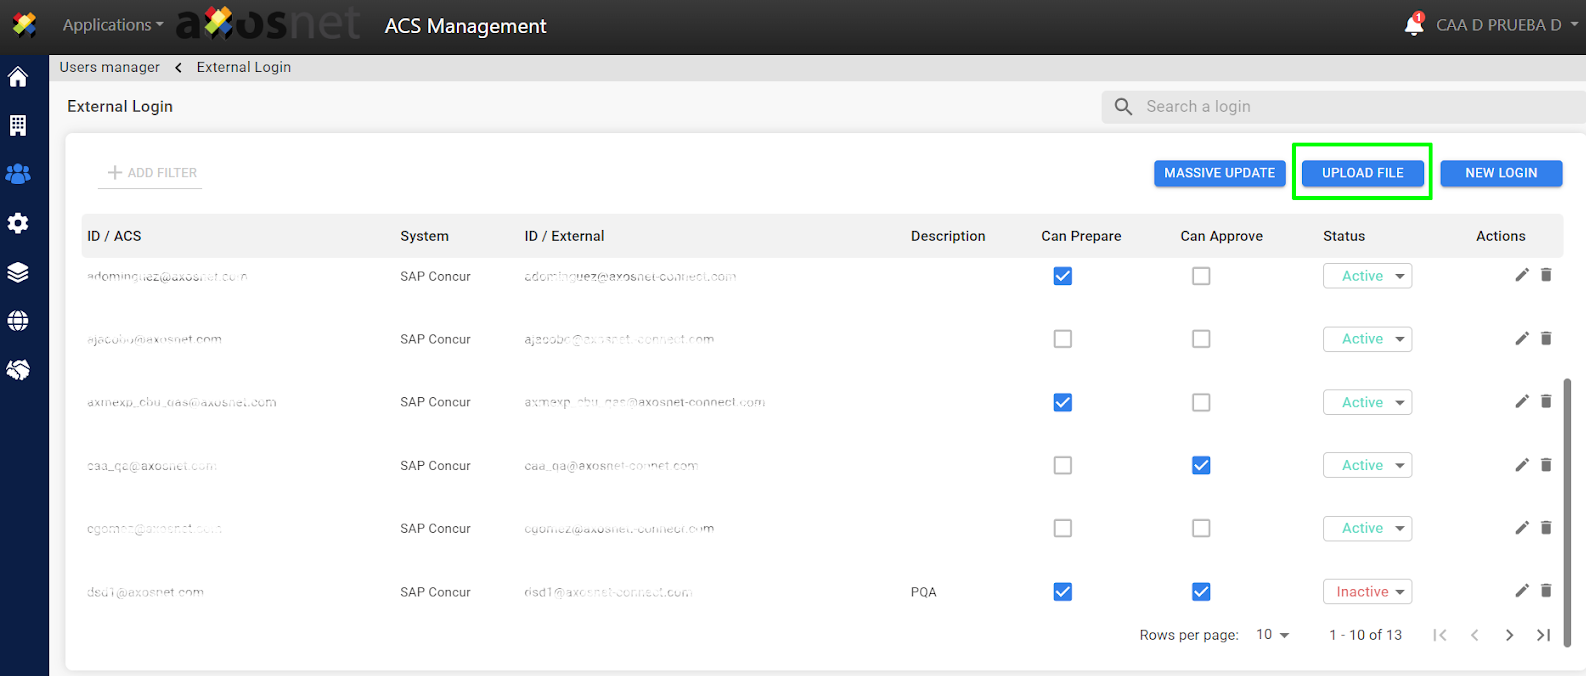
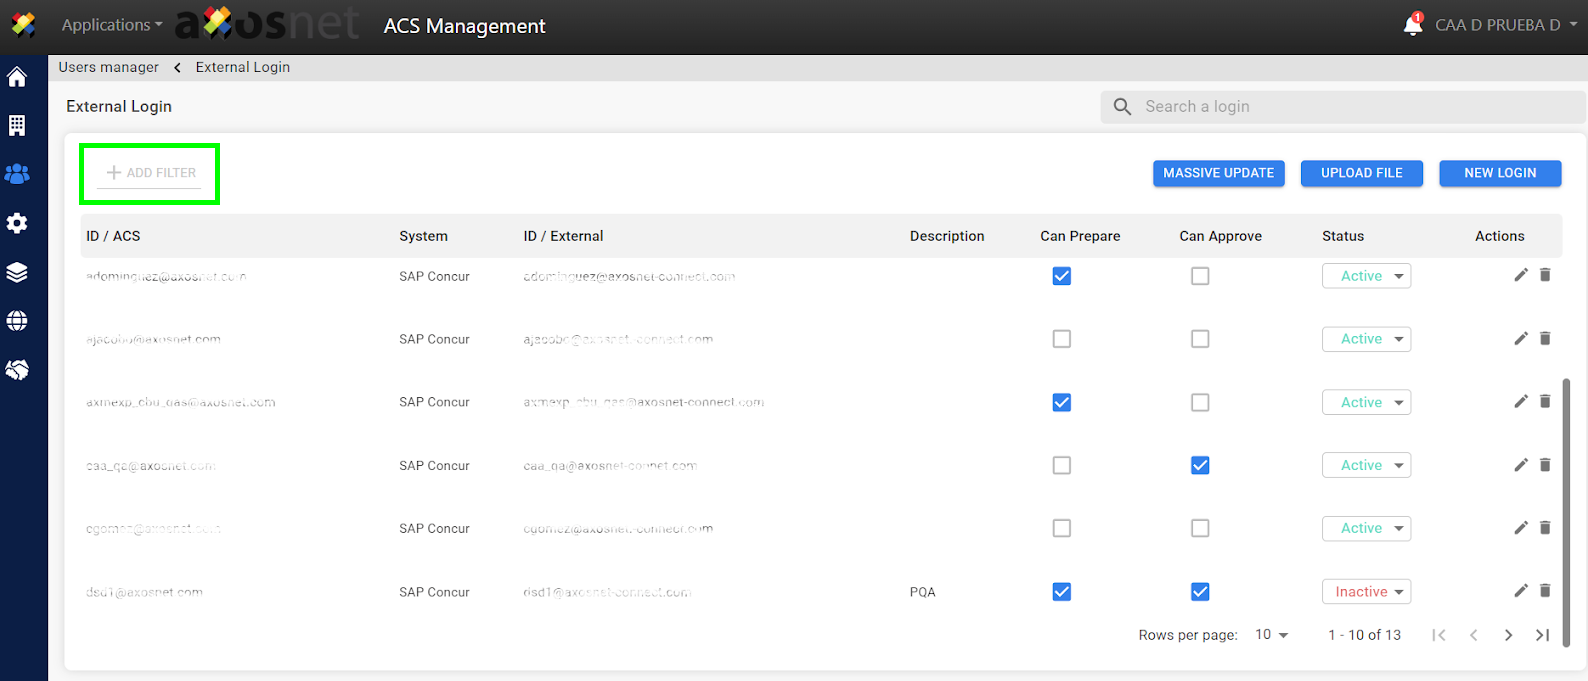
3. In the “External Login” screen click on the “Upload File” button.
4. A pop-up window will appear where you can “Download a layout” click on the option to start downloading the file.
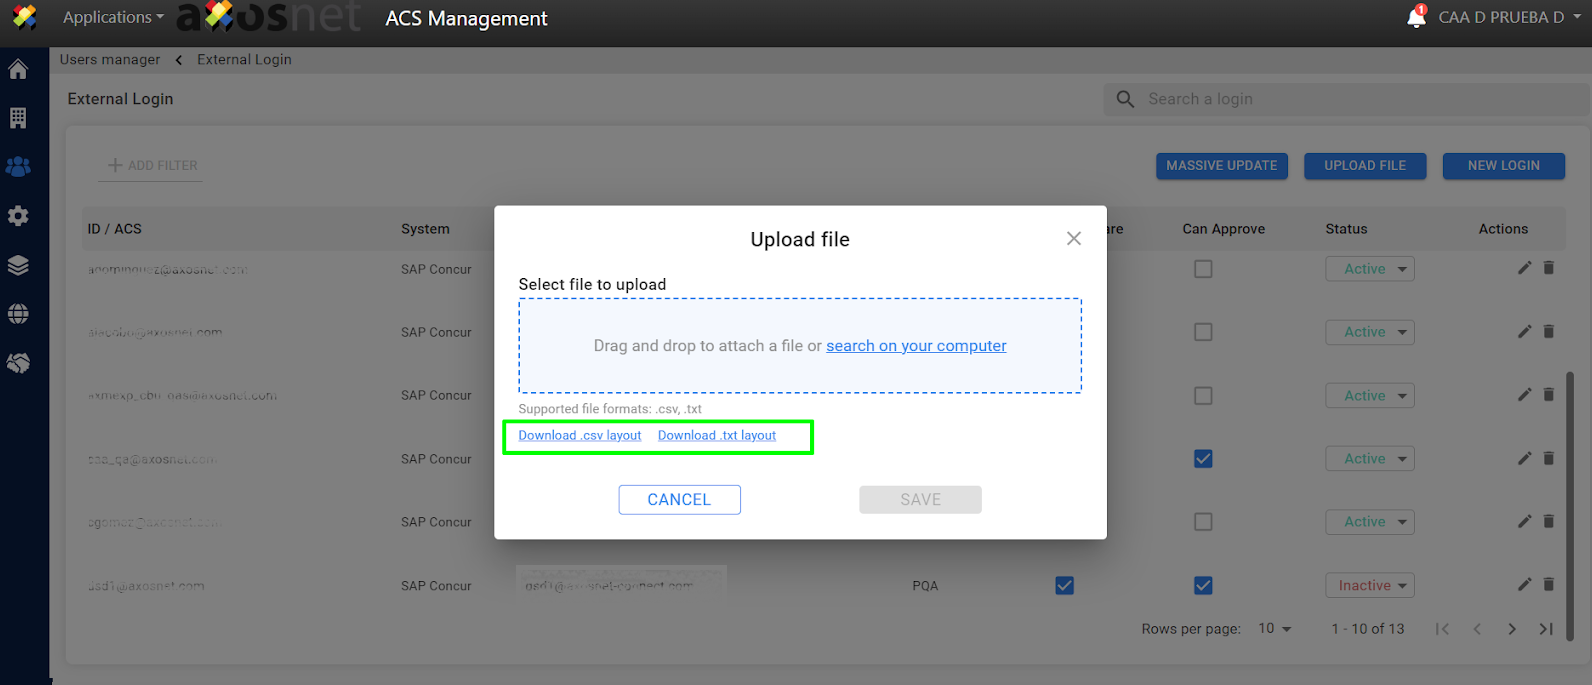
5. Complete the layout data and save the changes in the document.

Note: The allowed files are .txt and .csv, so the layout must be saved with one of the two extensions.
6. Click “ Search on your computer ”.
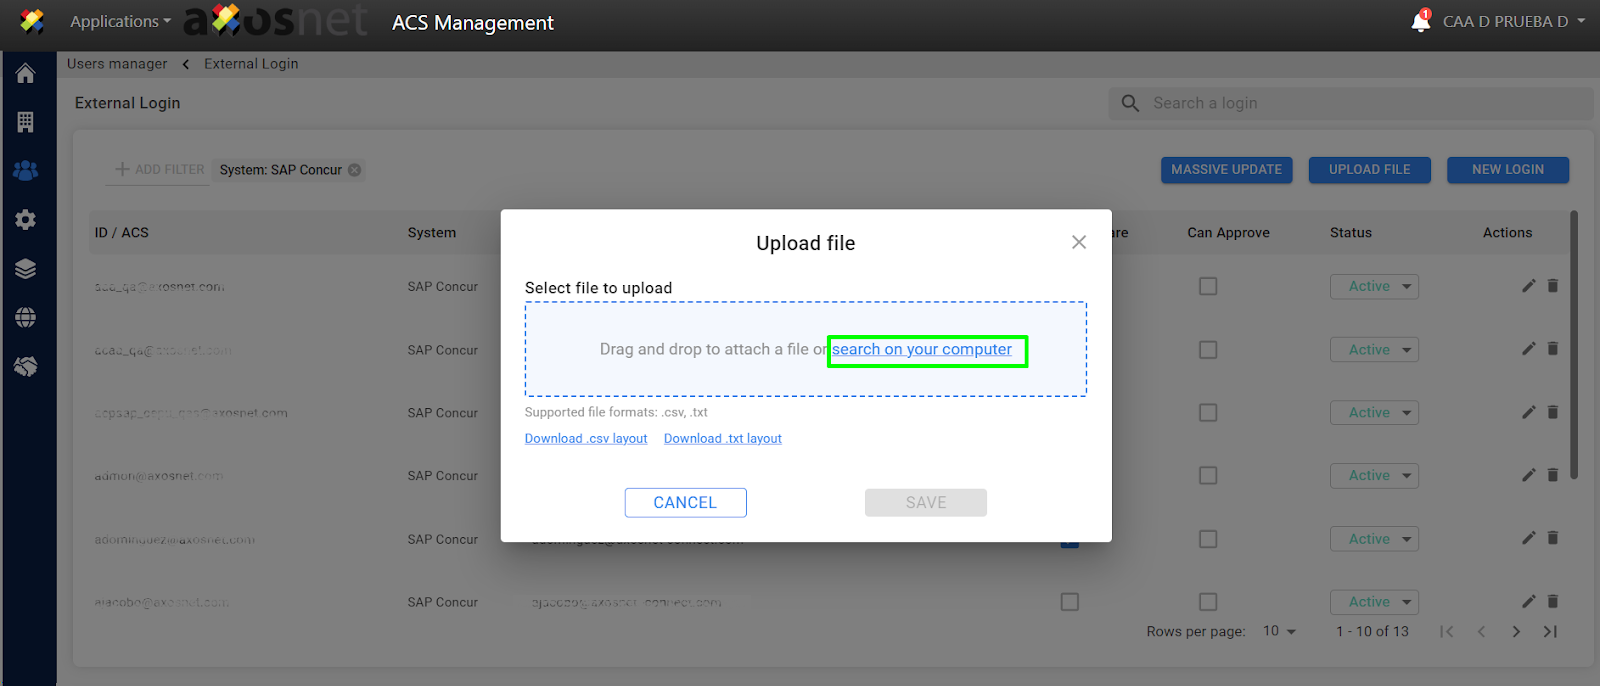
7. Select the file with the data and click the “Open” button.

8. Click “Save” once you have verified that the file has been successfully uploaded.

9. The successful upload message will be displayed, and the records or changes in the file will be reflected
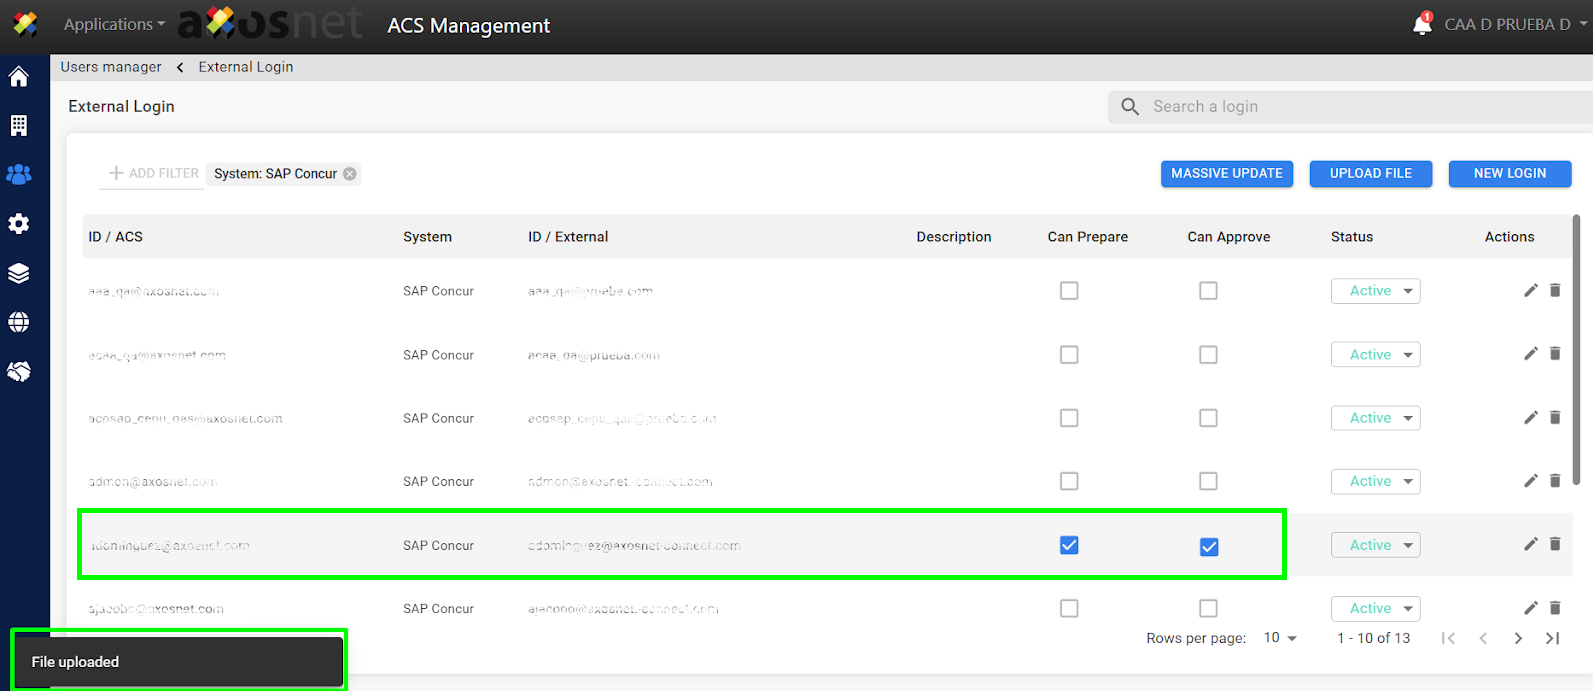
Note:If a document user already exists, the system would be updating that user’s information.
Massive Update
To perform a mass update of users follow the steps below.
1. Click on “Users and permissions”.

2. Within “Users and permissions,” go to the “External login” section

3. Select the “Massive Update” option.

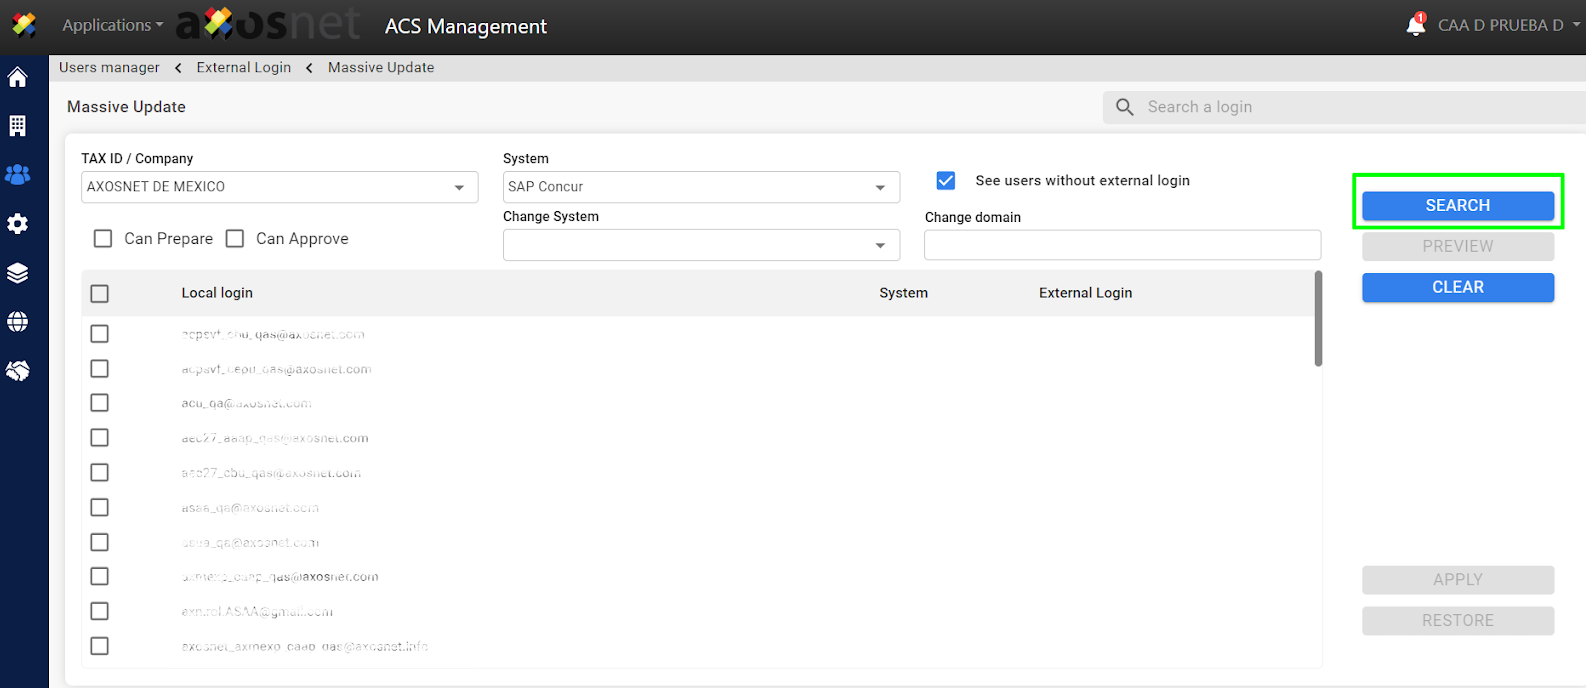
4. Select the corresponding filters (company, system, users without external login) to perform the massive update.

Note: If you activate “View users without external login,” users without external login will be displayed. If you want to update users with external login, deactivate it to view them according to the filters.
5. Click on the “Search” button to see the results of the previously selected filter
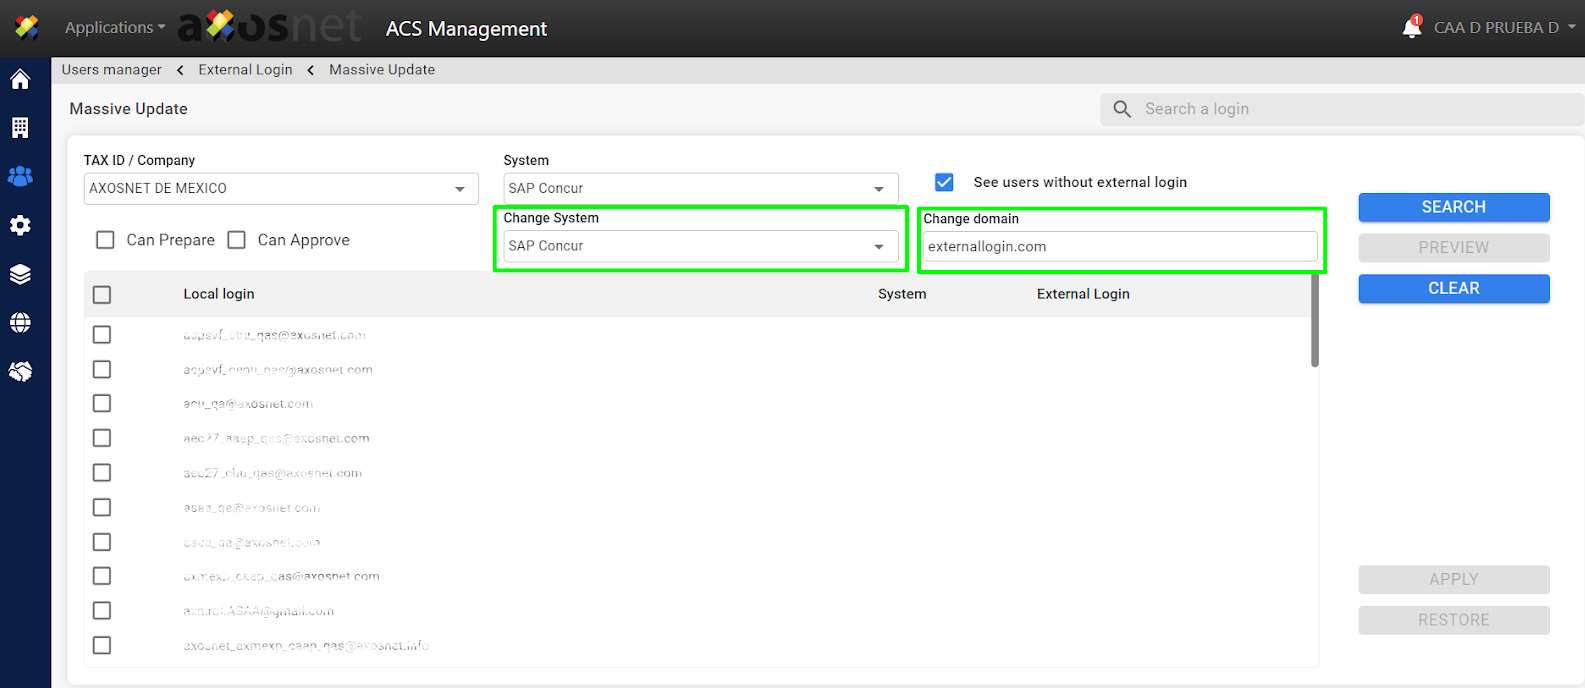
6. Enter the data in the “Change system” and “Change domain” fields.
7. Select which permissions will be granted to the users
8. Select the users to whom the previously indicated changes will be applied
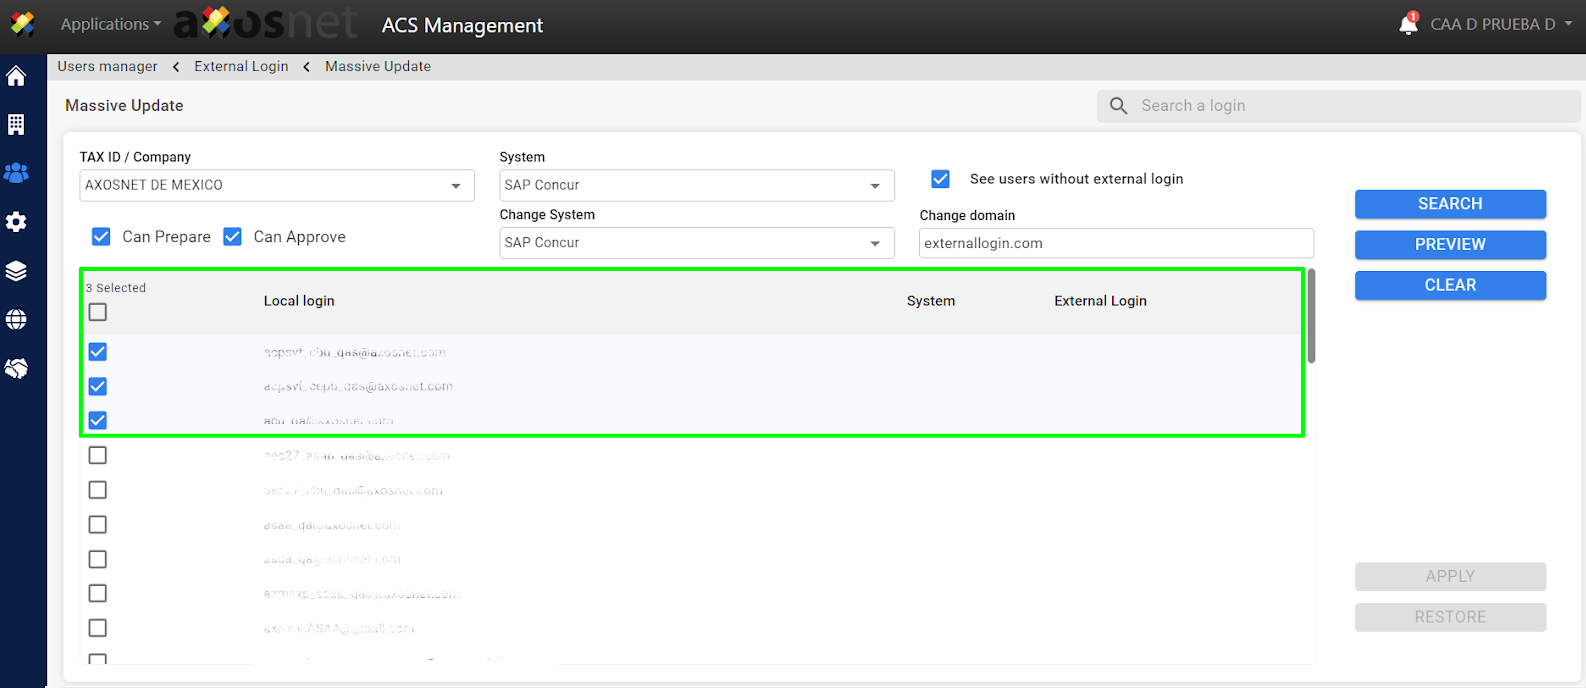
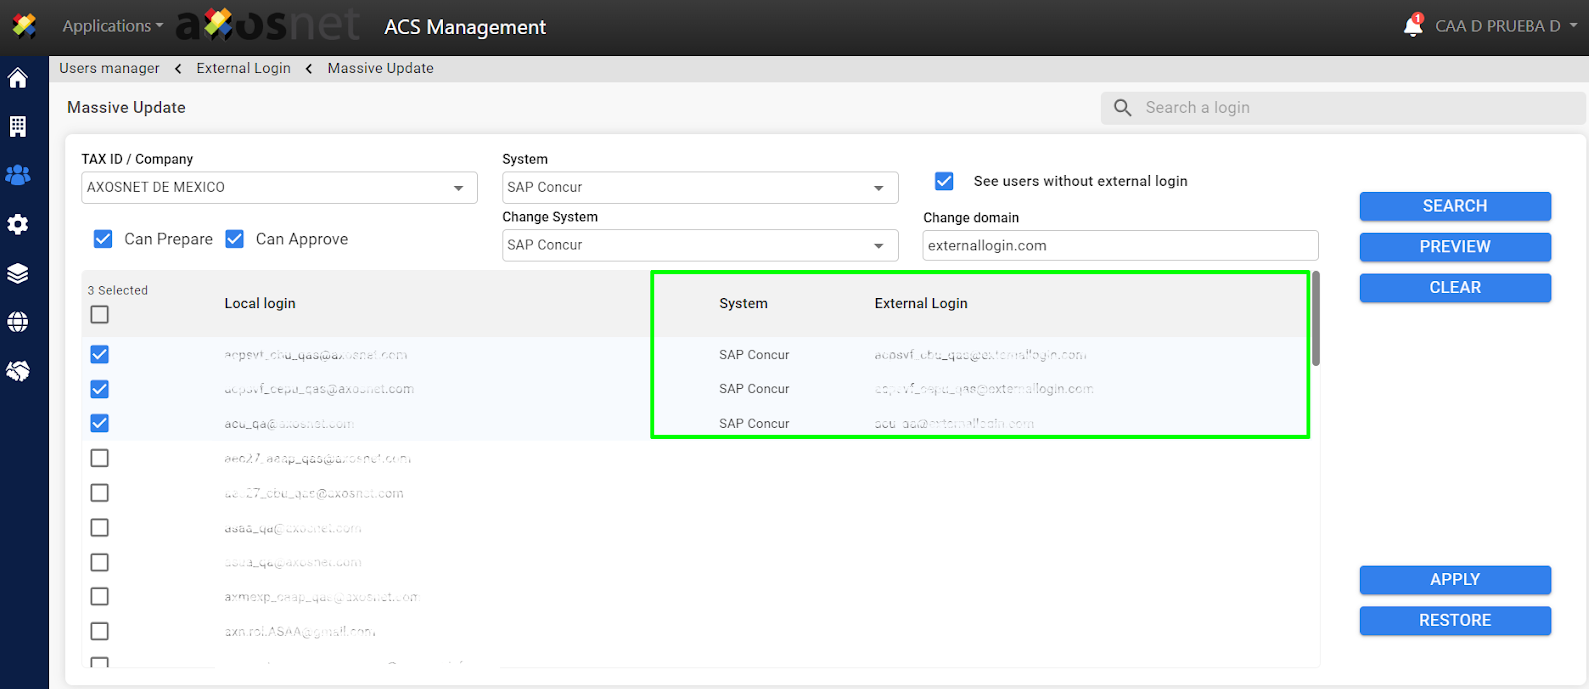
9. Click on “Preview”

10. It will display a preview of how the changes would appear to the users.
11. Verify the changes in the preview and click on APPLY to apply the changes
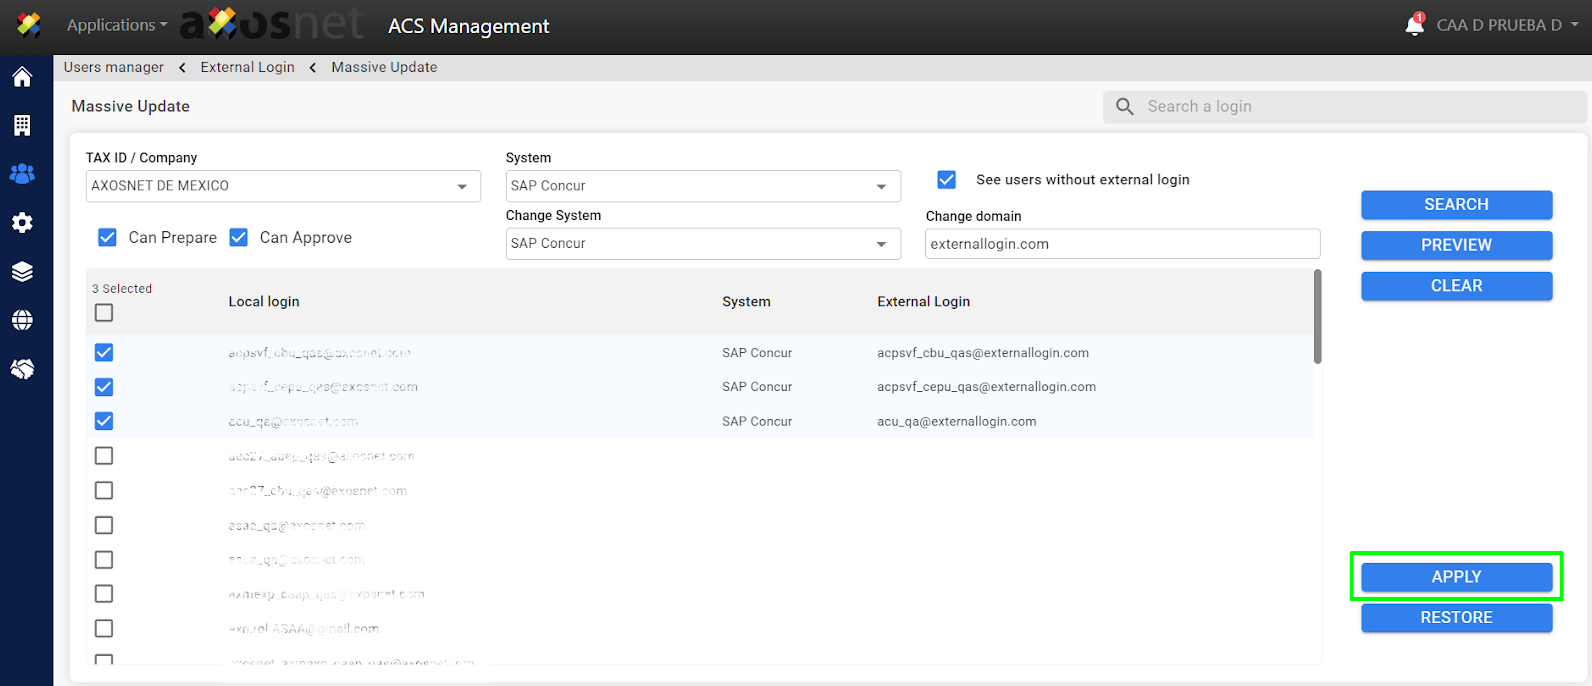
Note: If you need to make changes you can click on restore to stop seeing the preview. or on clean to clear the filters.
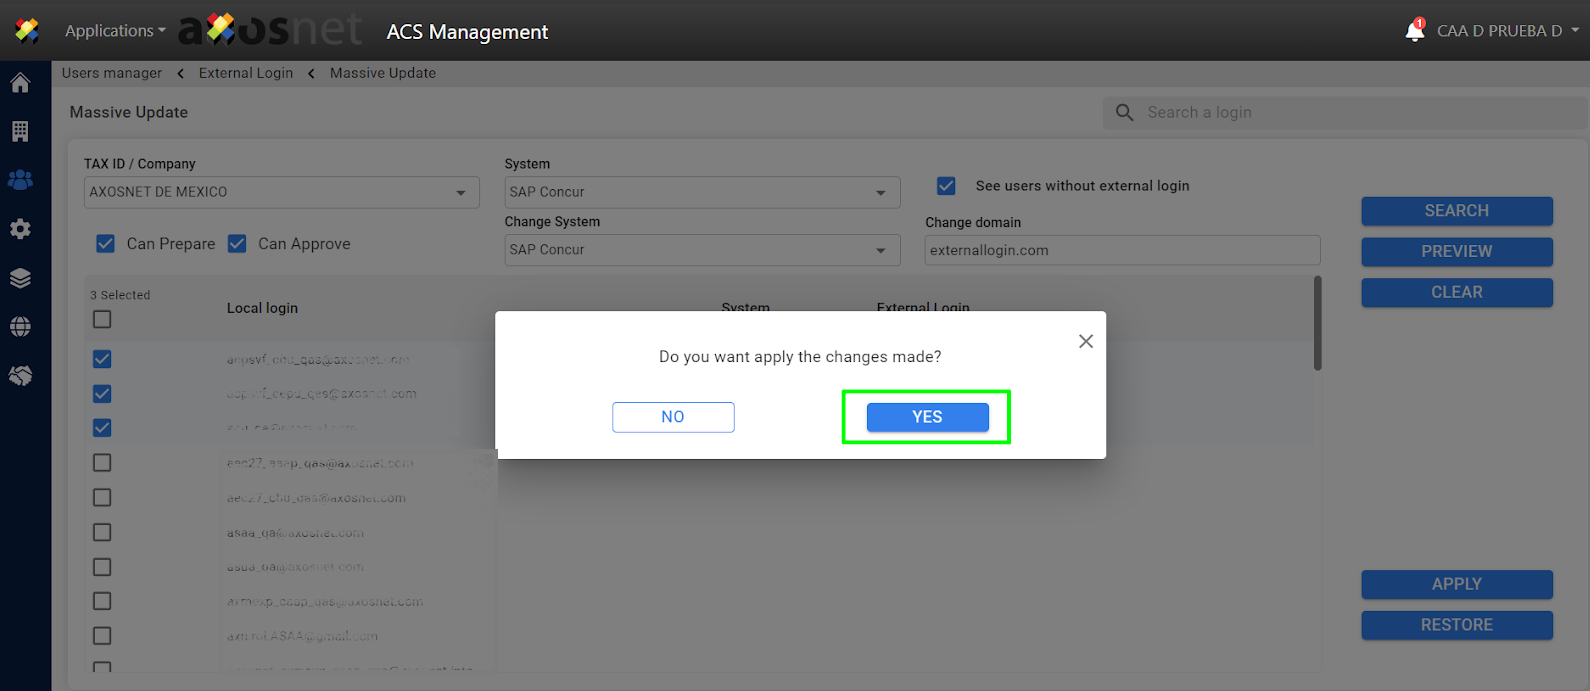
12. A pop-up window will appear to confirm the changes, click YES to continue with the changes.
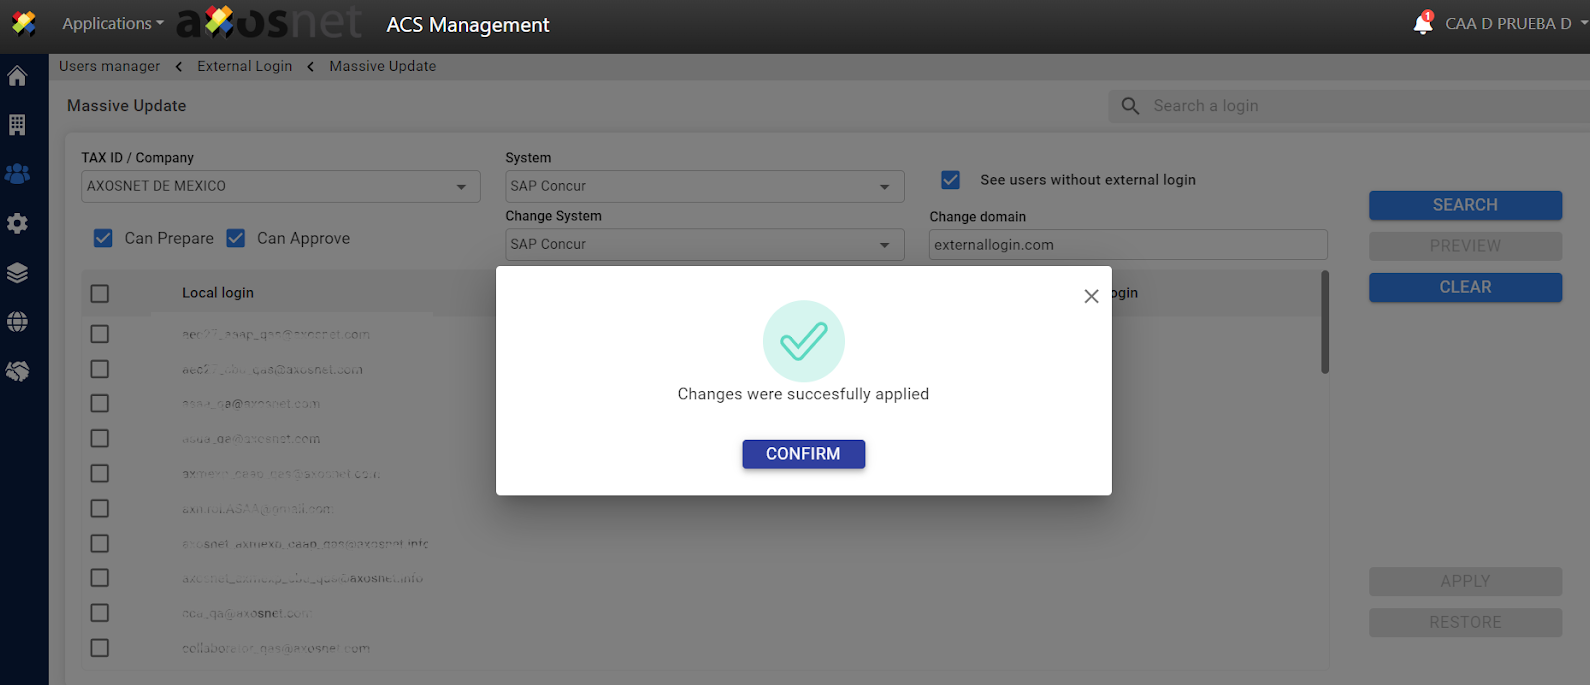
13. A message will appear indicating that the changes have been successfully applied
View users without external login
1. Click on “Users and permissions”
2. Within “Users and permissions,” navigate to the “External login” section.
3. To view users without external login, click on “Add filter”.

4. In the filter, select “See users without external login”.

5. The search results are displayed.

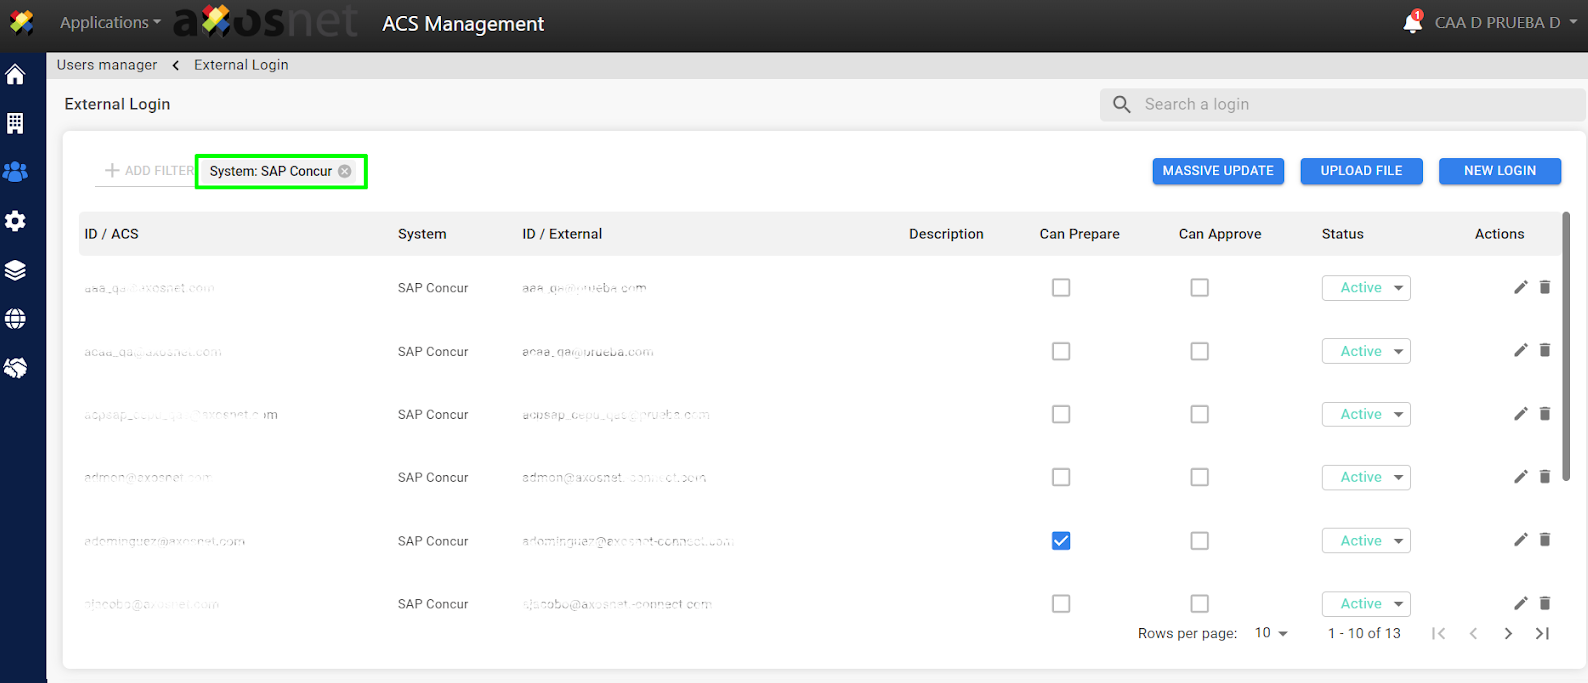
View user with external login for a particular system
1. Click on “Users and permissions”
2. Within “Users and permissions,” navigate to the “External login” section.

3. Click on “Add filter”
4. Select “system,” and it will display the options for the system
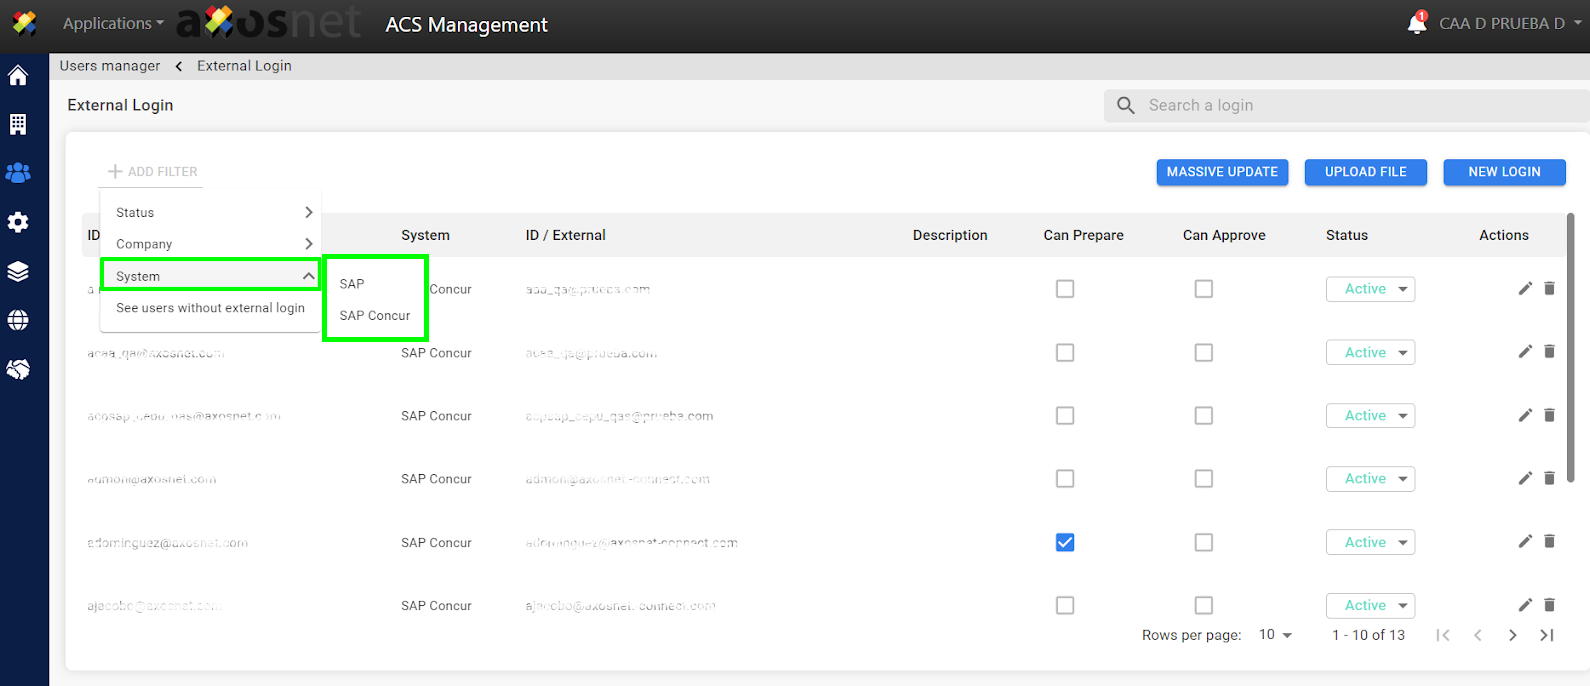
5. The results for the selected system are displayed