Home
When you enter the rewards application, the first thing you have to do is select the company you will manage, you do this by checking the box as shown in the image.
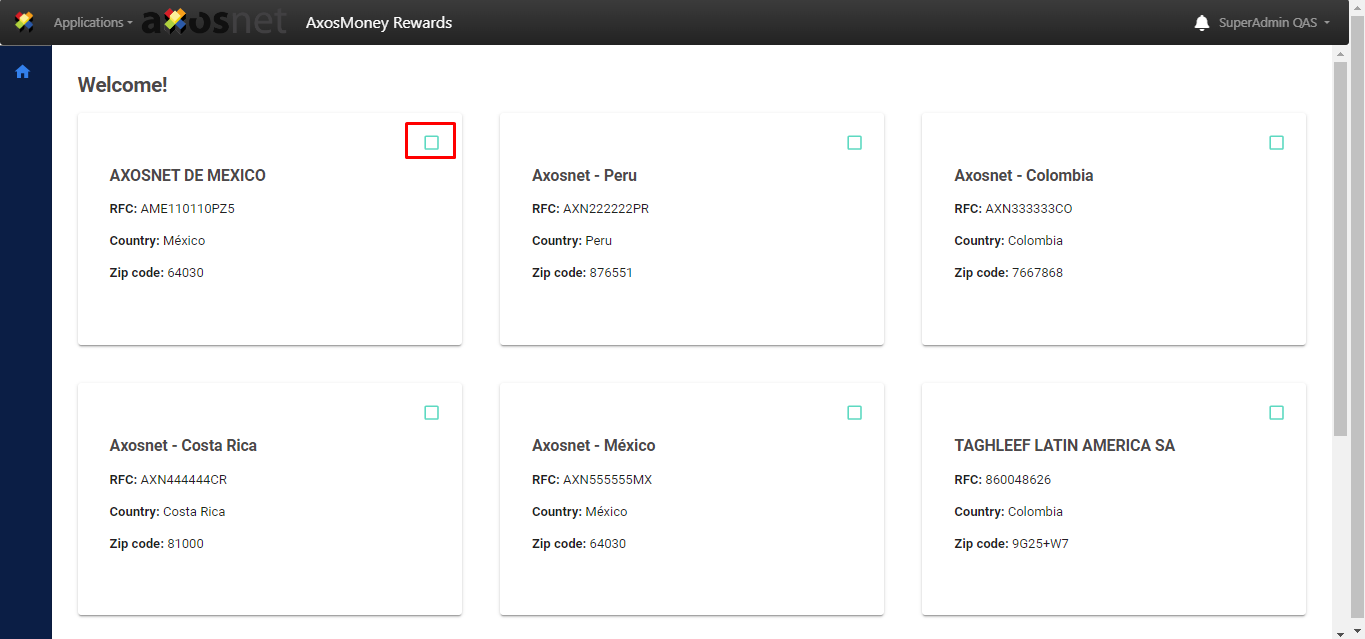
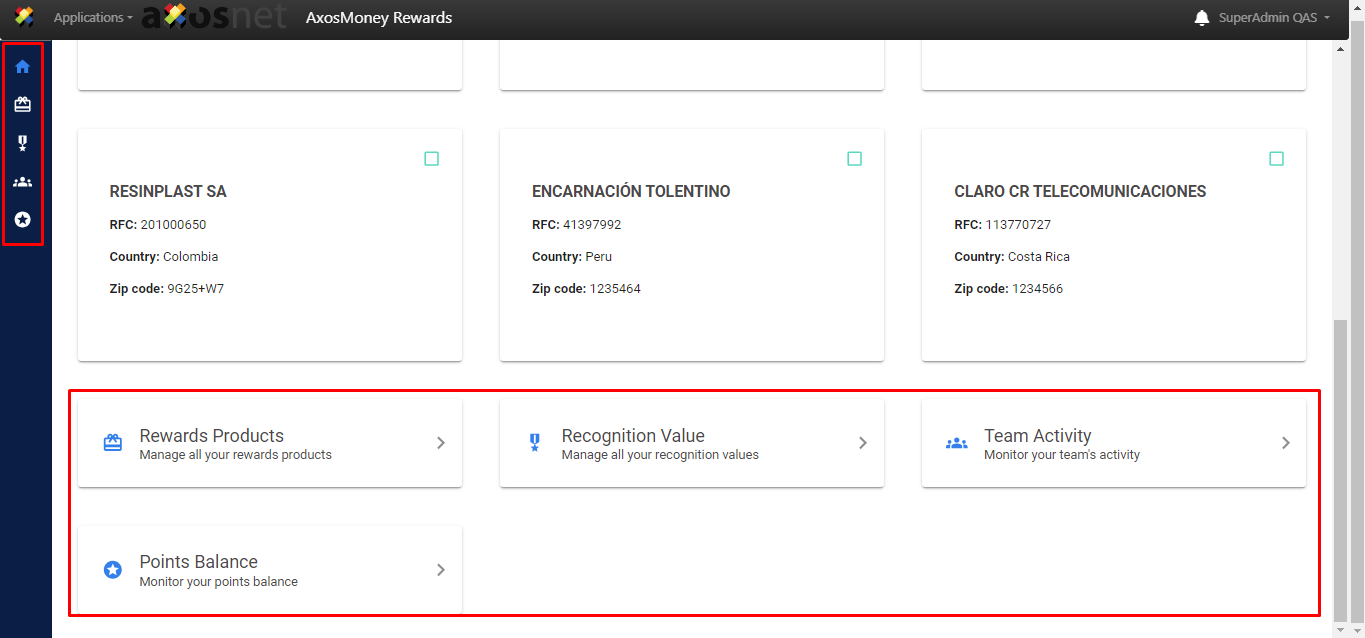
Once the box is checked, both the side menu on the left and the one at the bottom of the screen will be enabled with which you can start managing Axosmoney Rewards.
Recognition Value
Levels
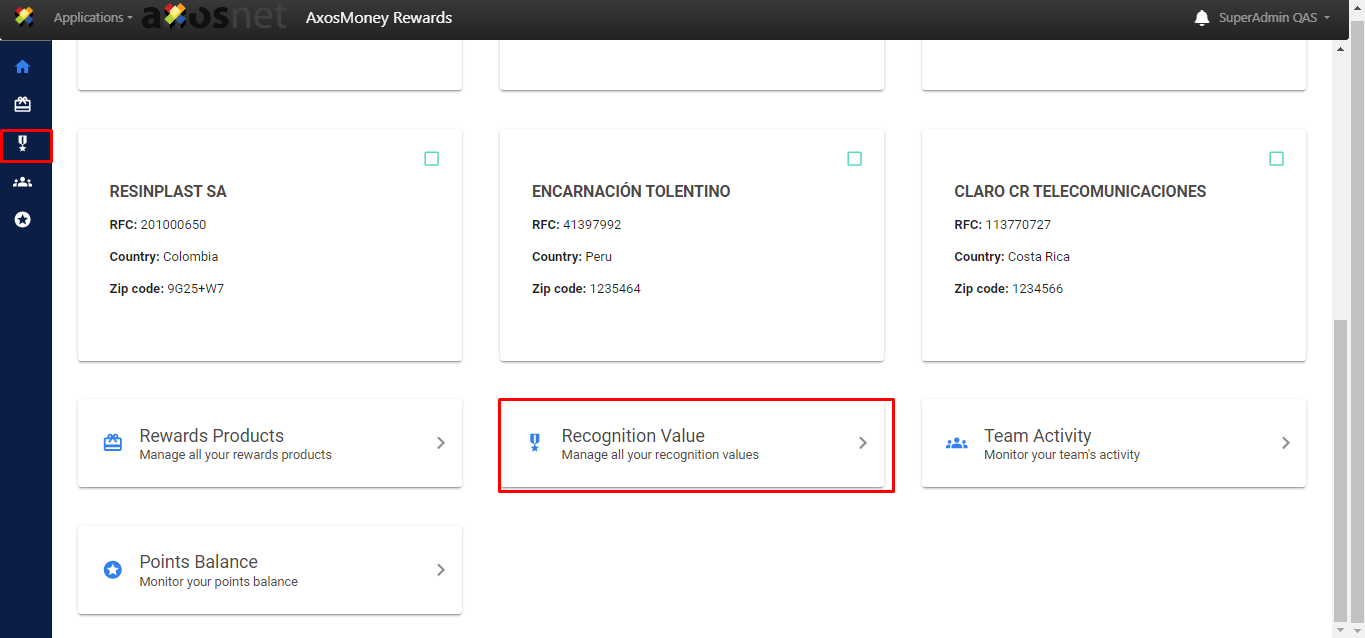
To start managing all your recognition values, click on the “Recognition Value” option, you can do it both in the side menu and in the main menu.
Add new level
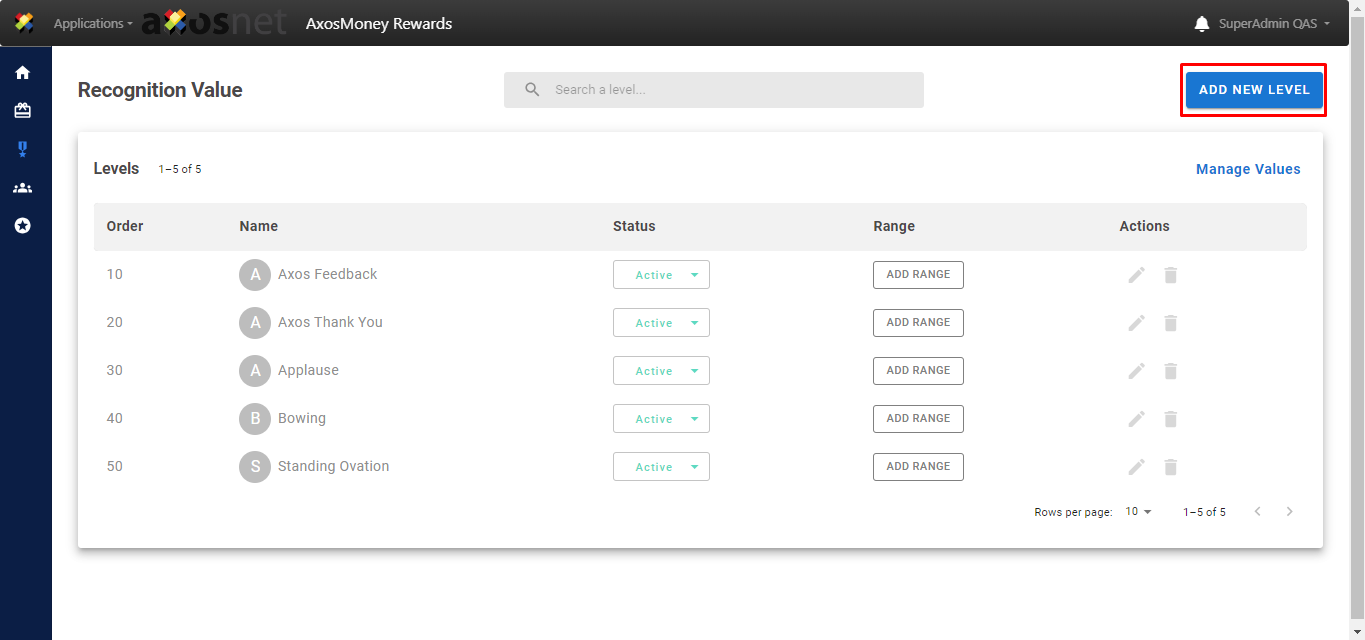
This section will show you how to add new products to your rewards catalog.
1.Click on the “ADD NEW LEVEL” button.
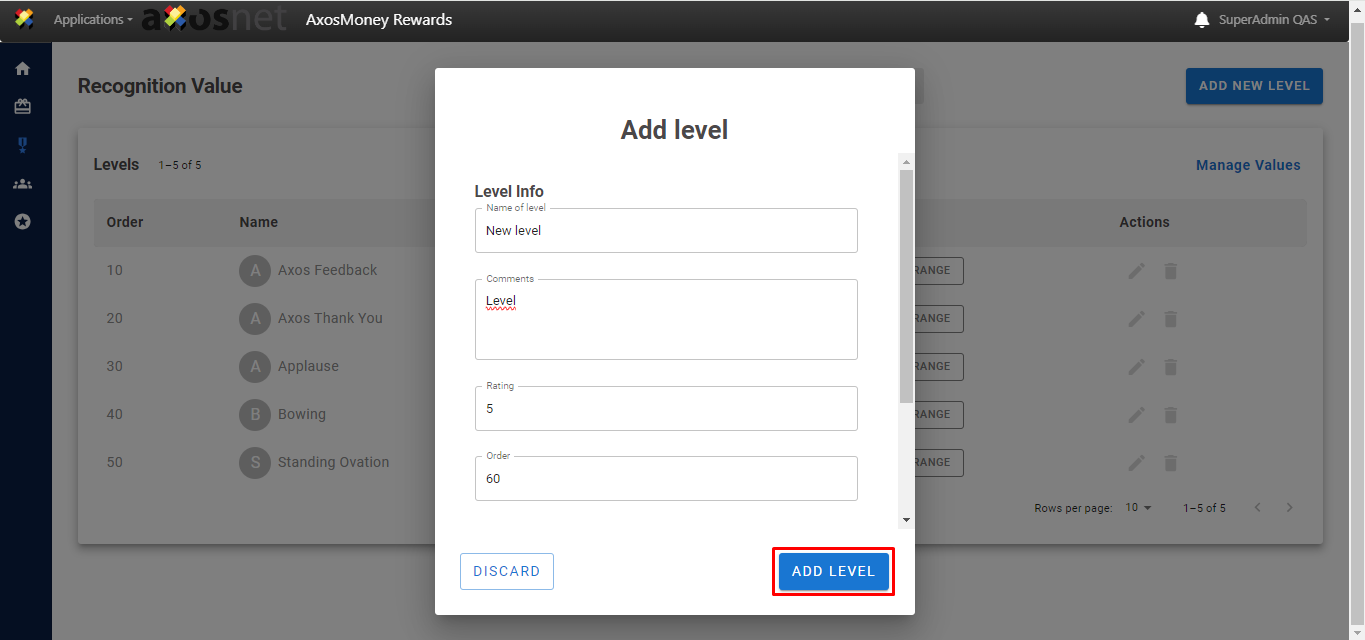
2. In the window that appears, fill out the fields with the Level information requested. It is necessary that you fill out all the fields.
Note: The rating field refers to how important that level is.

3. Once you have finished filling out all the data, press the “ADD LEVEL” button if you want to add the level to your catalog, and if not, press the “DISCARD” button.
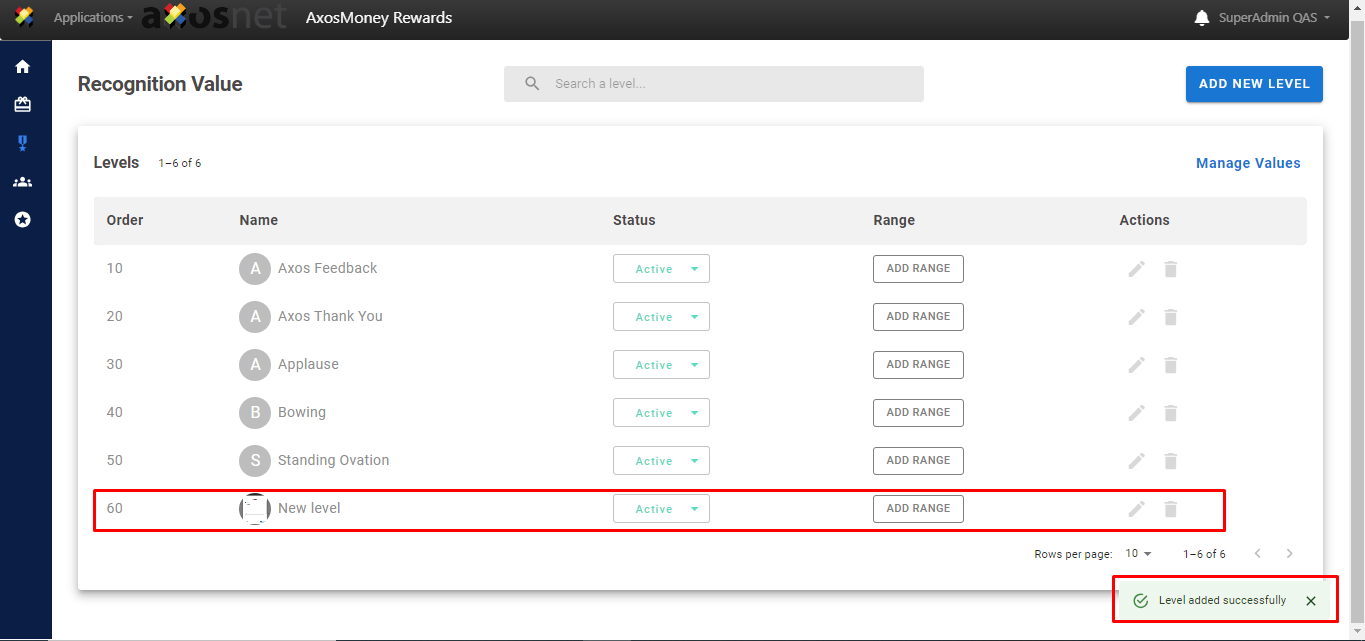
4. A success message appears mentioning that the level has been successfully added and will appear at the end of the list.
Edit Level
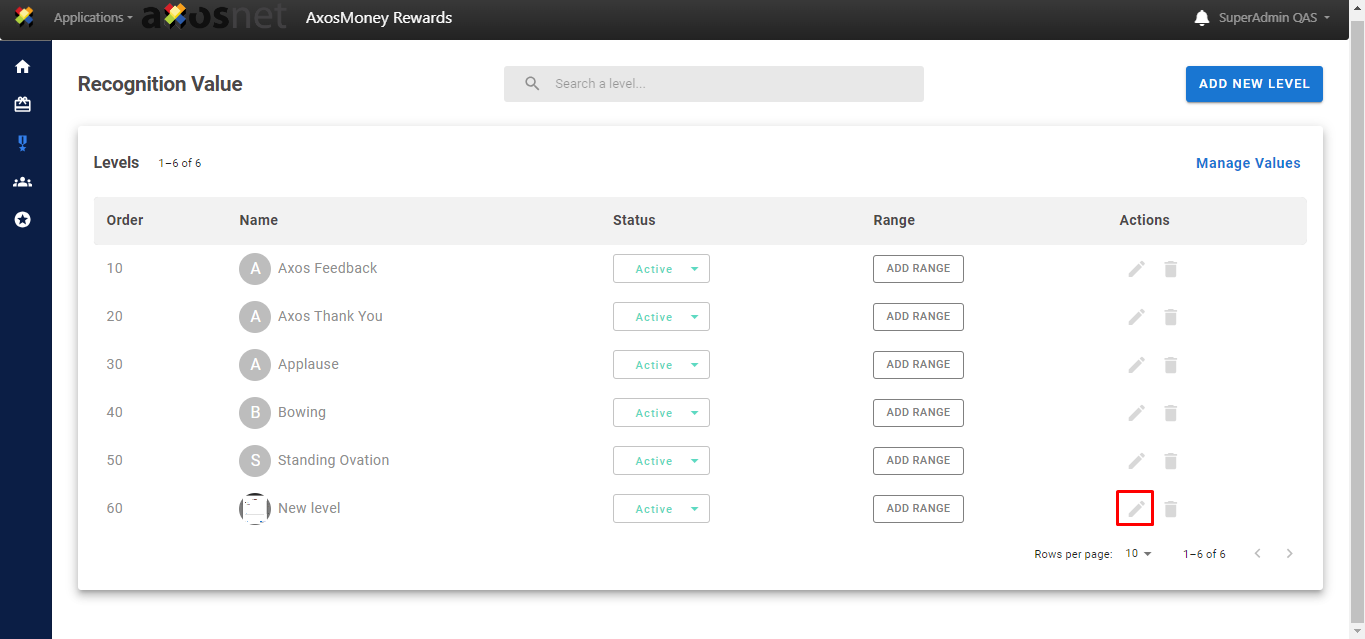
This section will show you how to edit your level data.
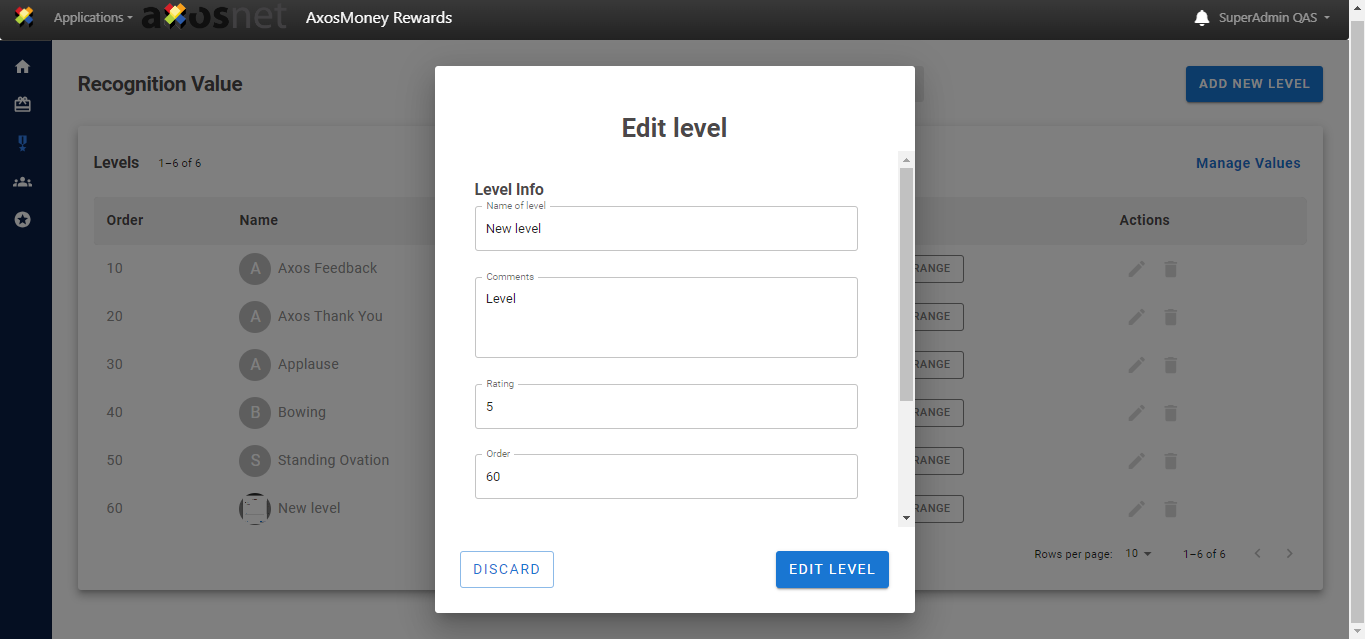
1. First you locate the level to edit and in the “Actions” column you press the pencil icon corresponding to the level.
2. In the pop-up window you modify the desired fields.
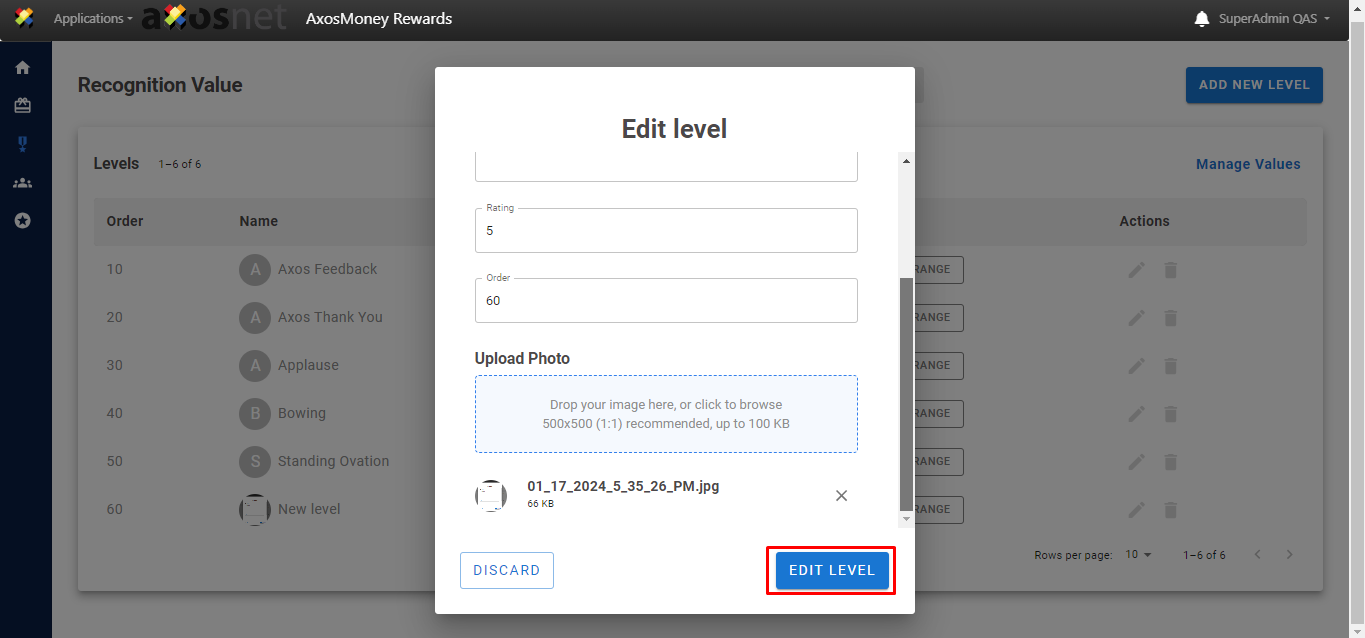
3. Once you have made the desired changes, press the “EDIT LEVEL” button to save the changes. If you do not want to apply the changes, press the “DISCARD” button.
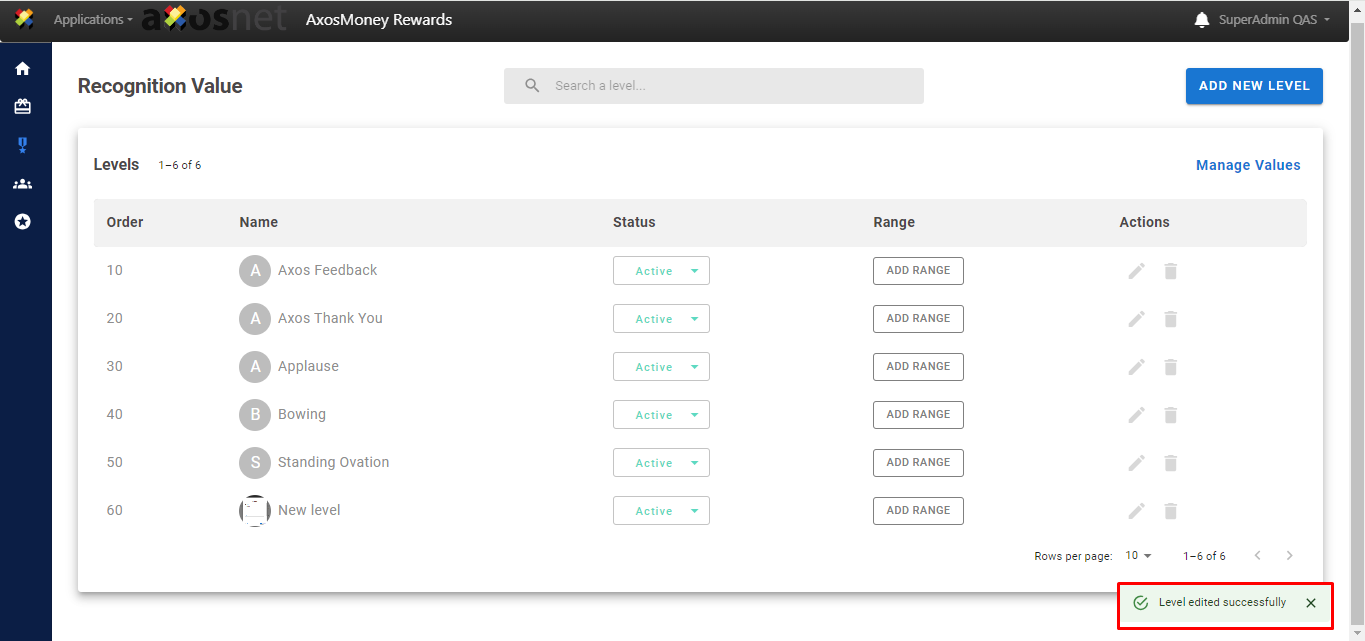
4. And that’s it, a success message appears mentioning that the changes have been applied.
Delete Level
This section will show you how to delete a level from your catalog.
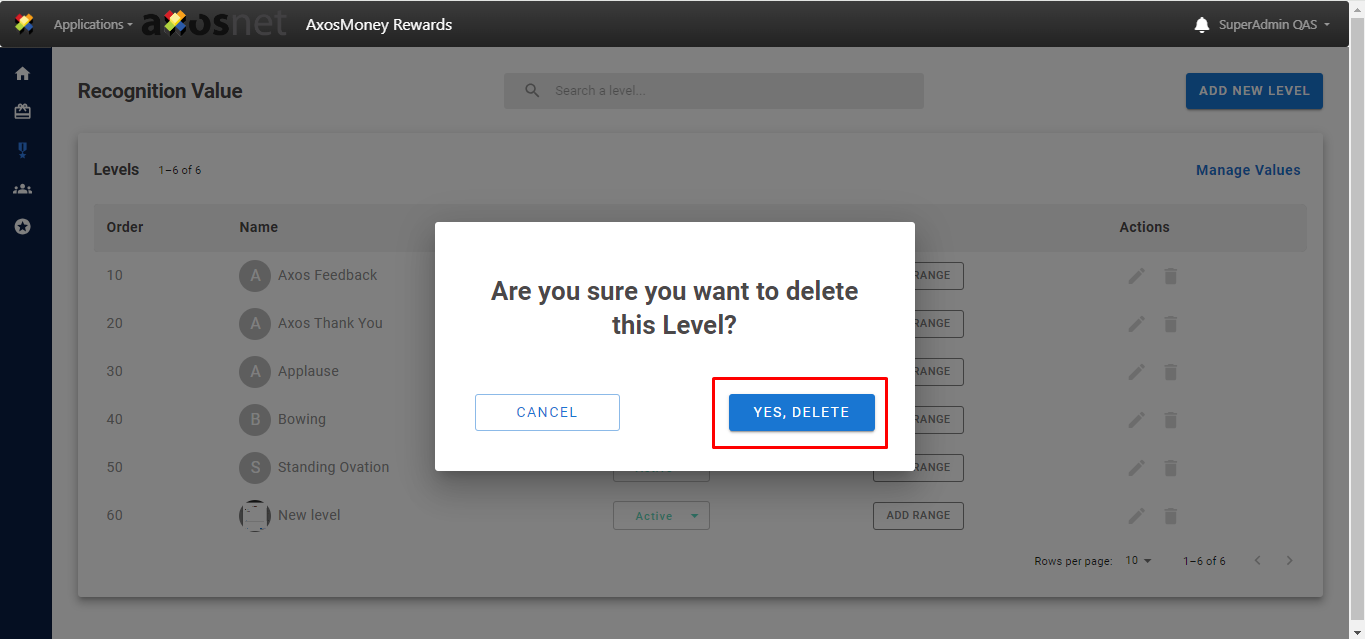
1. First you locate the level to delete and in the “Actions” column you press the trash icon corresponding to the level.

2. In the pop-up window, press the “YES, DELETE” button if you want to delete the level, if you don’t want to, press the “CANCEL” button.
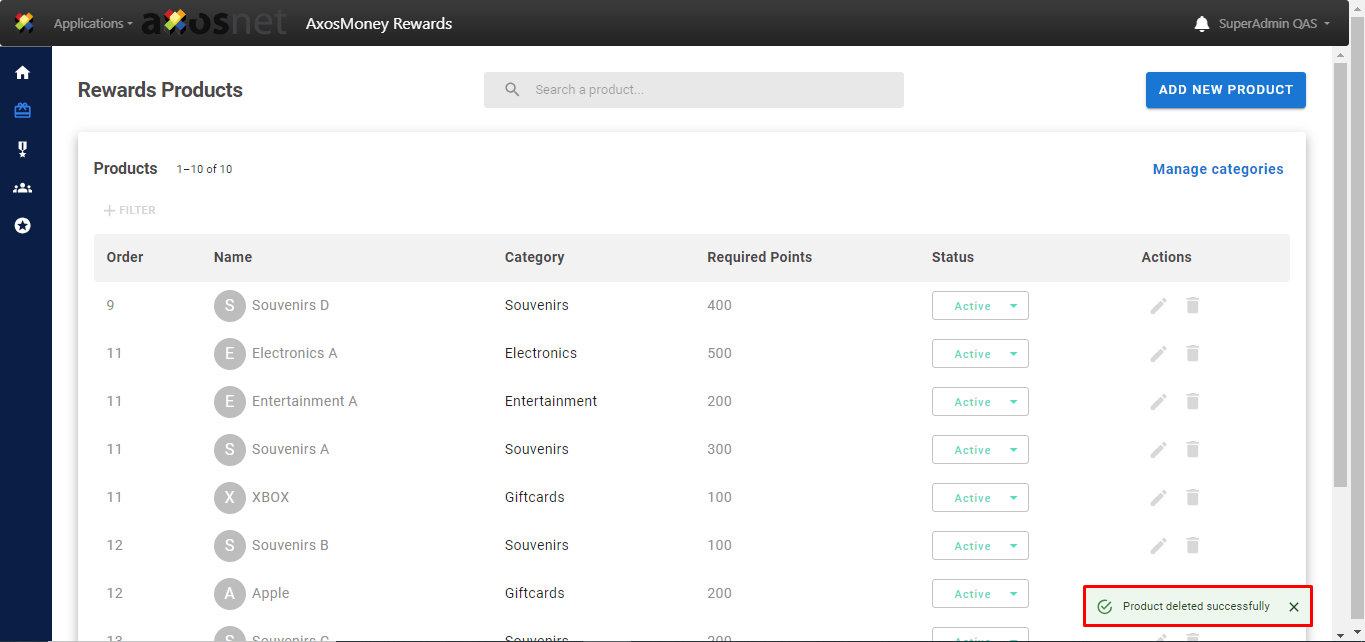
3. And that’s it, a success message appears mentioning that the level has been correctly removed from your catalog.
Status
This section will show how to change the status of the levels between active or disabled so as not to have to delete them.
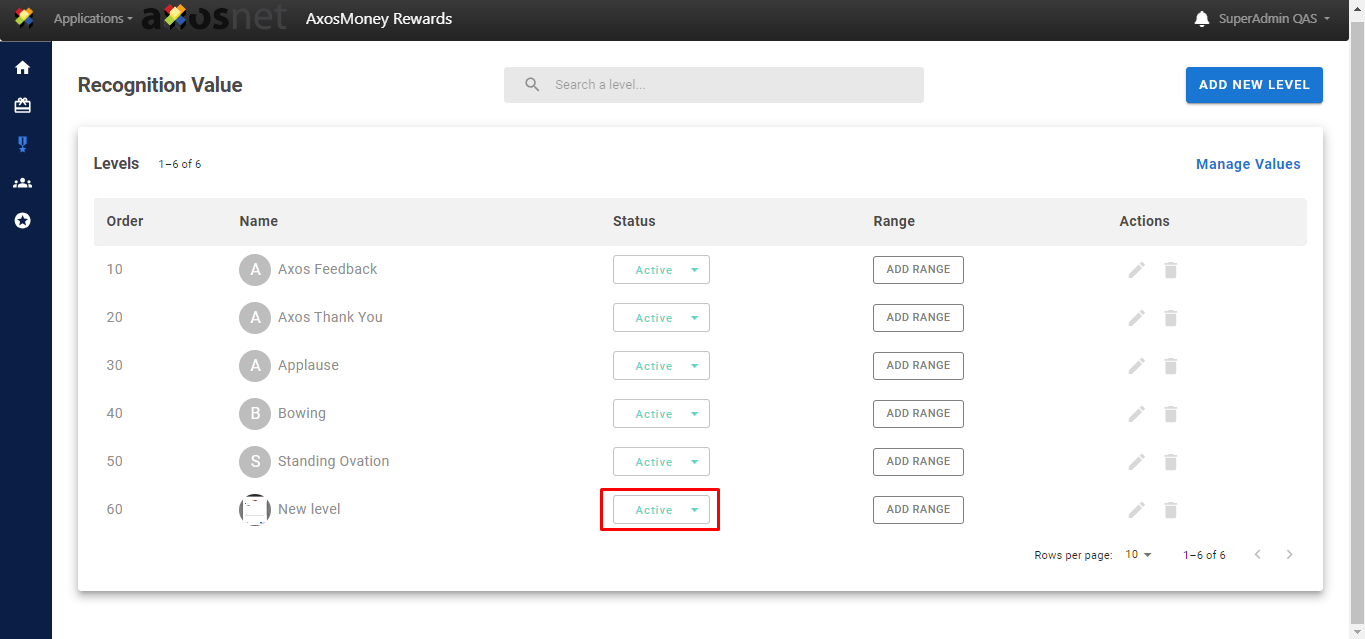
1. Locate the level for which you want to change the status and then in the status column click on the level dropdown list.
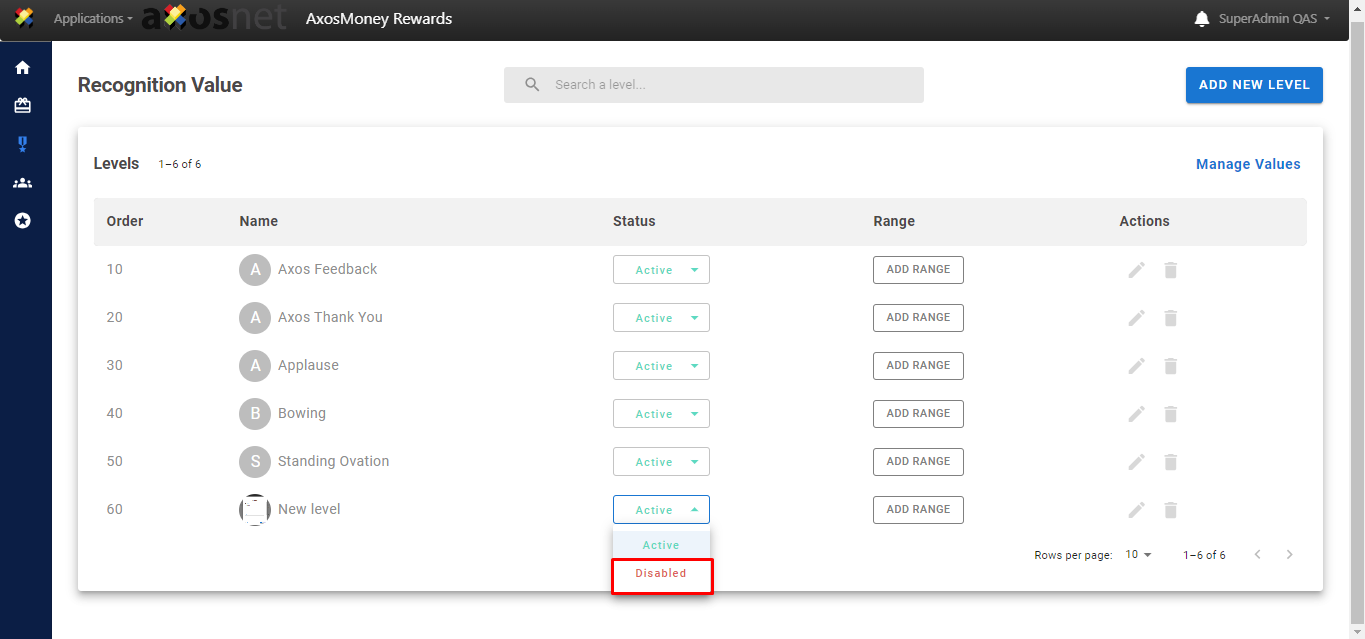
2. Choose the desired status either “Active” or “Disabled”.
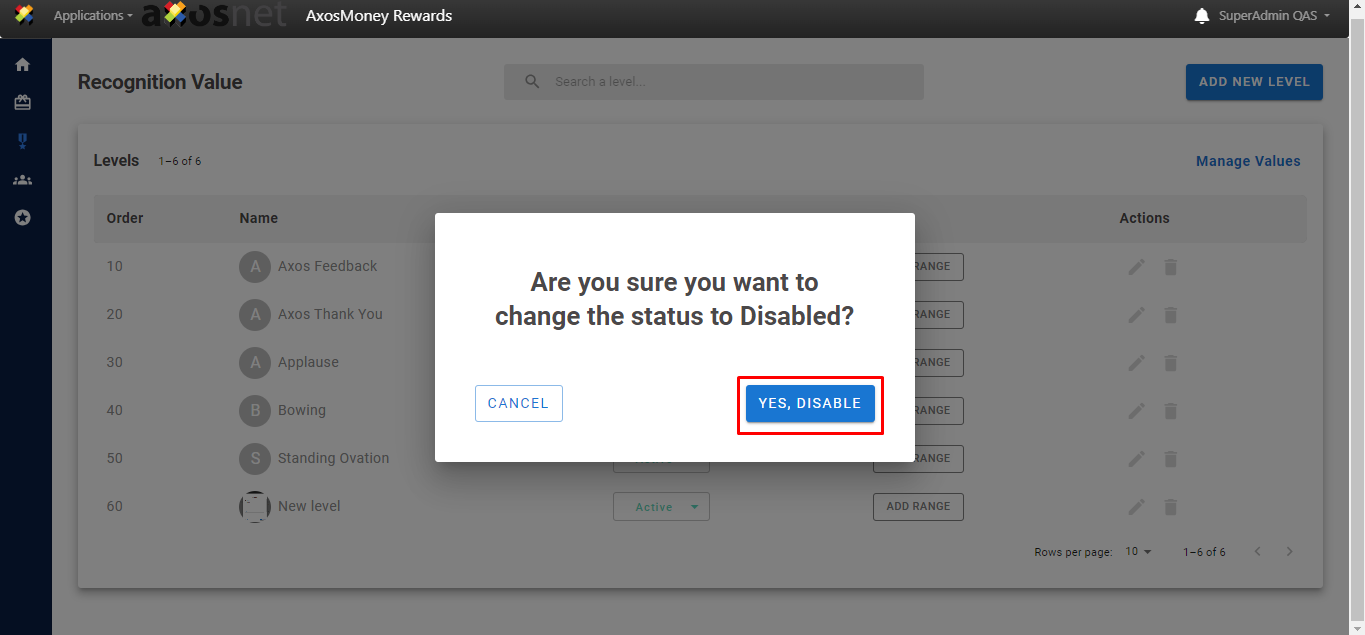
3. A pop-up window will appear asking if you want to continue with the action. In this case we are going to disable the level so we press “YES, DISABLE”, if we do not want to continue we press “CANCEL”.
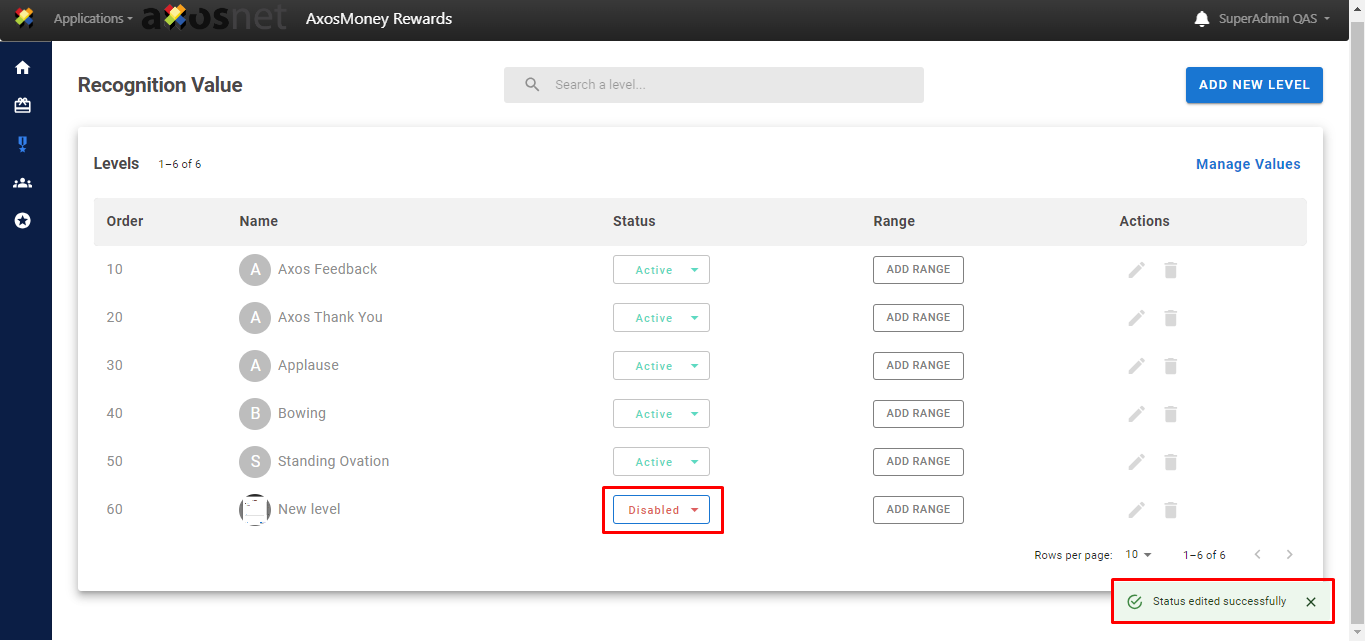
4. And that’s it, a success message appears mentioning that the status has been edited and in the status column of the corresponding level we can see the change made.
Add Range
This section will show you how to add point ranges to your levels.
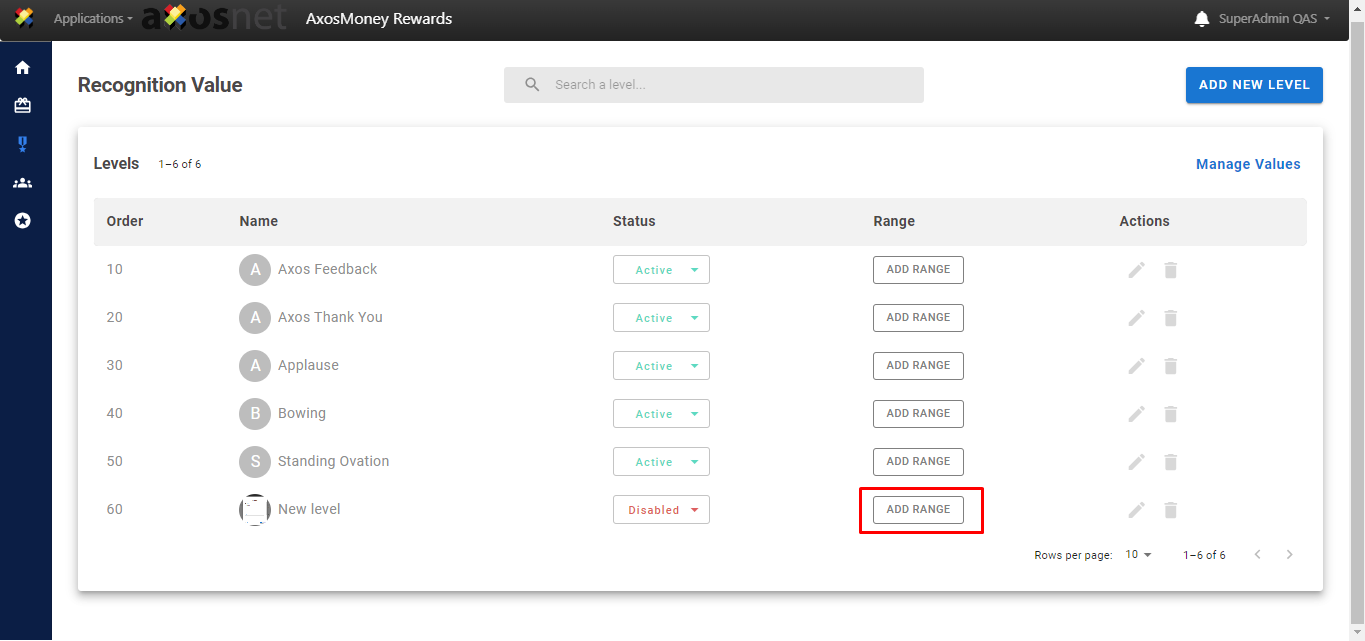
1. Click on the “ADD RANGE” button in the “Range” column of the desired level.
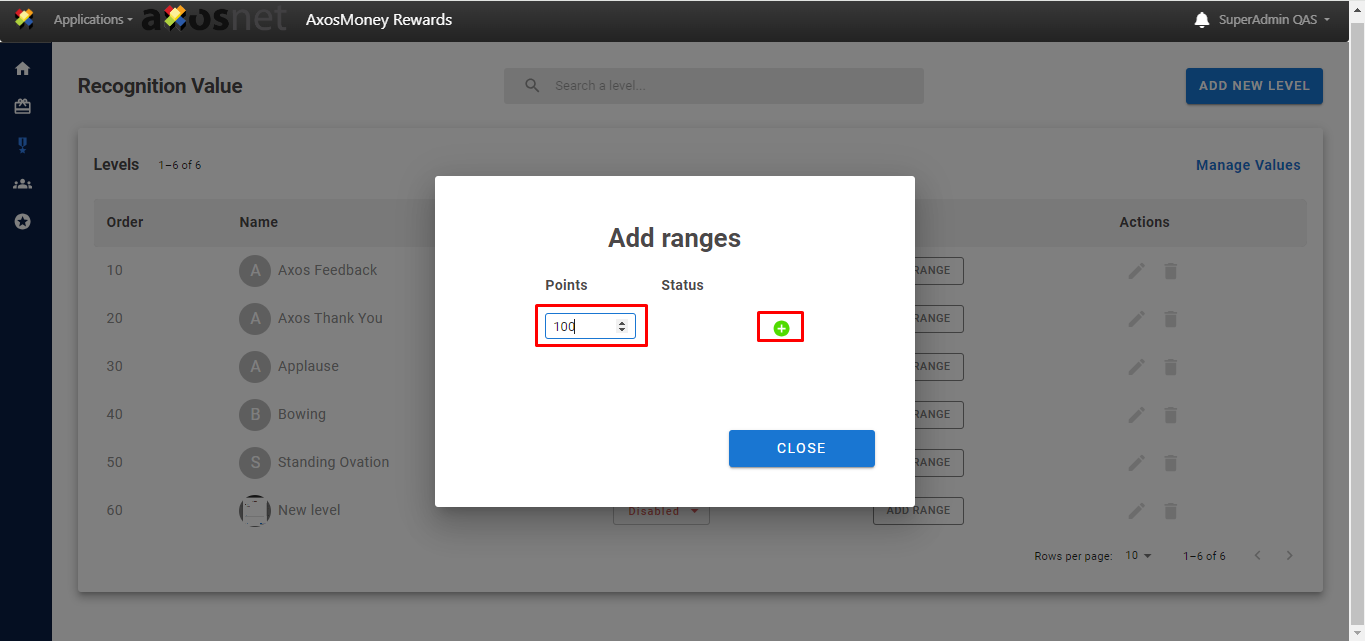
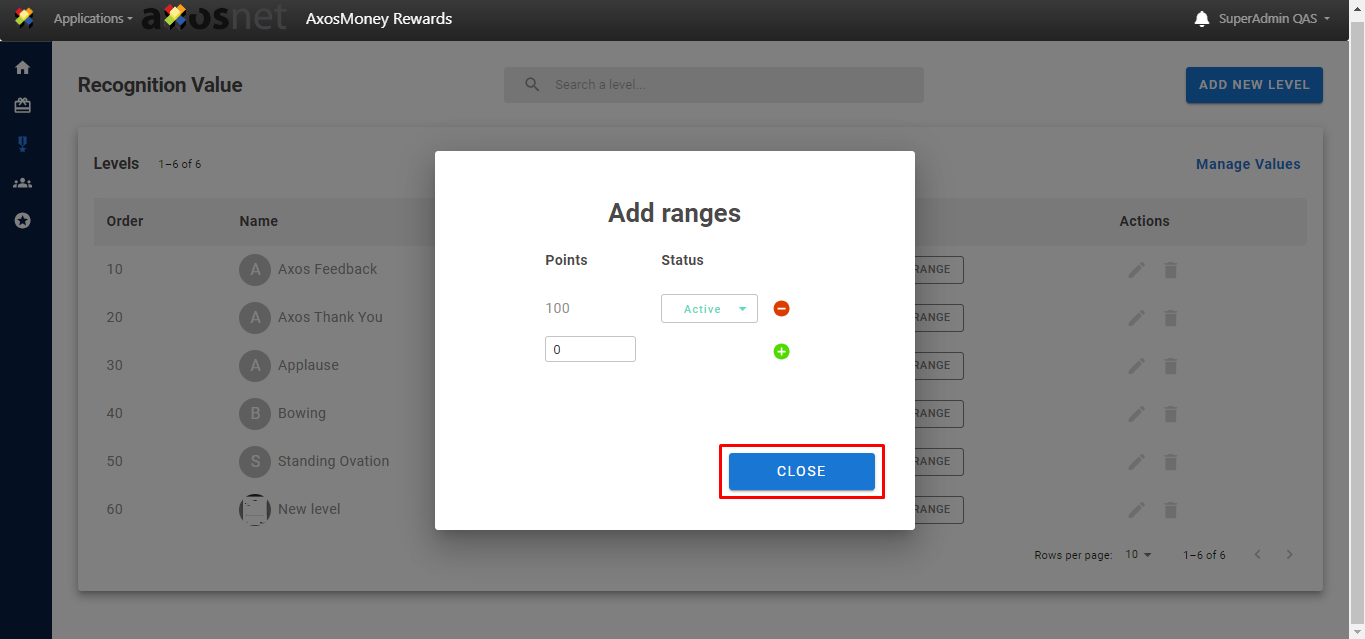
2. In the pop-up window you can add ranges by first adding the points in the “Points” field, you can directly type the number or you can use the arrows, to add the range press the green plus symbol after adding the points.
Note: You can add up to 5 ranks but with a different amount of points
3. When the rank is added you can change its status by clicking on the drop-down list in the “Status” column. You can also completely delete the rank by pressing the red minus symbol.
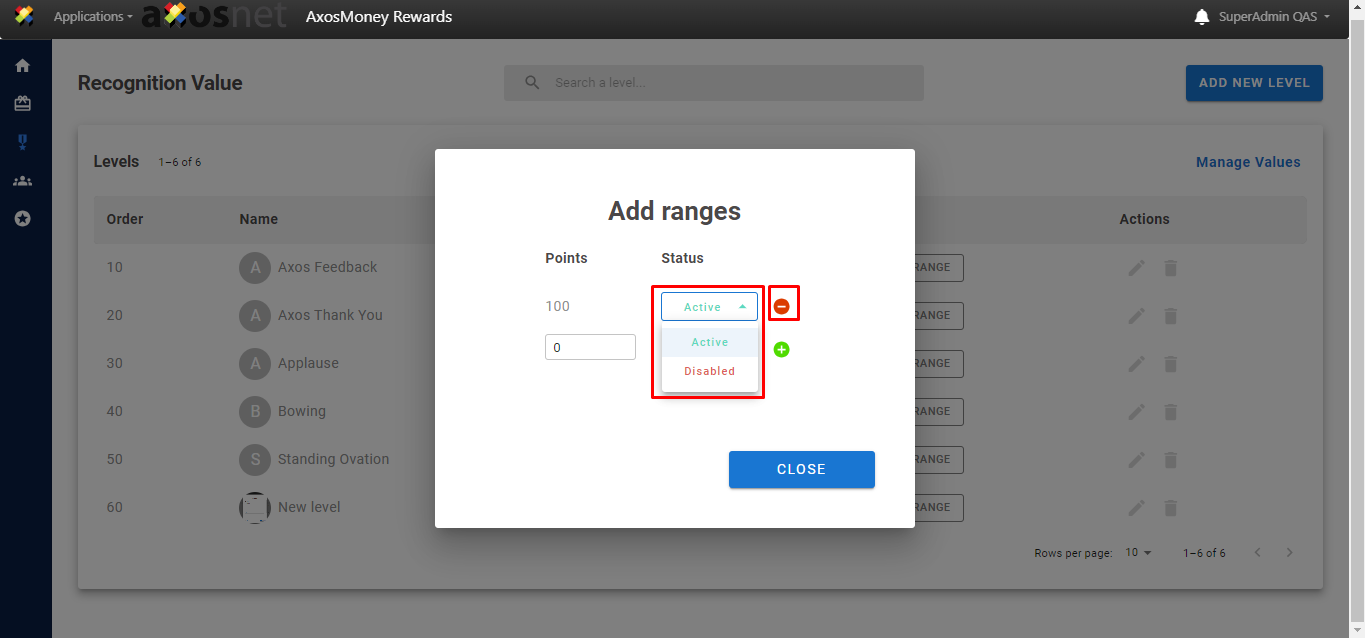
4. Once you have finished managing your ranges you can exit the window by pressing the “CLOSE” button.
Search Level
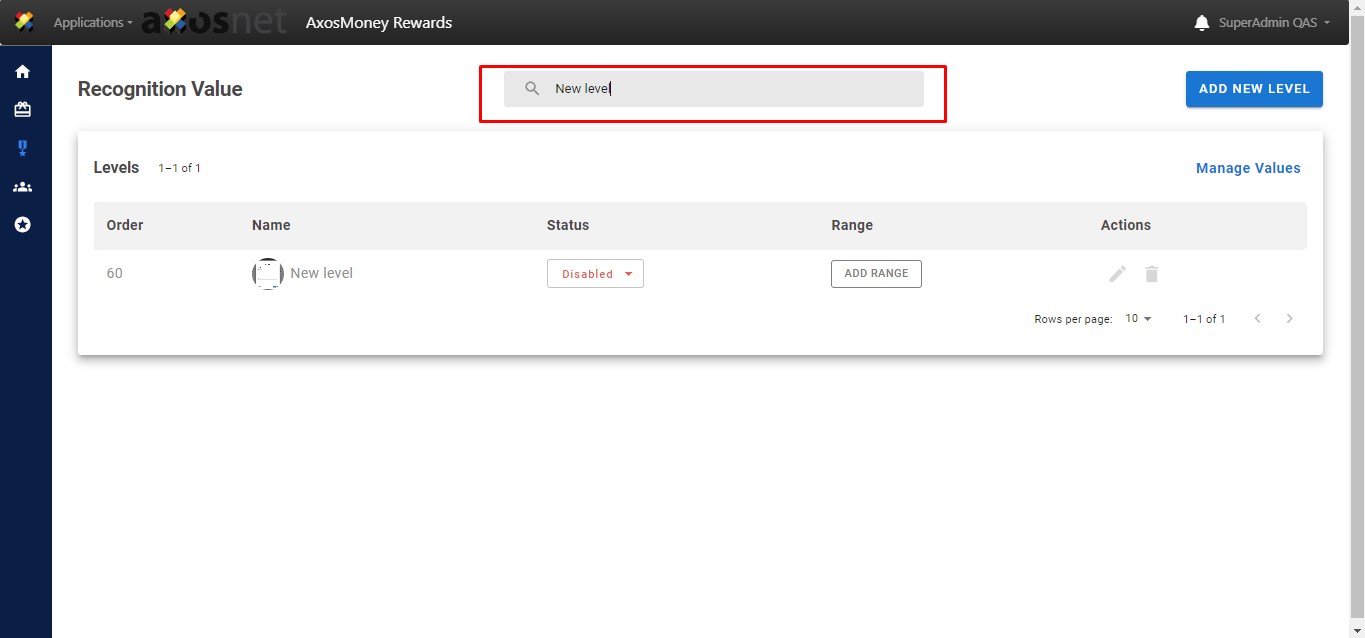
This section will show how to search for levels using the search bar.
1. Click on the search bar and type the name of the level you want to search for and press enter.
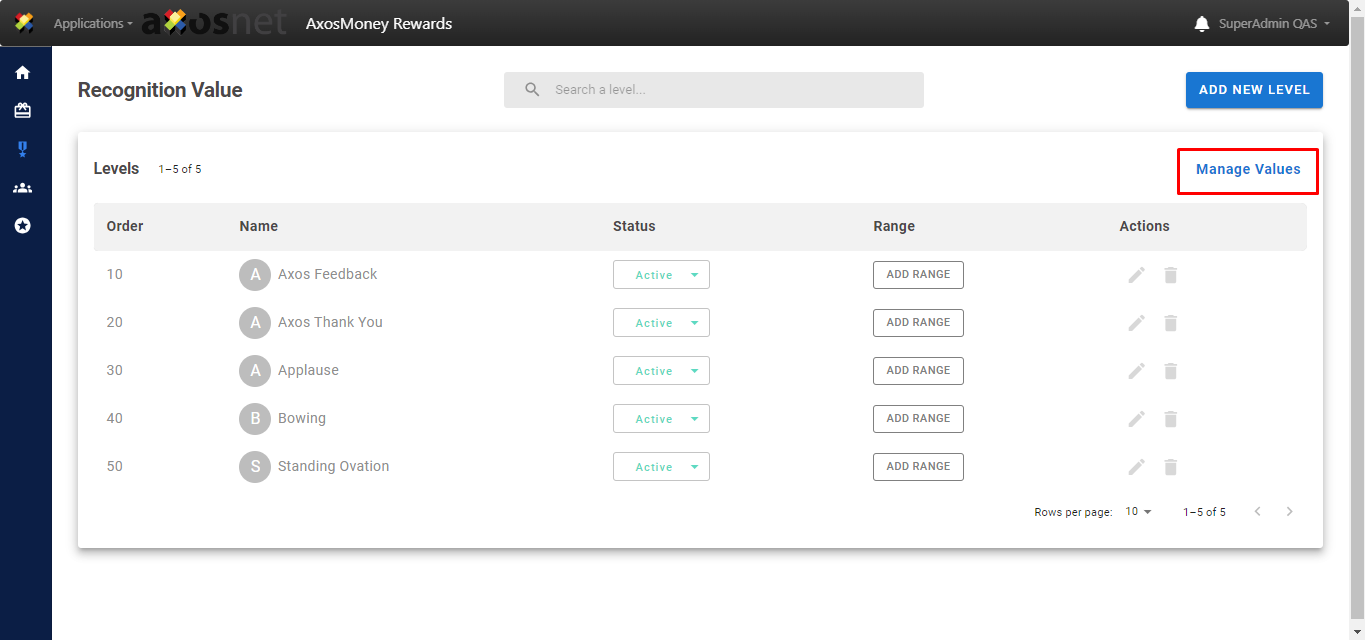
Manage Values
To manage your values, click on the “Manage values” button.
Add New Value
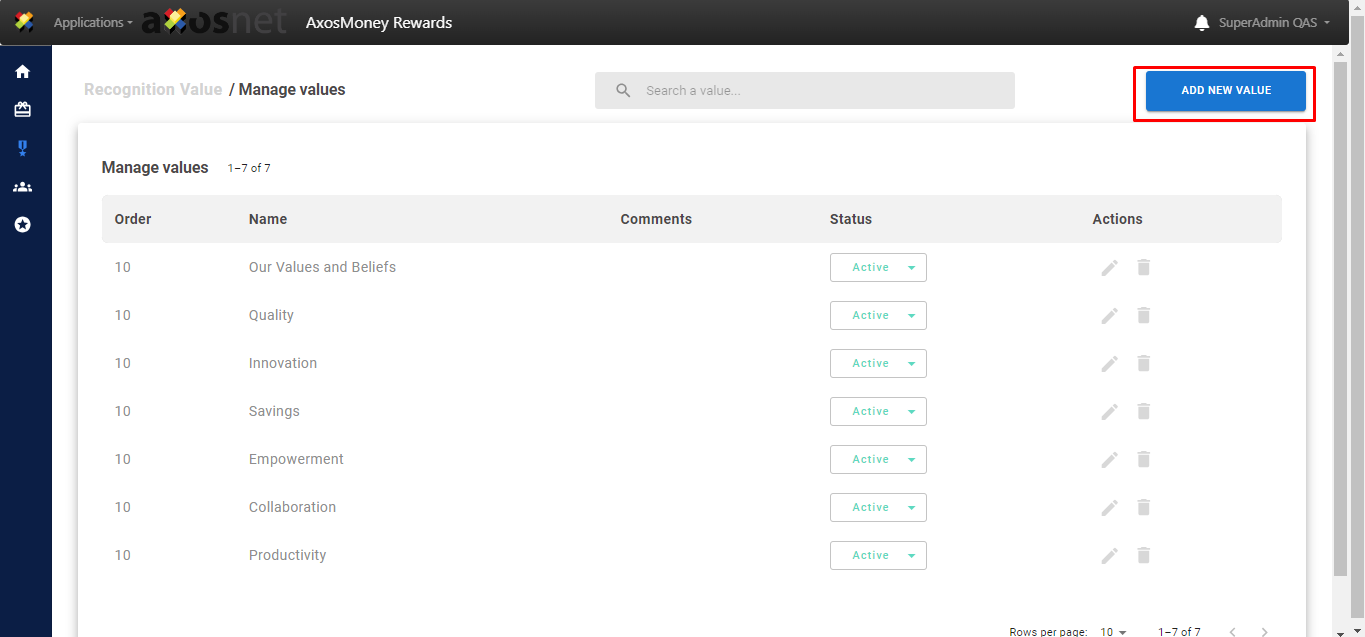
This section will show how to add a value.
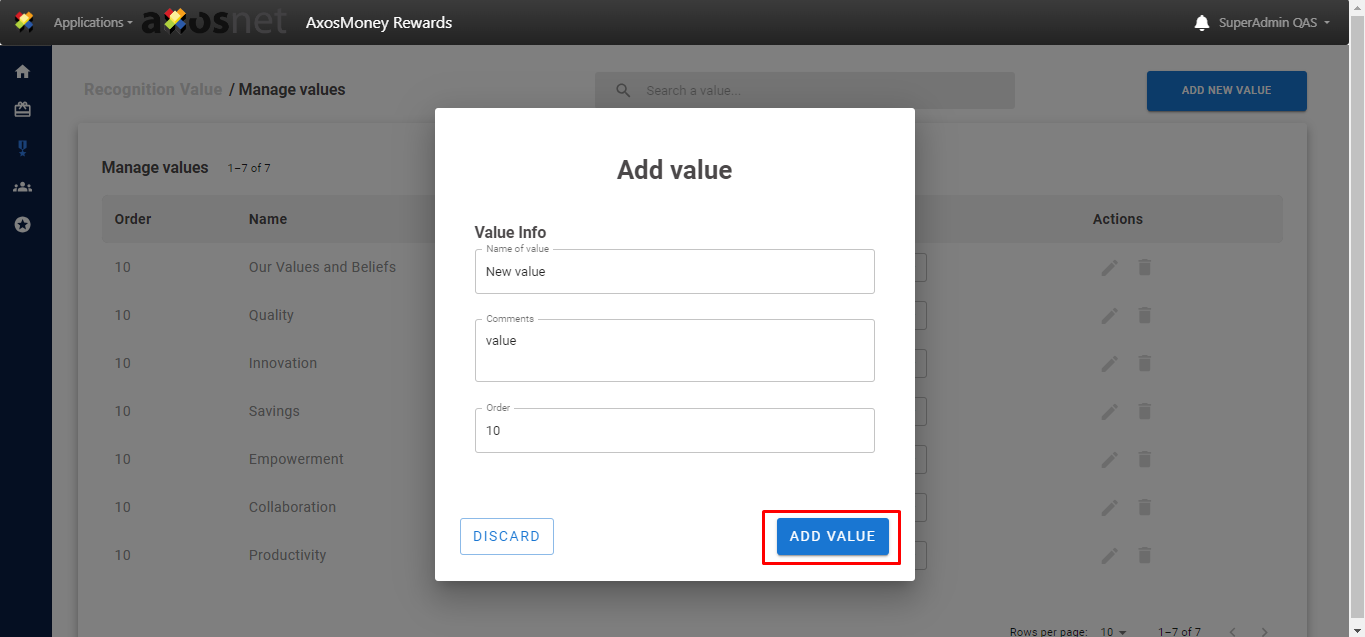
1. Click on the “ADD NEW VALUE” button.
2. In the pop-up window, fill out the requested fields and press the “ADD VALUE” button if you want to save the value if you do not press “DISCARD”, it is mandatory that the value has a name.
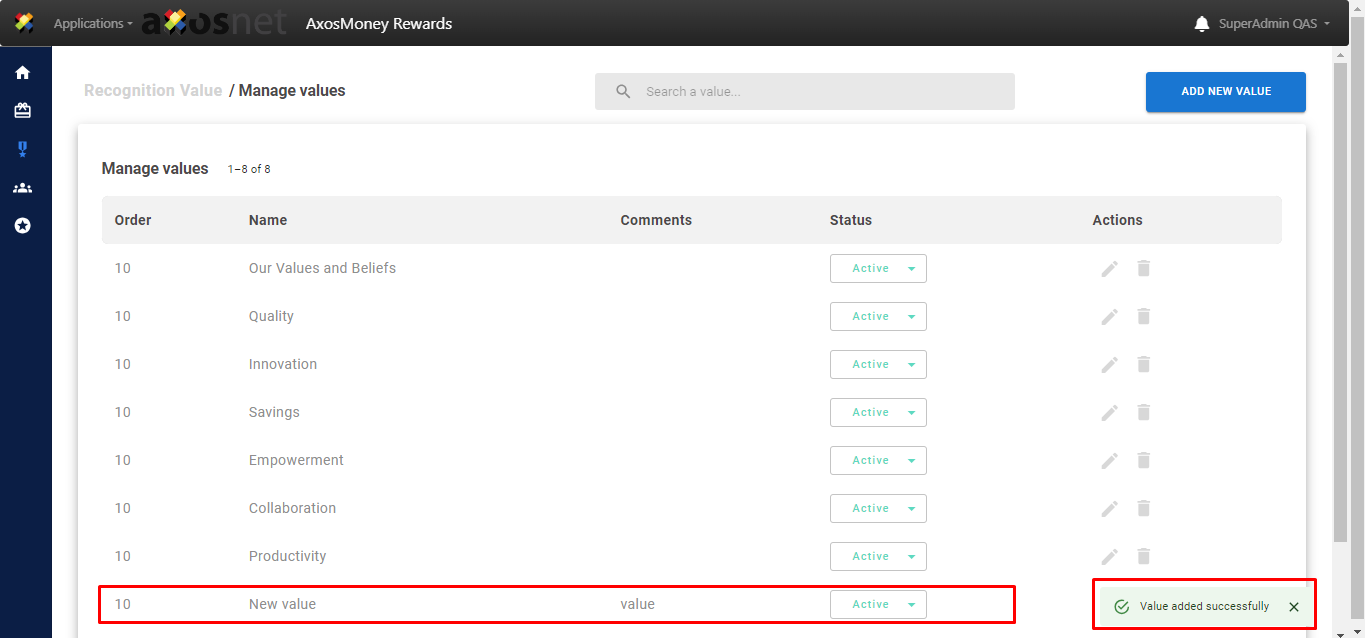
3. A success message appears mentioning that the value was successfully added and you can see it at the bottom of the list.
Edit Value
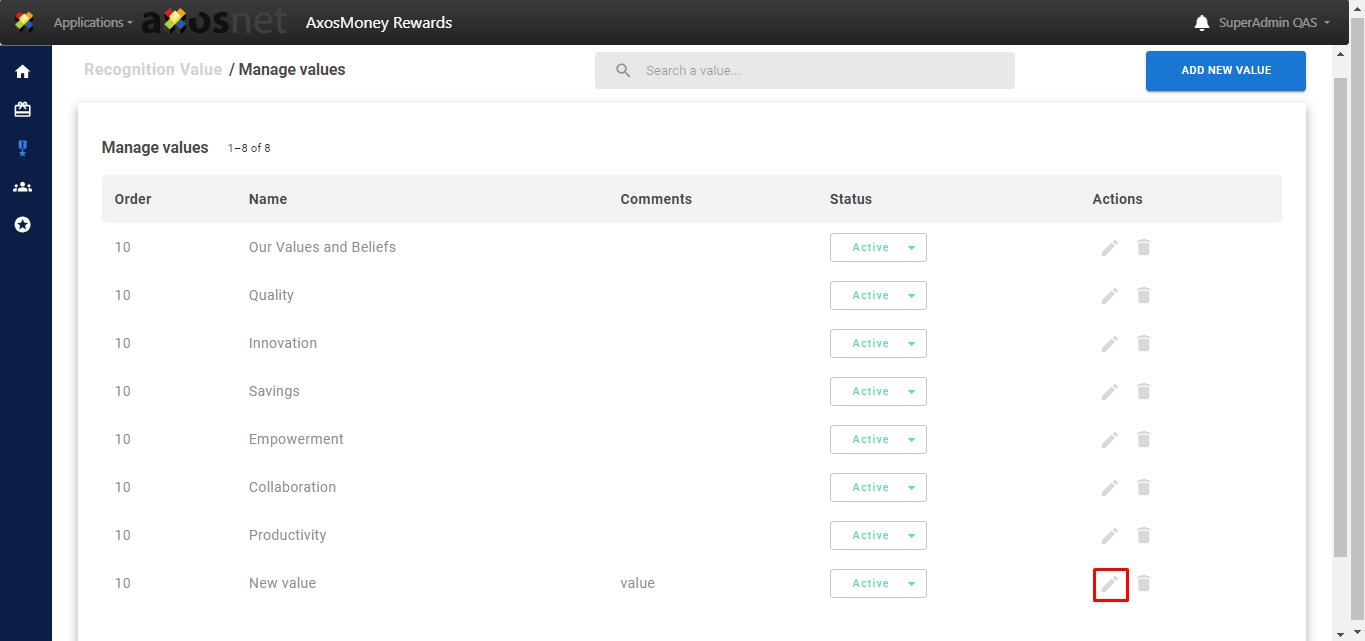
This section will show how to edit a previously added value.
1. Click on the pencil icon located in the “Actions” column.
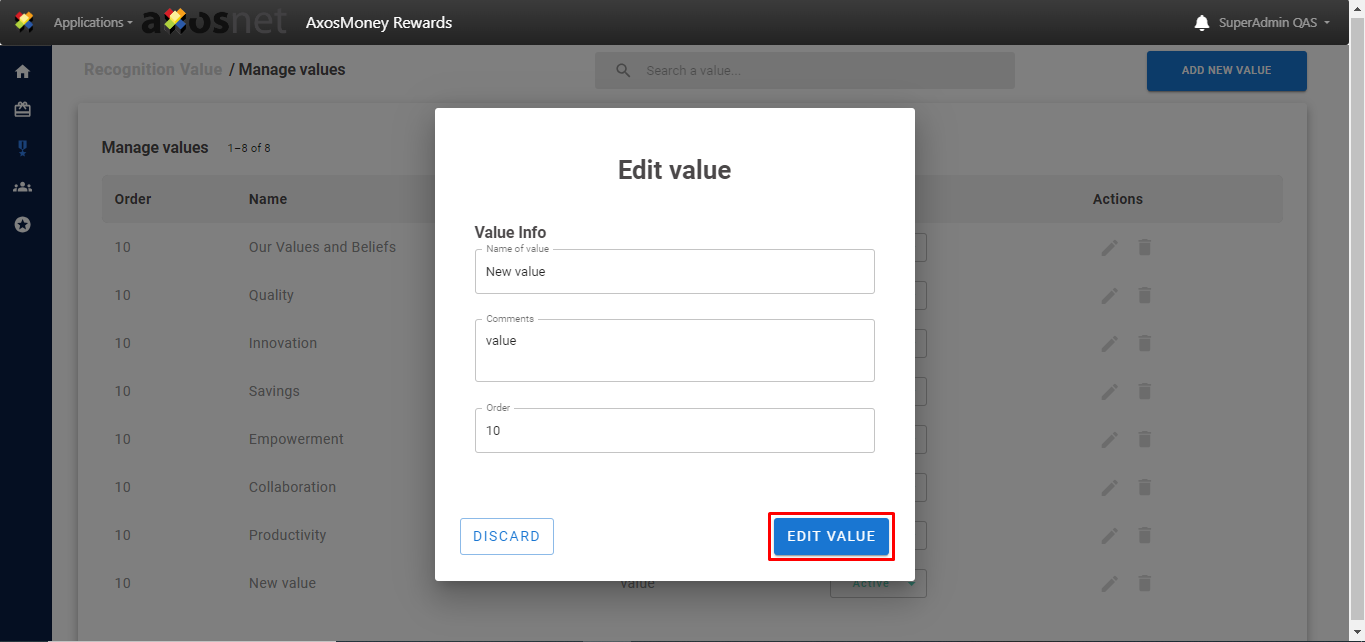
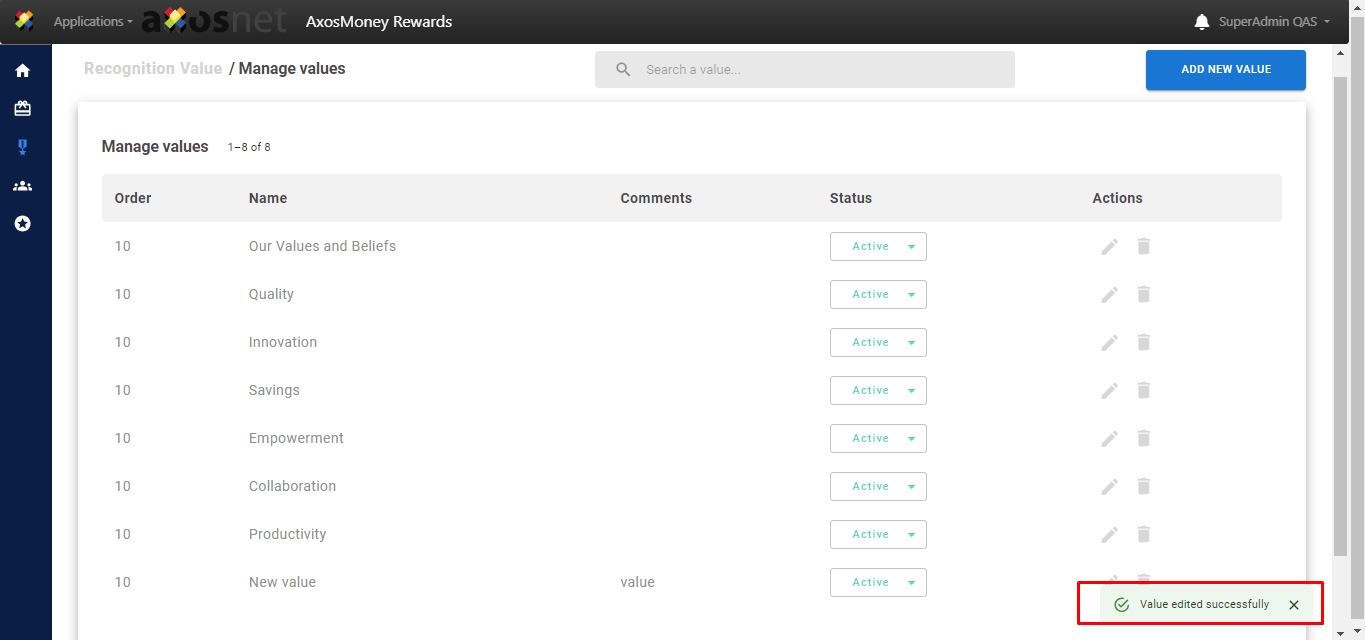
2. In the pop-up window, edit the desired fields and press the “EDIT VALUE” button if you want to save the changes if you do not press “DISCARD”.
3. And that’s it, a success message appears mentioning that the changes have been applied.
Delete Value
This section will show you how to delete a value from your catalog.
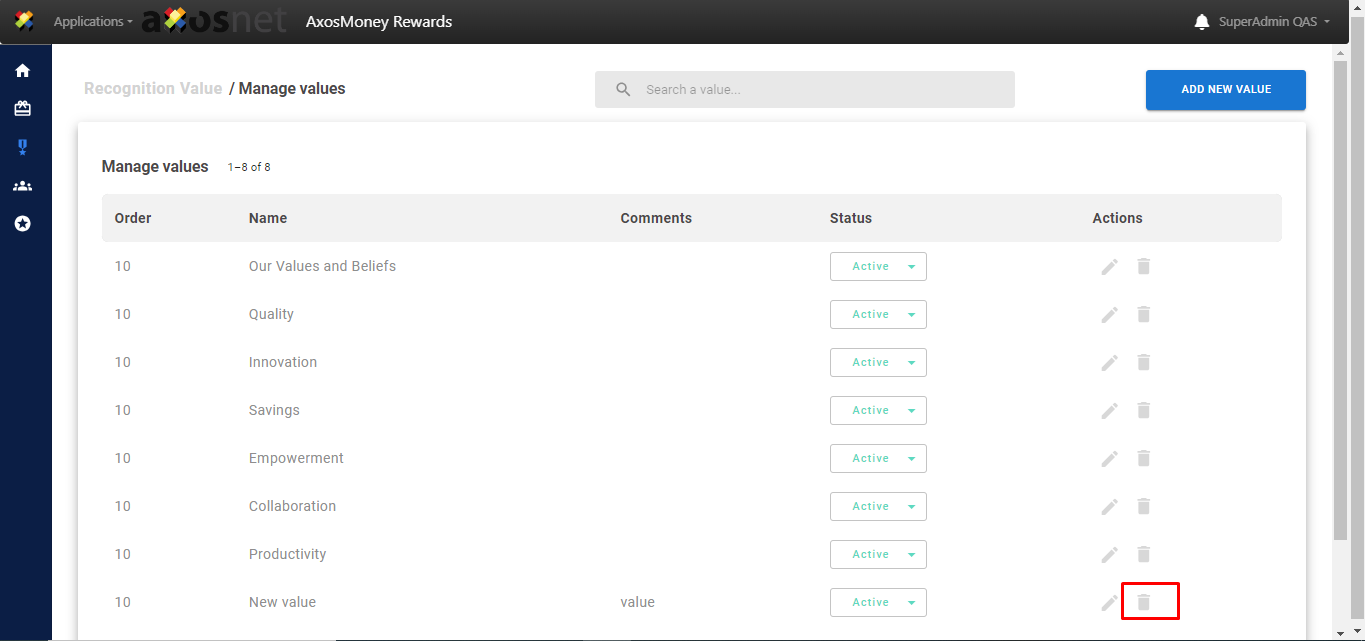
1. First you locate the value to delete and in the “Actions” column you press the trash icon corresponding to the value.
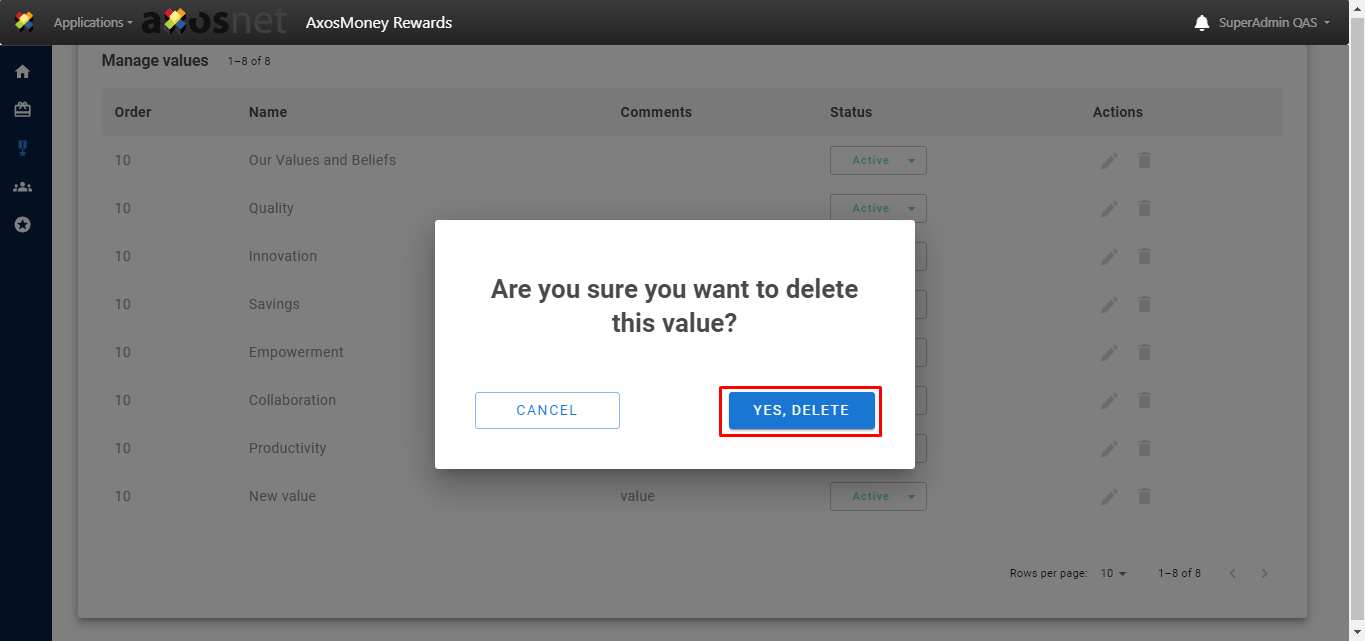
2. In the pop-up window, press the “YES, DELETE” button if you want to delete the value, if you don’t want to, press the “CANCEL” button.
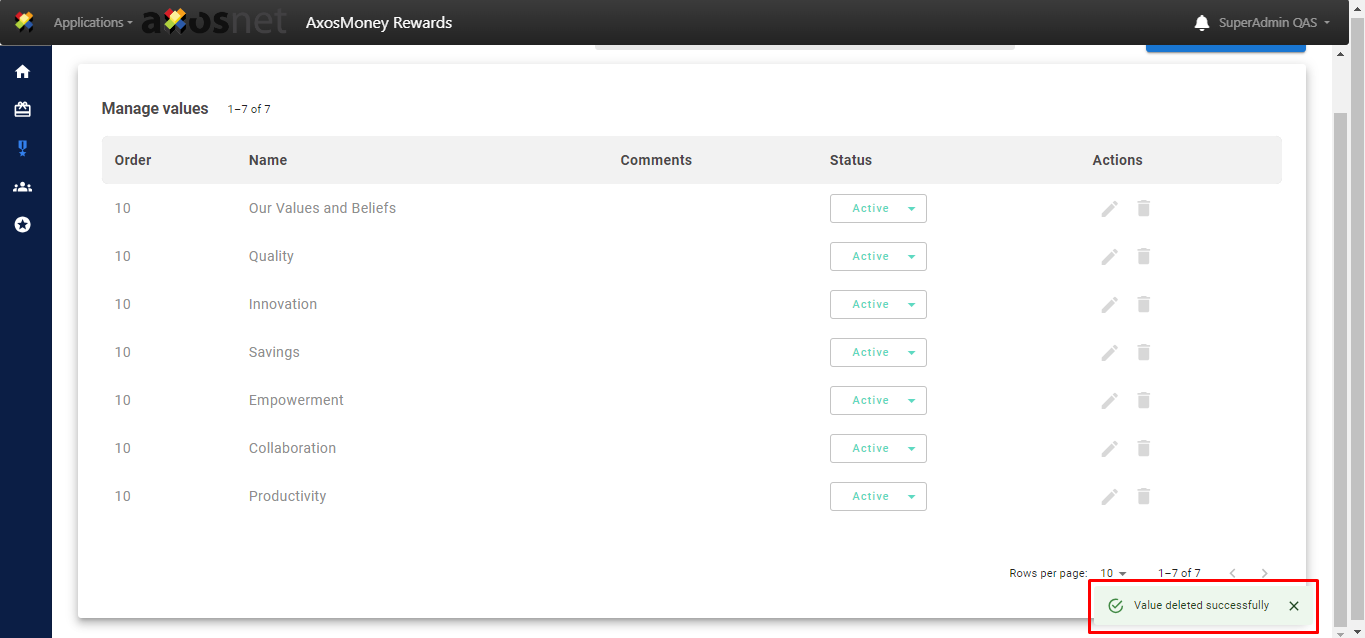
3. And that’s it, a success message appears mentioning that the value has been correctly removed from your catalog.
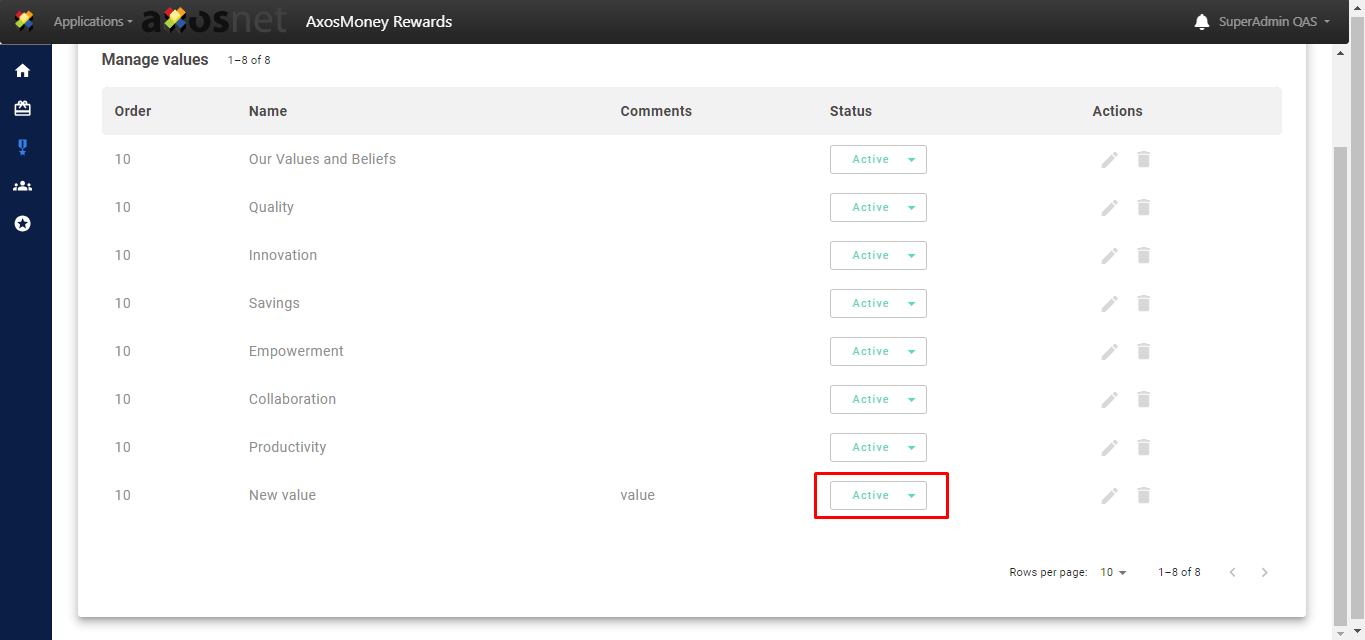
Status
This section will show how to change the status of the Value between active or disabled so as not to have to delete them.
1. Locate the value for which you want to change the status and then in the status column click on the value dropdown list.
2. Choose the desired status either “Active” or “Disabled”.
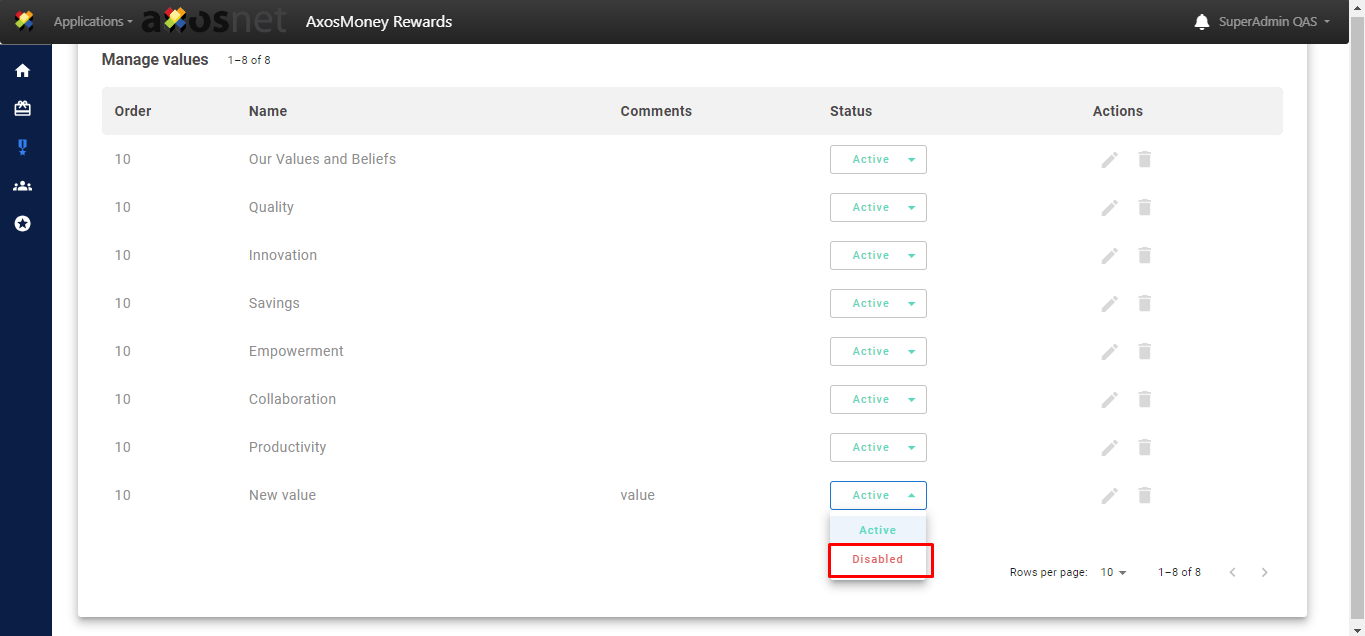
3. A pop-up window will appear asking if you want to continue with the action. In this case we are going to disable the value so press “YES, DISABLE”, if we do not want to continue press “CANCEL”.

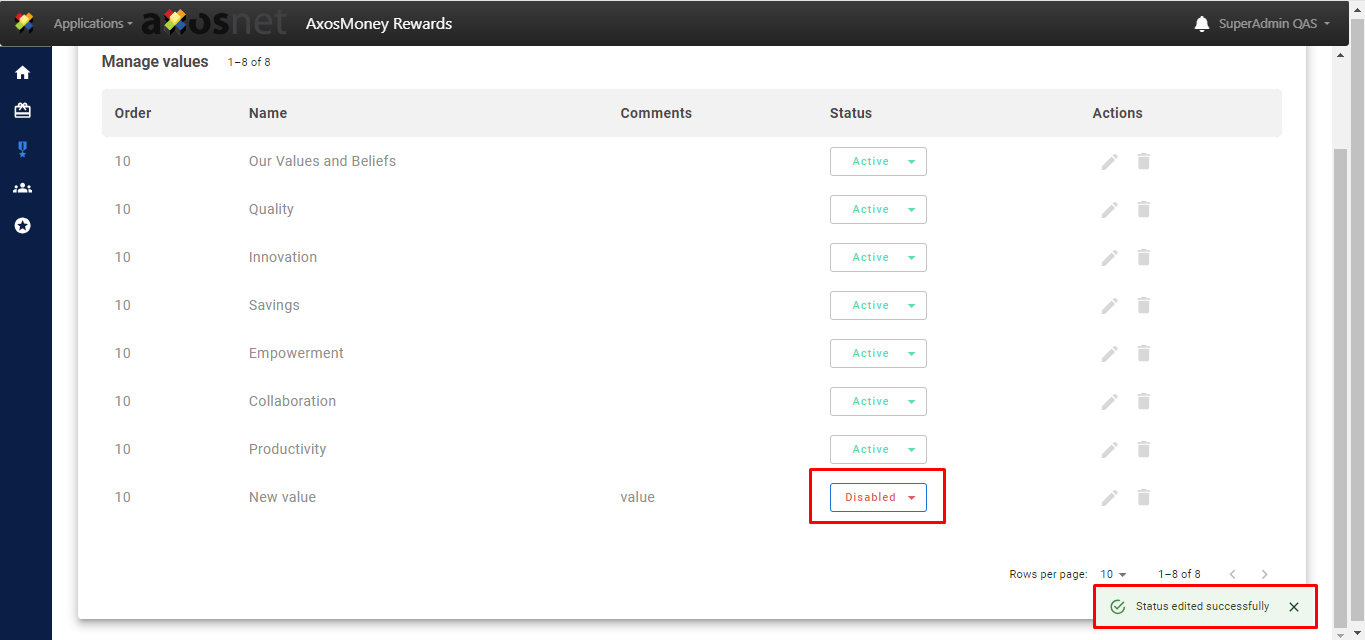
4. And that’s it, a success message appears mentioning that the status has been edited and in the status column of the corresponding value we can see the change made.
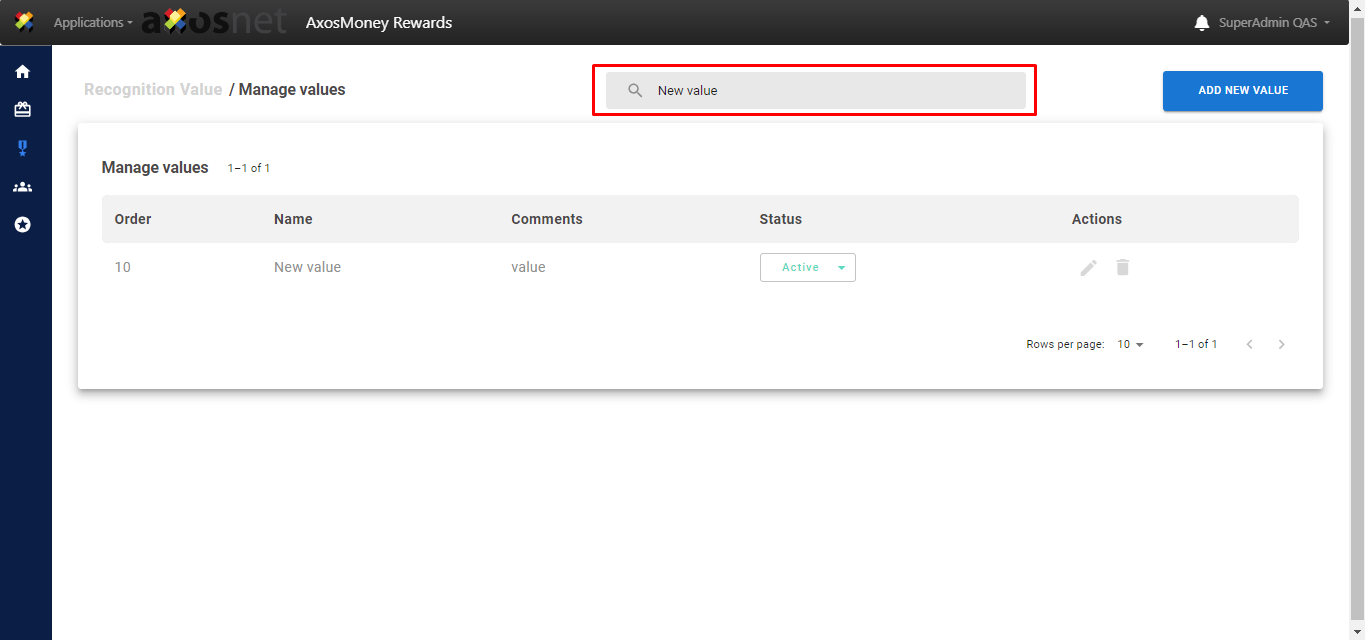
Search Value
This section will show how to search for values using the search bar.
1. Click on the search bar and type the name of the value you want to search for and press enter.