This section describes the functions performed in the Valid Receipts tab. A receipt will be considered valid if the photo is clear and legible enough to extract data from it. It must also contain information in the fields of Date, Amount, Currency Type, and Vendor Name.
Unlike expenses, it is not possible to submit receipts through the AxosMoney web application. The “Create Receipt” function is only available on AxosMoney for iOS and Android. Before adding a receipt to a report, it must be validated and classified. The validation process begins automatically after uploading the receipt photo in the AxosMoney mobile app. You can then classify it as explained below.
Classifying a Receipt
Once the expenses are validated, AxosMoney suggests an expense type. However, the user can reclassify it later if desired. To classify or change the classification of an expense in AxosMoney Web, follow these steps:
1.Navigate to the “Expenses” option in the main menu. The “?” icon will appear when an expense is unclassified.
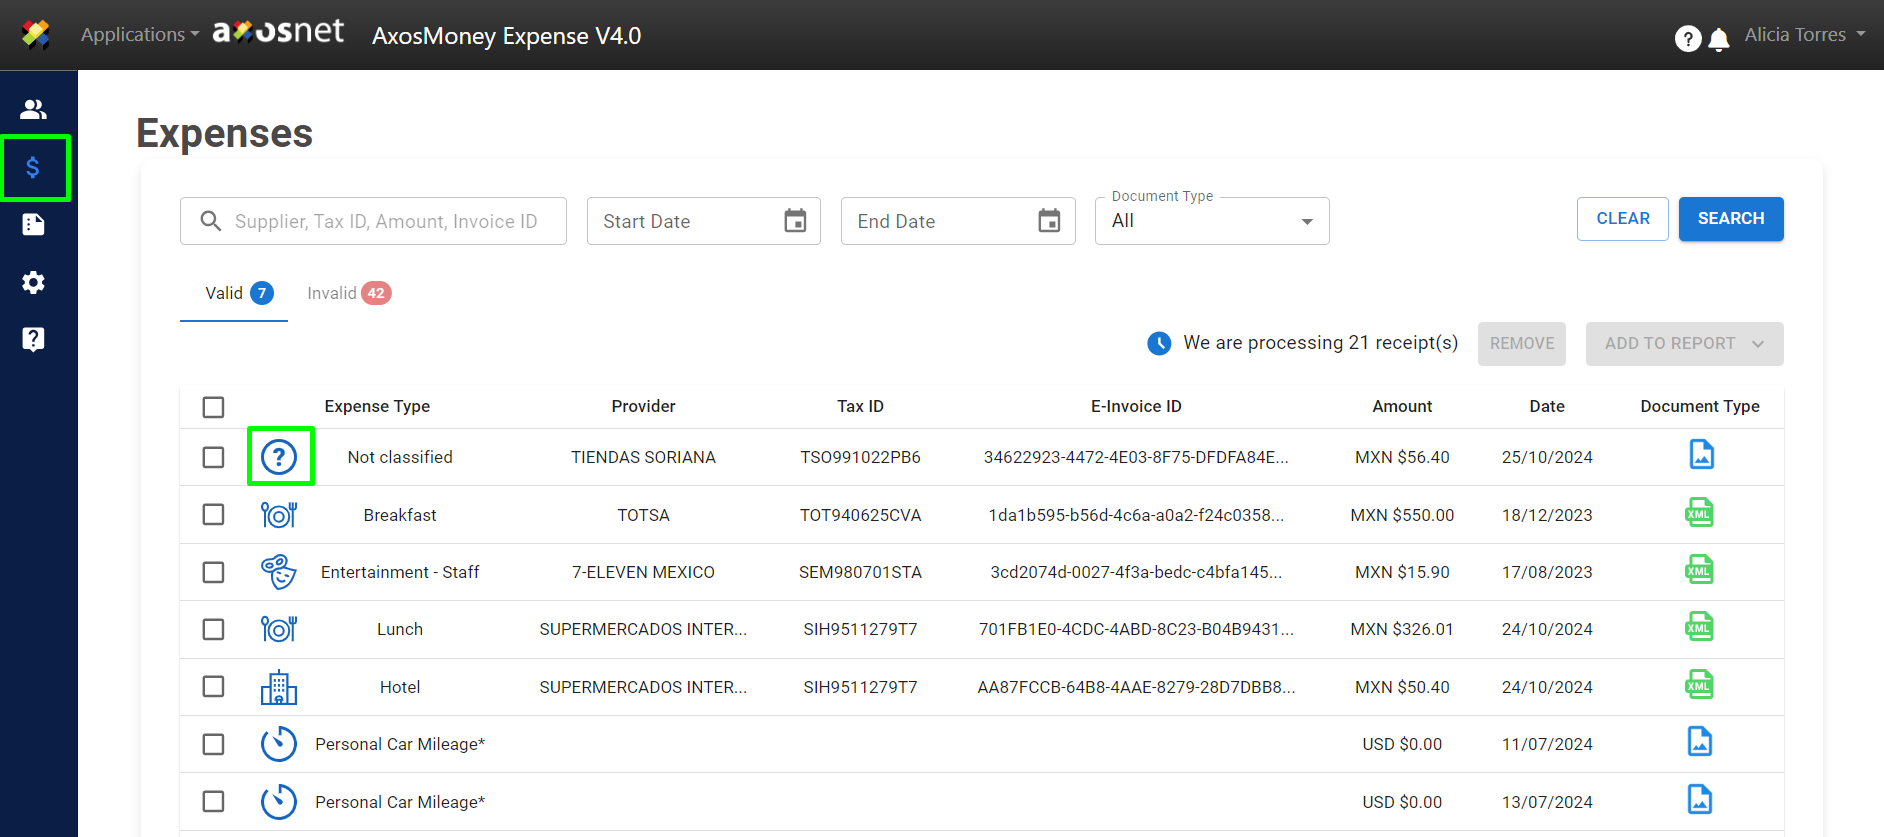
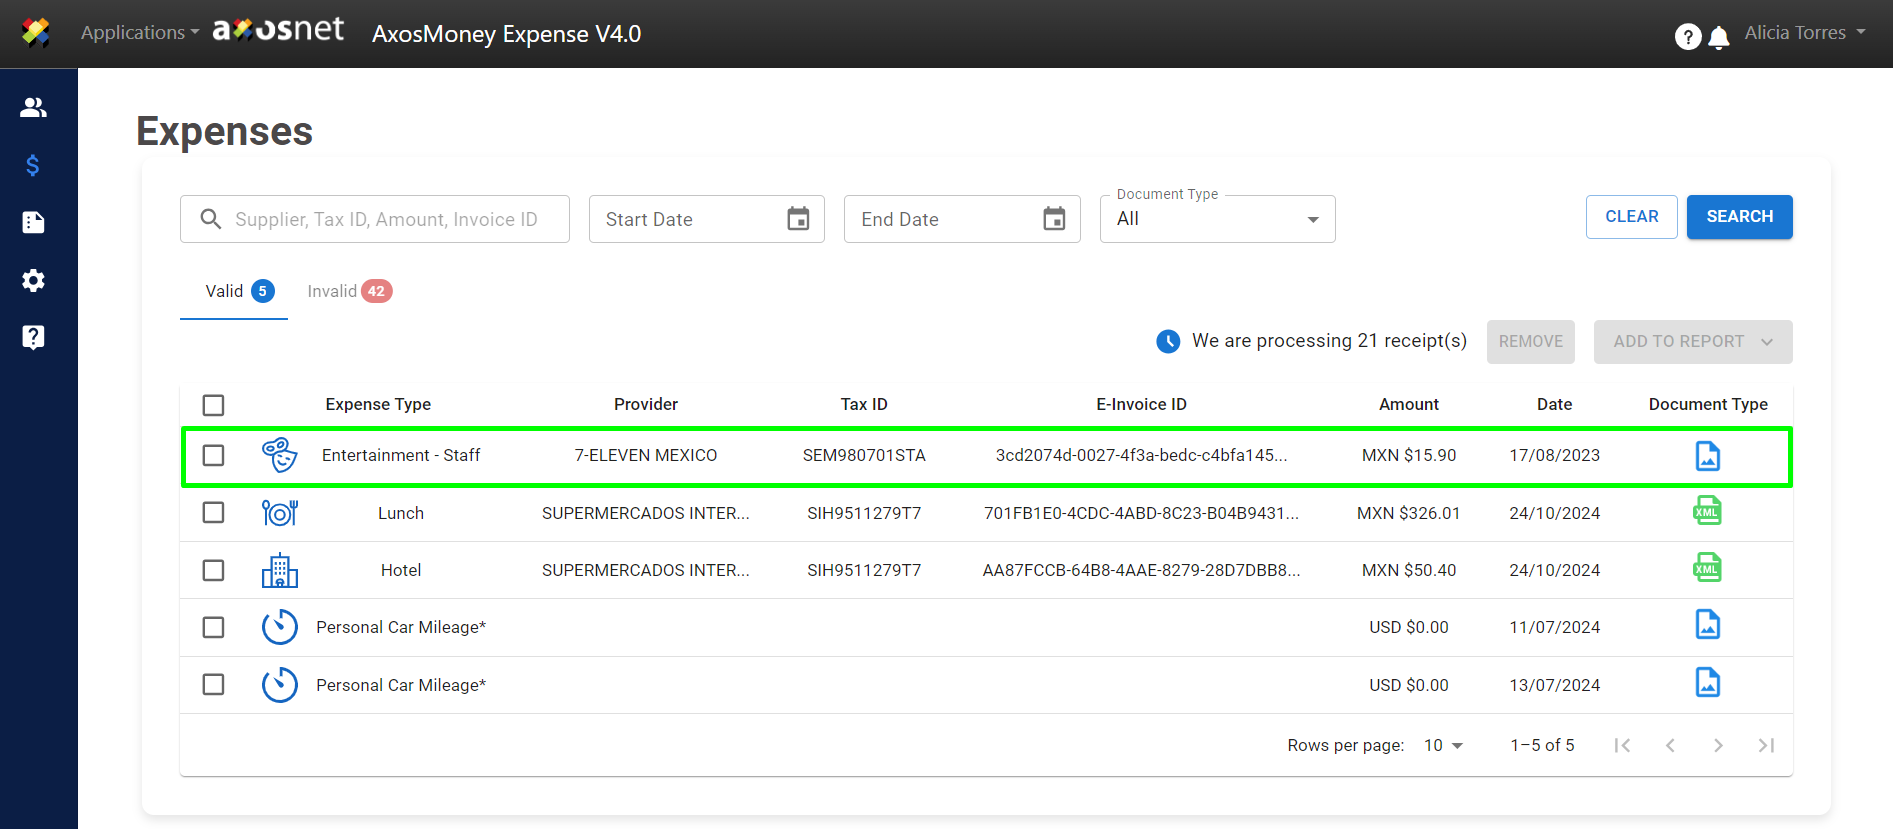
2. Click on the receipt you wish to classify.

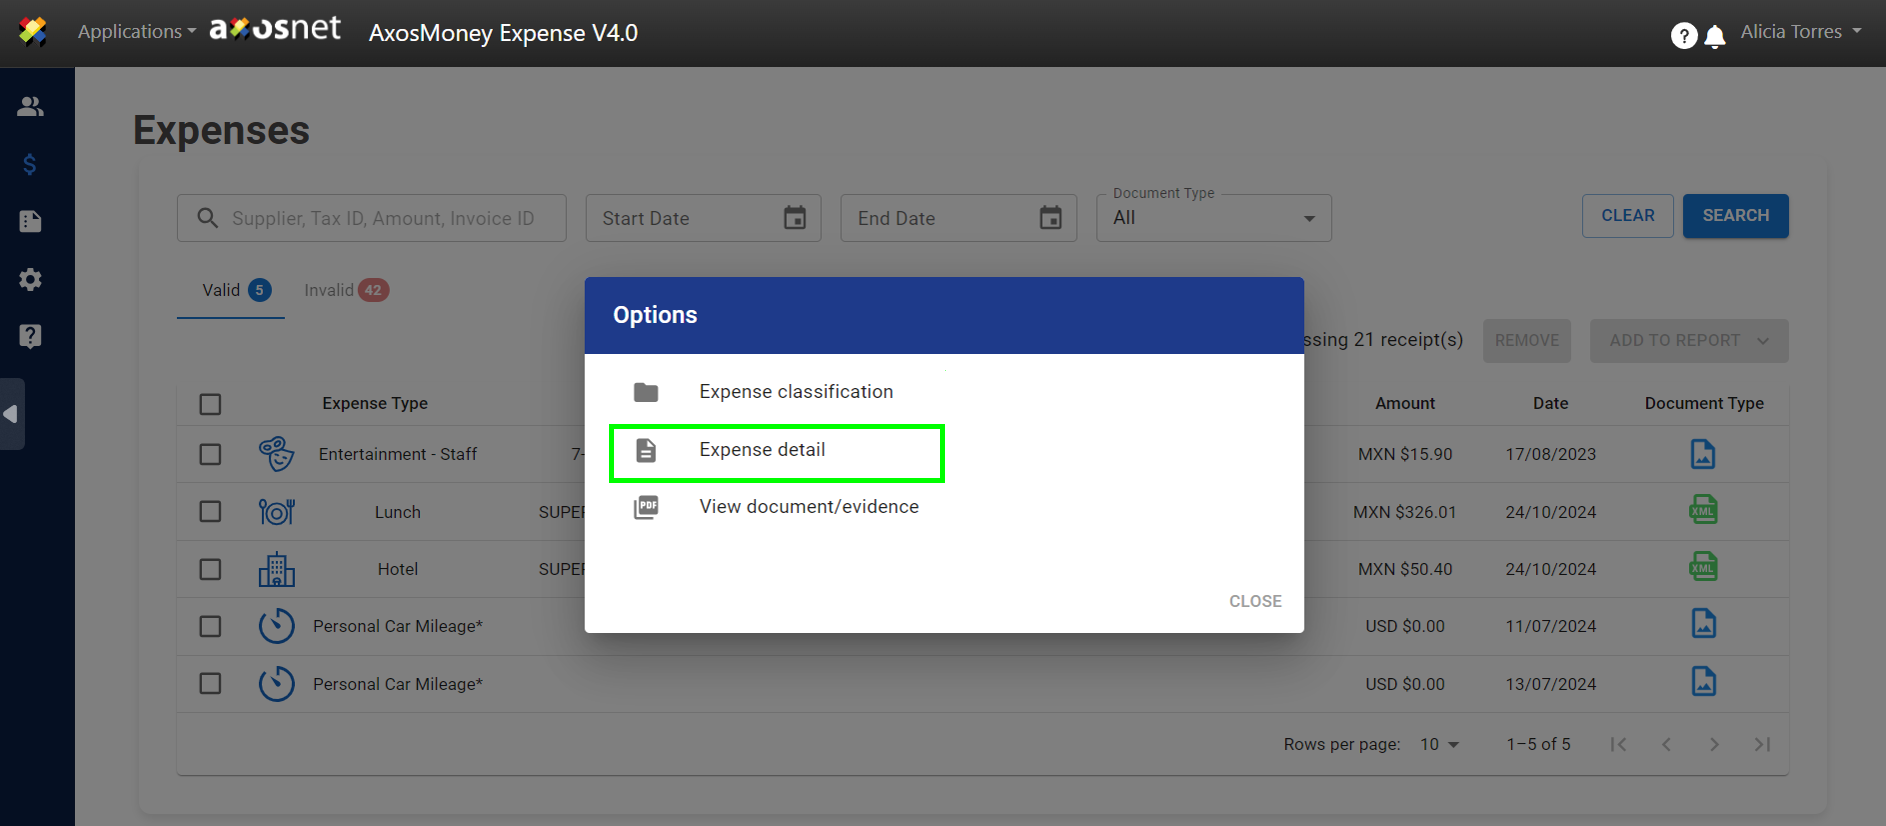
3. The system will display a window with three options, described below:
Expense Classification: Assign or change the classification type for your receipt.
Expense Details: Shows the result of the receipt validation and the details of the expense.
View Document/Evidence: Displays the photo of the receipt.
Select the option “Expense classification”.

4. AxosMoney will show a catalog of expense types. Choose an expense type by clicking on its name or use the “Search” section to find a specific type. If an expense has an incorrect type, you can change it by following the same steps.
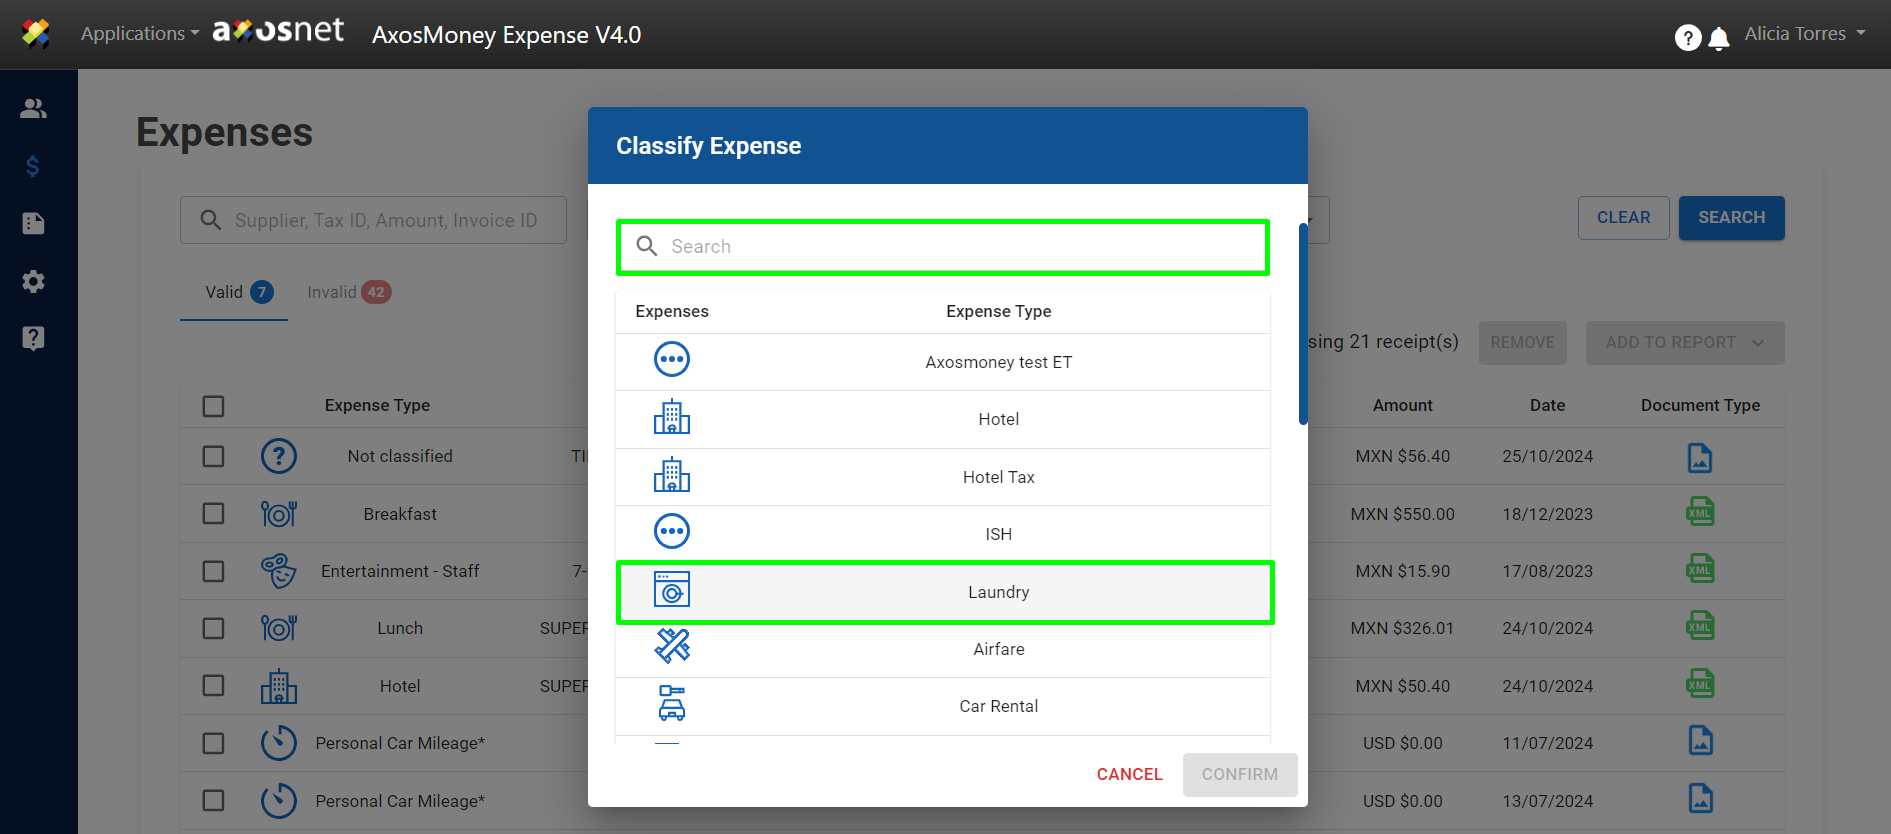 Note: The list of expenses displayed is for illustrative purposes only. The available types depend on your company’s expense configuration in SAP Concur.
5. After selecting the expense classification, click “CONFIRM”.
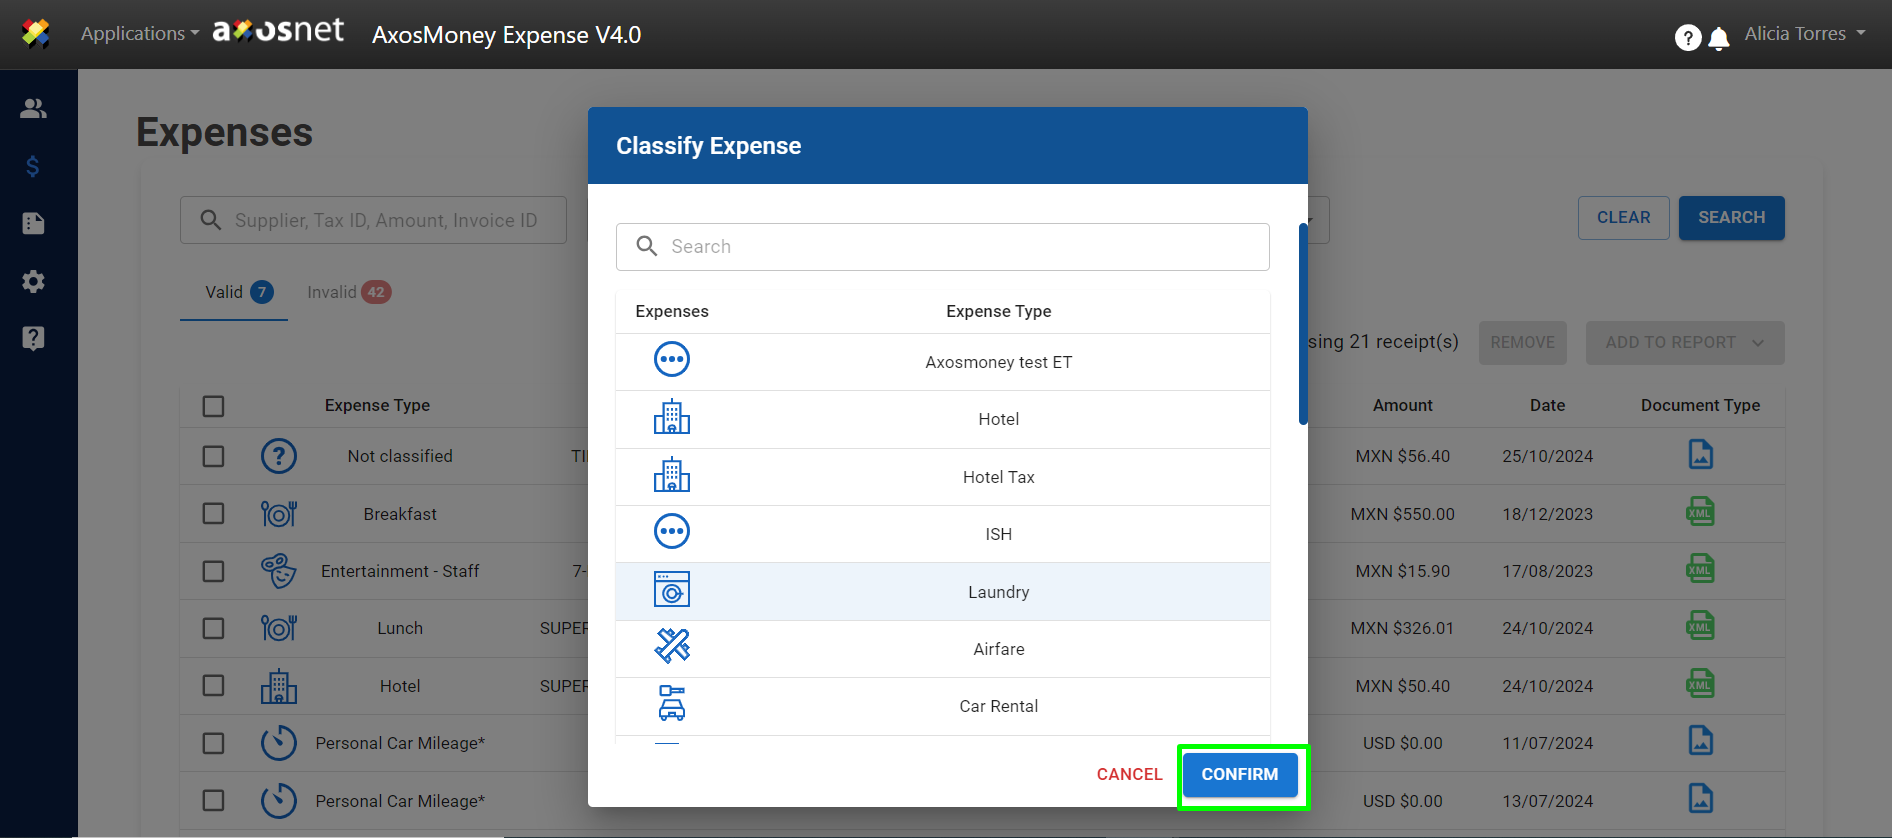
6. AxosMoney will update the expense type.
 Note: Once you have classified all your expenses, you can add them to an existing report or create a new report.
Adding a Receipt to a New Report
This section covers the process of adding one or more valid receipts while simultaneously creating a new report.
Note: Only valid and classified expenses can be added to reports.
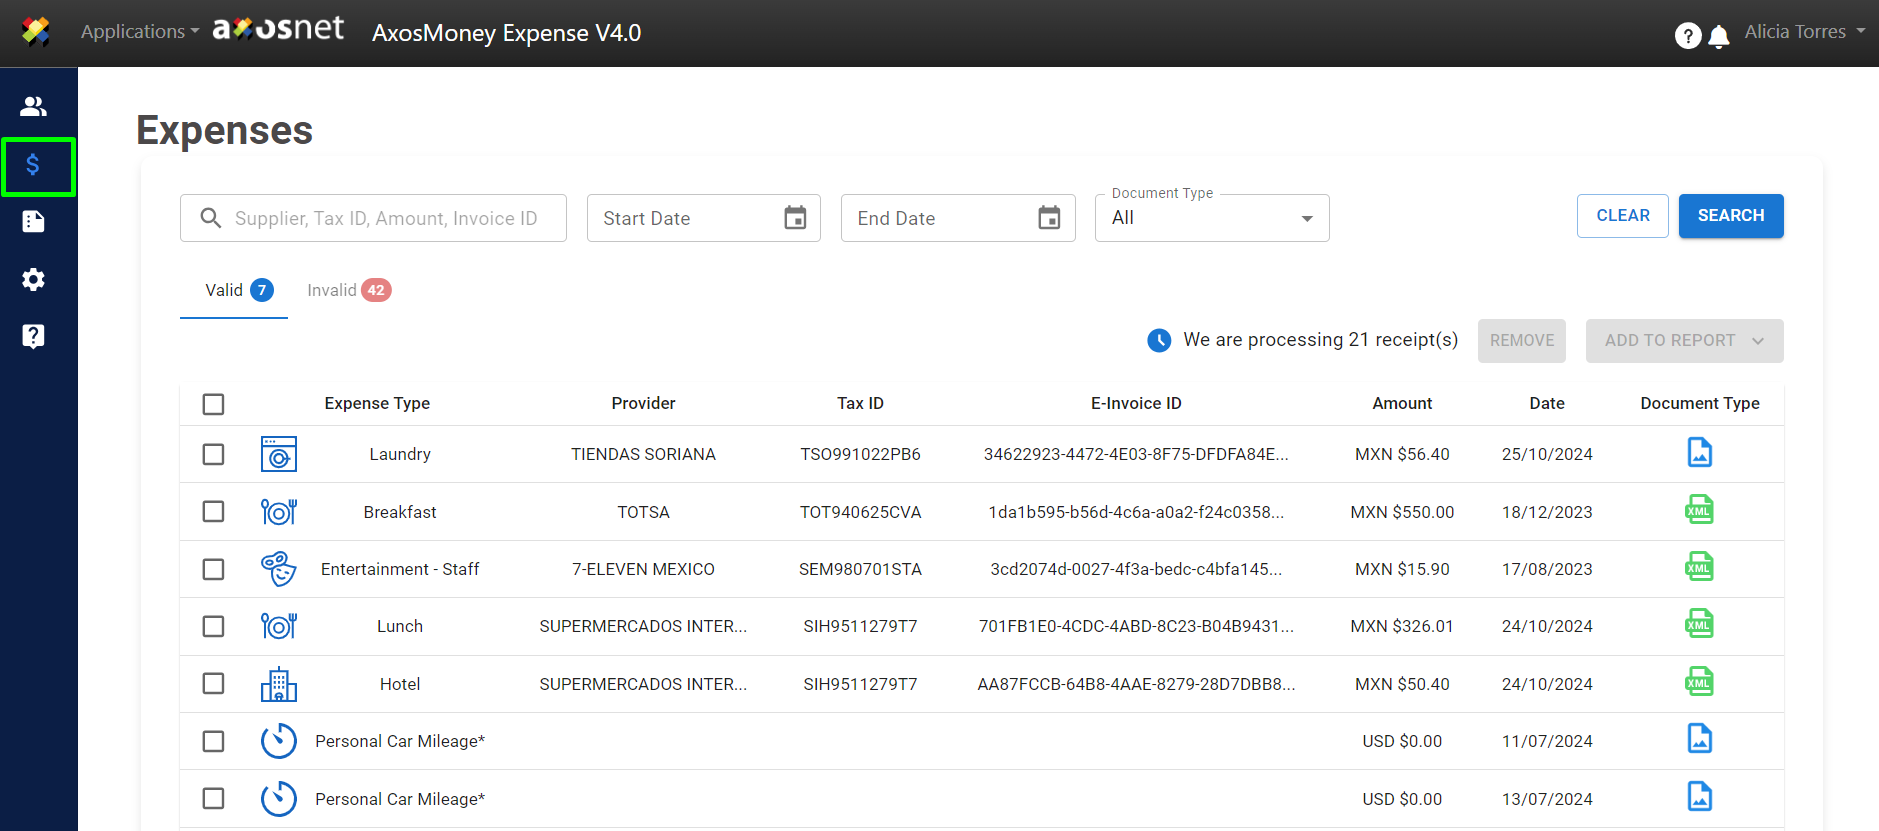
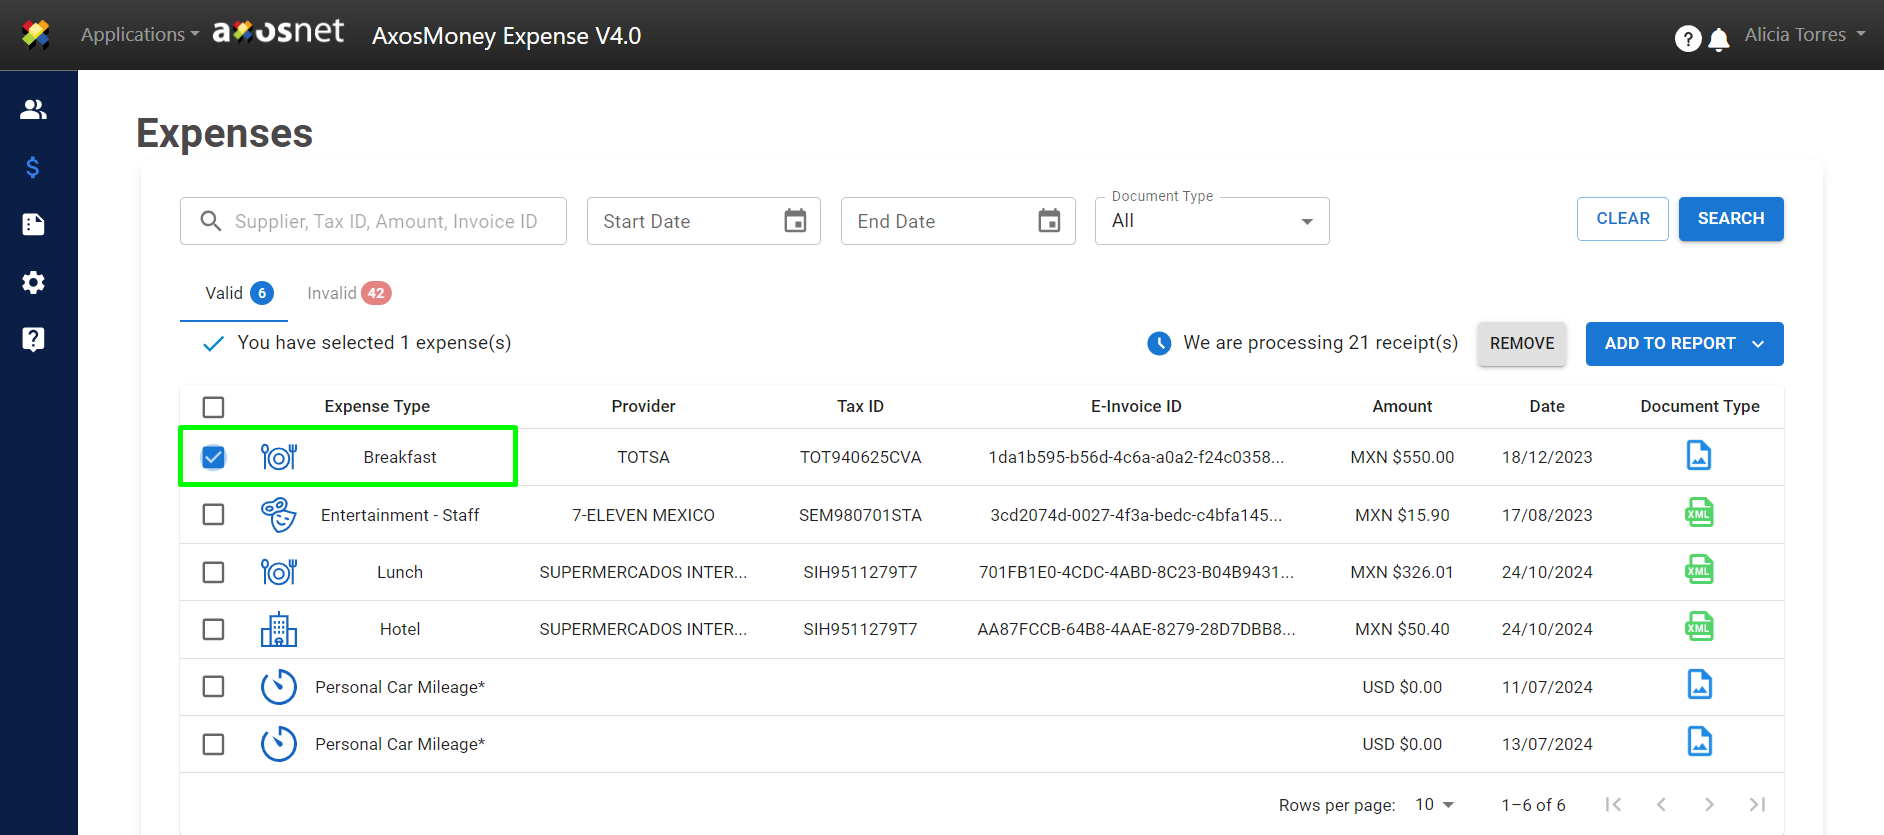
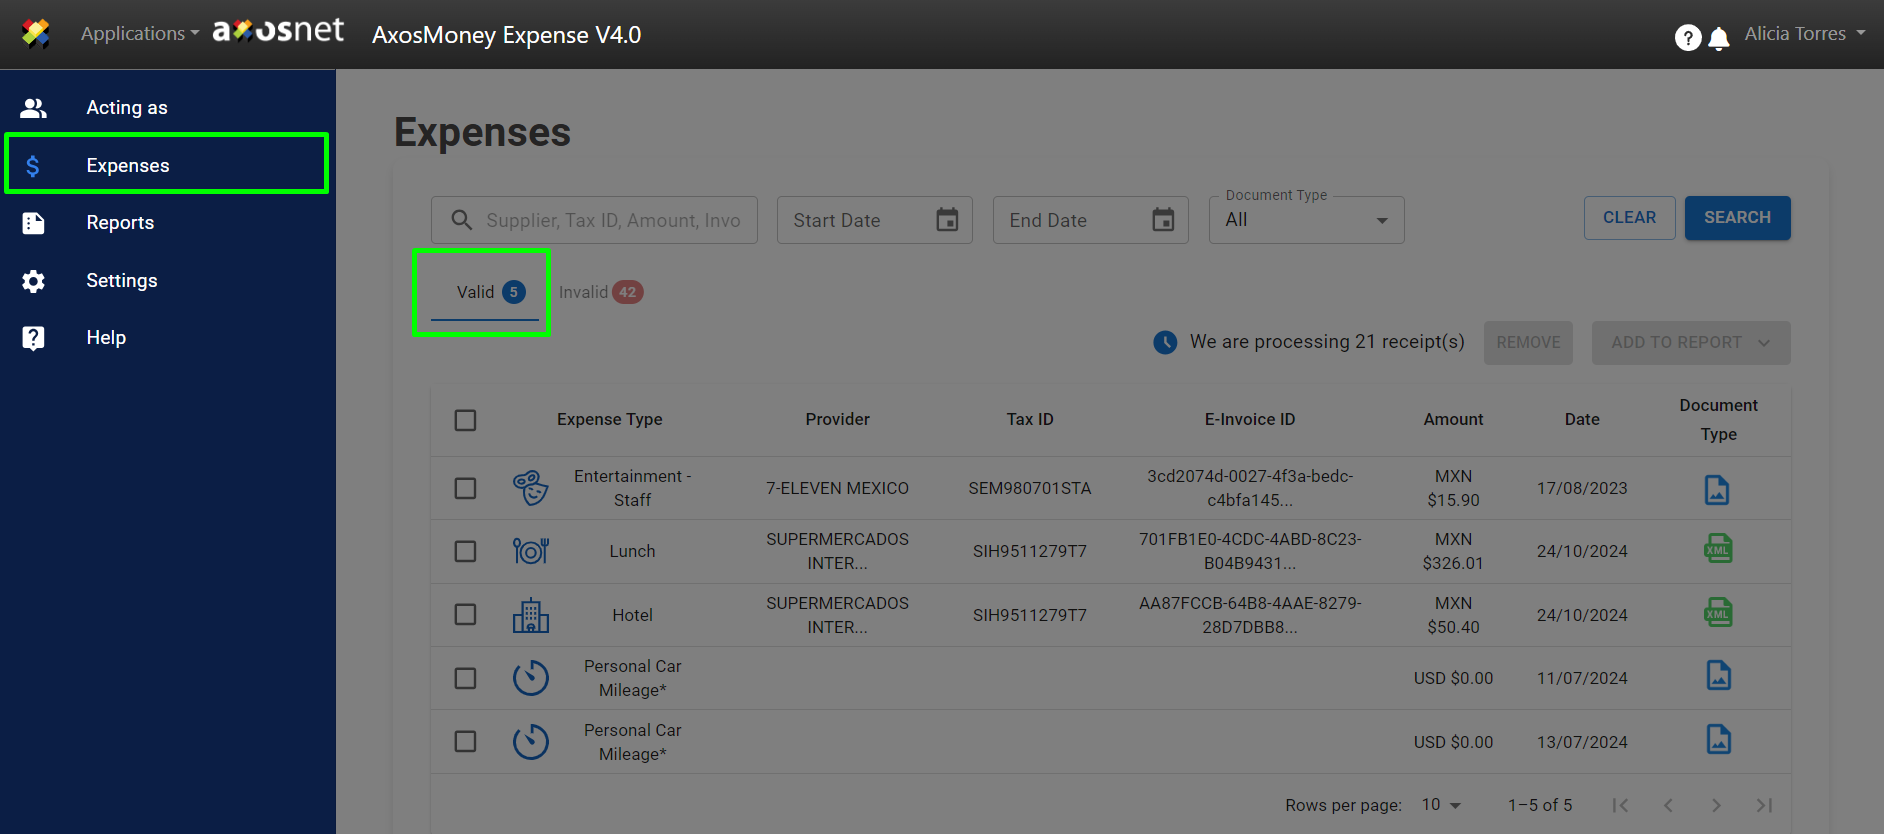
1.Go to the “Expenses” option in the side menu.
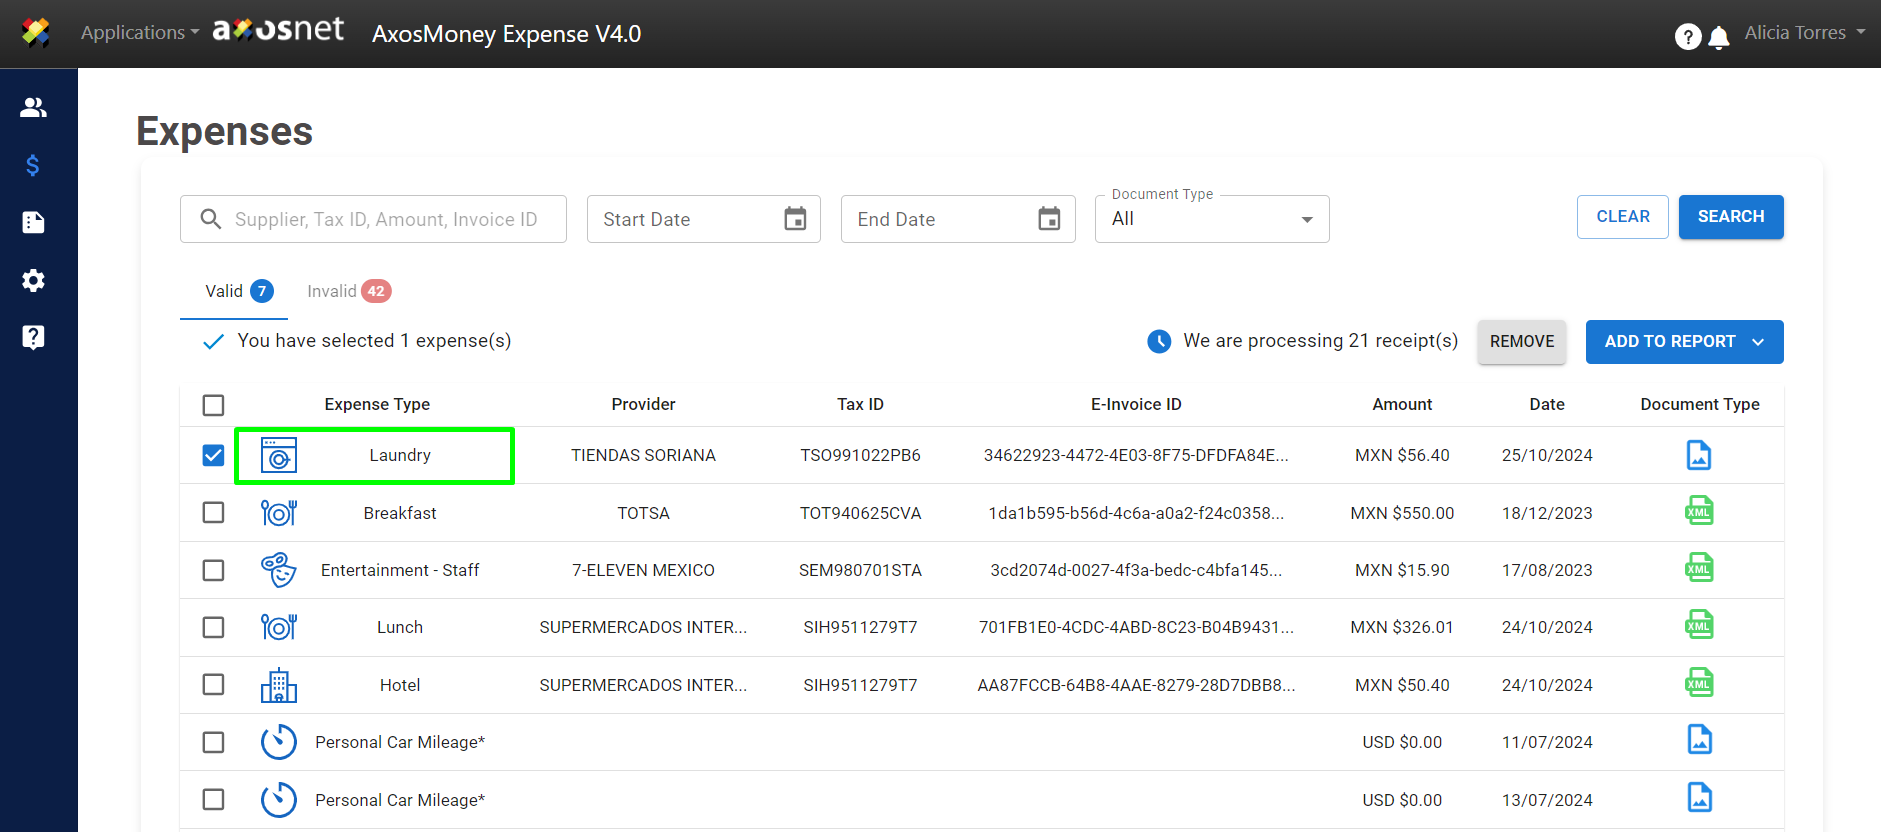
2. Select the receipts to be added to the report.
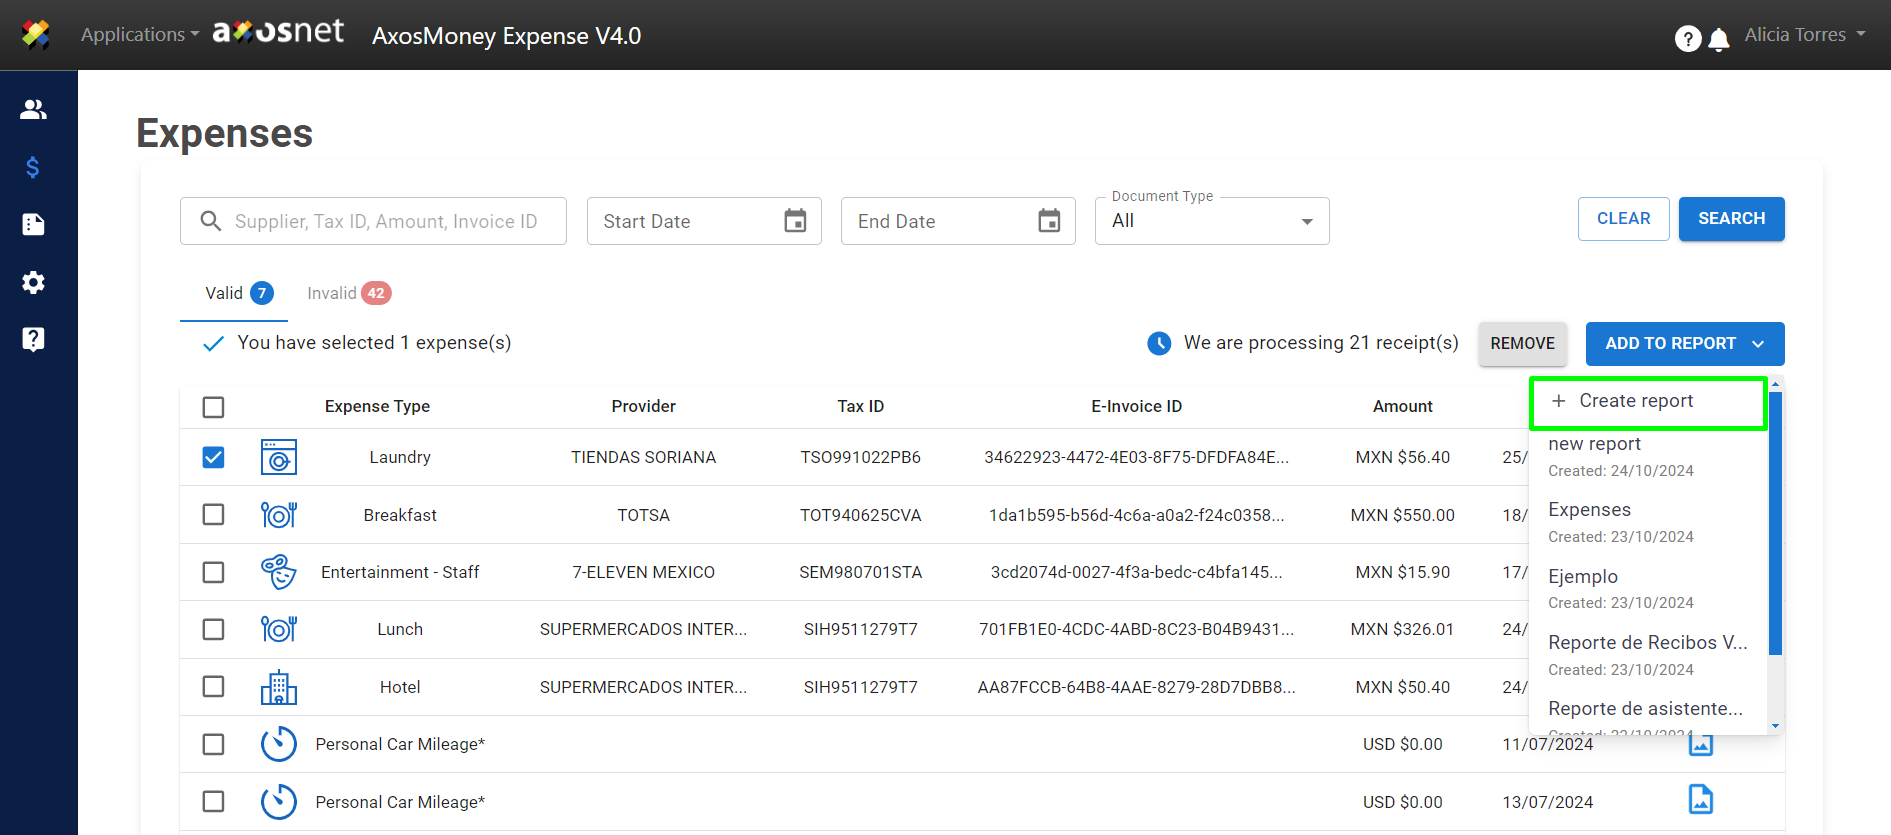
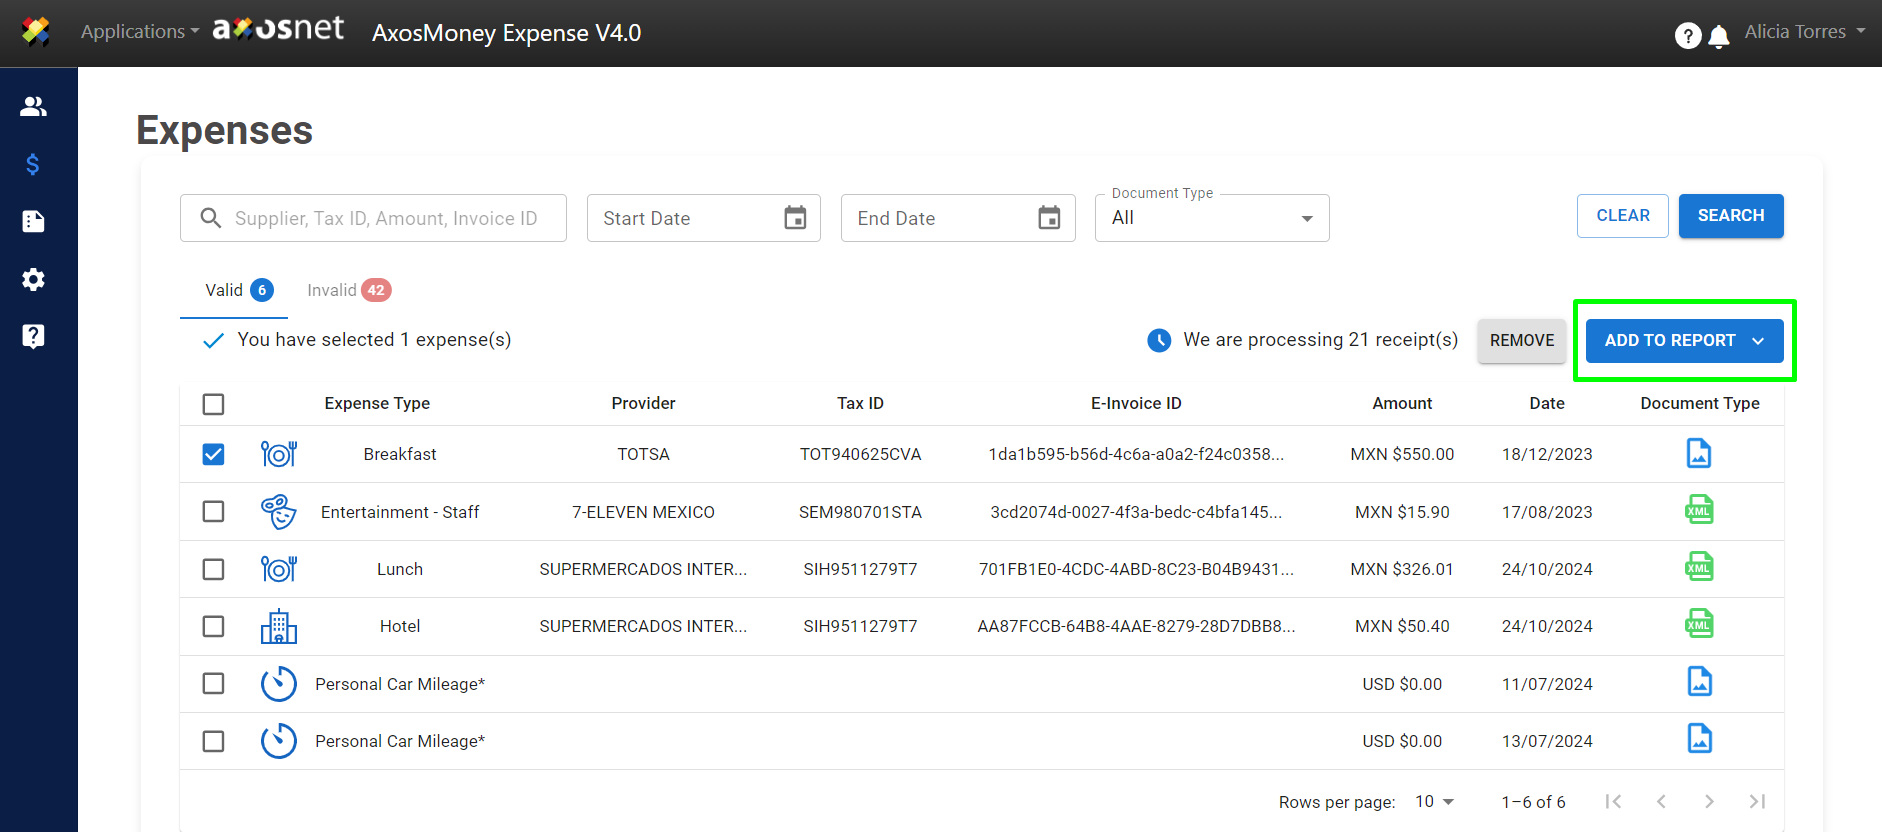
3. Click on “Add Report”.

4. Choose the “Create Report” option at the top of the dropdown list.
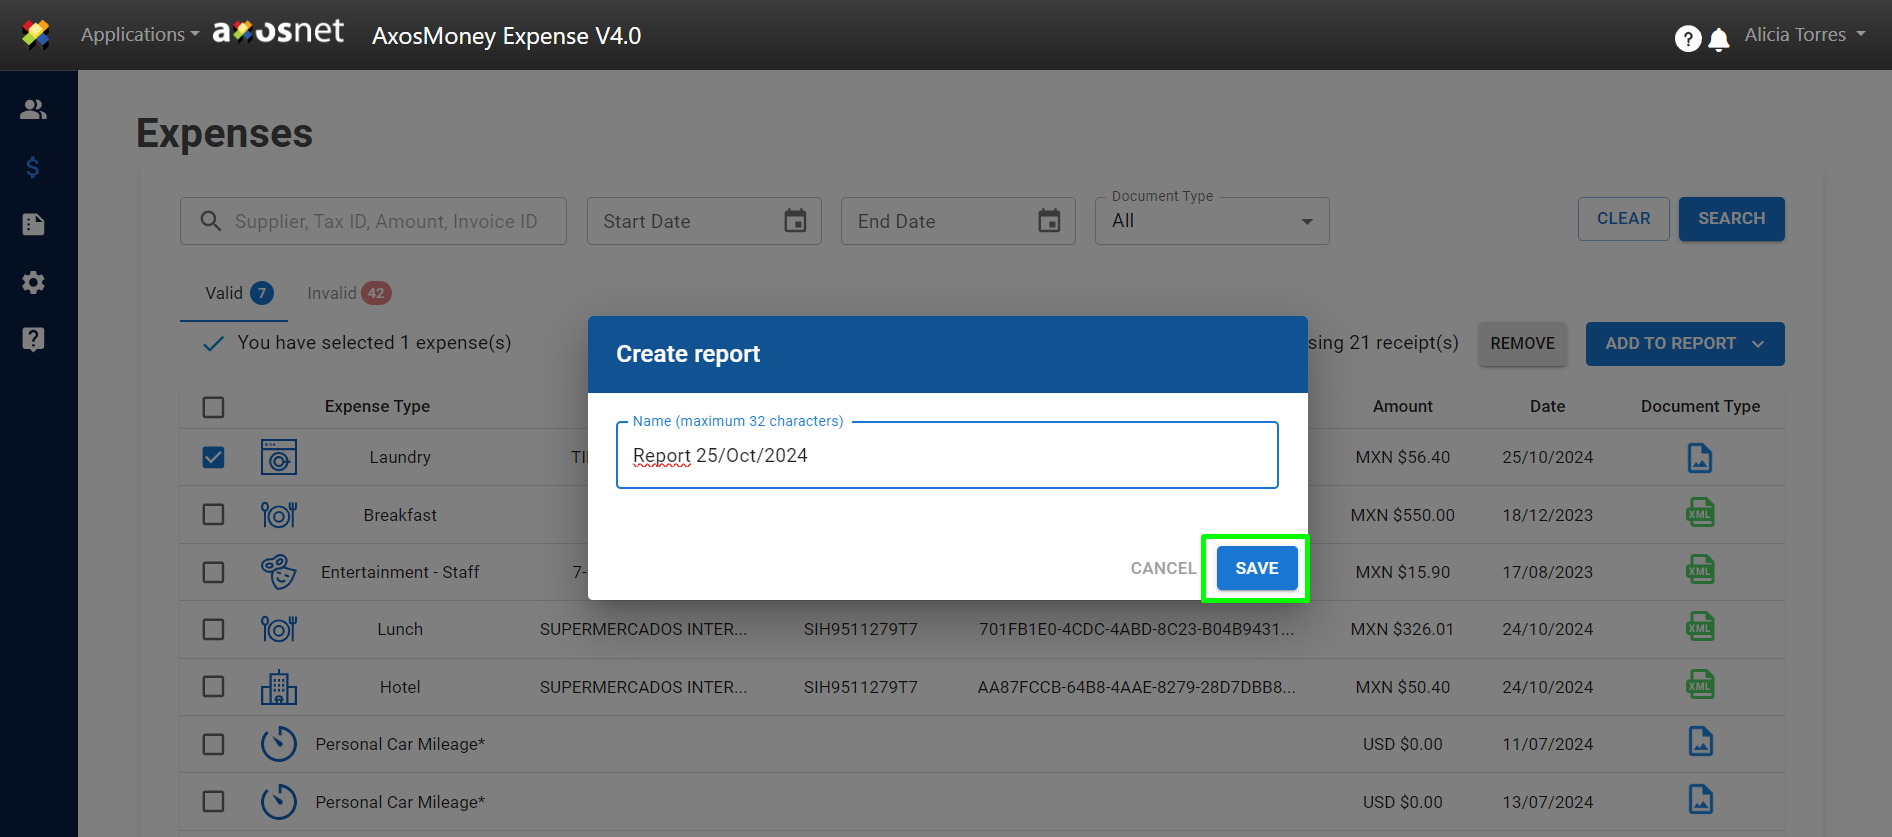
5. Enter a name to identify the report. Use “SAVE” to keep the report or “CANCEL” to discard the operation.
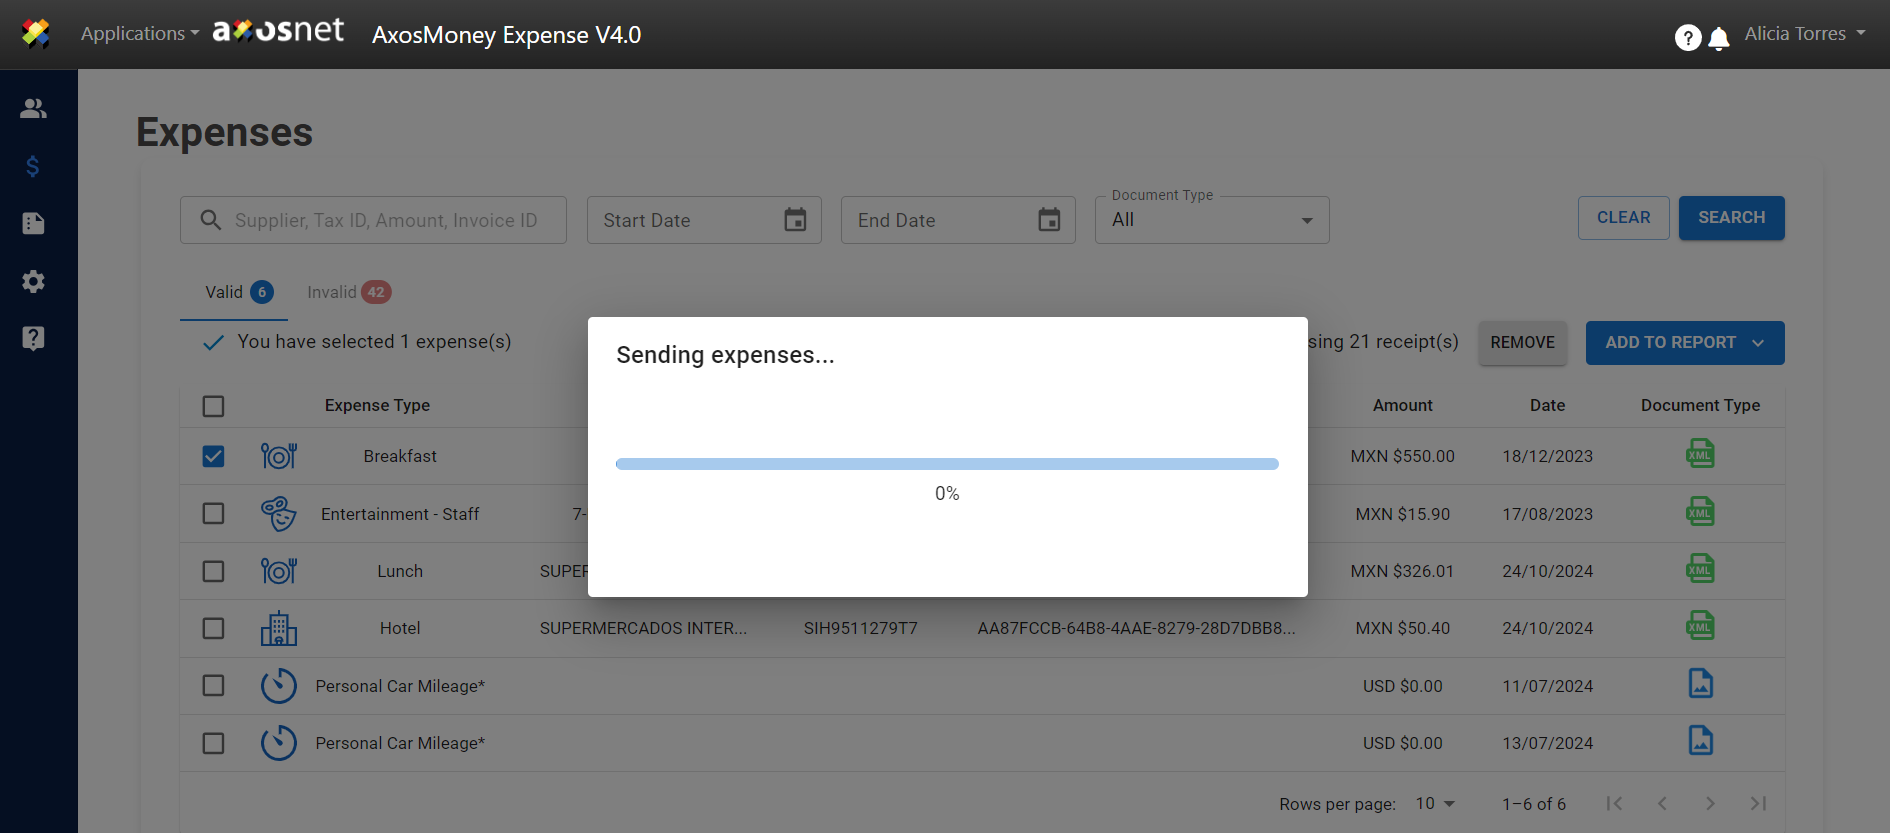
6. After naming the report, AxosMoney sends the expenses to Concur.

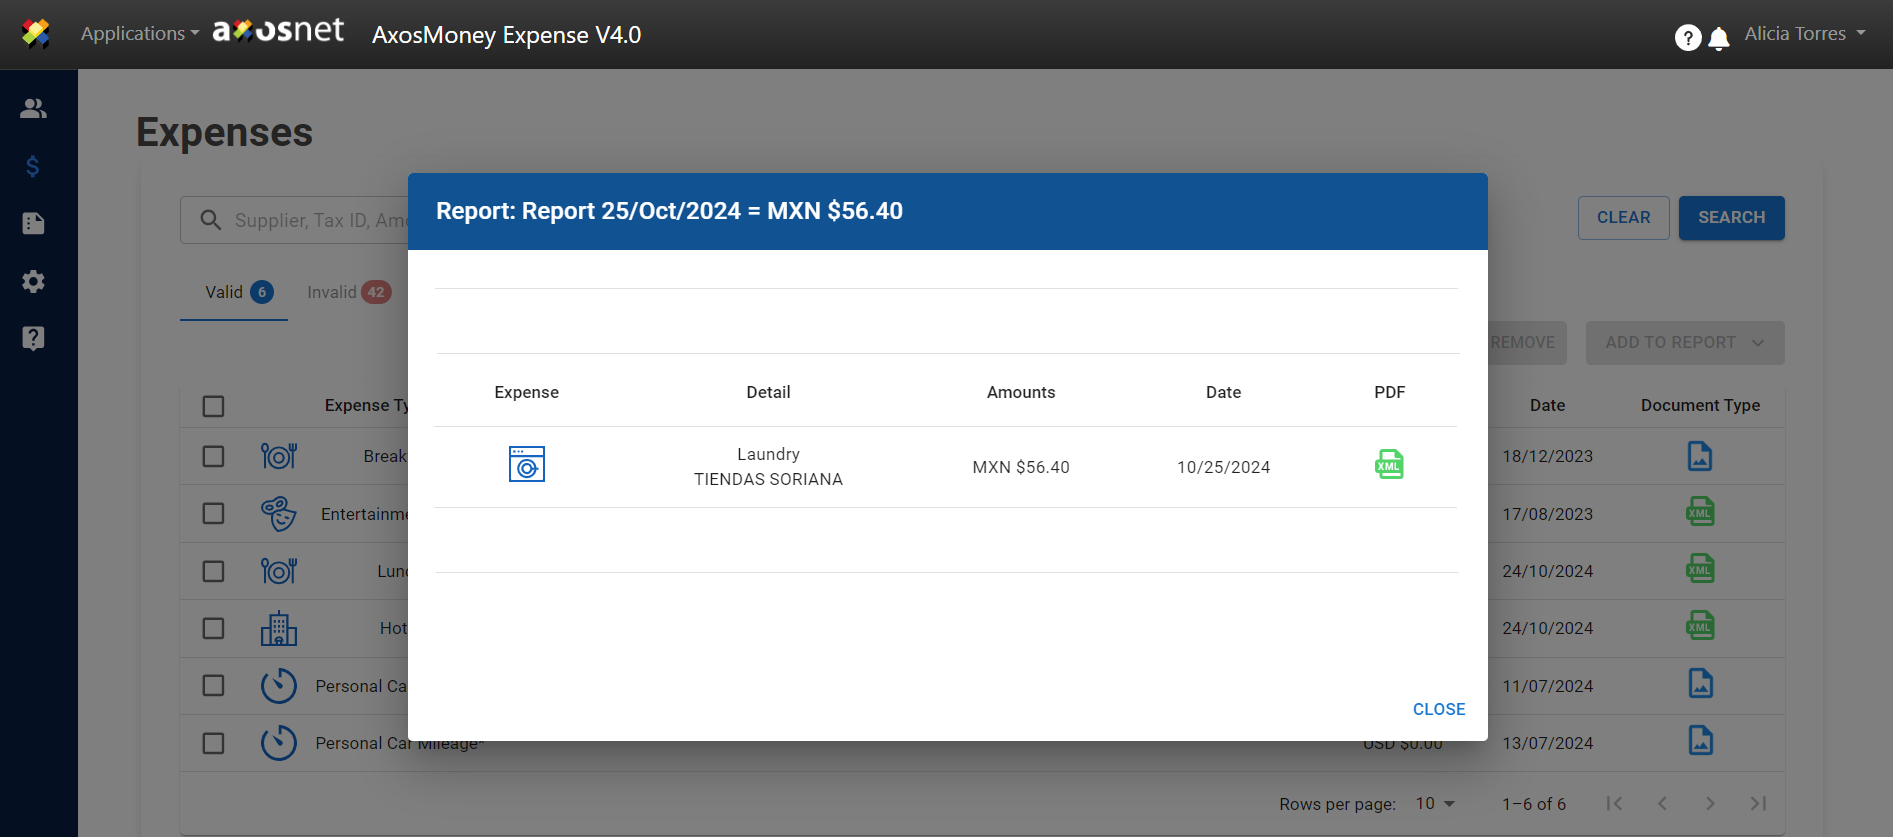
7. Once the submission is complete, the platform will display a summary. The blue band at the top of the window will show the name of the report you just submitted and the total amount of the receipts.
8. AxosMoney updates the expense list by removing those you added to your new report.

9. To check the report you just created, go to the “Reports” menu and locate the report by its name. Then click on it to view the expenses.
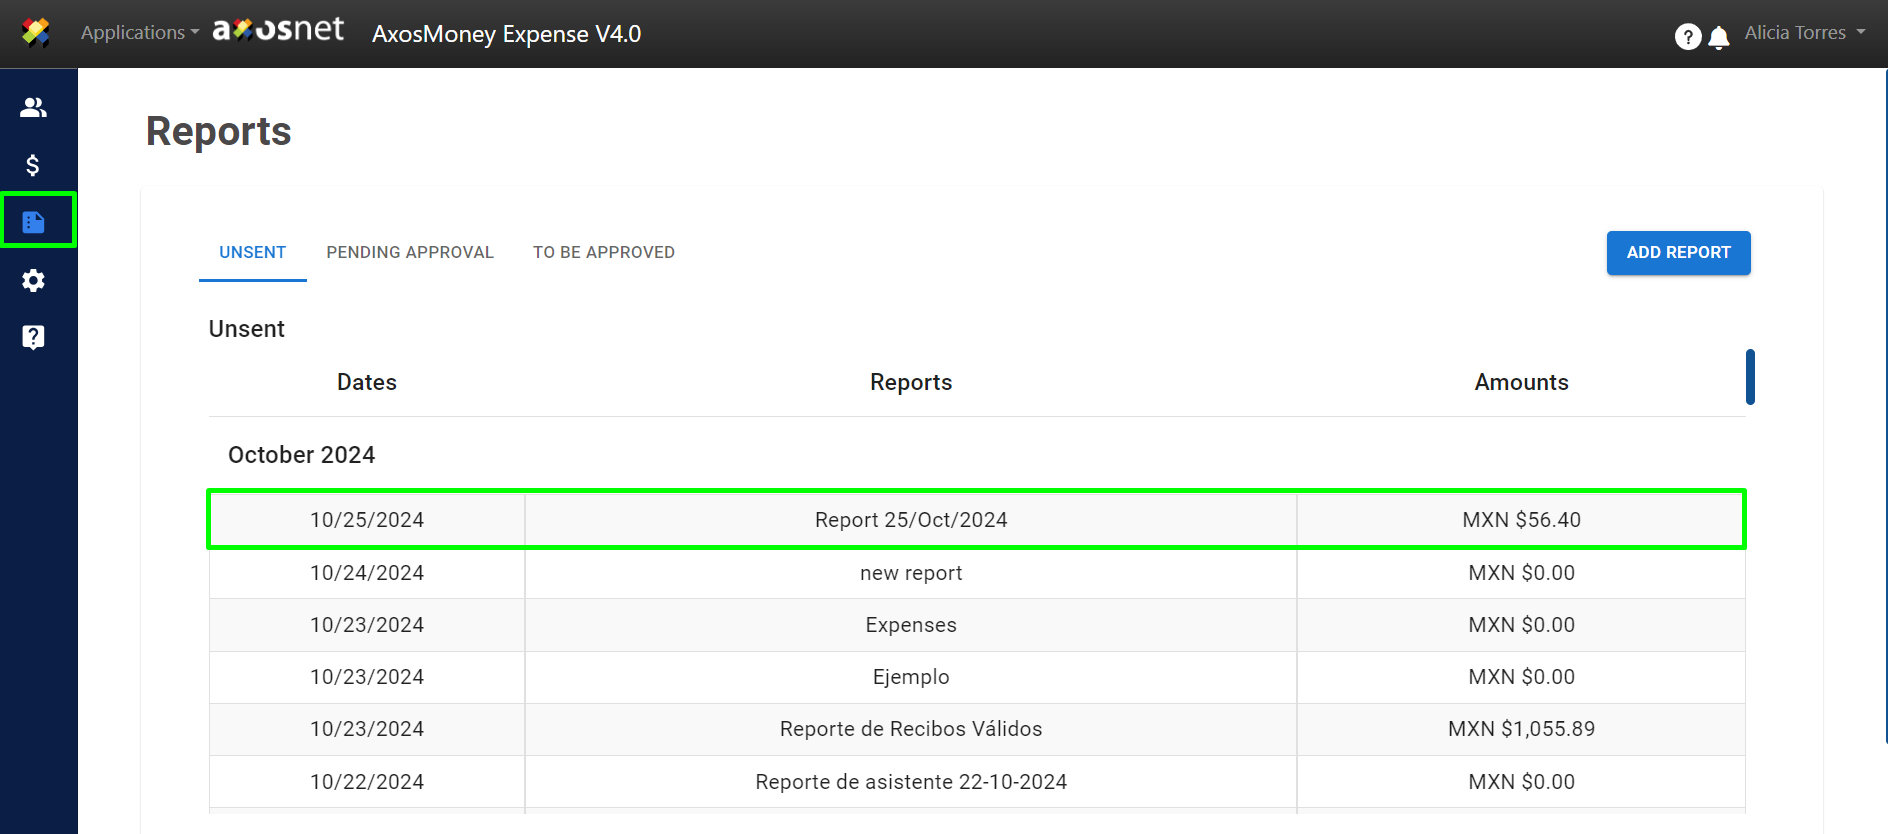
10. You can confirm that the receipts you added are present there.
Adding a Receipt to an Existing Report
To add receipts to an existing report, follow these steps in AxosMoney Web:
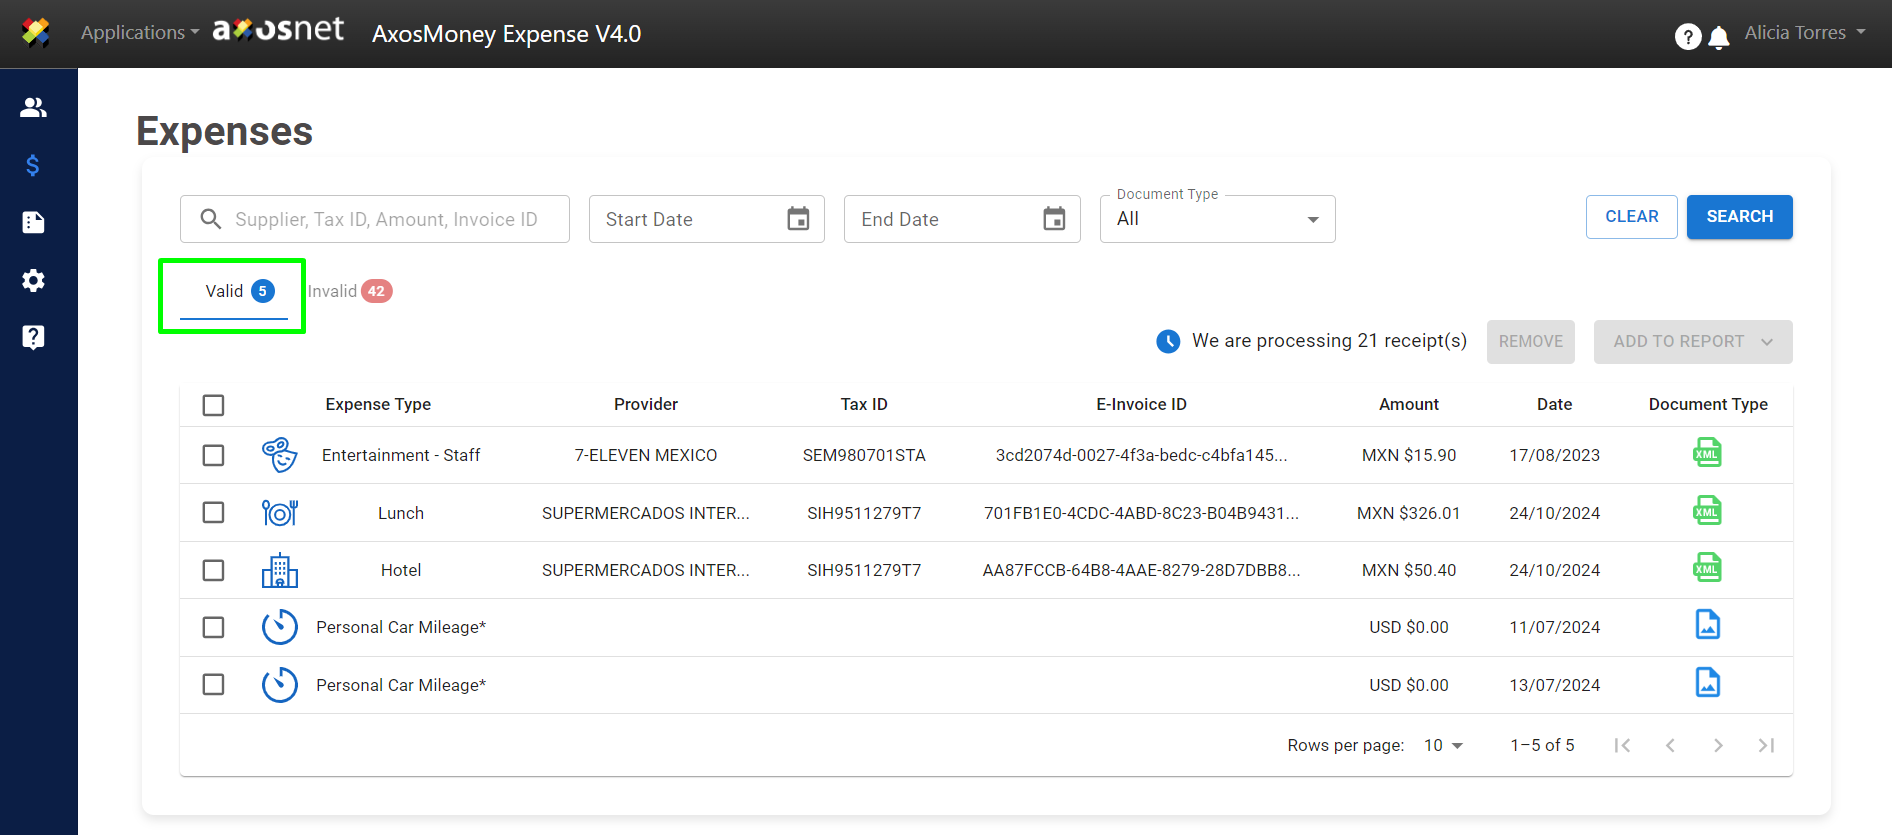
1.Go to the “Expenses” option in the side menu and click on the “Valid” tab.
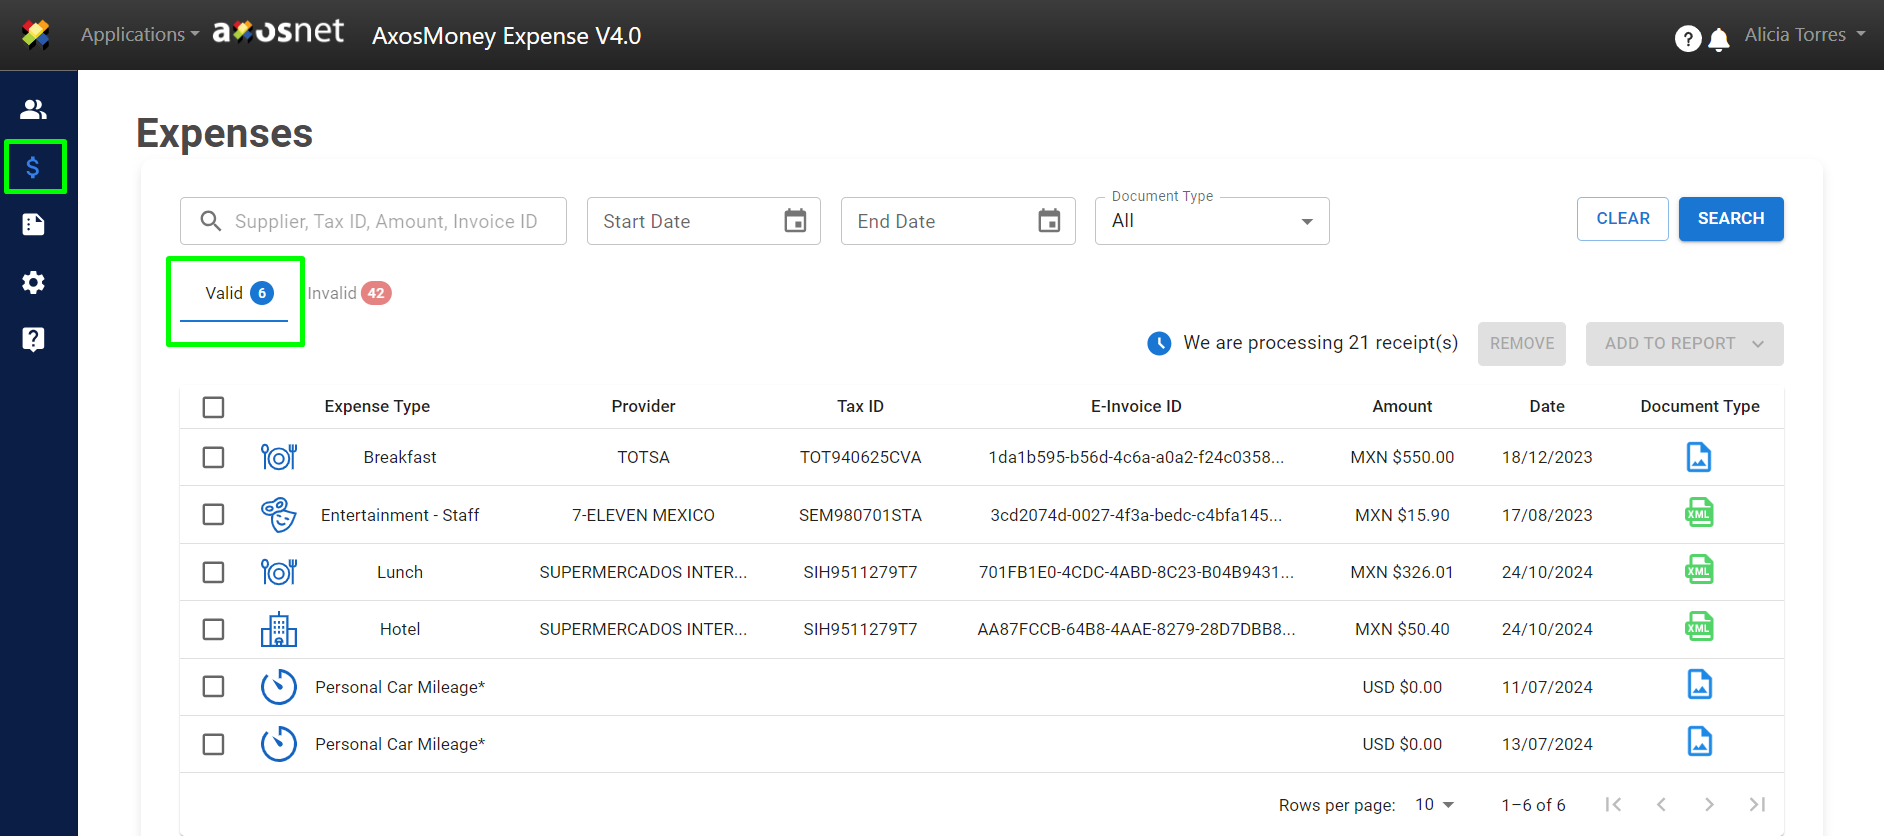
2. Select the receipts to be added to the report.
3. Click on “Add Report”.
4. AxosMoney will display a list of reports related to your SAP Concur account. Choose a report.
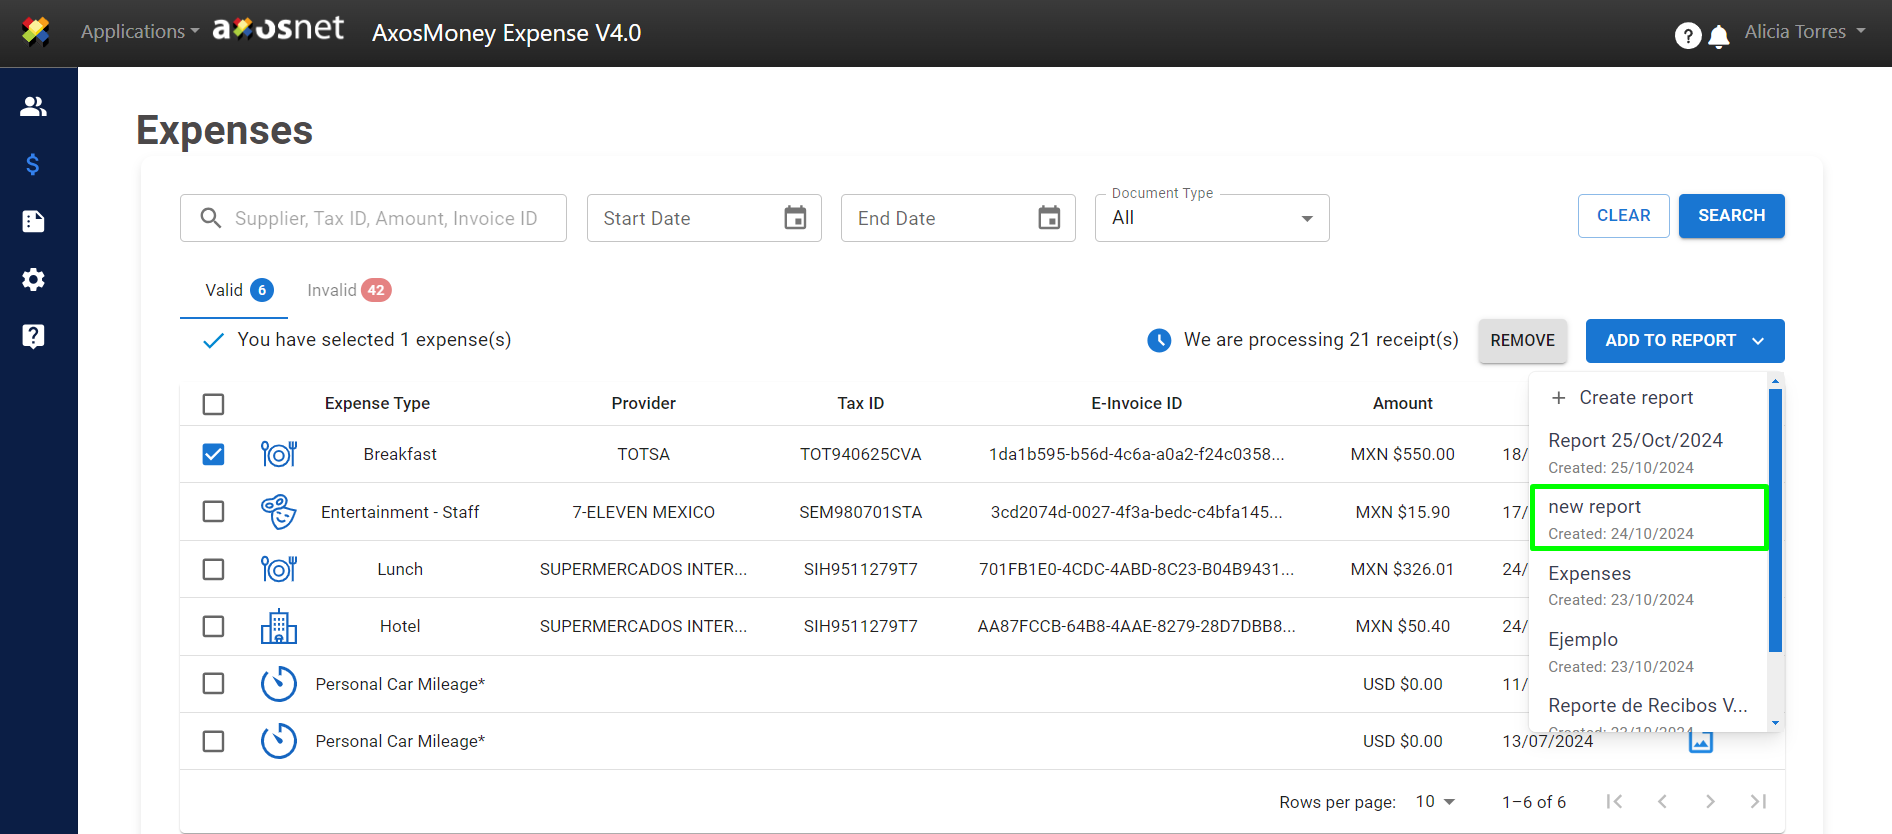 Note: Reports are displayed by creation date, from most recent to oldest.
5. By clicking on a report, AxosMoney will send that report, including the receipts, to SAP Concur.
6. Once the submission is complete, the platform will display a summary. The blue band at the top of the window will show the name of the report you just submitted, along with the total amount of the receipts it contains.
Click “Close” to exit the window.

7. The list of valid receipts will be updated, removing the receipts sent to SAP Concur within the report.
8. To check the receipt assigned to the report, go to the “Reports” menu and locate the report by its name. Then click on it to view the expenses.
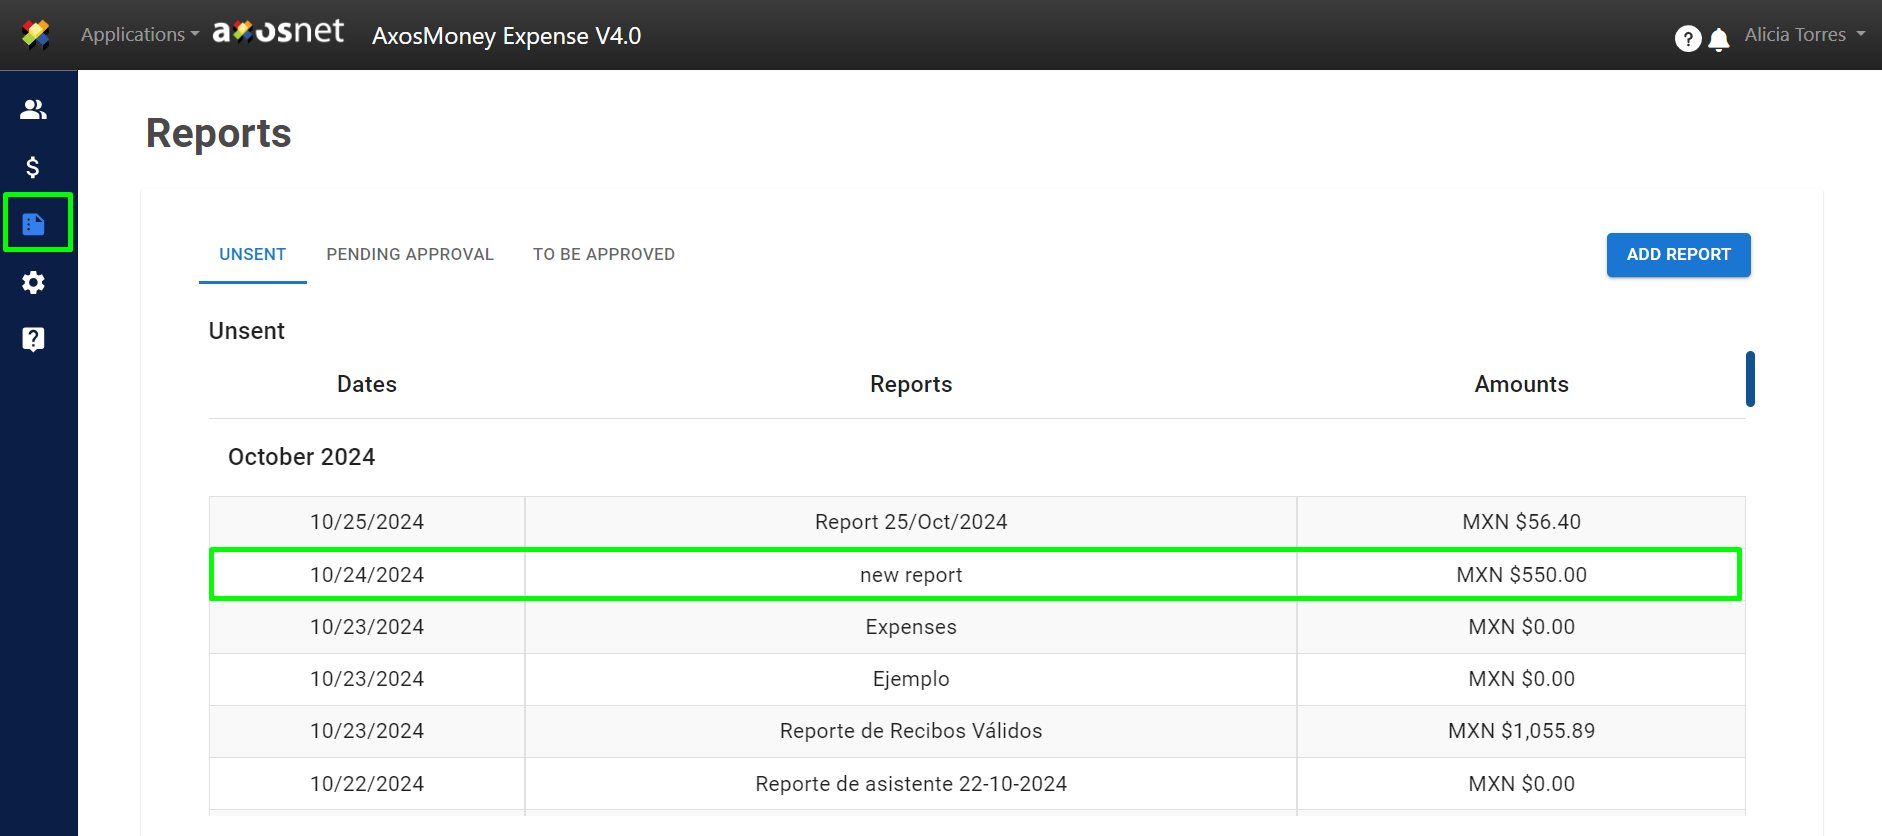
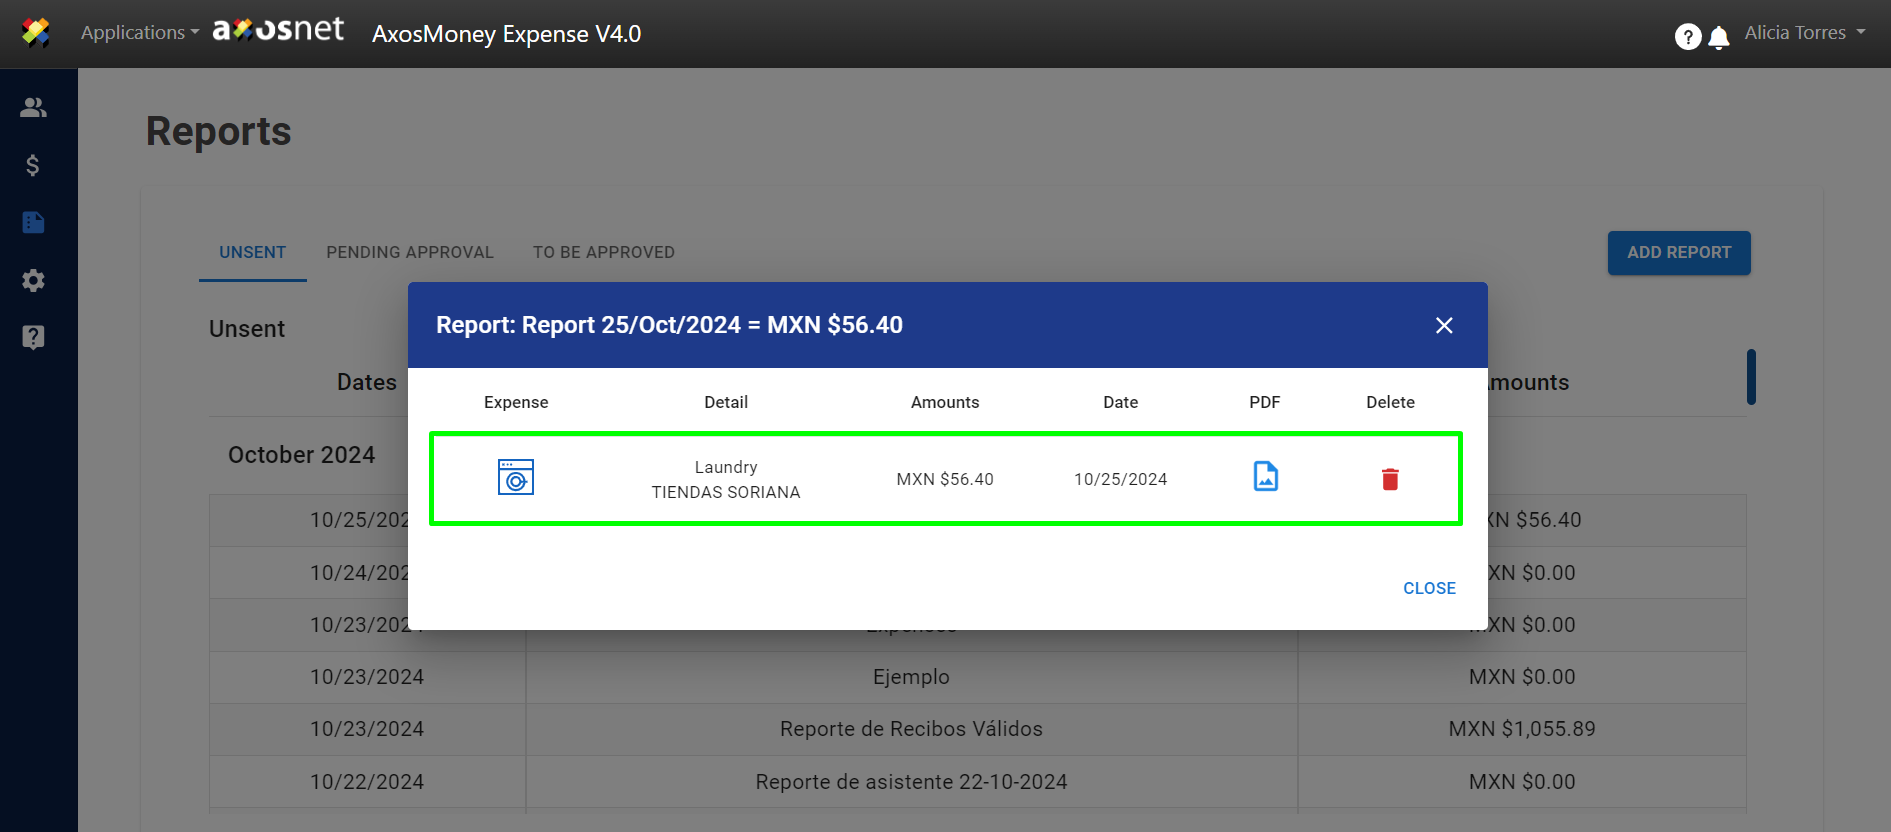
9. A window will appear displaying all expenses within the report.

Reviewing a Valid Receipt
This section is for viewing the details of valid receipts.
1.Go to the “Expenses” option in the main menu.
2. Select an expense and click on it.
3. A window with options will appear. The following describes each option:
Classify Expense: Assign or change the type of expense if the application does not detect it or if it is incorrect.
Expense Details: Displays the validation results of the CFDi on the page.
View Document/Evidence: Shows the CFDi.
Select the option “Expense Details”.
4. A window will appear showing the validations met by the receipt, including mandatory fields, client rules, vendor name, expense type, and the total amount of the receipt.
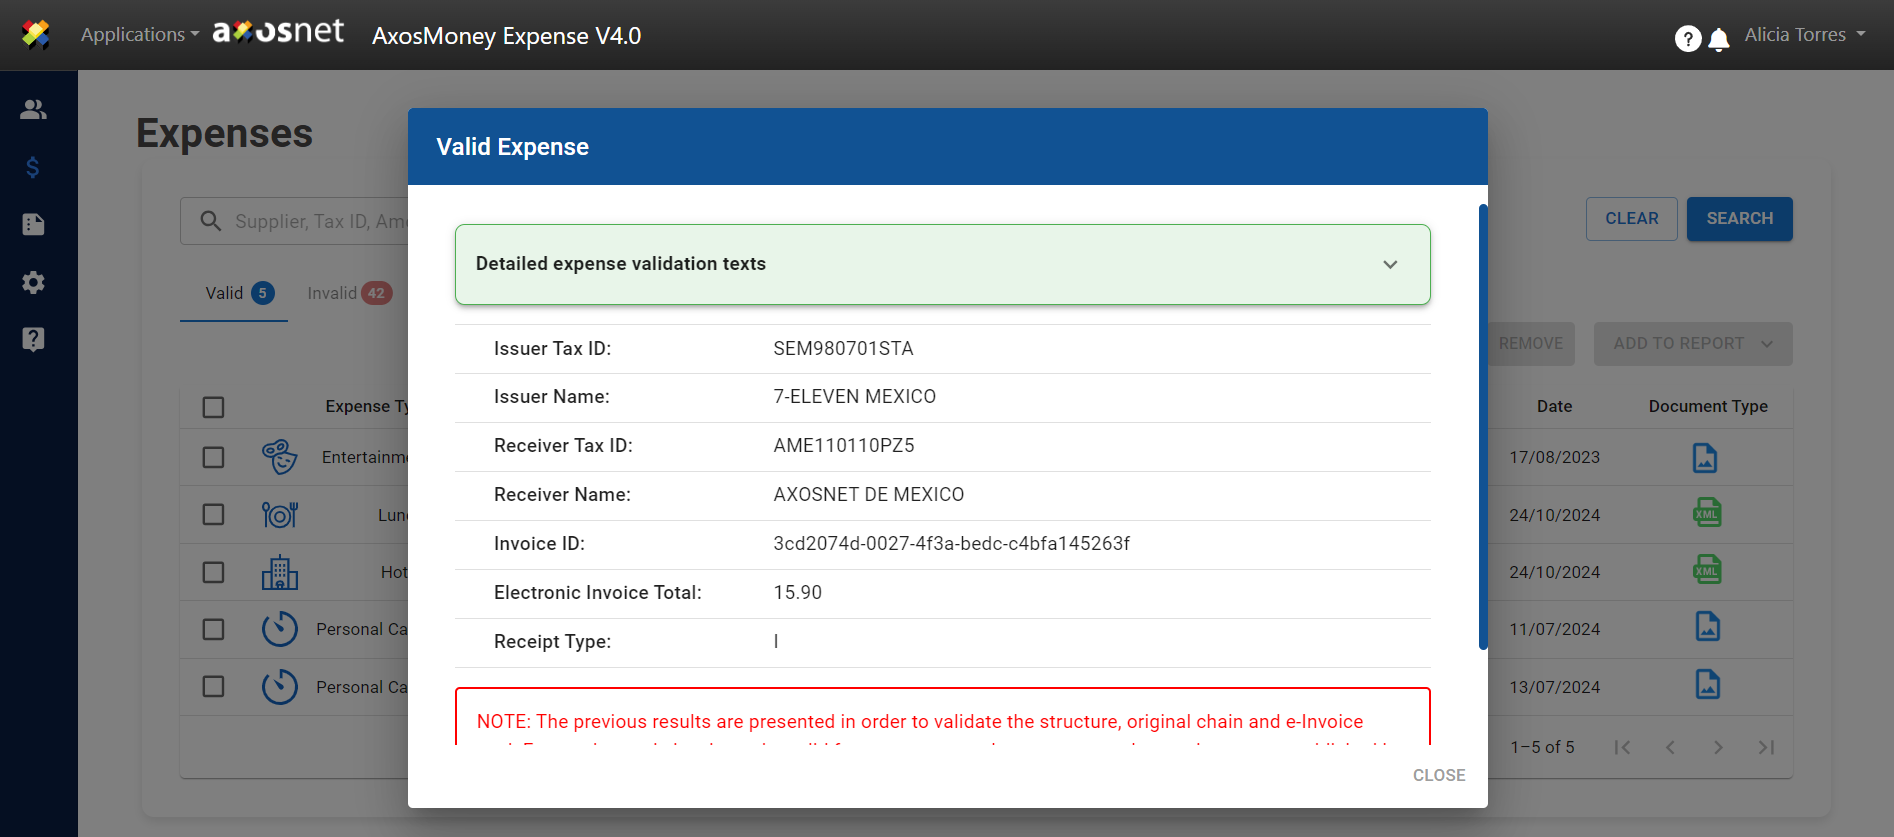
Important: In the Expense Details window, correct validations will have a green checkmark, while incorrect validations will have a red cross.
5. Click on the “Receipt” tab to view the image of the receipt and examine it in detail.
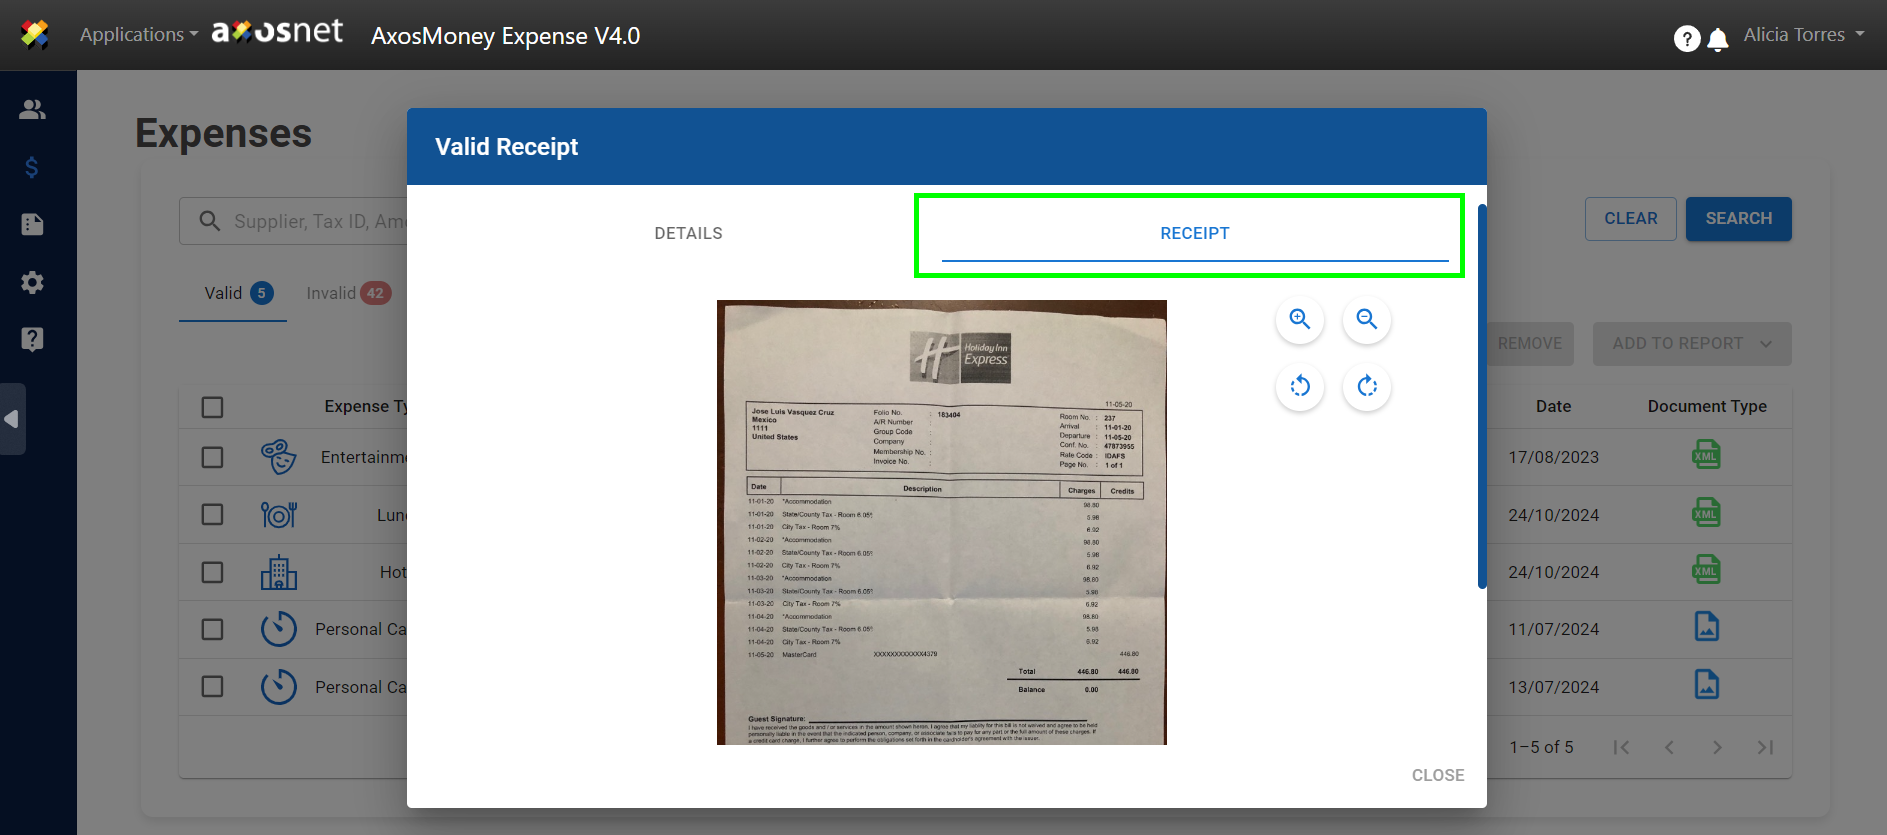
6. The “Receipt” section has four buttons for better image viewing.
The top buttons are for zooming in or out. 🔍
The bottom buttons are for rotating the image up to 360°. 🔄

Deleting a Receipt
The following instructions describe the steps to delete a valid receipt that has not been added to any report.
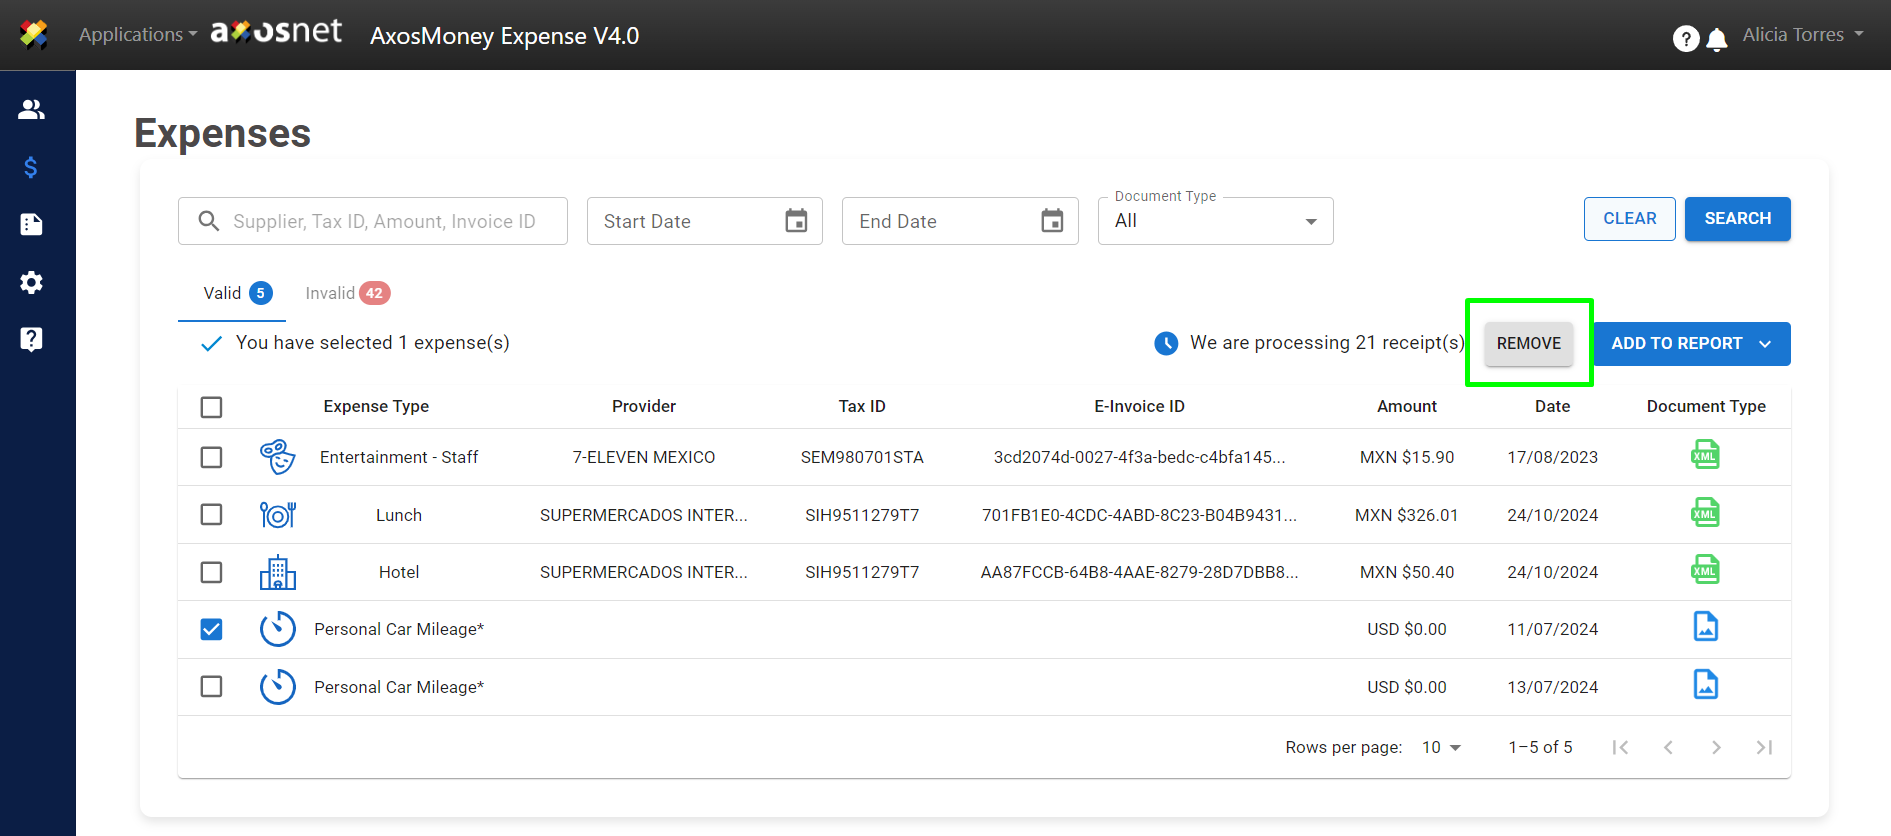
1.Go to the “Expenses” option in the main menu.
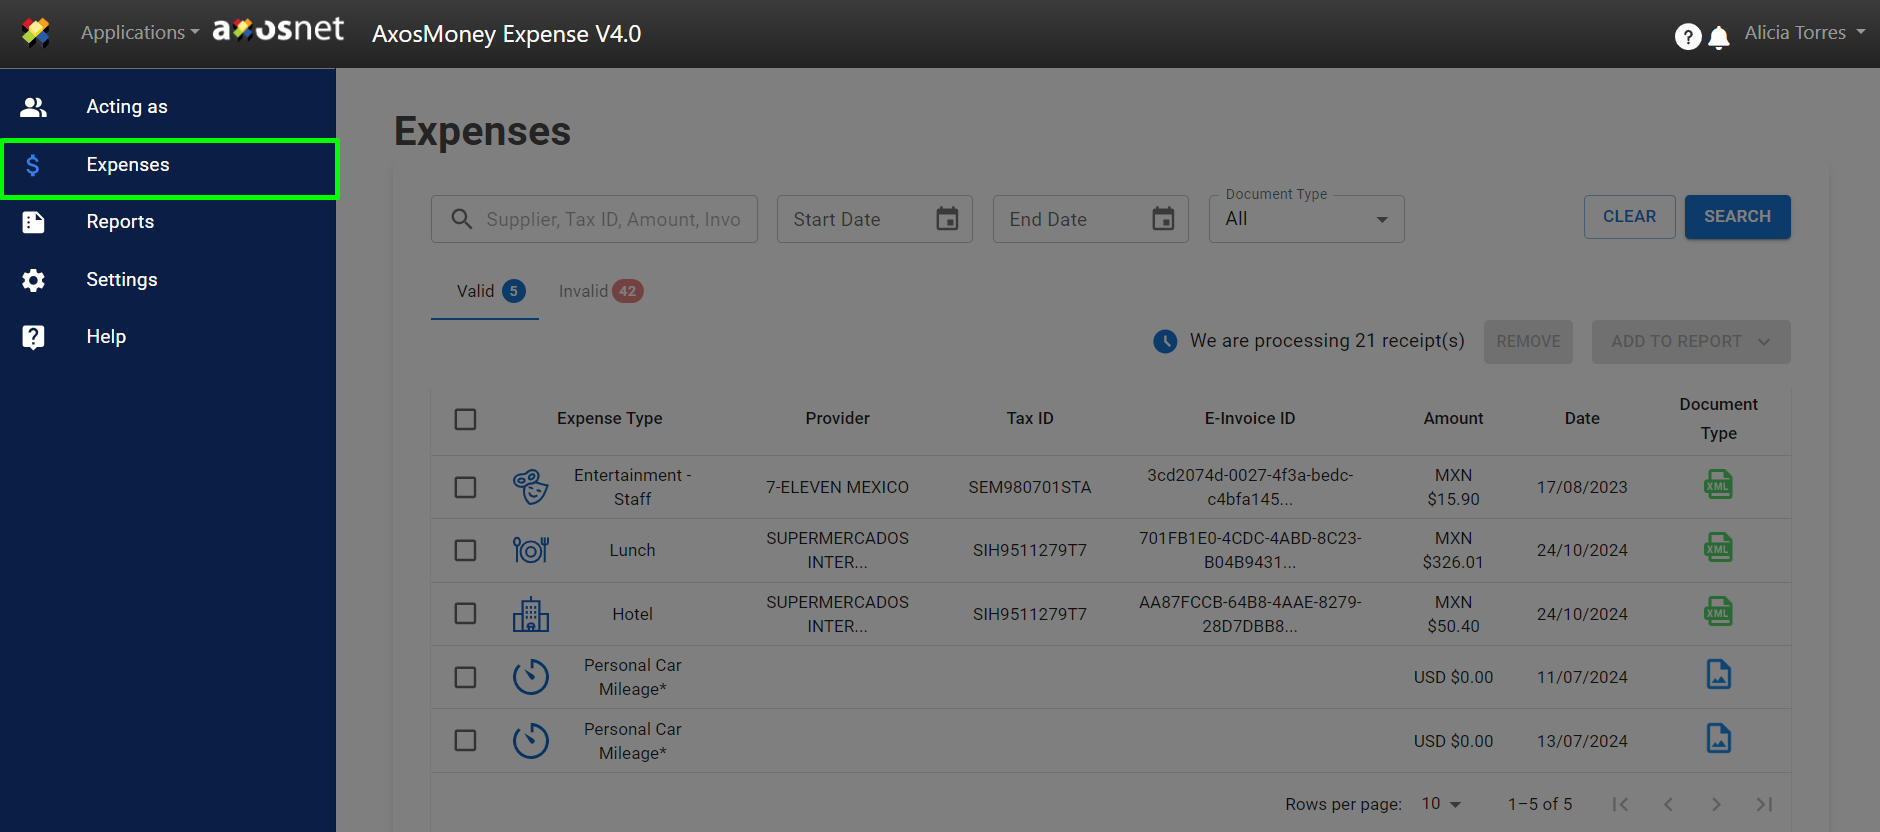
2. Select the receipts you wish to delete.

3. Click the “Delete” button.
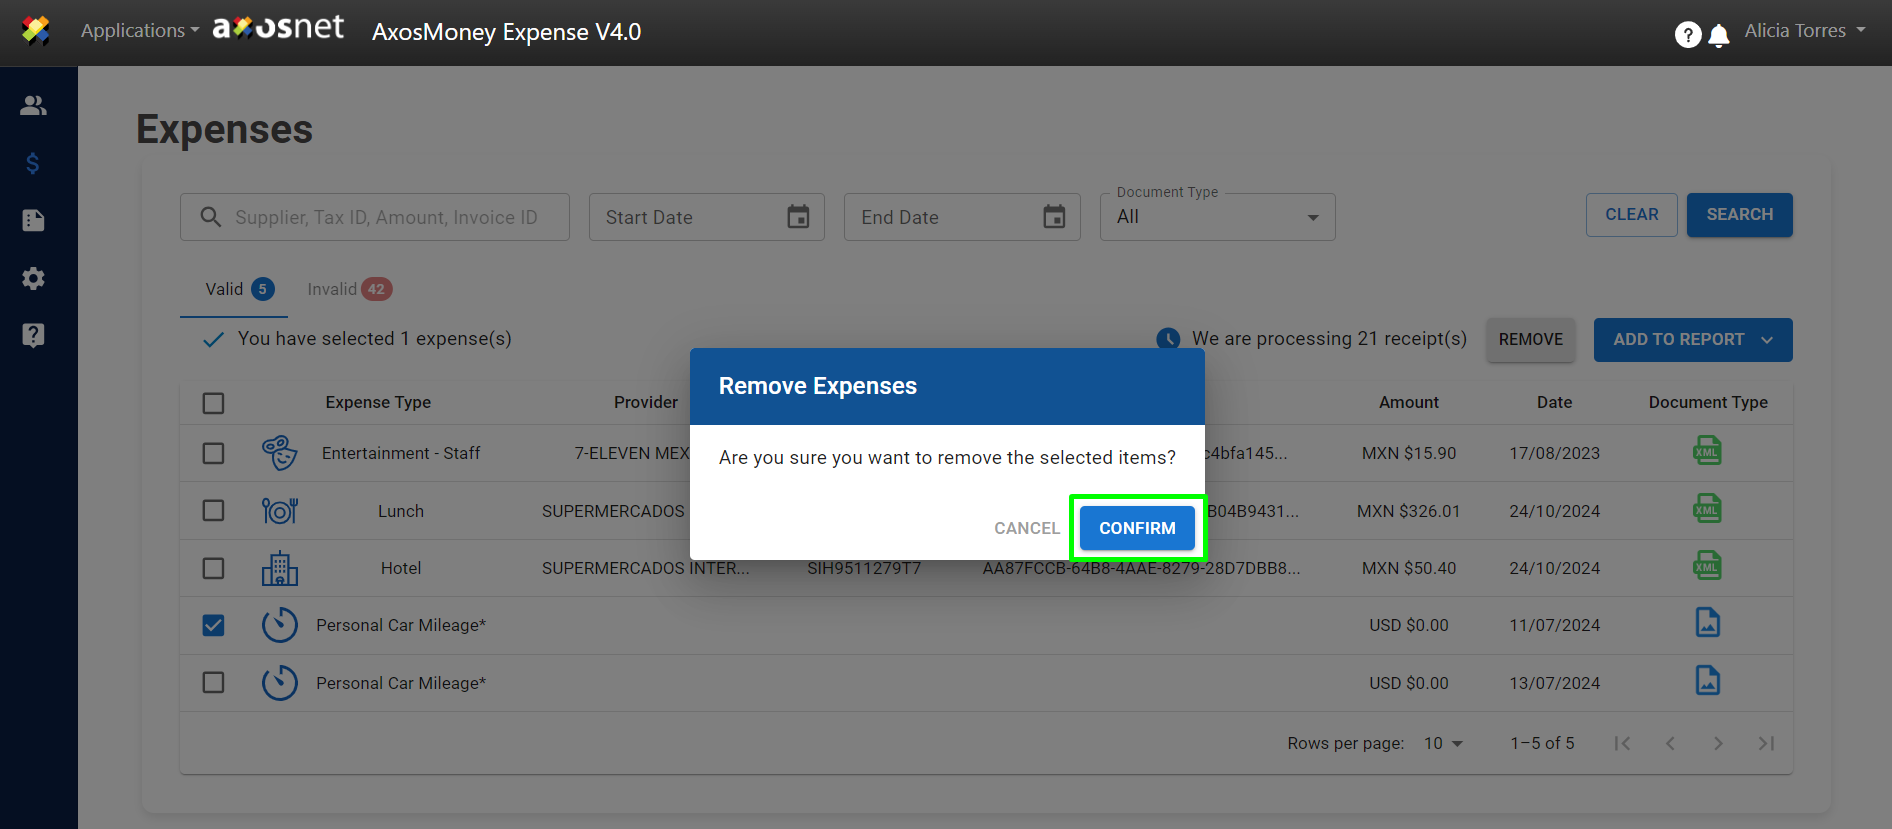
4. A confirmation message will prompt you to confirm if you want to delete the selected receipts. Click “CONFIRM” to delete.
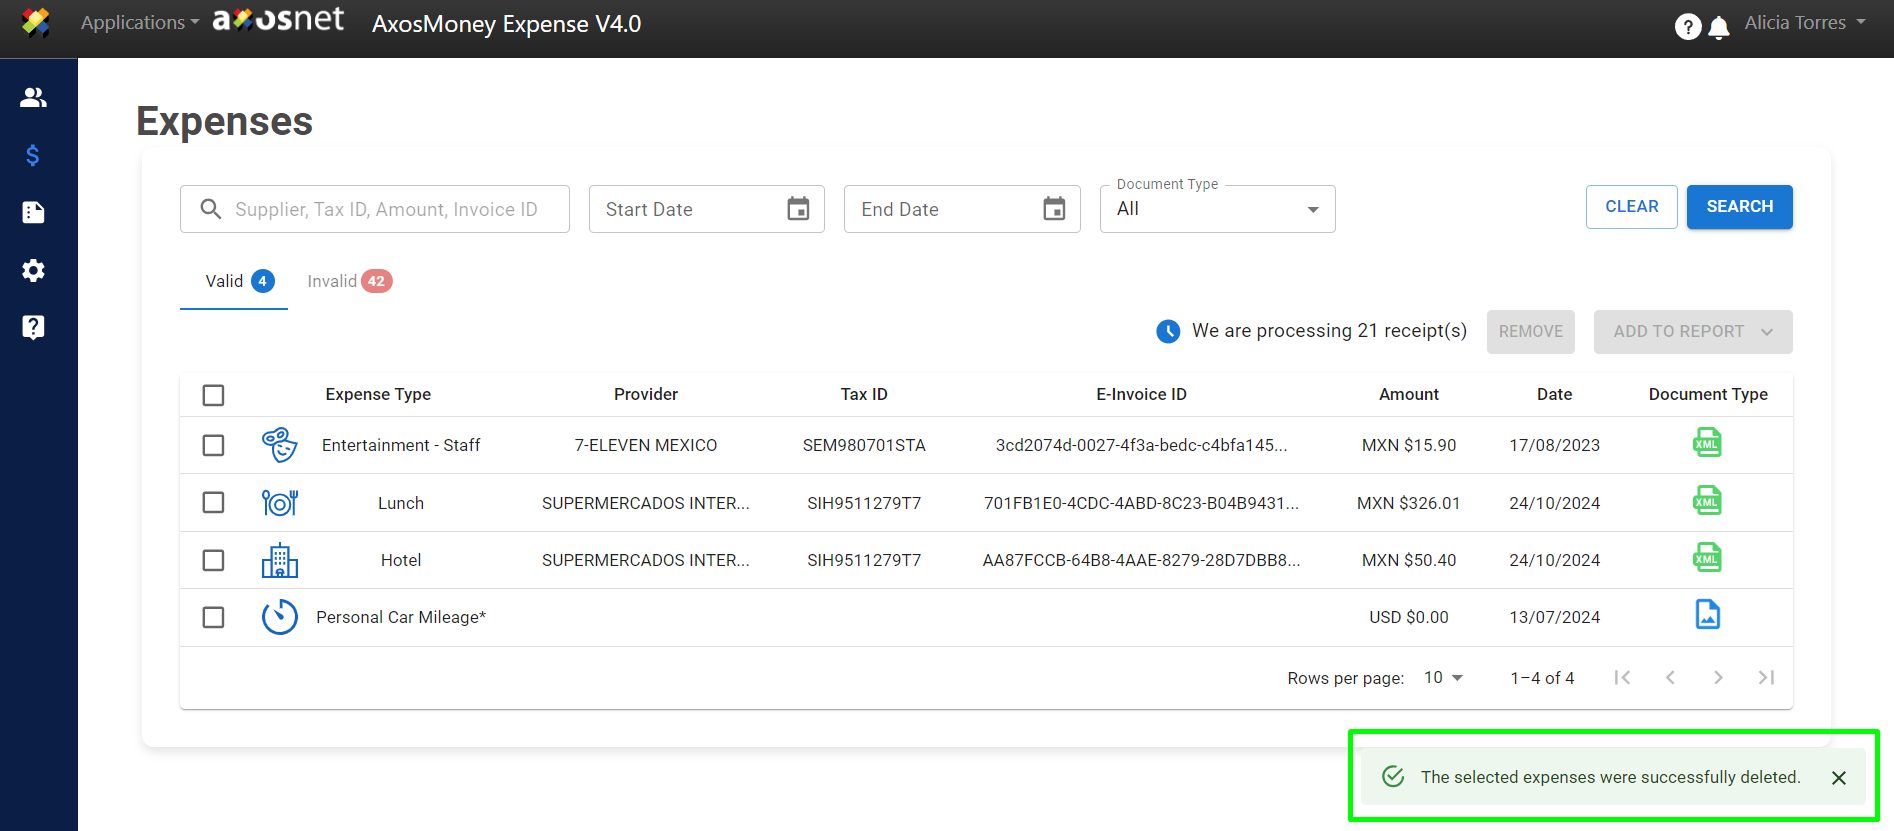
5. AxosMoney will delete the selected receipt and update the page with the remaining expenses.