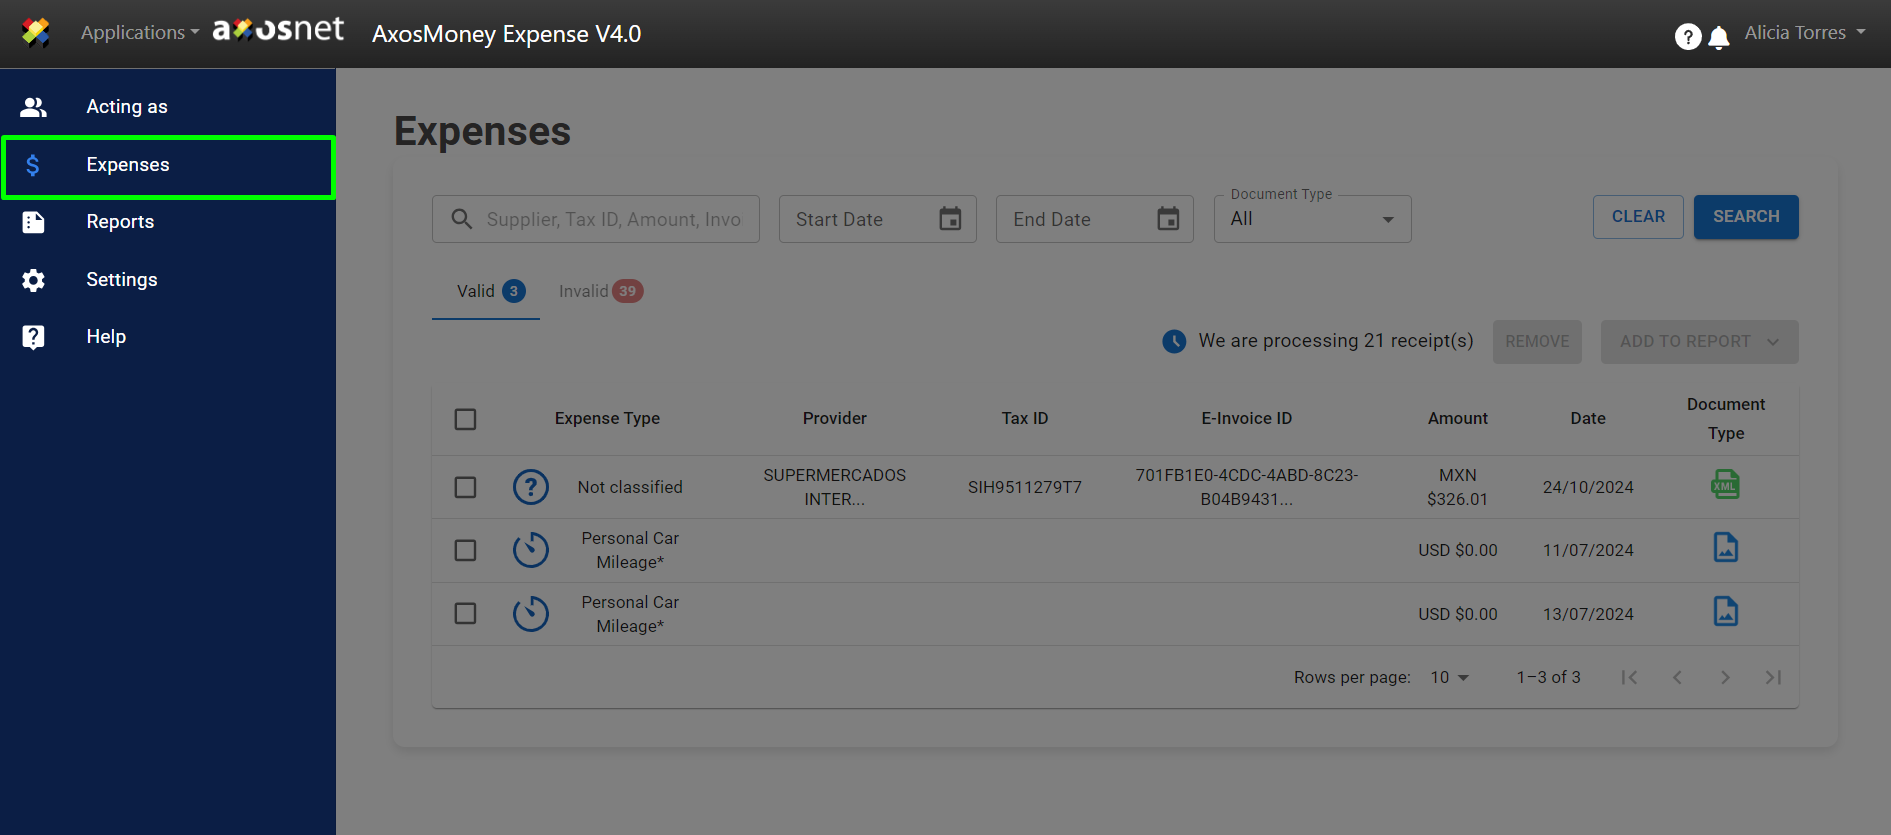
When a user accesses the “Expenses” menu, the list of “Valid” expenses is displayed by default. This section briefly describes the fields and functions that appear when an expense is valid. An expense is considered valid in AxosMoney if it meets the SAT validity criteria as well as the custom parameters configured in AxosMoney by the administrator in your company.
For future reference regarding the configuration of validation parameters, please refer to Application Management \ AxosMoney Expense V4.0 in the ACS Manual.
Classifying an Expense
Once the expenses are validated and based on the information contained in a CFDI document, AxosMoney proposes an expense type. However, the user can reclassify it later if desired.
To classify or change the classification of an expense in AxosMoney Web, follow these steps:
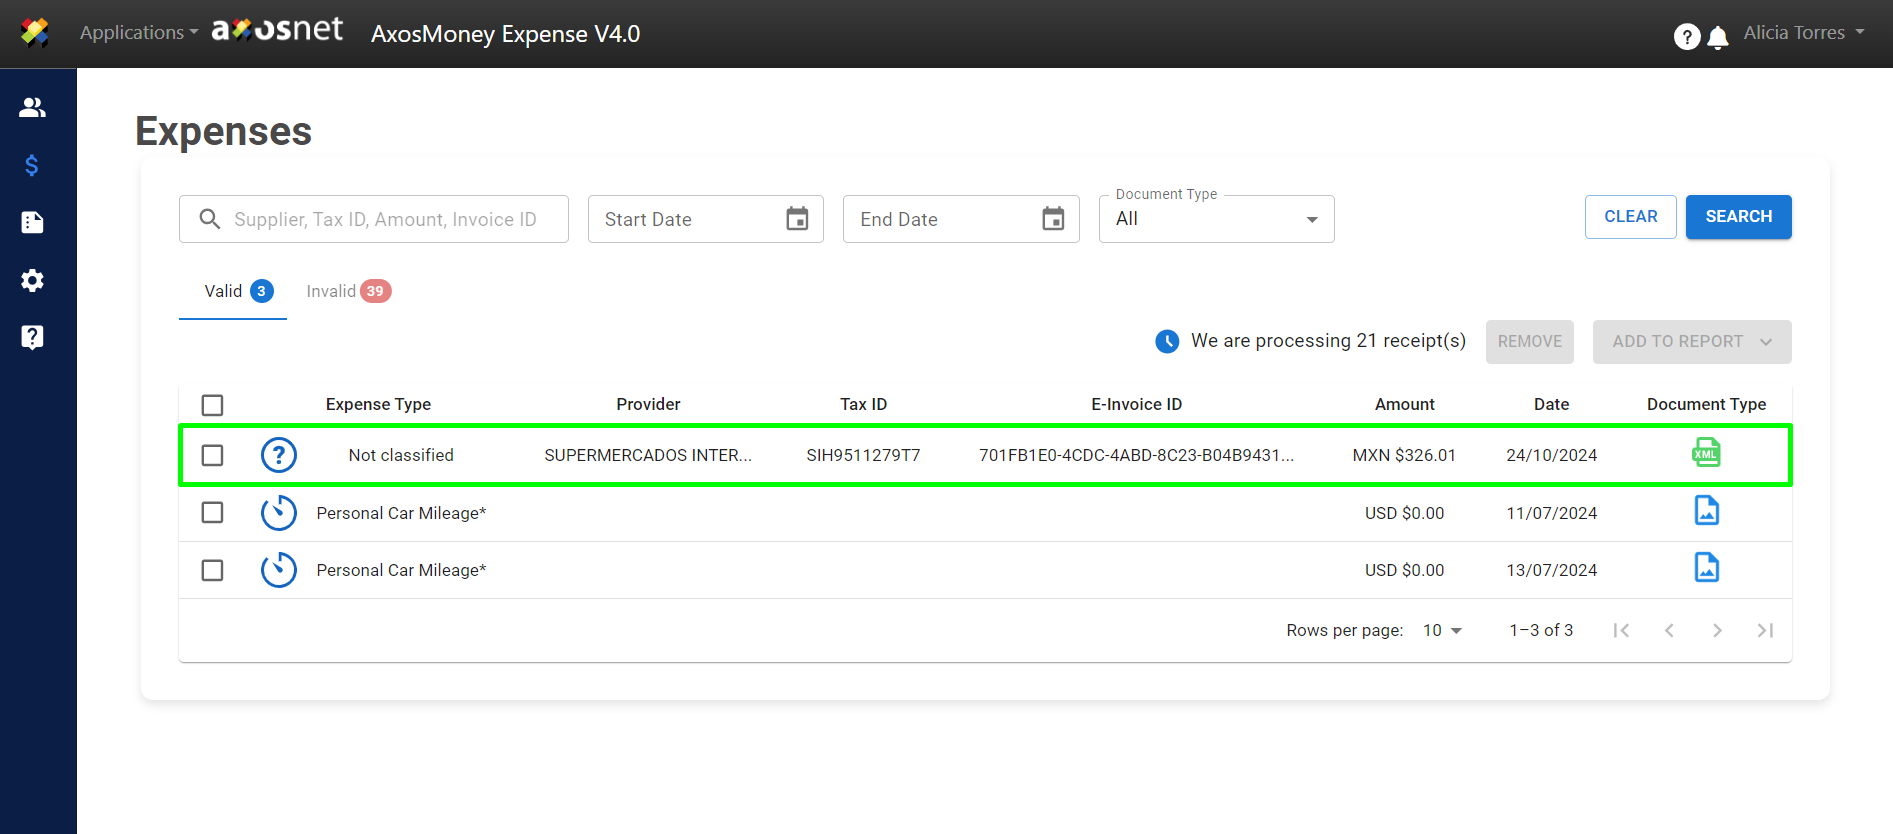
1.Go to the “Expenses” option in the main menu. The “?” icon will appear when an expense is unclassified.
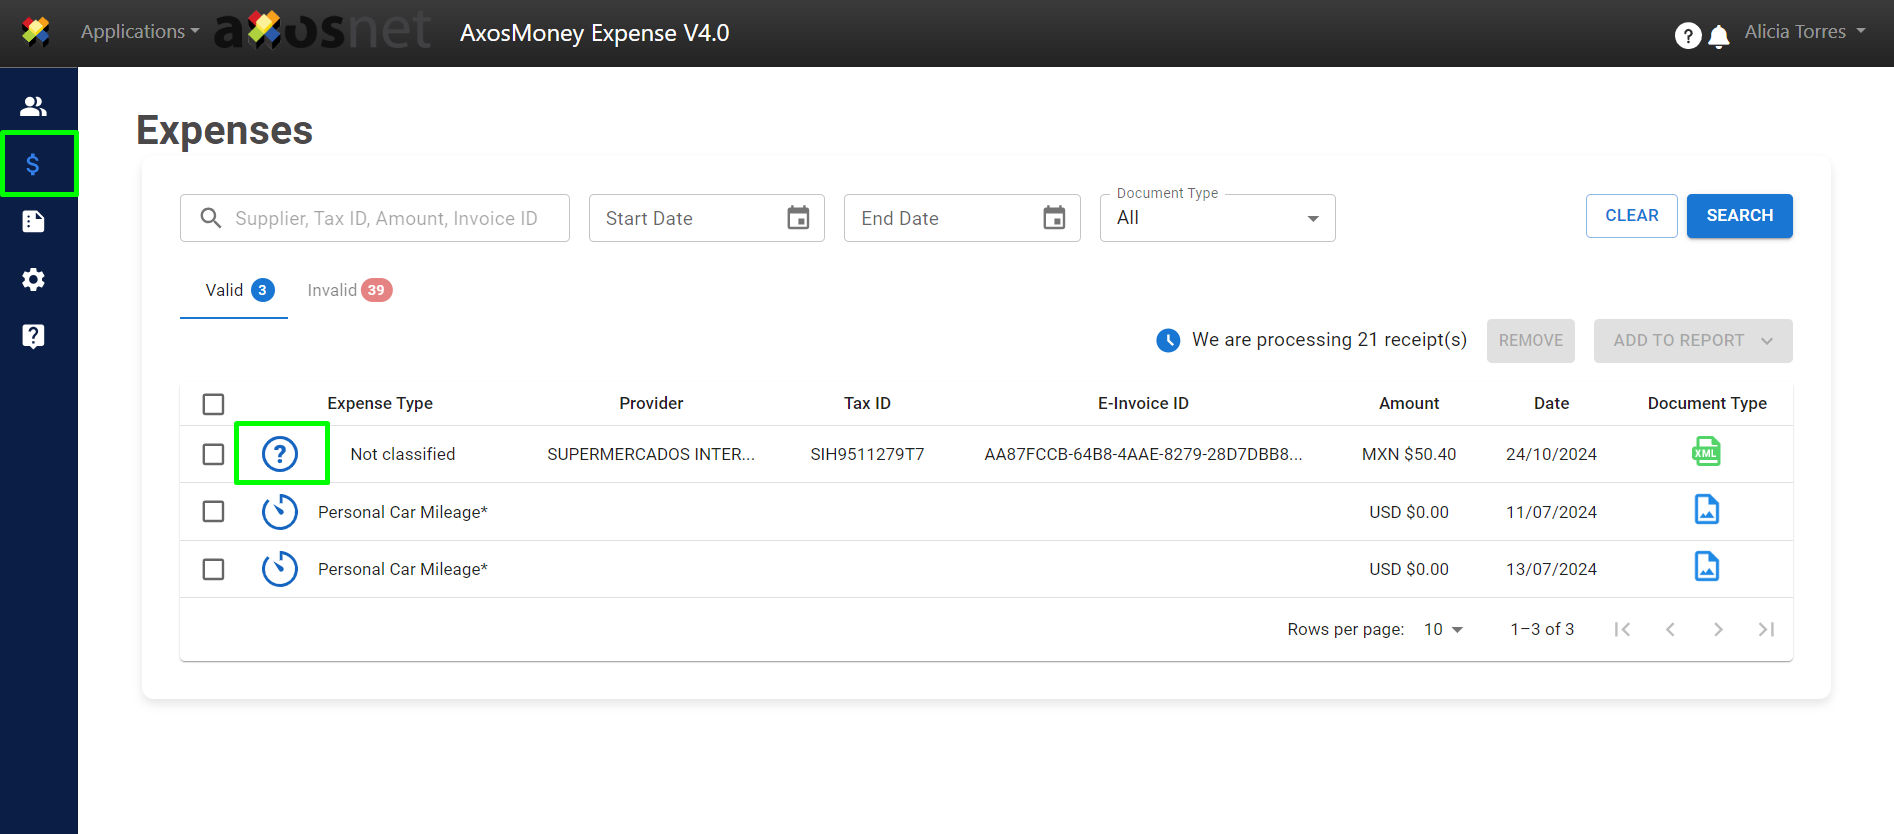
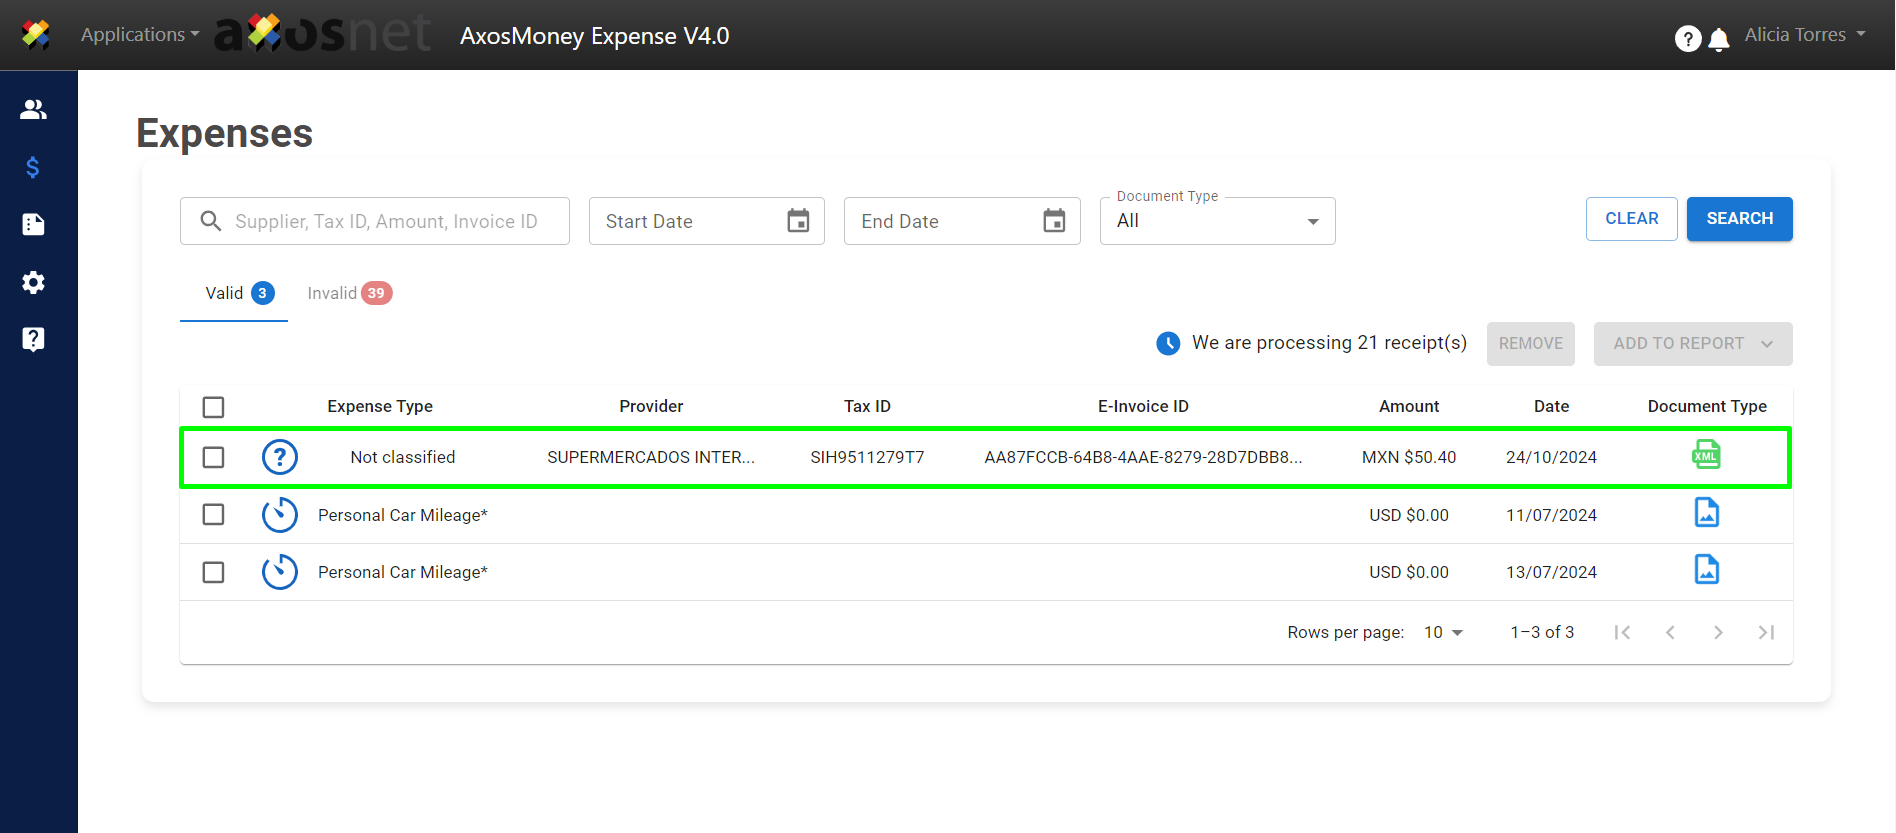
2.Click on the expense you wish to classify.
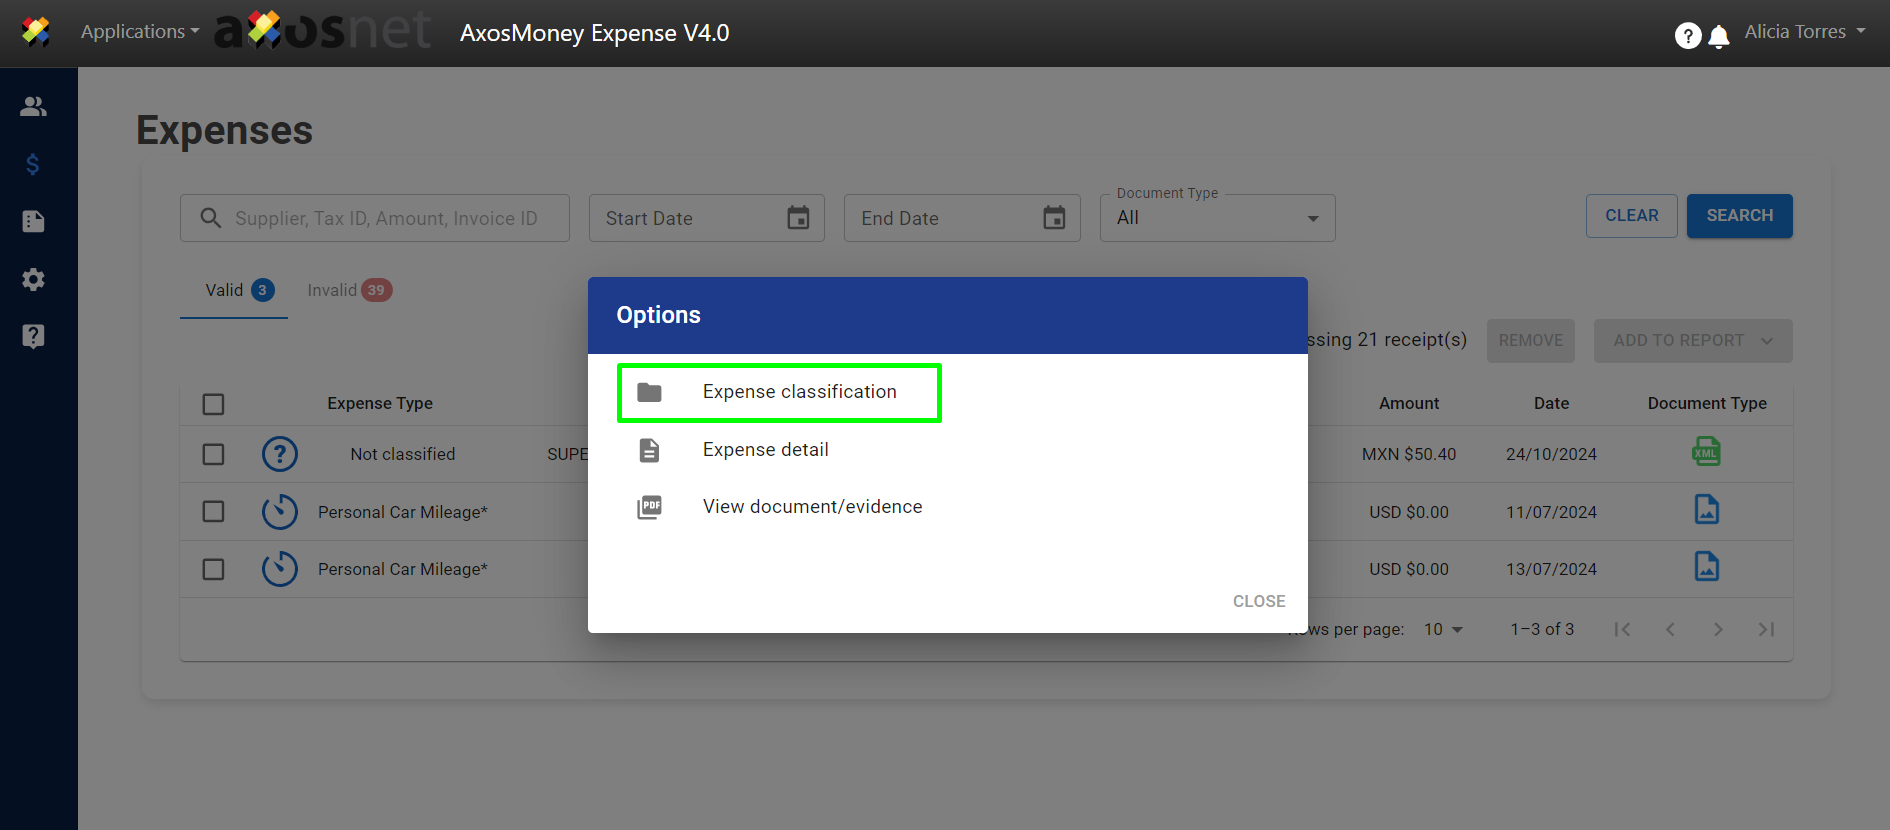
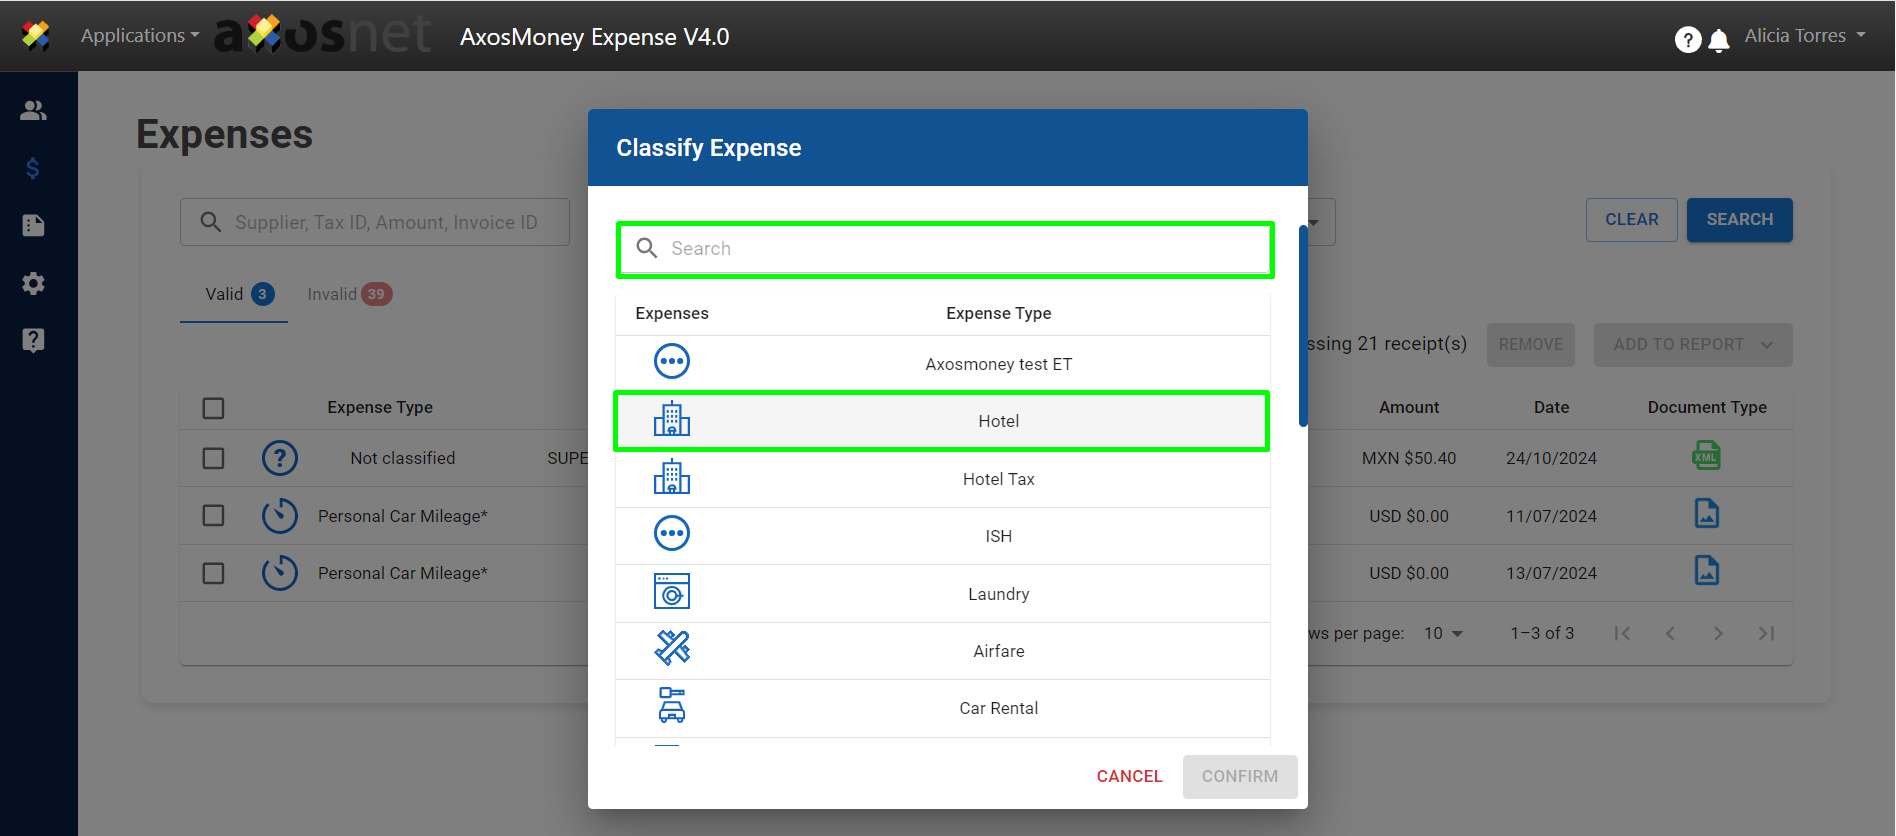
3. The system will display a window with three options. Each option is described below:
Expense Classification: Assign or change the classification type for your expense.
Expense Details: Shows the validation result of the CFDI and the details of the expense.
View Document/Evidence: Displays the CFDI.
Select the option “Classify Expense.”
4. AxosMoney will show a catalog of expense types. Choose an expense type by clicking on its name, or use the “Search” section to find a specific type. If an expense has an incorrect type, you can change it by following the same steps.
Note: The list of expenses shown is for illustrative purposes only. Available types depend on your company’s expense configuration in SAP Concur.
5. After selecting the expense classification, click “CONFIRM.”
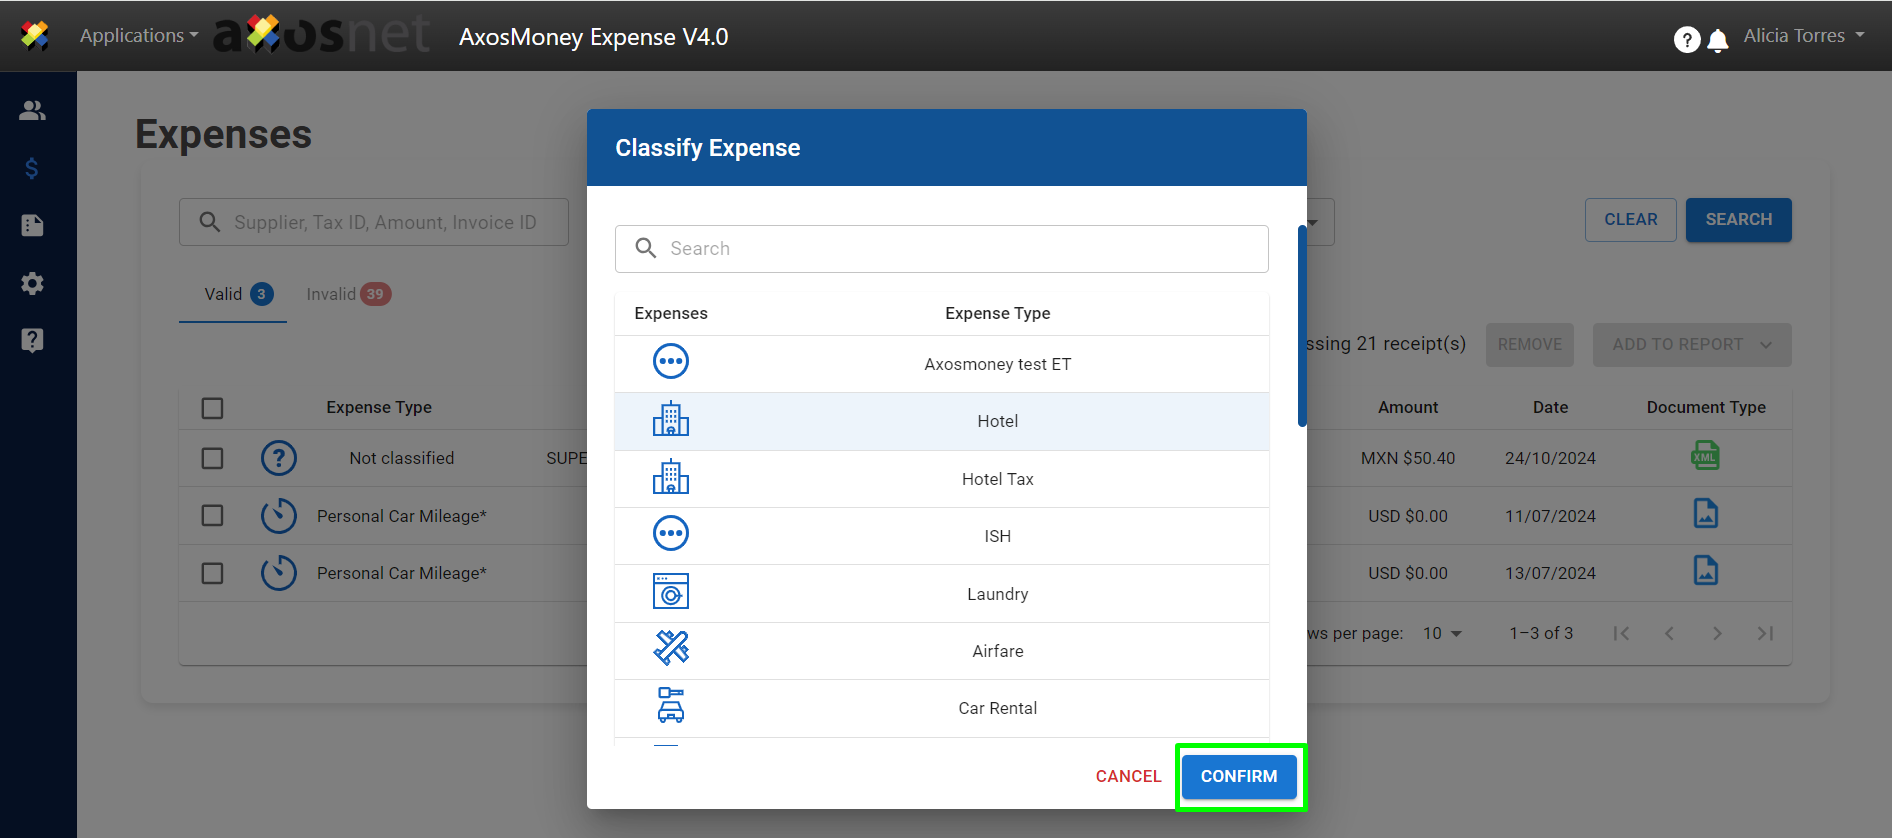
6. AxosMoney will update the expense type.
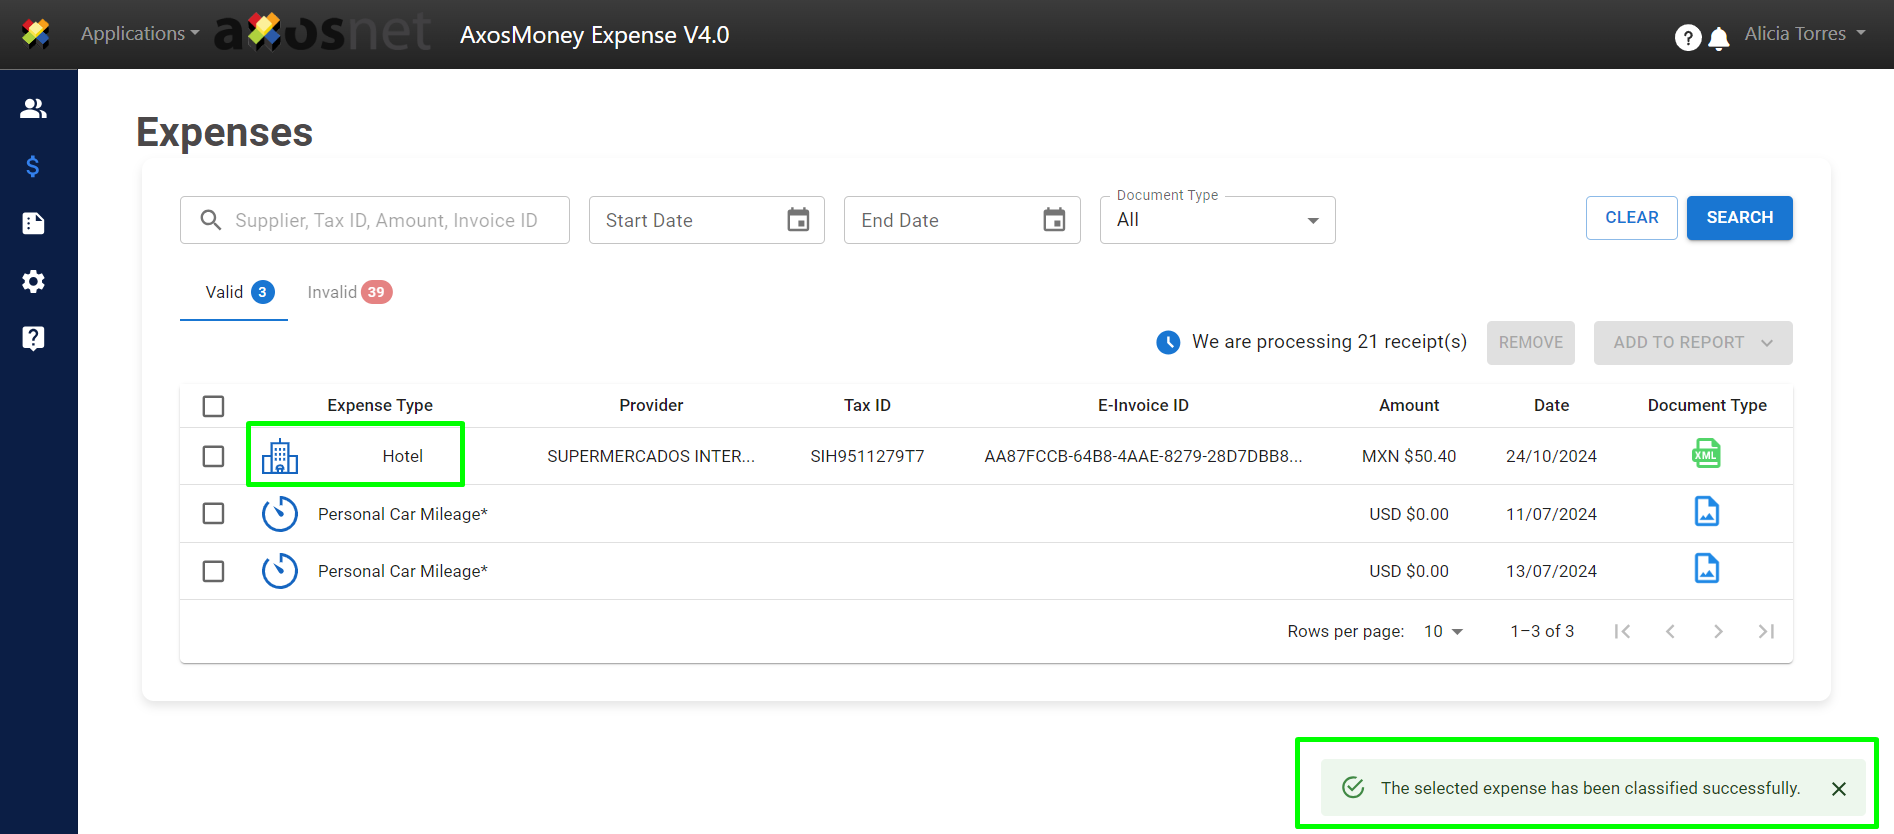
Note: Once you have classified all your expenses, you can add expenses to an existing report or create a new report.
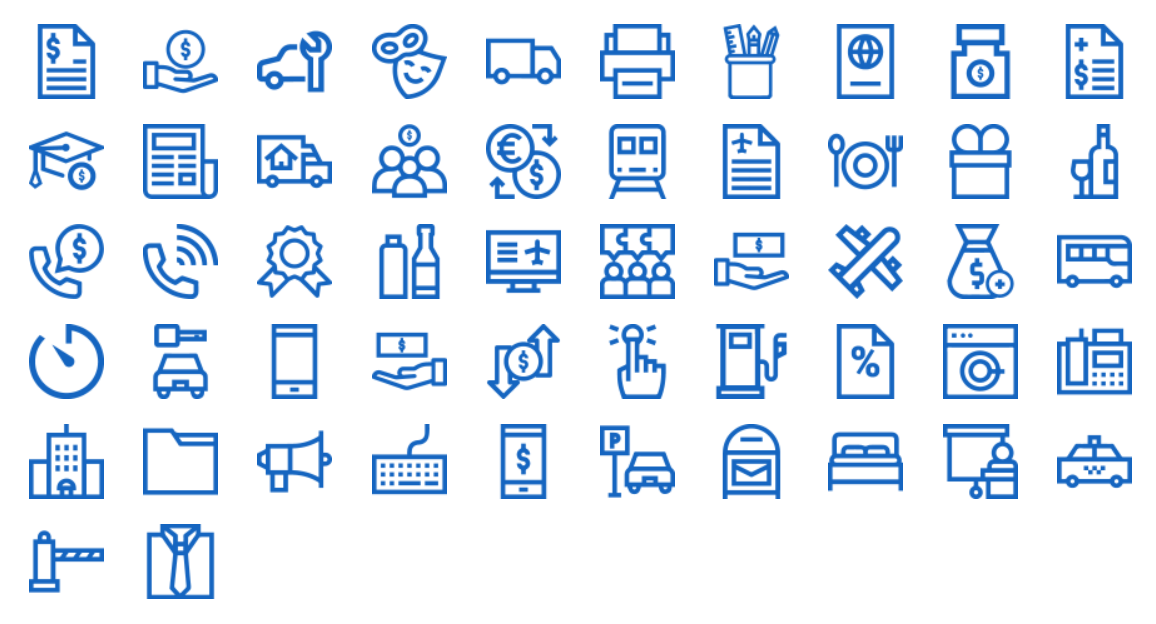
Expense types
It is convenient to mention that AxosMoney has a catalog of the most-used expense types to facilitate the review of your expense allocation. To link an expense type with a desired icon, contact the AxosMoney Service Desk.
Other-type icons.
| Icon | Name | Description |
| Unclassified | This icon appears when the expense’s RFC or Tax ID has never been classified. That is, it is the first time an expense has arrived from that provider. | |
| Other | It appears when you have created a custom classification, which is not mapped in AxosMoney. |
Reviewing a Valid Expense
You can review the status of all parameters involved in a validation. The parameters are related to the SAT criteria or tolerances that your company wishes to establish.
1.Go to the “Expenses” section.
2. Select an expense and click on it.
3. A window will open with options. Each option is described below:
Classify Expense: Assign or change the type of expense if the application did not detect it or if it is incorrect.
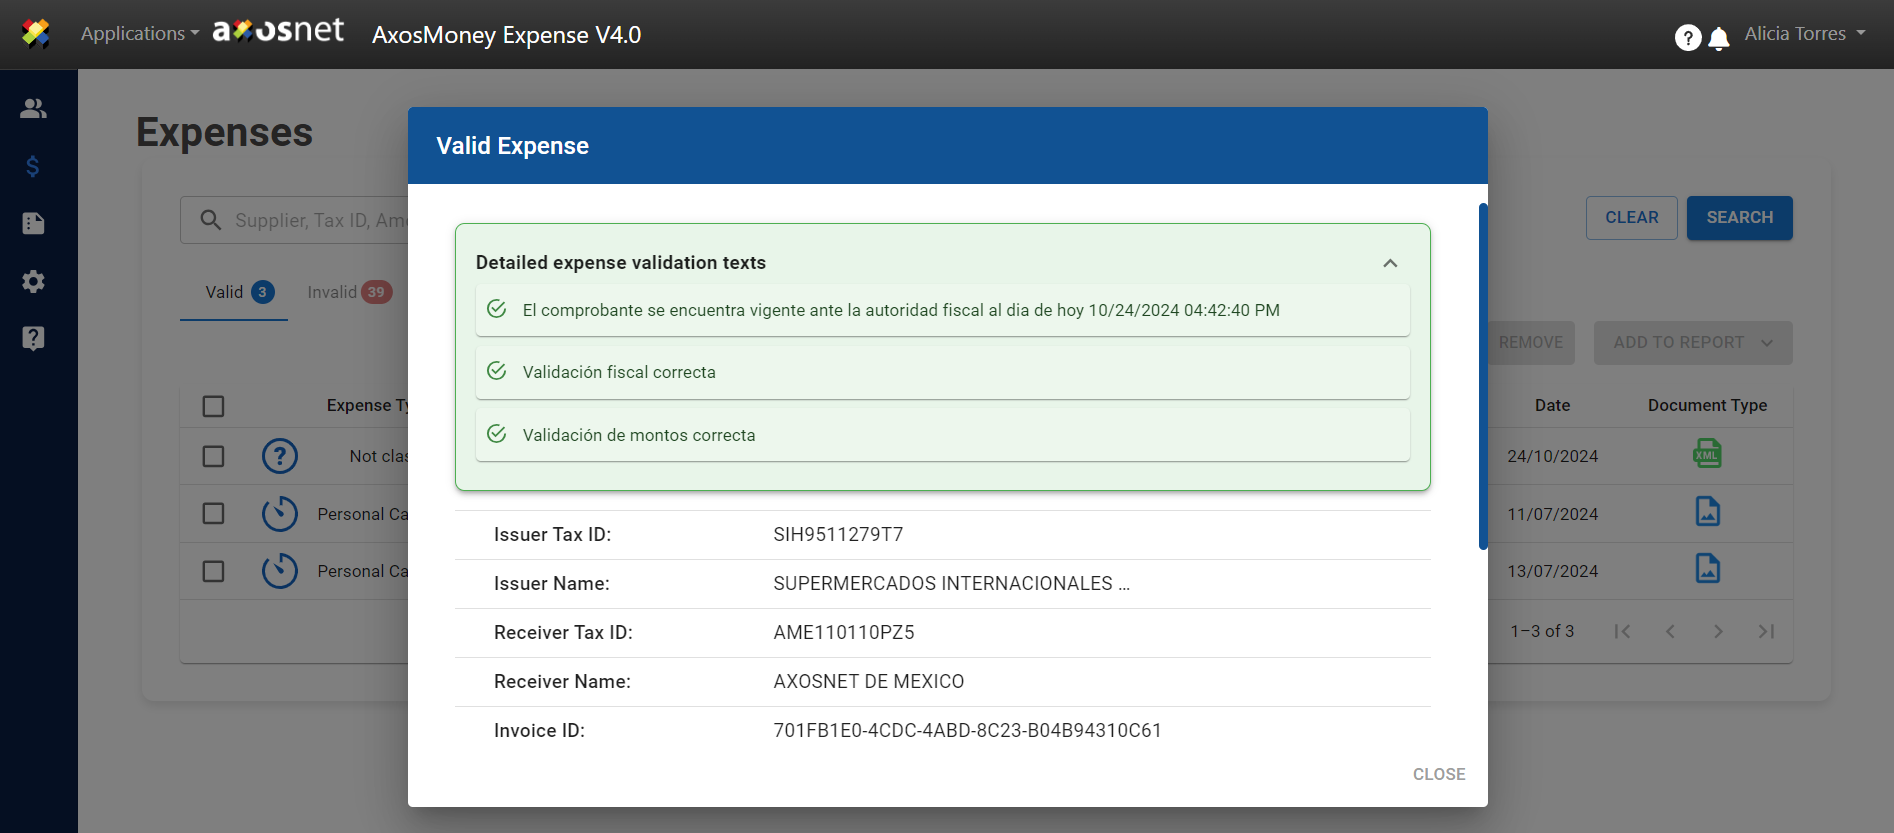
Expense Details: Displays the validation result of the CFDI on the page.
View Document/Evidence: Shows the CFDI.
Select the option “Expense Details.”

4. A details window will appear, showing all the validation parameters and their status. For example, an expense with a correct validation will have a green checkmark, while incorrect validations will have a red cross. Click “Close” to exit the window.