This section will review all the actions you can perform to the invalid receipts from the AxosMoney application.
Review Invalid Receipts
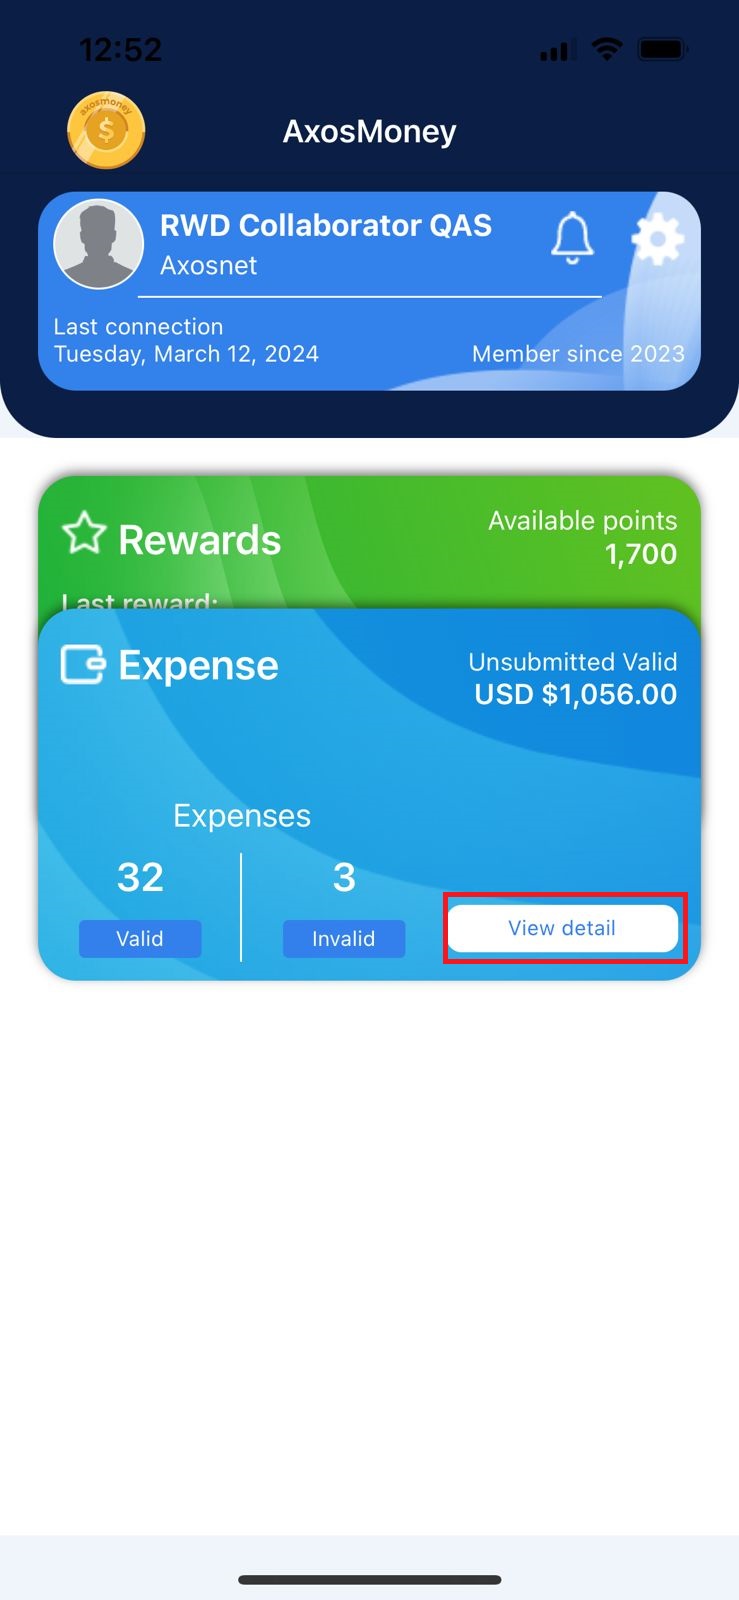
1. On the main page click on “View detail” on the Expense card.
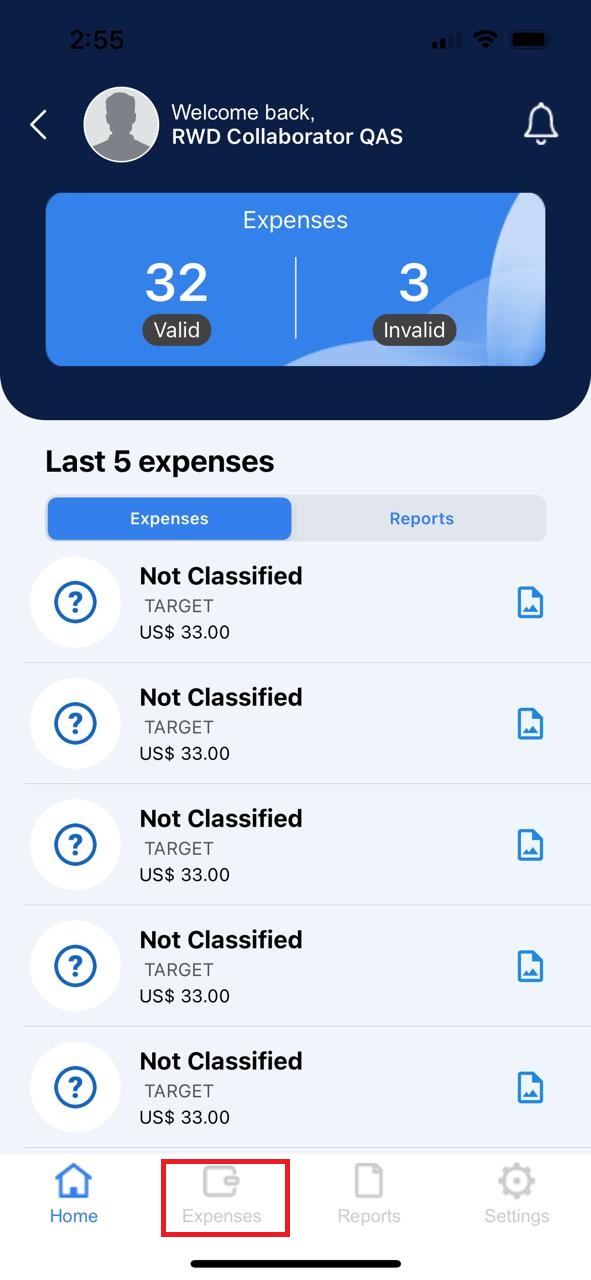
2. Tap Expenses on the “Home” screen.
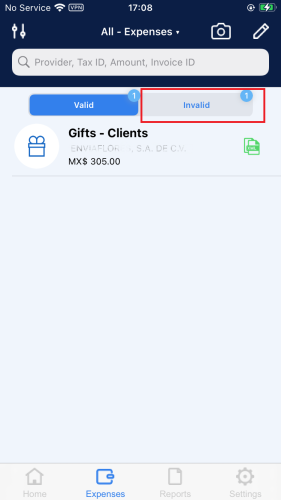
3. In the “Expenses” screen, press the “Invalid” tab.
4. Press the receipt to see the details on it.

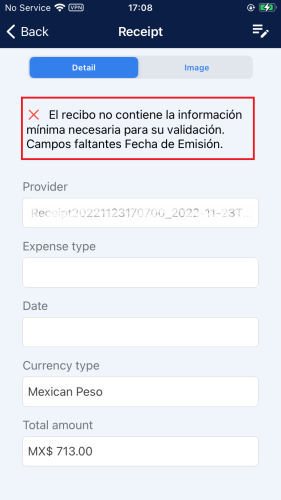
5. You will be redirected to the “Detail” tab, where you can check the details from the receipt. The reason why the receipt could not be validated correctly is shown here.
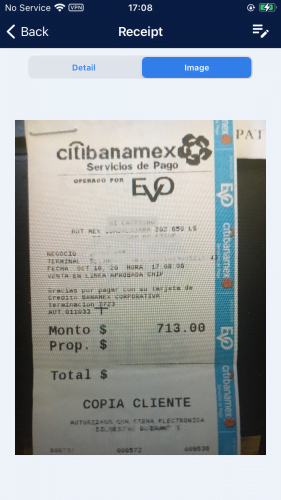
6. In the “Image” tab, you can see the receipt’s photo, the only action you can perform here is to zoom in and out of the image.
Edit Invalid Receipts
Remember that the user must always edit the expense type of a receipt. It will never fill automatically, so you can classify the expense while editing the receipt. Follow the steps below to edit and complete the missing fields in an invalid receipt.
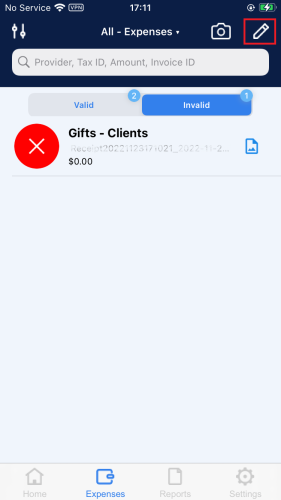
1. On the “Expenses” screen, in the “Invalid” tab, select the receipt for which you want to edit the fields.

2. Press the edit icon on the top right corner of the screen.
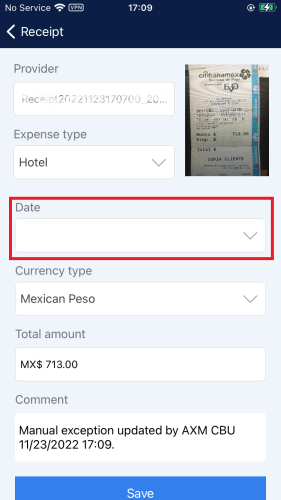
Note: in this example, the application could not identify the “Date” field in the receipt, but the data detected can vary; it will depend on the receipt’s photo.

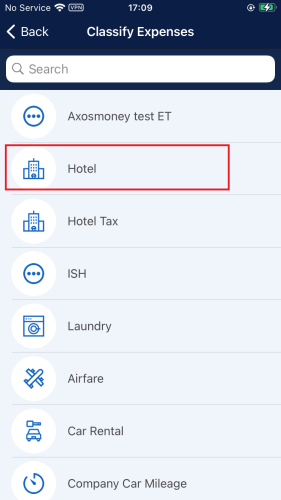
3. Press on the [ Expense type ] field.

4. Select an expense type from the Classify Expenses list. For this example, we will choose “Airfare.”
5. The [ Expense type ] field will update with your chosen classification.

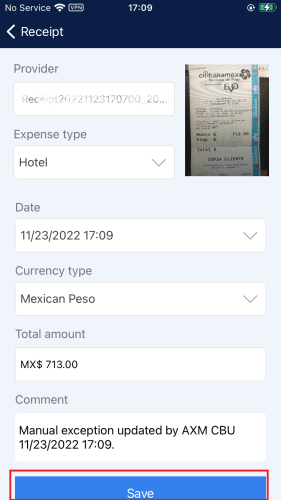
6. Press the [ Date ] field.
7. The “Select date and Select time” window will appear. Select the date and time according to your receipt creation, then press Accept to proceed.

8. Press || Save || at the bottom of the screen once all the fields have the correct information.
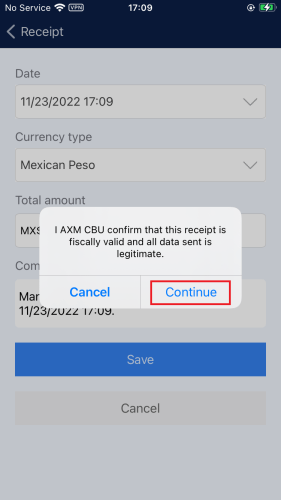
9. A window will pop up asking you to confirm that the receipt is fiscally valid and the data sent is legitimate. Press Continue to proceed.
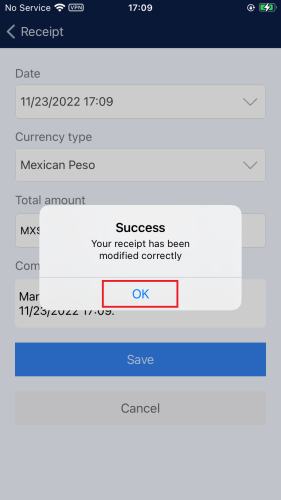
10. A success message will appear. Press OK to continue.
11. You will be redirected to the “Expenses” screen on the “Valid” tab. Here you can appreciate the receipt you just edited.

Delete Invalid Receipts
1. Go to the “Expenses” screen, then to the “Invalid” tab, and press the edit icon.
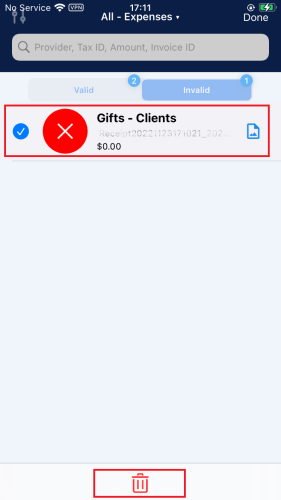
2. Select the receipt you wish to delete by checking the radio button next to the records, then press the delete icon at the bottom of the screen.
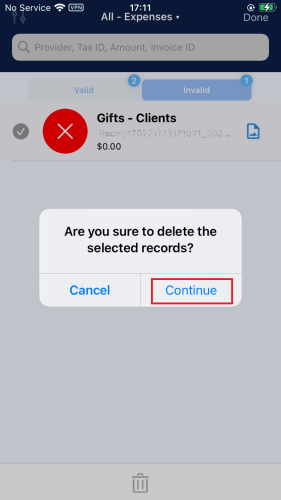
3. A confirmation message will appear. Press Continue to proceed.
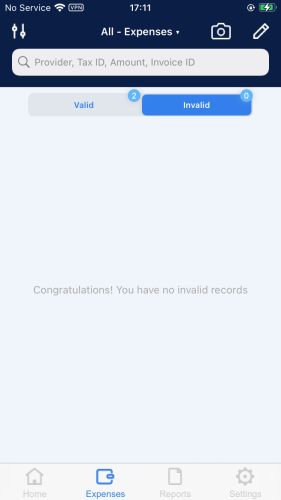
4. The receipt you deleted will no longer appear in the “Invalid” tab.