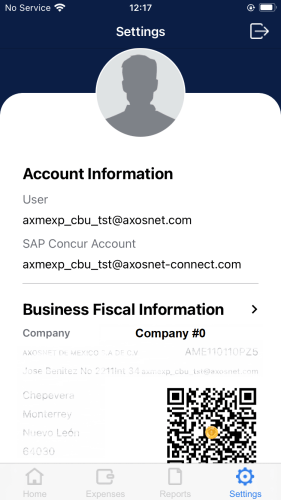
In this section, consult the fiscal information of the company assigned to your user with its corresponding QR code and access means to share this information, such as email.
Consult the fiscal Information with QR of a company
This section explains how to change to a different company to consult the fiscal information.
1. Enter the “Settings” screen and pulse on the Business Fiscal Information tab.
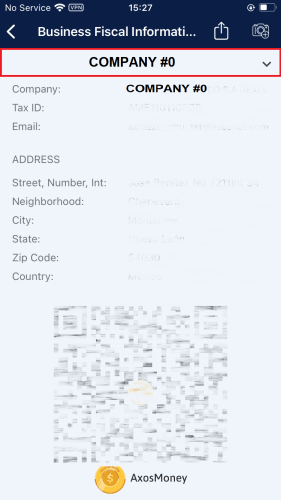
2. Tap on the company title at the top of the screen to display the list of companies.
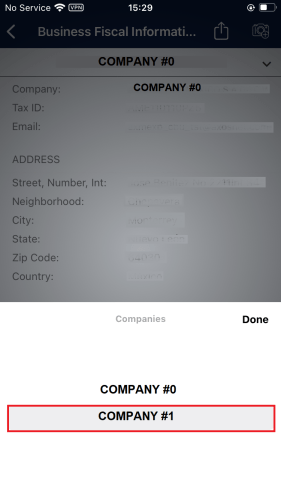
3. From the list, select the company whose fiscal information you want to review, in this case, “COMPANY #1”.
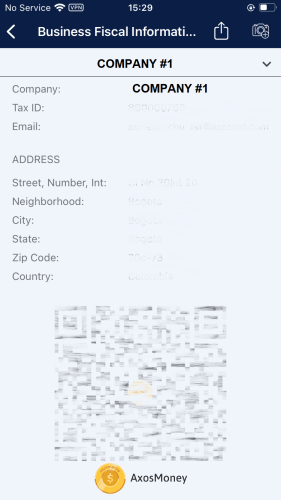
4. The fiscal information on the Business Fiscal Information will change. Now it will be the information belonging to COMPANY #1.
5. If you return to the Settings section, the company information will be displayed alongside the corresponding QR code.

Send Fiscal Information with QR
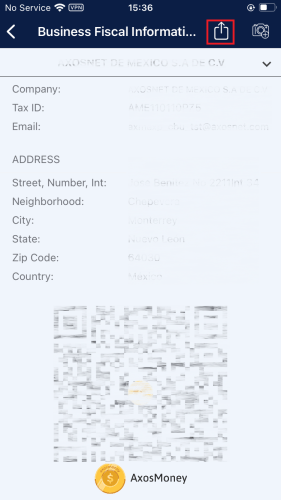
1. On the Business Fiscal Information screen, tap the share button.
2. A menu with different app options will appear. Select the app of your liking. For example, Mail.

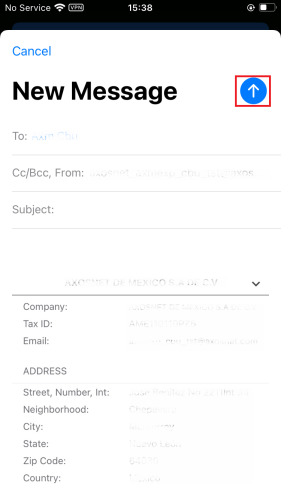
3. A mail window will appear, type the receiver’s email address and tap on the send icon.
4. The receiver can open the email they received and check the image attached.

Send fiscal information and photo taken from camera
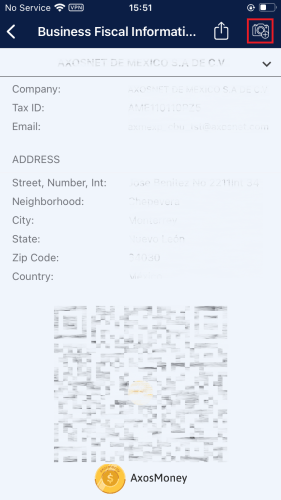
1. In the Business Fiscal Information screen, tap the camera icon.

2. An option list will appear. Tapp the Take photo option.

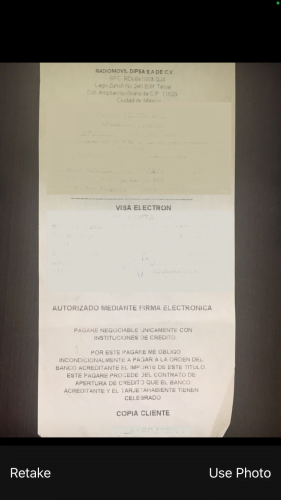
3. The camera from your mobile device will activate, take the receipt’s picture and tap Use photo when satisfied with the image.
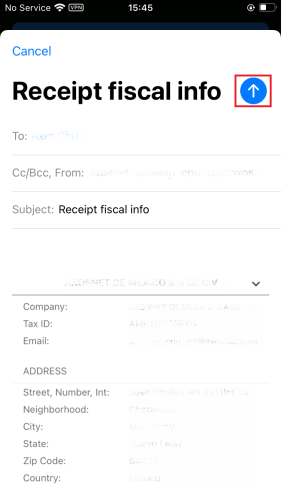
4. An email window will appear, type the receiver’s email address and tap send icon.
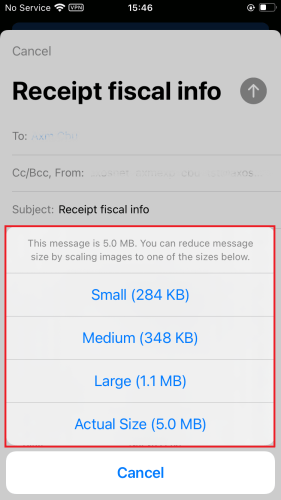
5. Before sending the email, a window will appear asking you to choose a size for the attached photo. Tap the option most suited for you.
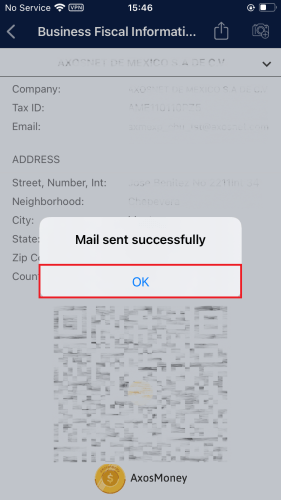
6. A success message will appear informing you that the email was sent successfully. Press OK to continue.
7. The receiver can check their inbox and open the email to verify it’s the same picture sent.

Send Fiscal Information and a photo from gallery
1. In the Business Fiscal Information screen, tap.
2. An option list will appear. Tapp the Select from camera roll option.

3. You will be redirected to the camera roll. Choose the receipt photo you want to send.

4. An email window will appear, type the receiver’s email address and tap on the send icon.

5. Before sending the email, a window will appear asking you to choose a size for the attached photo,. Tapthe option most suited for you.

6. A success message will appear informing you that the email was sent successfully. Press OK to continue.

7. The receiver can check their inbox and open the email to verify it’s the same picture sent.
