This section has the purpose of showing the use and functionality of the DataManager Monitor in Axosnet ERP Connector for Expense or for Invoice, and either the AEC 2.5 or the AEC 2.7 version, so that the customer can request or execute the reading of the Concur SAE file and thus be able to send the information to SAP in a process called “On Demand,” a process that does not require a job execution.
When you enter the Axosnet ERP Connector, it will ask you to select the company and click the “Select” button to proceed.

Now you are ready to work with the DATA VIEWER of Axosnet ERP Connector.

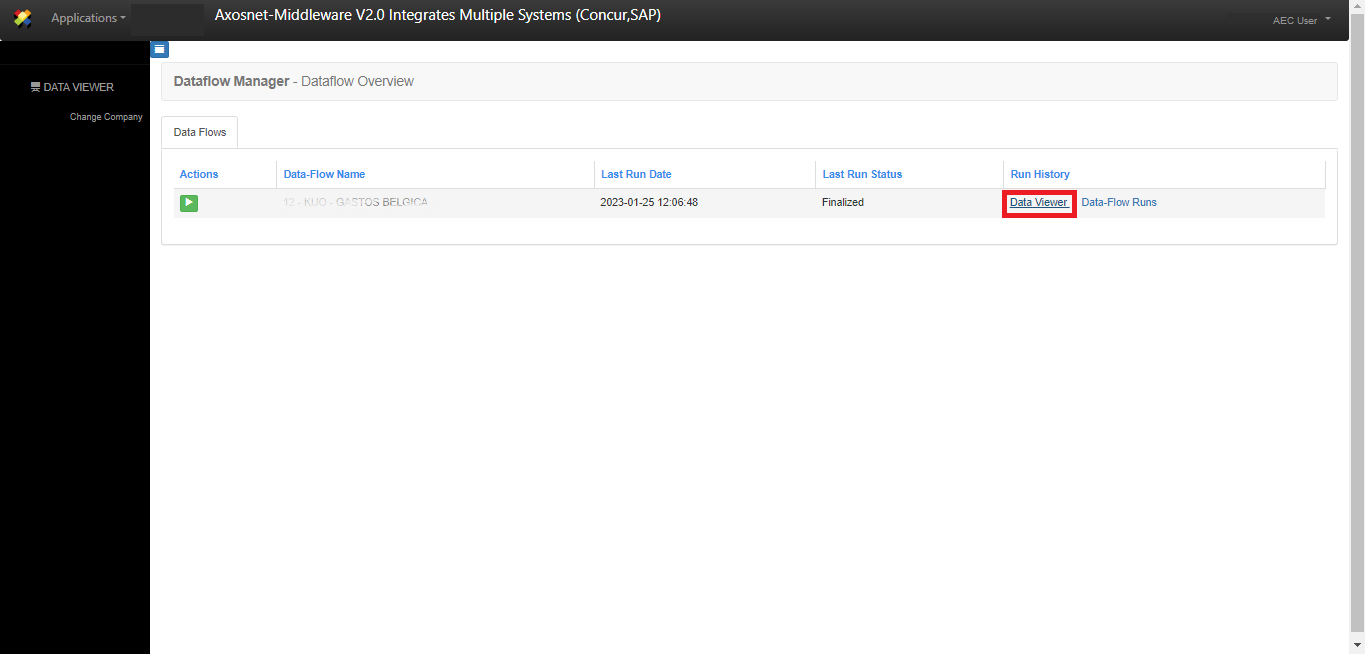
Once you enter the data viewer menu, it will show you the Dataflow Manager – Dataflow Overview screen, where your company’s dataflows will be listed. In the Run History column, each dataflow will have two monitors, the former is the Data Viewer, where you can configure a dashboard with the data you want to see of the processes, and the latter is the Dataflows Run monitor, where you can see the summary of the processes that have been executed for the selected data flow.
Select a Process
The Dataflow Overview screen lists all the Data Flows previously configured for the company. Inside every data flow, there are one or more processes. First, be aware that information is available in the Axosnet ERP Connector within a seven-day window. Then, the information is migrated to a long-term bucket made for your company.
The steps to select a process are as follows:
1. Identify a dataflow, and then in the Run History column, click the link Data Viewer.
2. In the Displaying field is the last dataflow execution information. Click the New Search button to consult an execution different from the last one.

3. The system will show the following page:
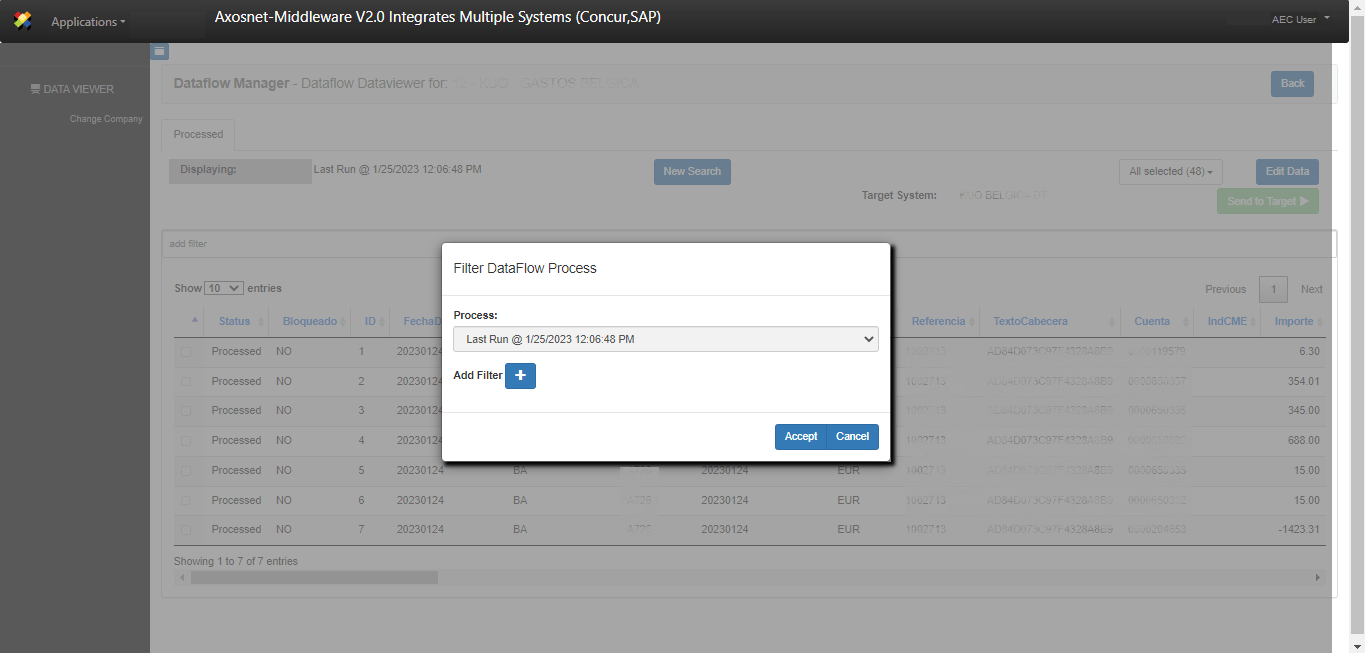
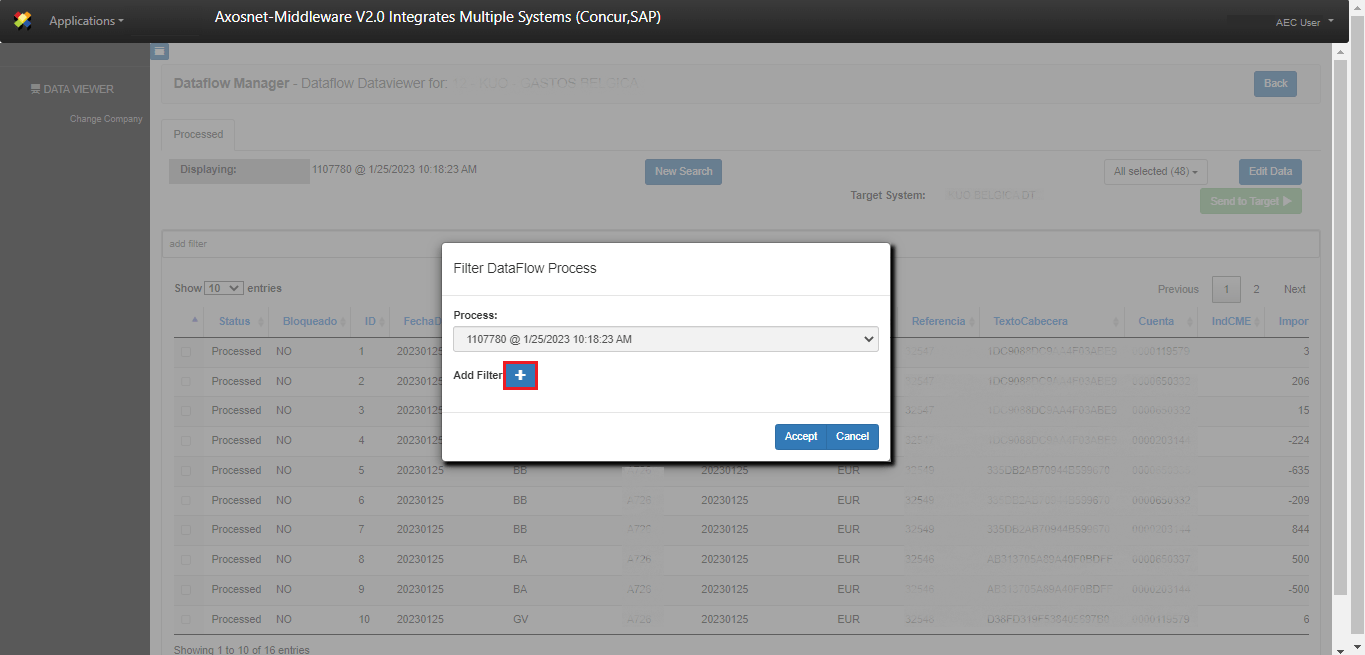
4. Click on the picklist and Select a process:
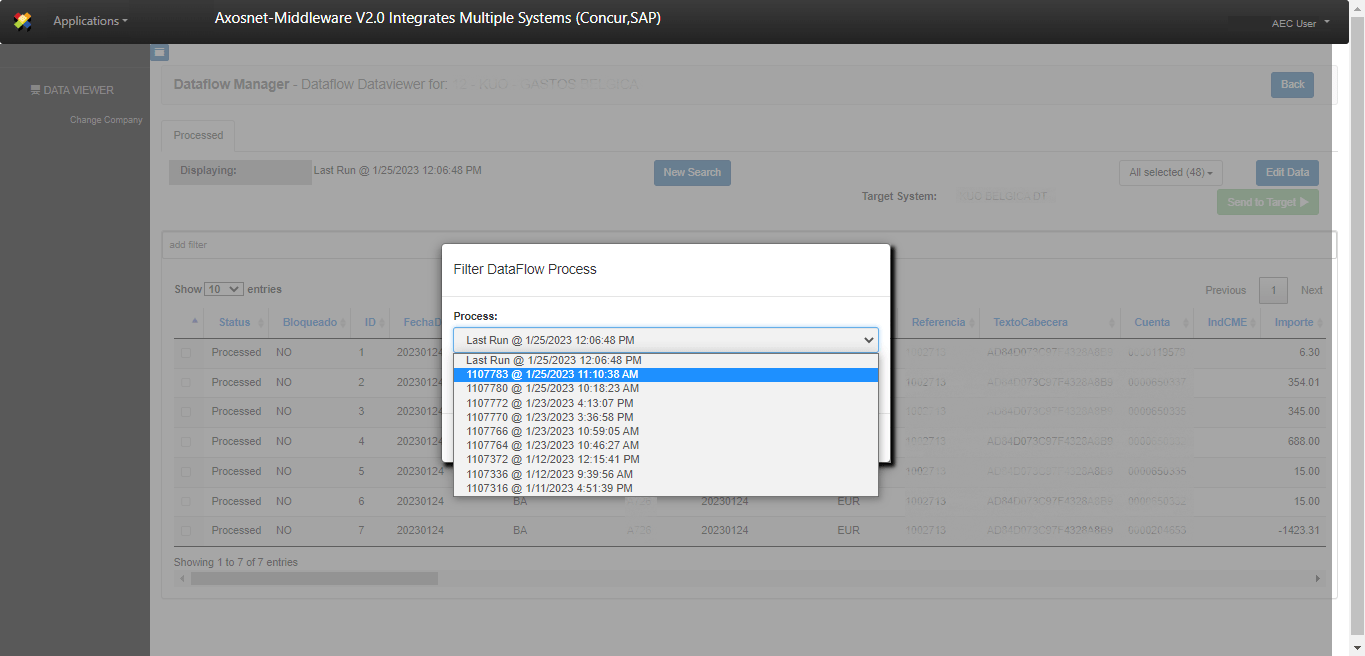
Note: Only processes less than 7 days appear in the dropdown. To review an older process, you must recover it with the function: Retrieve
5. Click on the Accept button.

6. You will return to the previous page, showing you the processes executed on the day you selected.
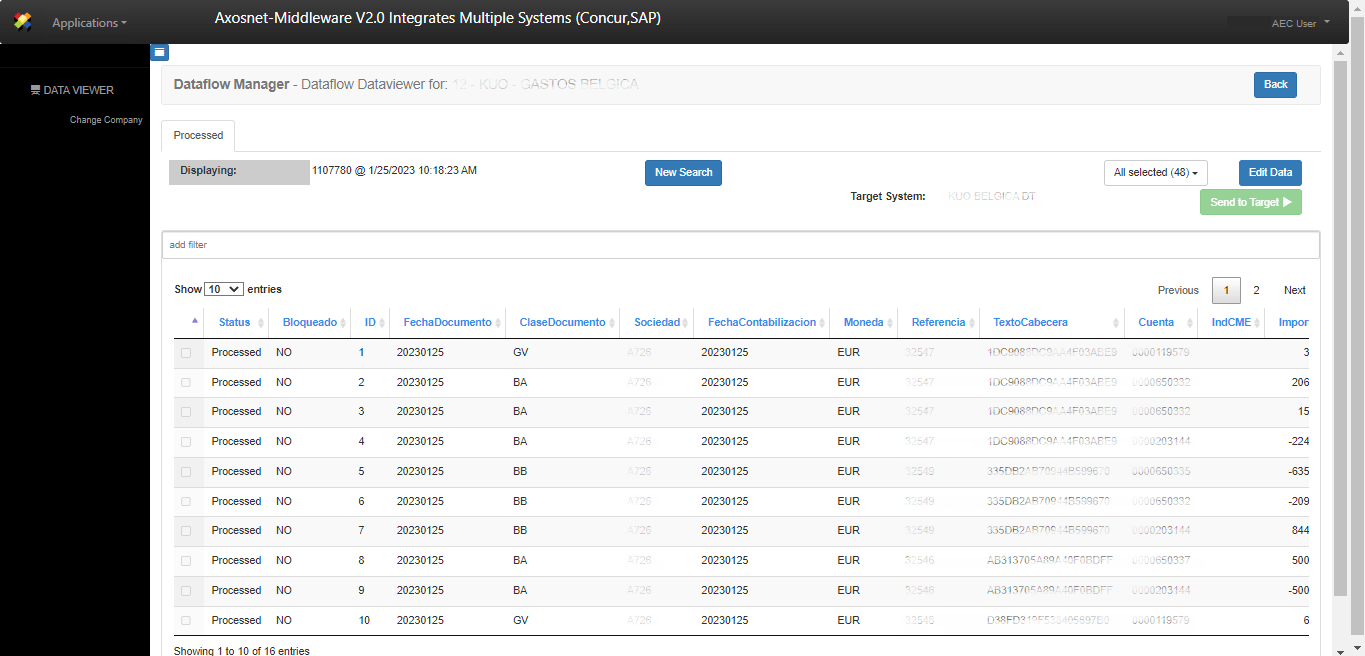
7. Use the plus button to apply filters to the selected process before visualizing the result on the screen to minimize the query time when the process contains many records.
8. Select an option of Dropdown filters.

9. Type a value and click Accept. If you want to add more filters, click the plus button; if you’re going to remove filters, click the minus button.

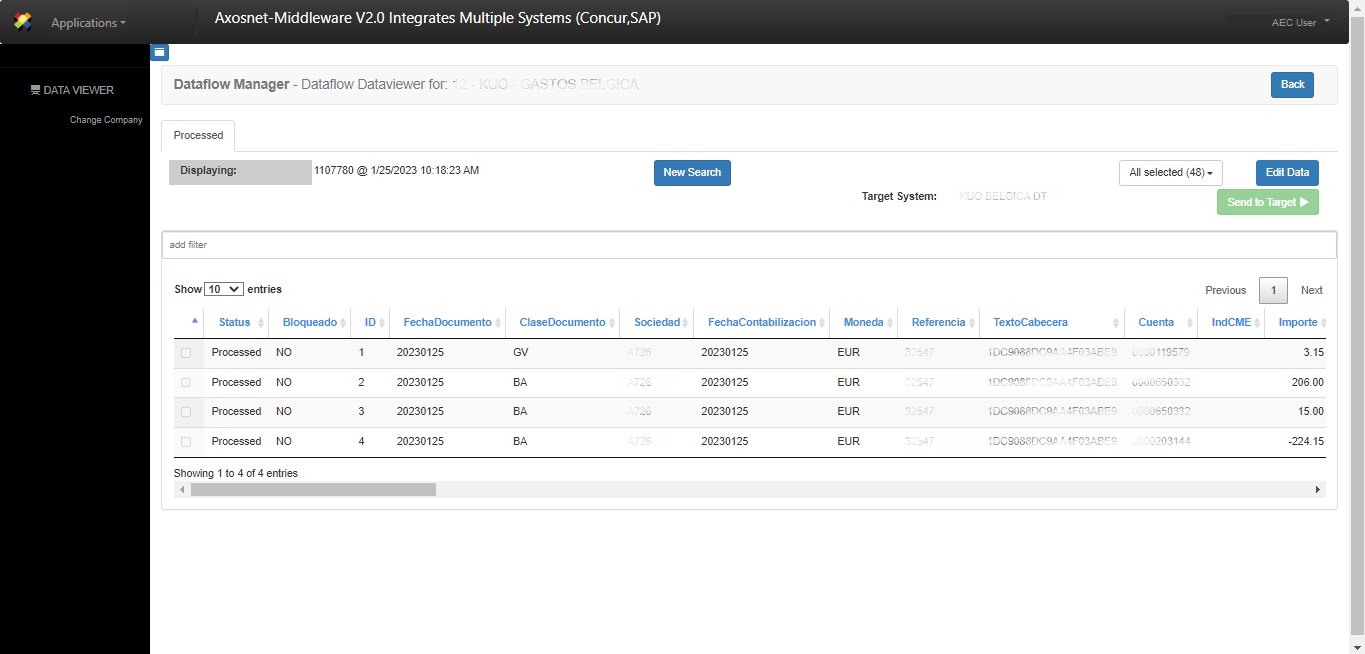
10. The system will display the process records with the filters applied on the page.
Hide or display columns.
In this section, we will show you how to configure the table to your needs for the data flow that you have selected. Follow the steps below.
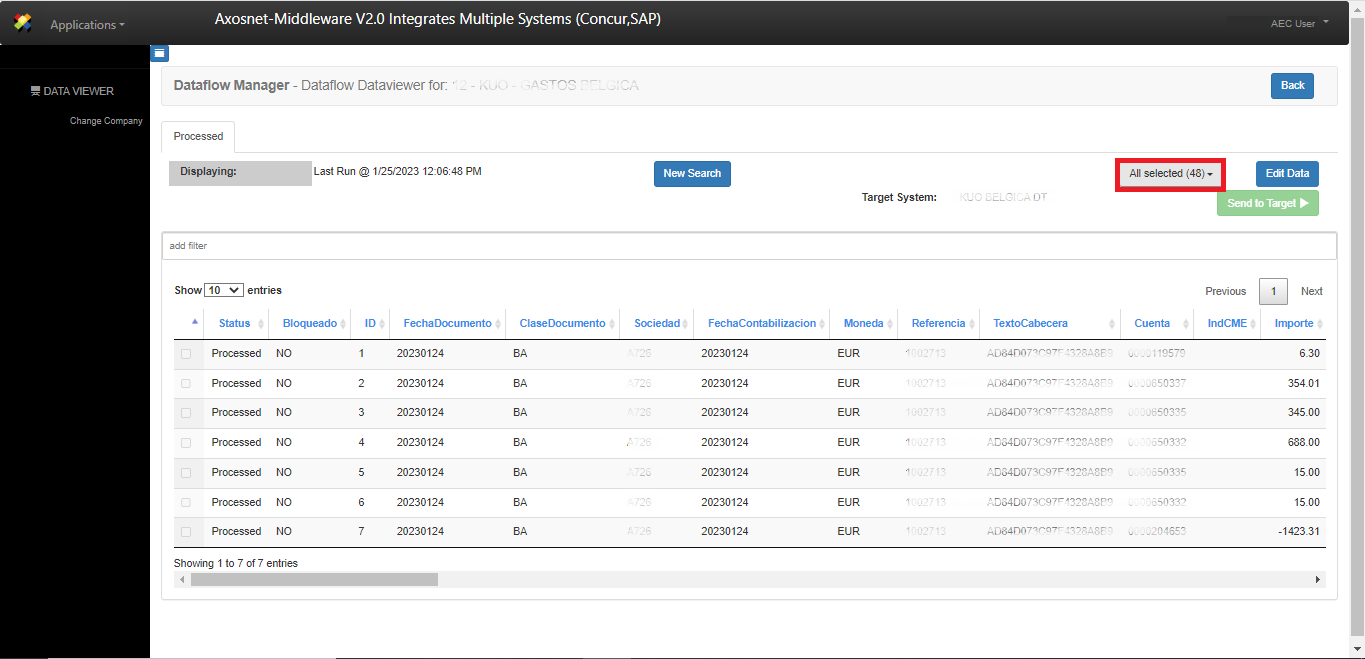
1. Click the All selected (-) button. Note that the number within parentheses corresponds to the number of columns.
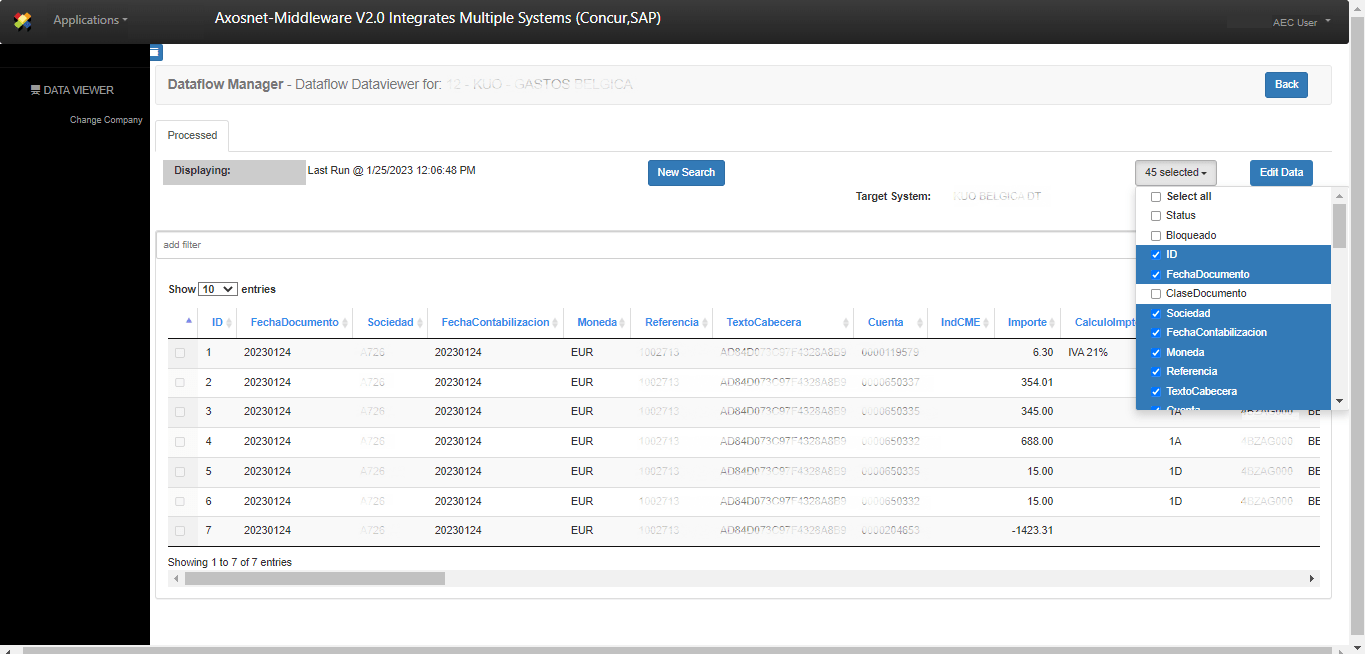
2. After clicking the All selected button, the dropdown reflects the name of the columns on the table. Check to display or uncheck to hide the columns.
Add filters in the Data Viewer Environment.
In this section, we will show you how to consult records using the filter bar, with which you can filter specific data or apply more than one filter. Here are the steps to apply filters to the results table:
1. Click the “add filter” field.
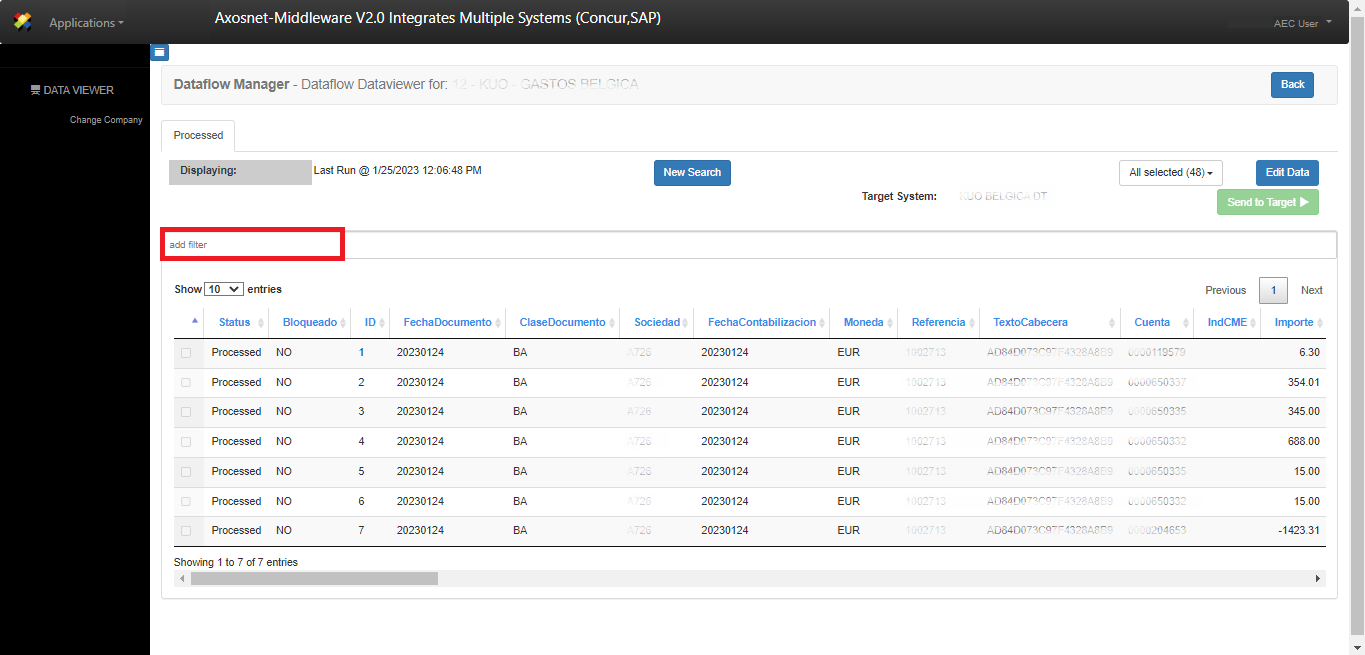
2. Axosnet ERP Connector will display a list of filters.
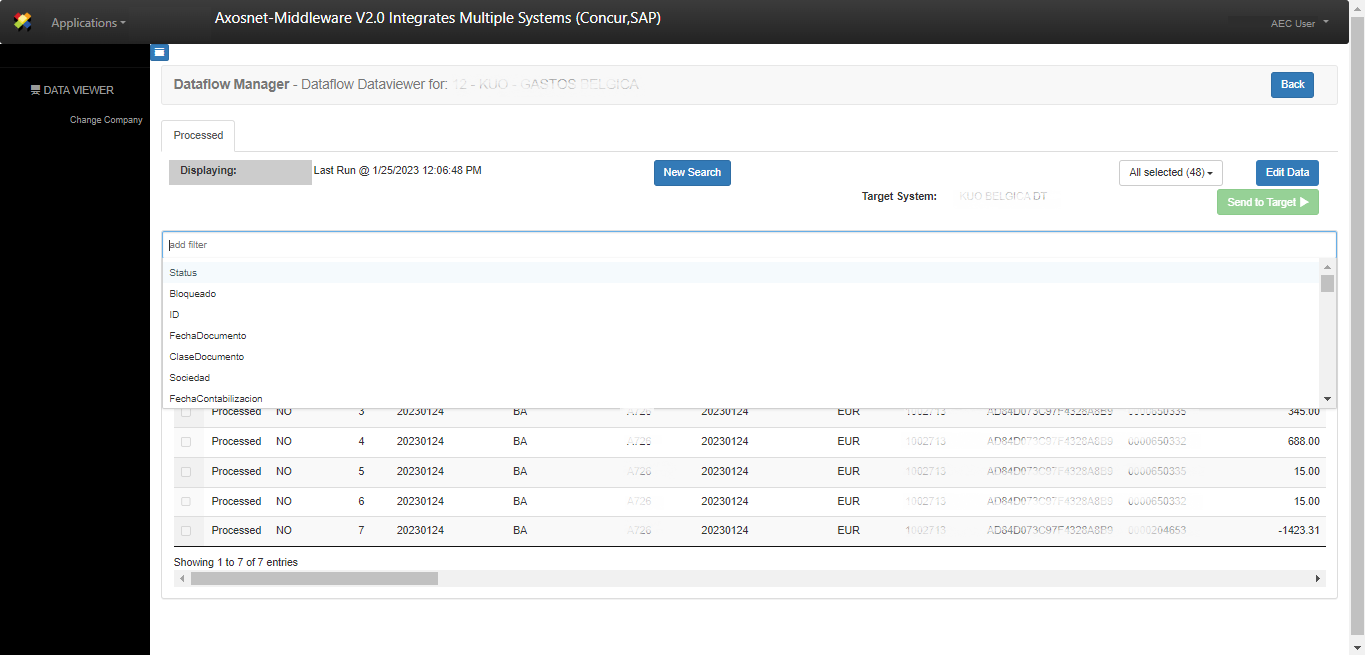
3. Select a filter from the list. Then, Axosnet ERP Connector will display the name of the selected filter and enable a text box.
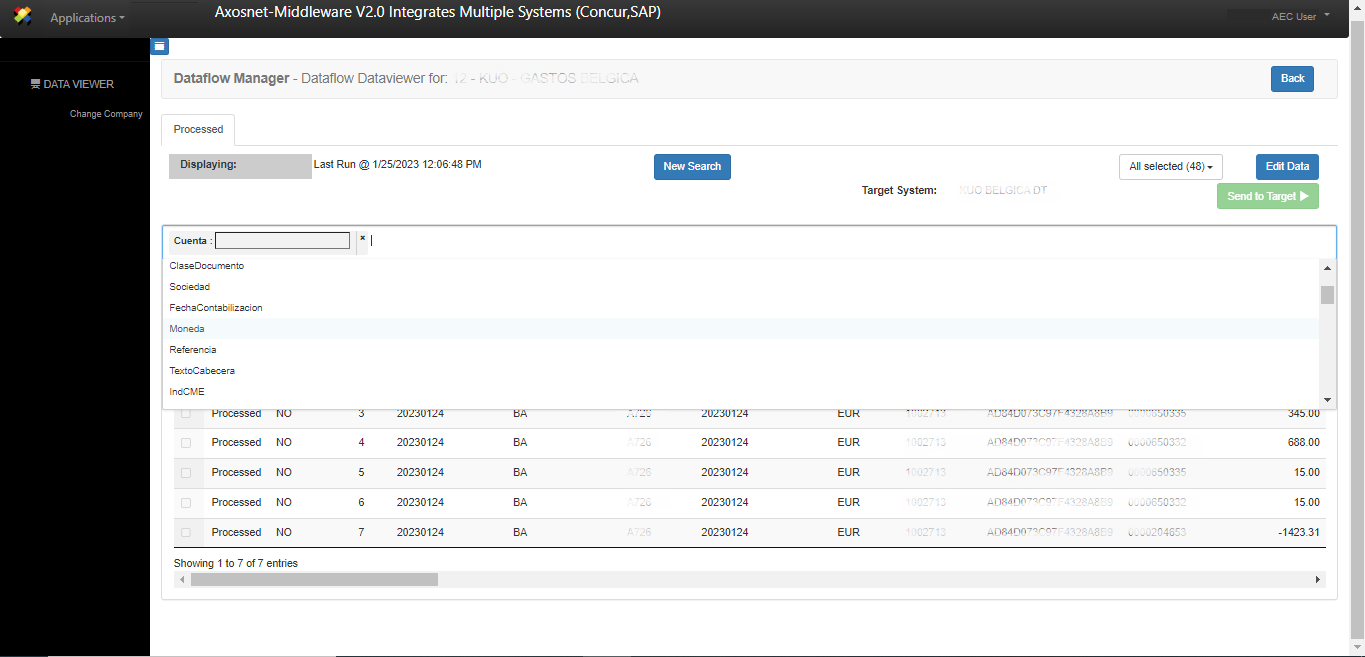
4. Type the value to filter.
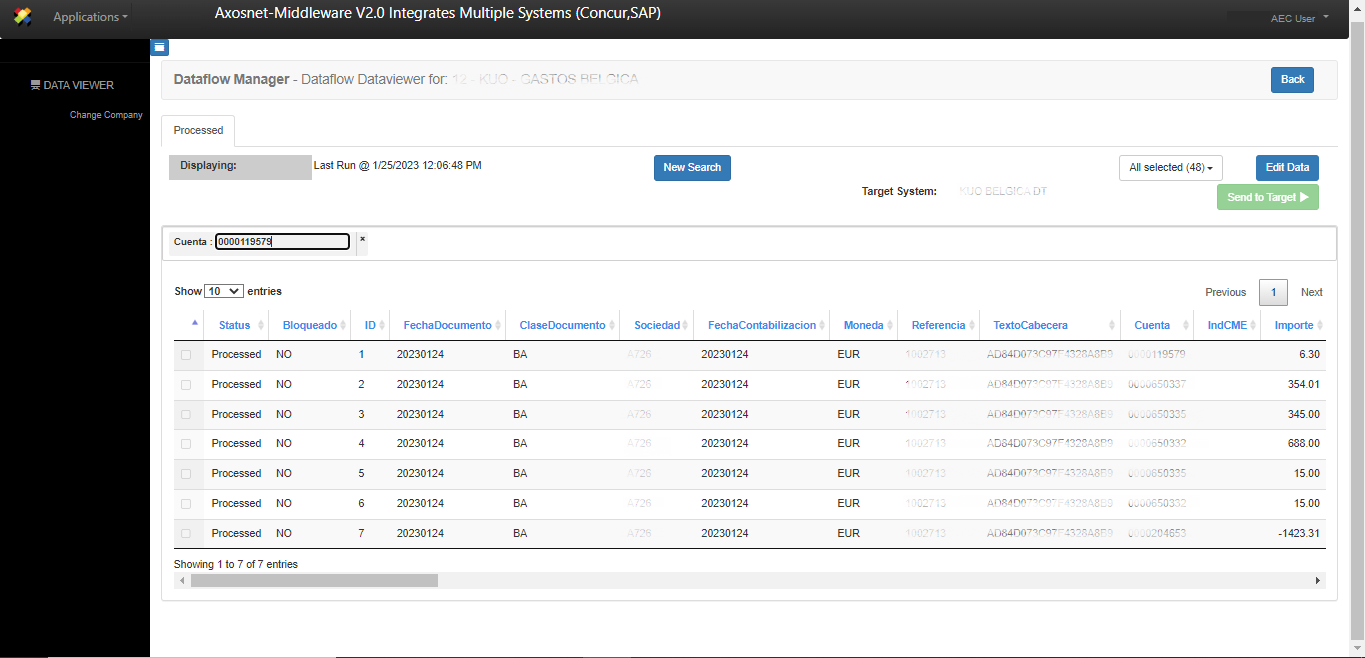
5. Press the Enter key on your keyboard to apply the filter. Axosnet ERP Connector will show the result of the search on the screen.
6. By clicking again on the add filter section, the system will allow adding more filters to reduce the search result.

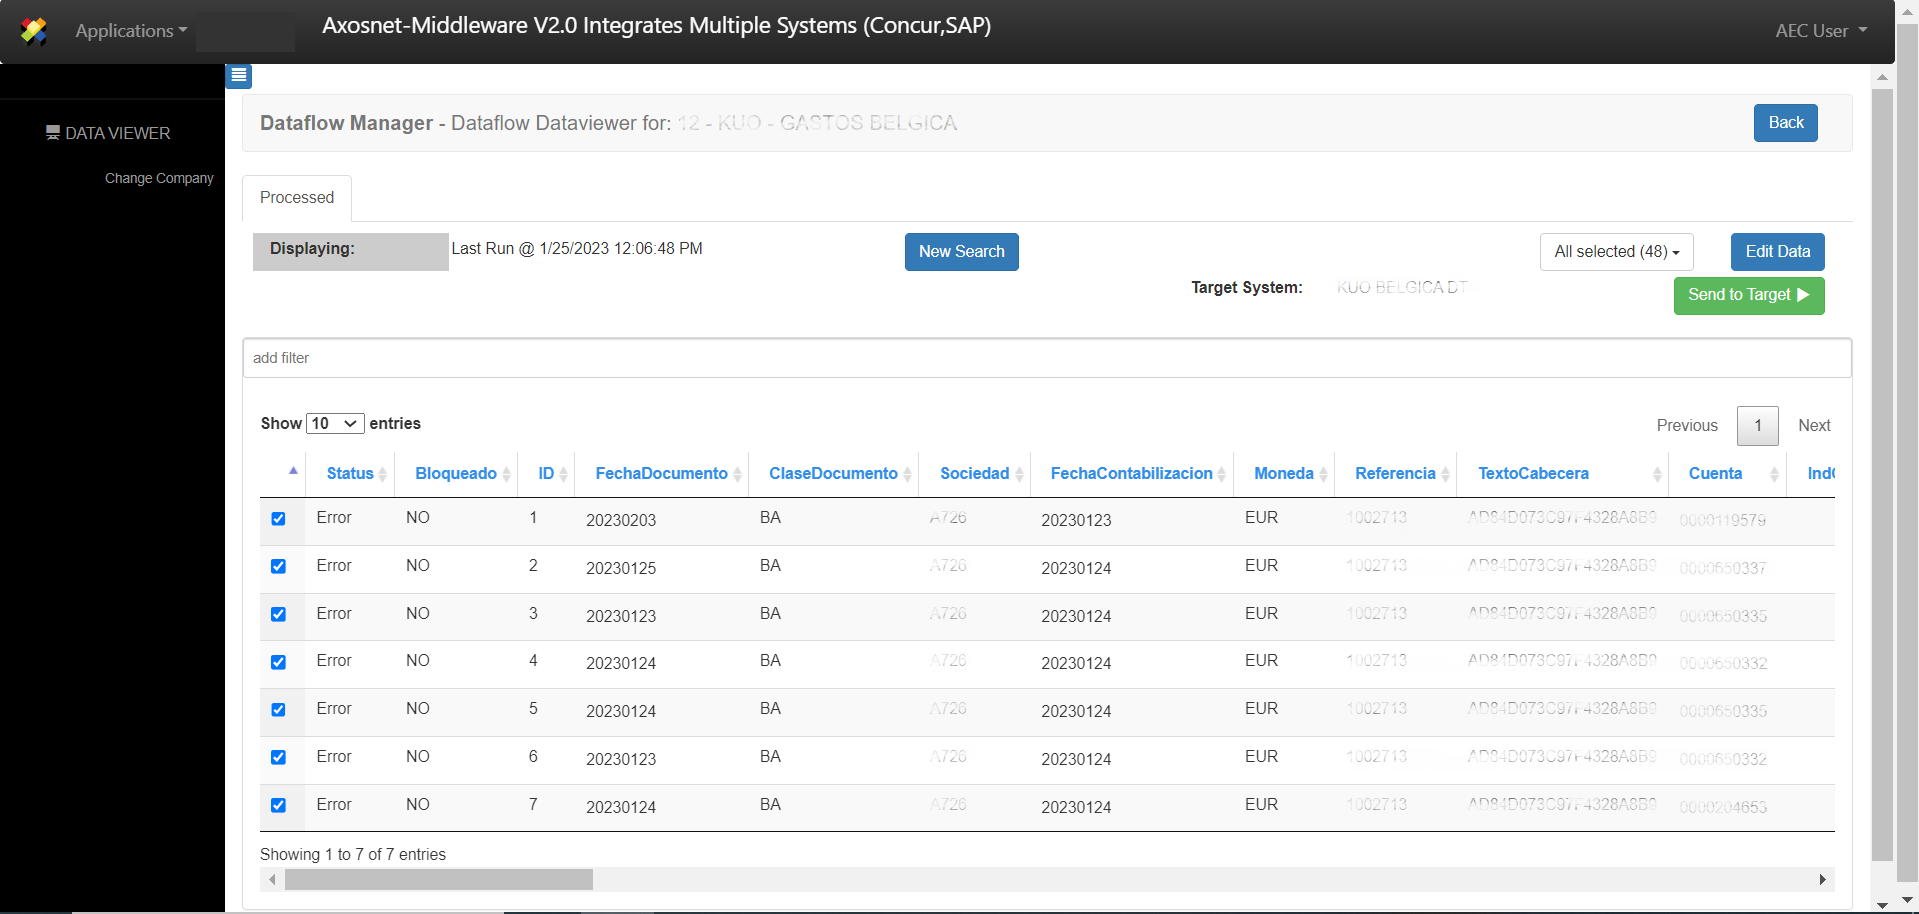
Editing records with error
When a process contains records with the “Error” status, Axosnet ERP Connector allows you to edit these records. This section will show how to edit those records.
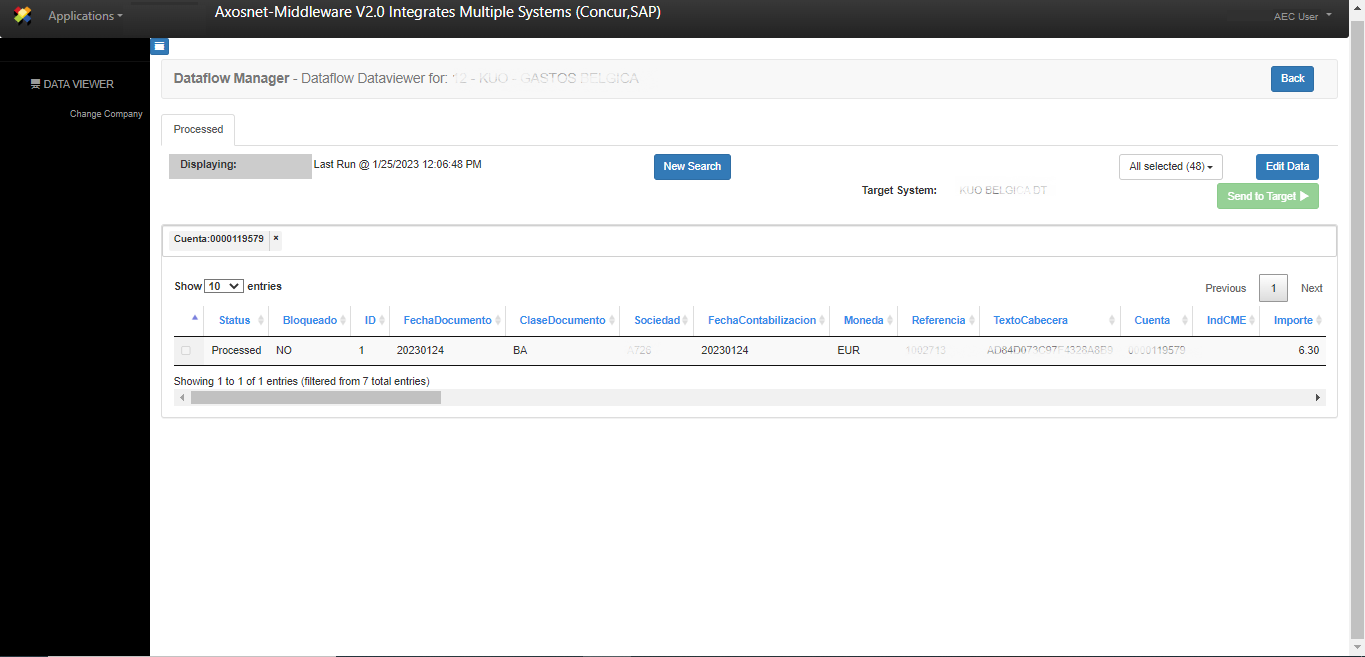
1. Previously, you should have consulted a process that contains records with errors. Click Data Viewer.

2. Click the “Edit Data” button.

3. Axosnet ERP Connector will show you this screen.
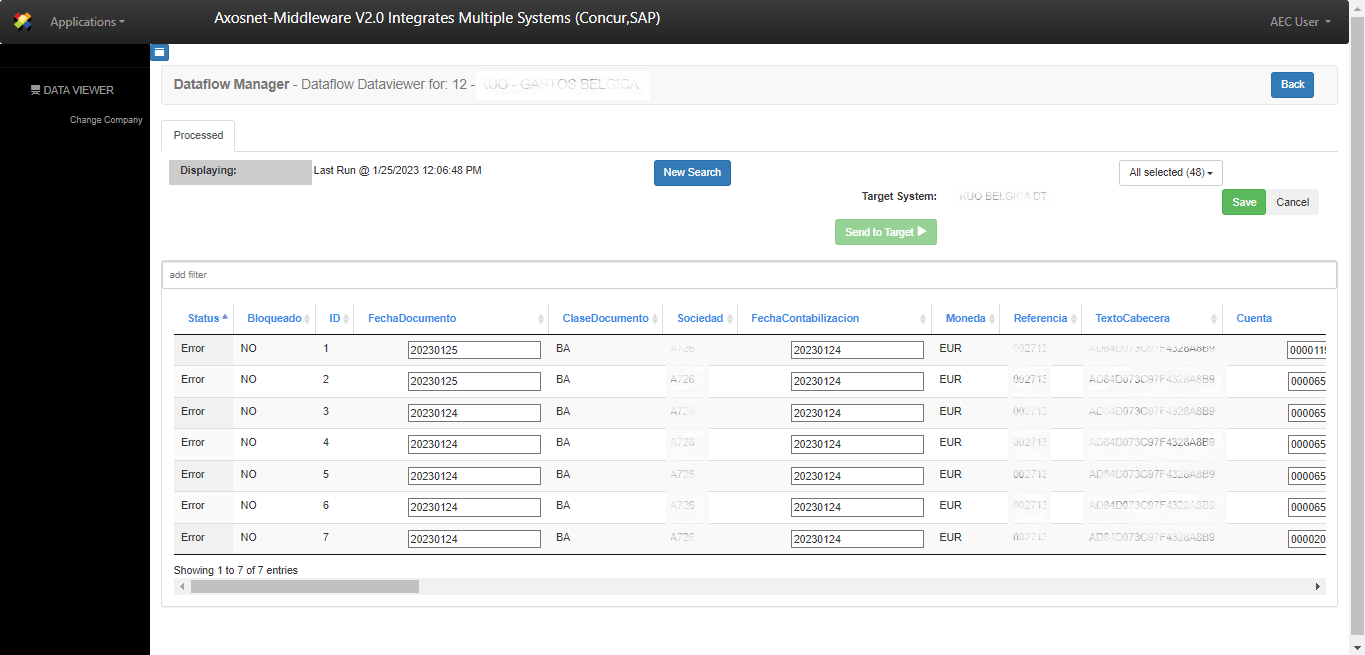
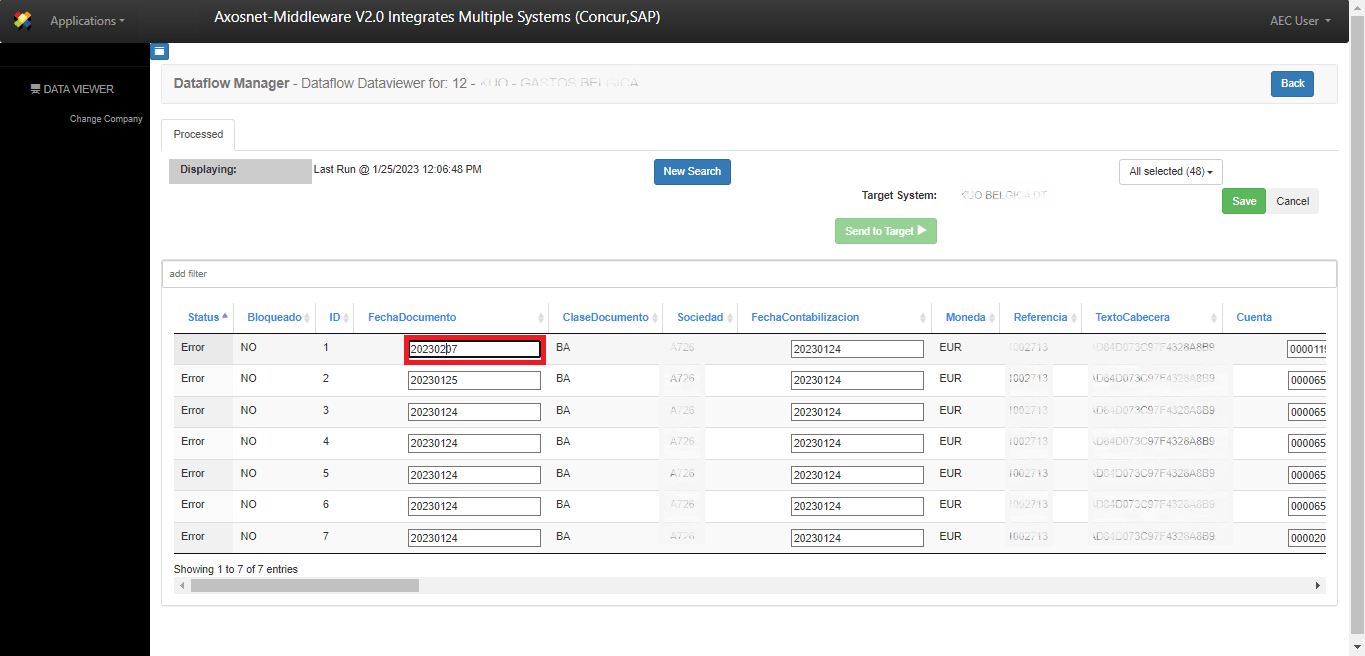
4. Edit the necessary records by entering them directly in the editable fields:
5. Save the changes by clicking the “Save” button.
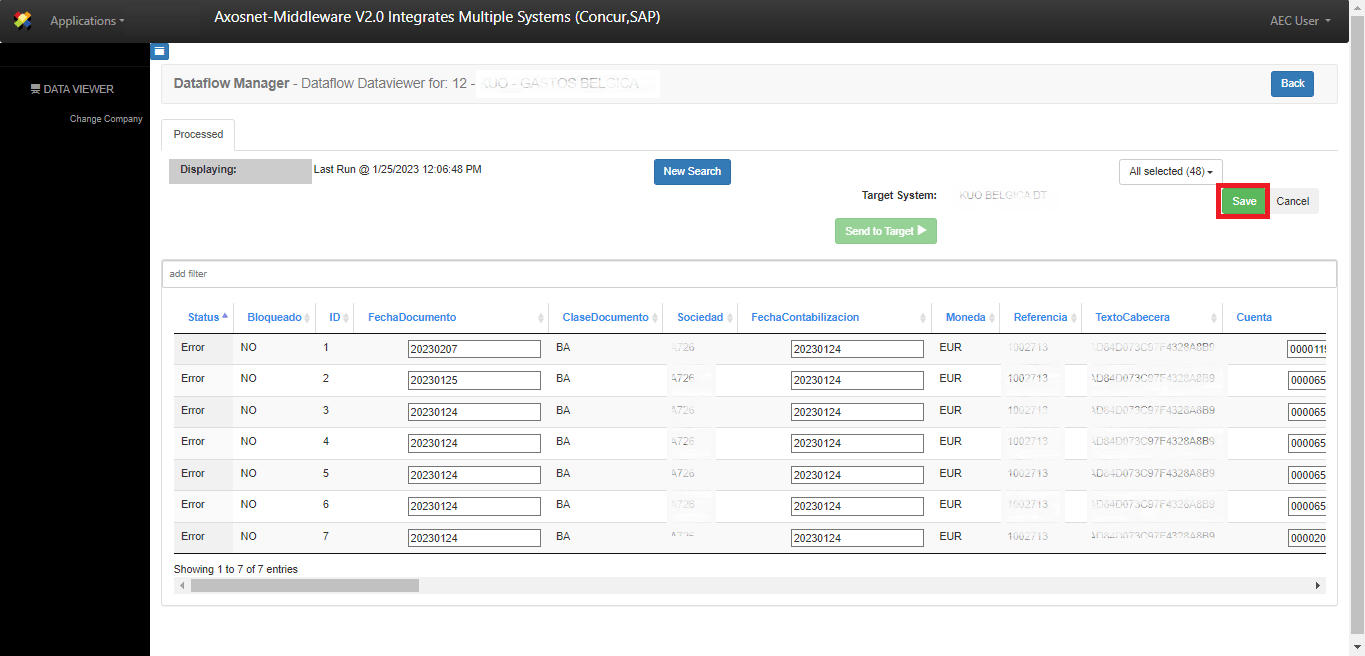
If you want to send the modified records to the destination system, use the “Send to Target “button. Get more information by consulting: Sending Modified Registries to the Destination System
Sending Modified Registries to the Destination System
This page describes sending the records modified in Axosnet ERP Connector to the destination system. Follow the next steps
1. Previously, you should have edited the records with an “error” of the process you want to send.

2. Mark the checkbox next to the entry you wish to send. Click Send to Target.
3. A new process will be created after clicking Send to Target. The records selected for the shipment will change from the status “Error” to the status “Response on hold,” and the results table will not show the sent records because they no longer have the status “Error.”
