Another way to evidence an expense is by using a receipt. The application allows you to capture a photo from a ticket and transform it into a digital register named receipt. A receipt can be part of a report if the user selects them.
Create Photo Receipt from Camera
The steps to create a receipt from taking a camera photo are below:
1.On the “Expense” card click on “See detail”

2. In the” Expenses” menu, press the icon.

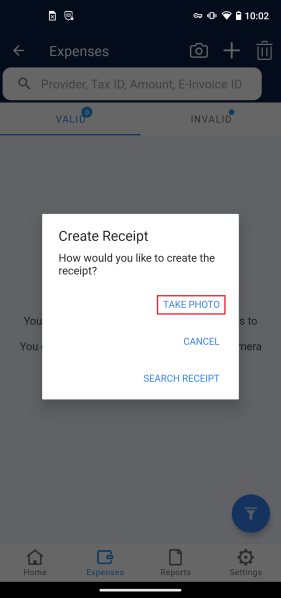
3. The application will show some recommendations for the photo. If you don’t want to see them anymore, mark the checkbox [Don’t show again ] then press | Got it |.

4. Press TAKE PHOTO.
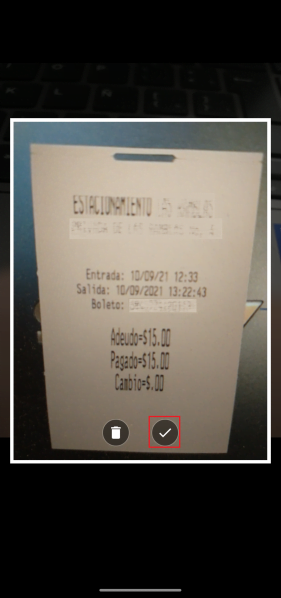
5. Once the photo is taken, press the check mark.
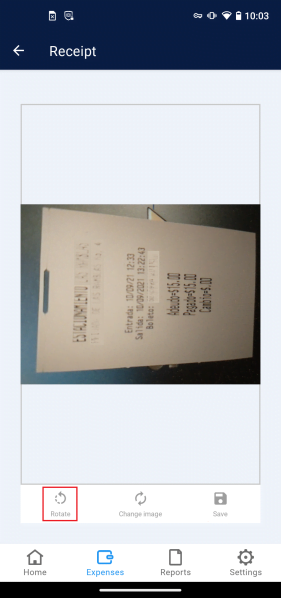
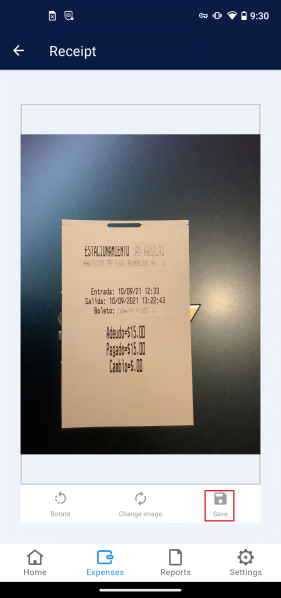
6. Press “Rotate” until the photo is in the desired orientation.
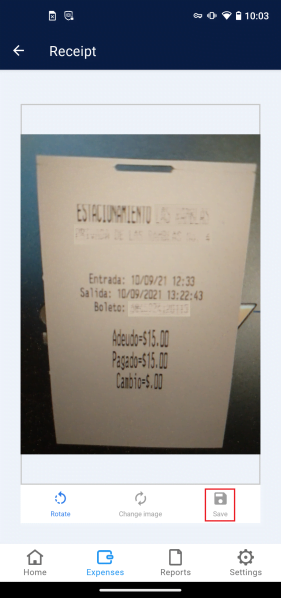
7. Press “Save” to proceed.
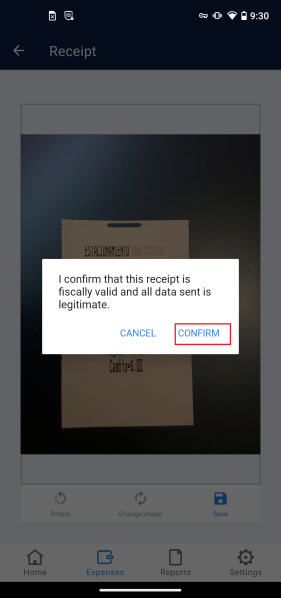
8. Press CONFIRM to proceed.

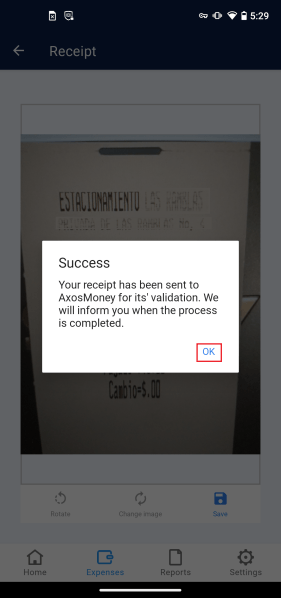
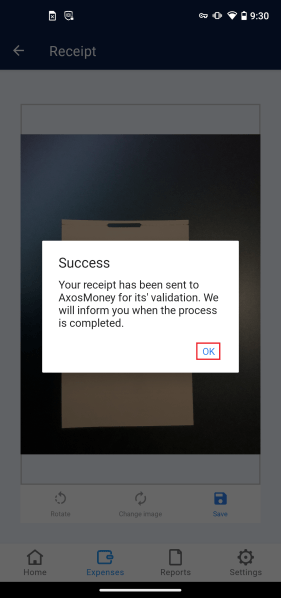
9. A success message will appear. Click to continue.
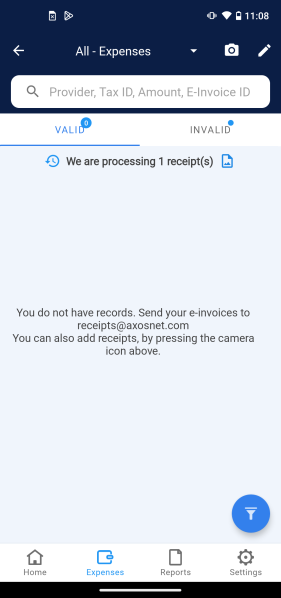
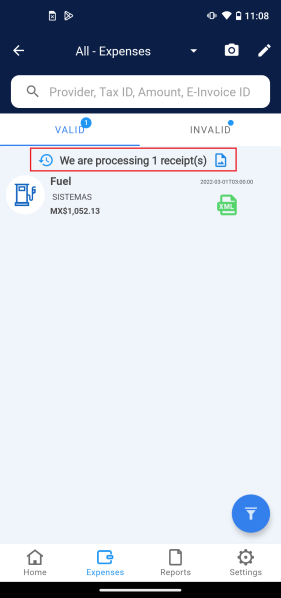
10. Immediately, a message will appear indicating the number of receipts that are being processed.
11. Once the receipt is processed, you will receive a notification from the AxosMoney application.

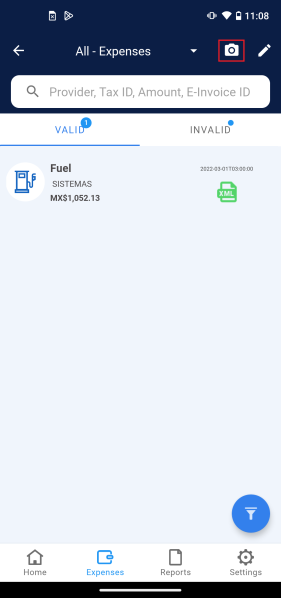
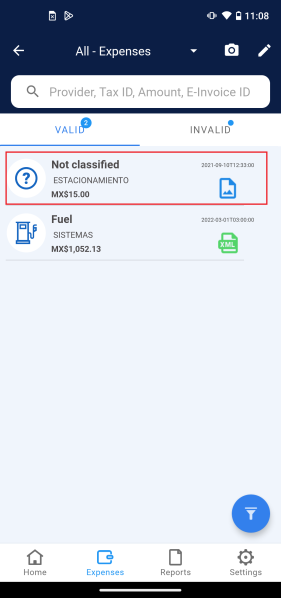
12. The receipt will appear in the list and will not be classified.

Create a photo receipt from the gallery
AxosMoney allows the user to create a receipt by selecting a photo from the gallery. Follow the steps described below:
1. In the” Expenses” menu, press the icon.
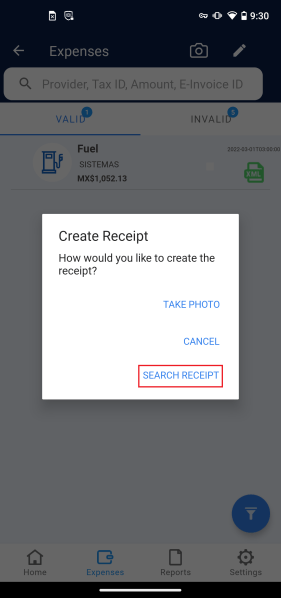
2. Press SEARCH RECEIPT.
3. Select the photo of the receipt from your gallery

4. Press “Save.“
5. Press CONFIRM to proceed.
6. A success message will appear. Click OK to continue.
7. Immediately, a message will appear indicating the number of receipts that are being processed.
8. Once the receipt is processed, you will receive a notification.

9. The receipt will appear in the list and will not be classified.
Classify a Receipt
A receipt needs to be classified before using it. AxosMoney gives a proposal of the receipt type based on the CFDi document, but the user can classify it as his convenience.
The user must always edit the Expense type of a receipt. It will never fill automatically.
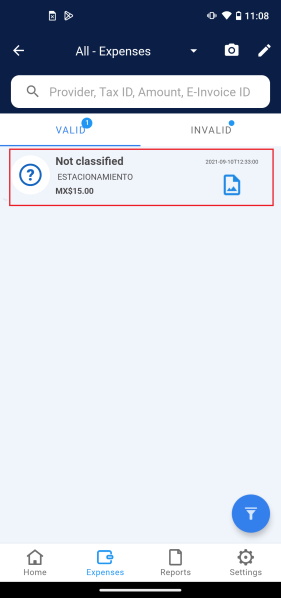
1. Access the “Expense” menu and select a receipt.
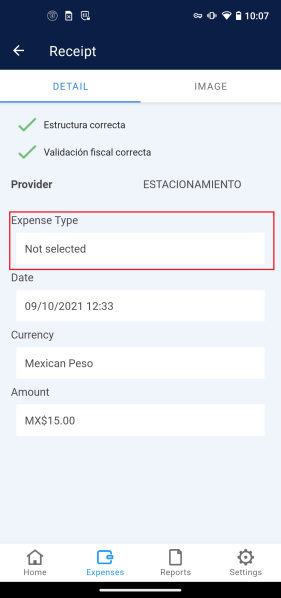
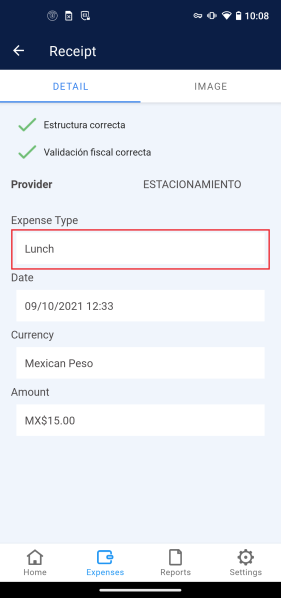
2. AxosMoney will redirect you to the receipt details window. Press the “Expense Type” field to open the classifications catalog.
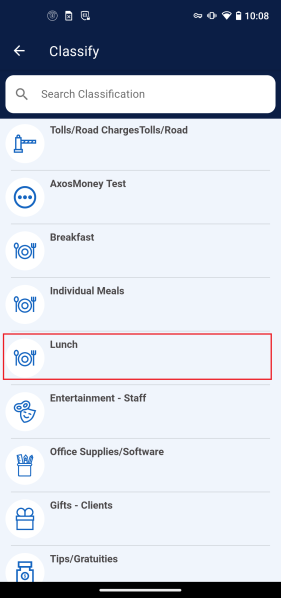
3. AxosMoney will show the classification catalog. Choose one.
4. After selecting the expense classification, the classification catalog will close and show you the expense details again with the expense type included.
5. AxosMoney updates the selected classification at the receipt.
6. If you have several unclassified receipts, you can use the filter icon to see all the unclassified receipts at once.

Note: for more information see,e the section c. Search by Filters in Expenses and Receipts.
Once the receipt is classified, the next step is: to add receipts to an existing report and add receipts to the new report.
Add Photo Receipt to a New Report
Add a receipt and create a new report simultaneously by following the steps described in this section. The receipt must be classified (to have an expense type) to include in a Report.
1. In the “Expenses” menu, click the icon.

2. Select the desired receipt and click the icon.

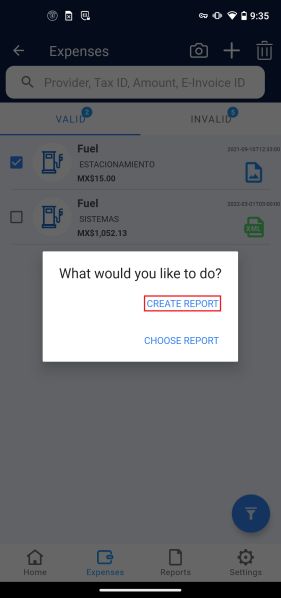
3. Click CREATE REPORT.
4. Put a name to the report and click Create.

5. A message will appear immediately indicating the number of receipts that are being added to the report.

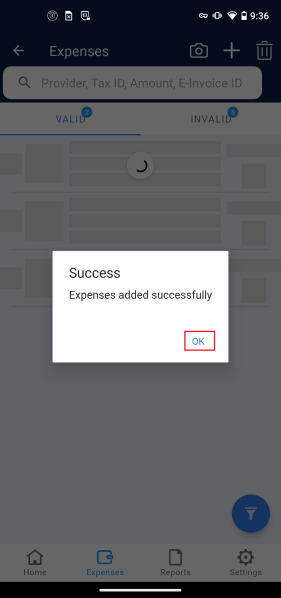
6. It will show a message saying that the receipt has been added successfully to the report. Click OK to continue.
7. The report created will be listed in the “Reports” menu.

8. Opening the report, you will confirm that the selected receipt is there.
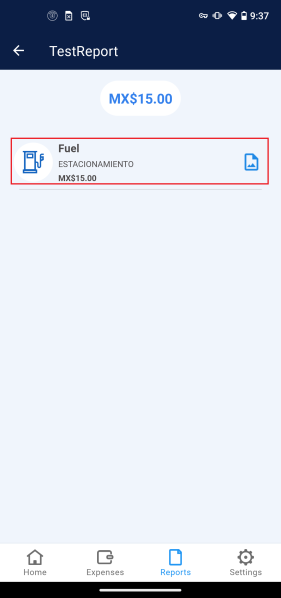
Add Photo Receipt to an Existing Report
AxosMoney allows you to add receipts with photo receipts to reports that are reflected in SAP Concur. To perform this action, follow these steps:
1. Go to the “Expenses” screen, then to the “Valid” tab, and press the icon.
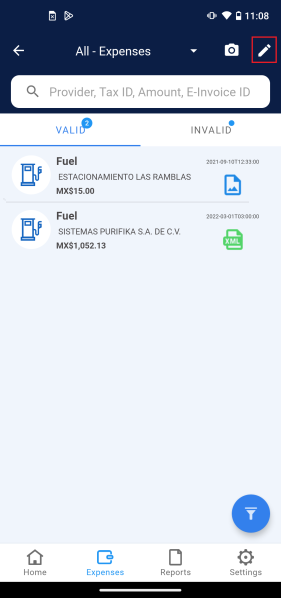
2. Select the receipt you wish to add to an existing report by checking the radio button next to the records, then press the icon at the top of the screen.

3. A window with three options will appear; press CHOOSE REPORT.

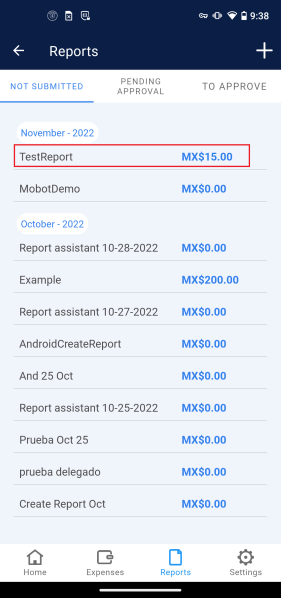
4. A list of all the currently available reports in the “Reports” screen will appear; press on the report where you wish to send the receipt.

5. Wait until the receipt is sent to the report.

6. A success message will appear, p; press to close it.

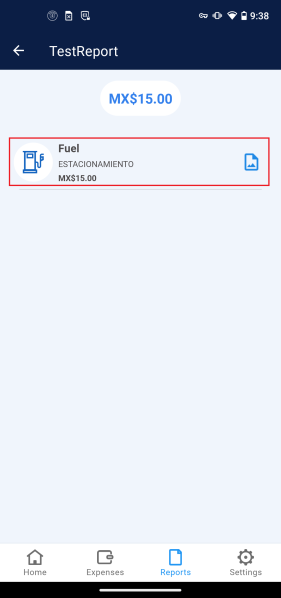
7. Go to the “Reports” screen and press on the report you previously selected to send the receipt.
8. The expense you sent will be displayed inside the report.
View Valid Photo Receipt
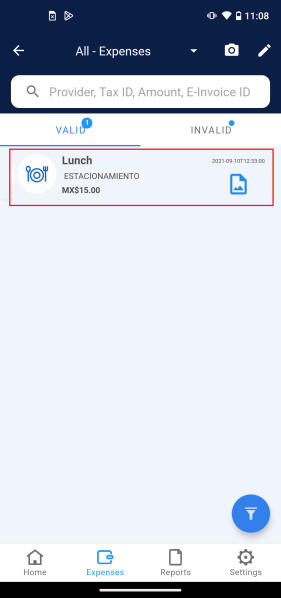
1. In the “Expenses” screen, press the receipt to see the details on it.
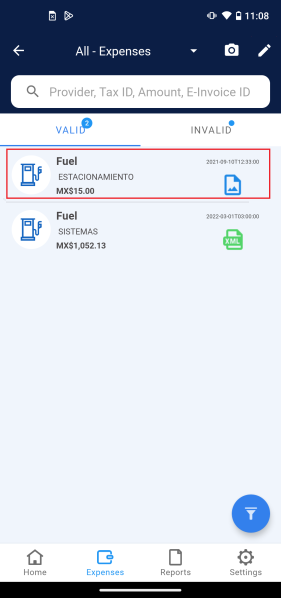
2. You will be redirected to the “Detail” tab, where you can check the details from the receipt.

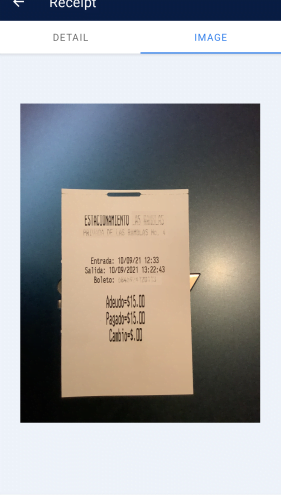
3. In the “Image” tab, you can see the receipt’s photo, the only action you can perform here is to zoom in and out of the image.
Delete Valid Receipt
1. Go to the “Expenses” screen, then to the “Valid” tab, and press the icon.
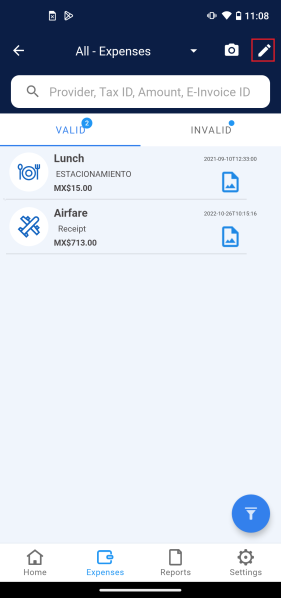
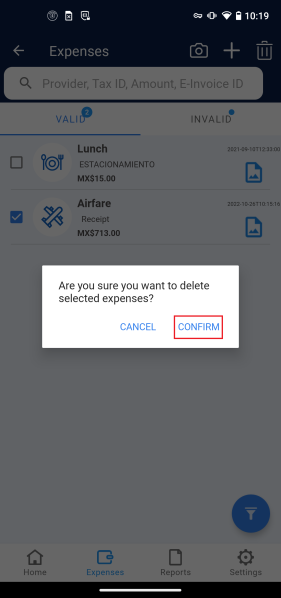
2. Select the receipt you wish to delete by checking the radio button next to the records, then press the icon at the top of the screen.

3. A confirmation message will appear. Press CONFIRM to proceed.
4. The receipt you deleted will no longer appear in the “Valid” tab.