This section complements the previous, “Monitor – Get a Token,” so it continues from the last step when the user created a token.
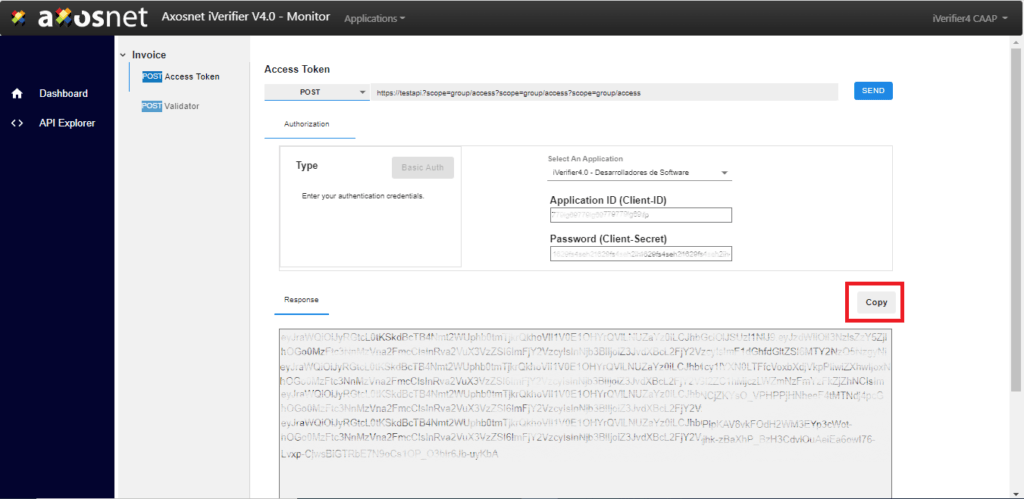
1. Take the token code using the “Copy” button on the top right corner of the “Response” field.
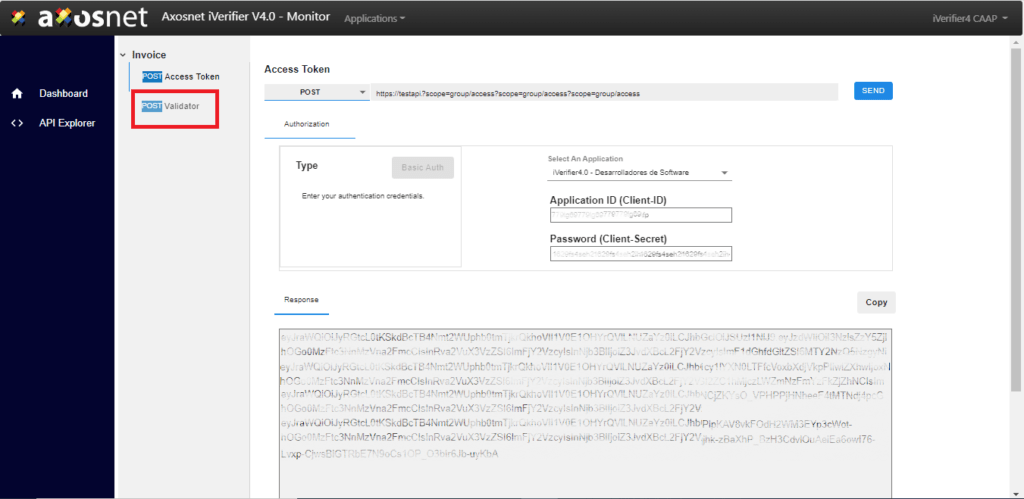
2. Go to the POST Validator tab.
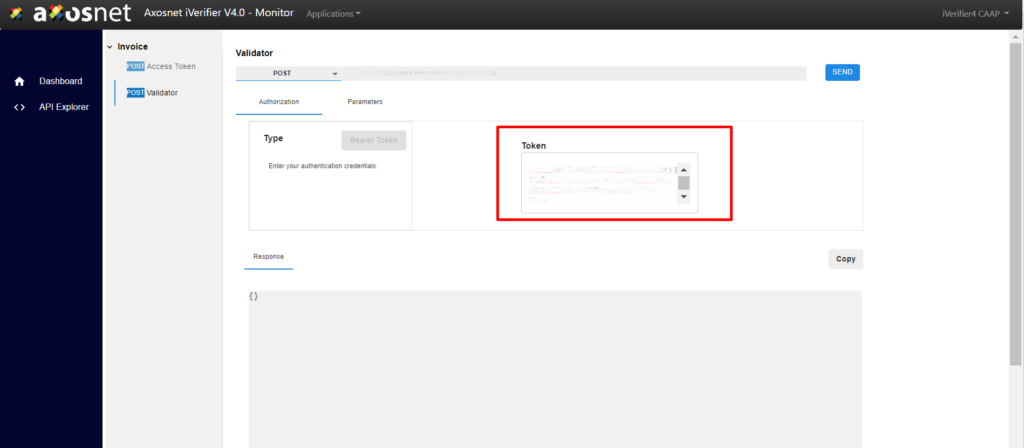
3. Paste the token created on the “Token” field.
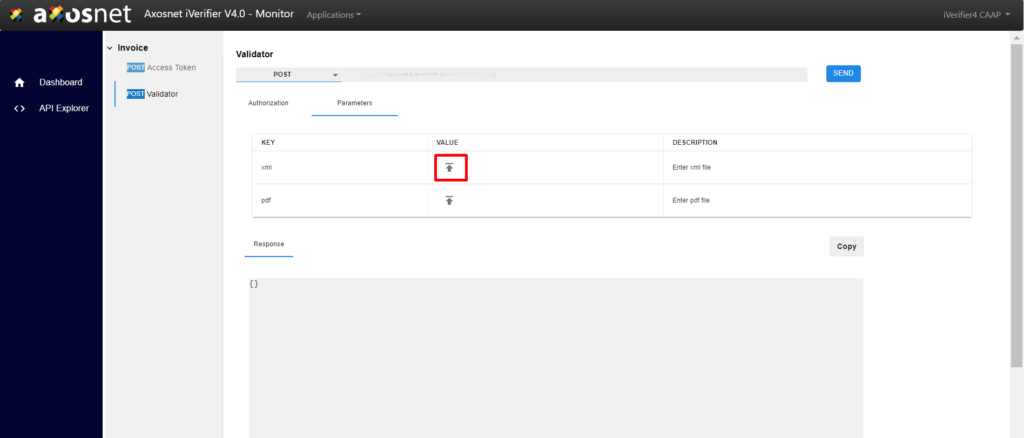
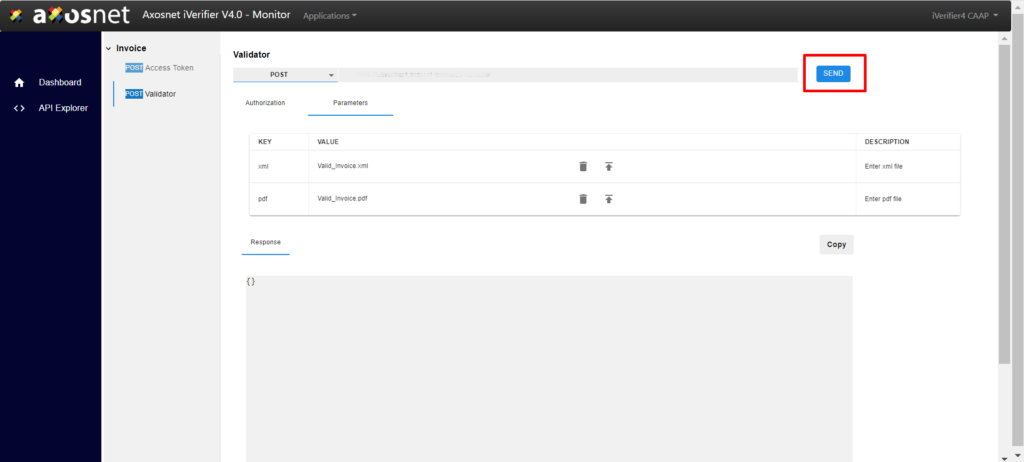
4. Click the “Parameter” tab.
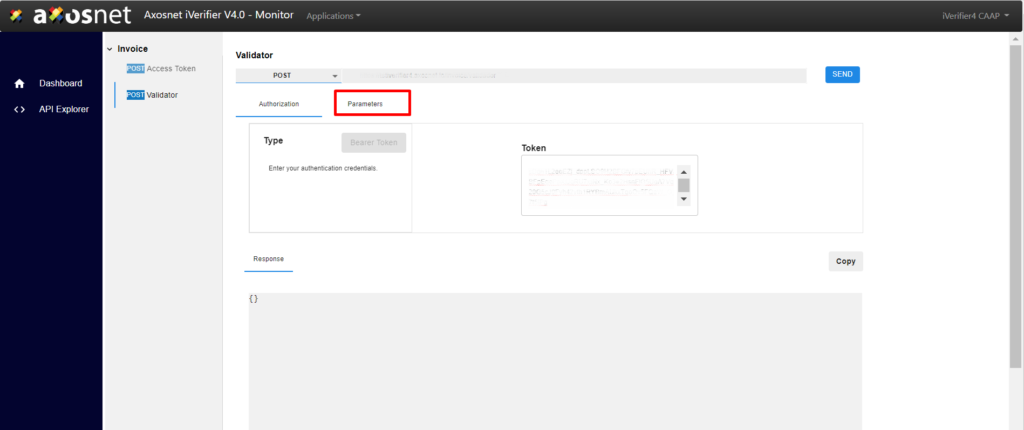
5. Click the upload-icon button in the “VALUE” column for the “XML” row. A file explorer window will open.
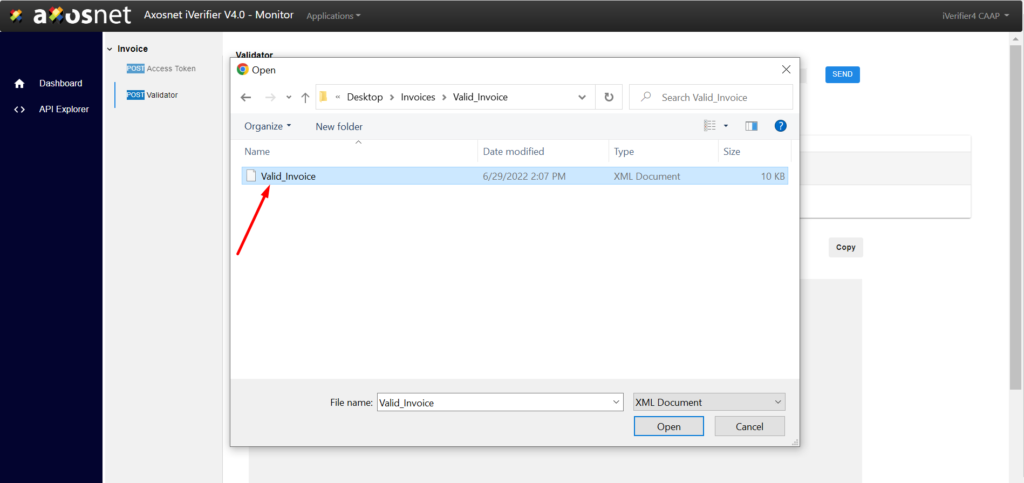
6. Select the XML file corresponding to the invoice you want to validate and upload it.
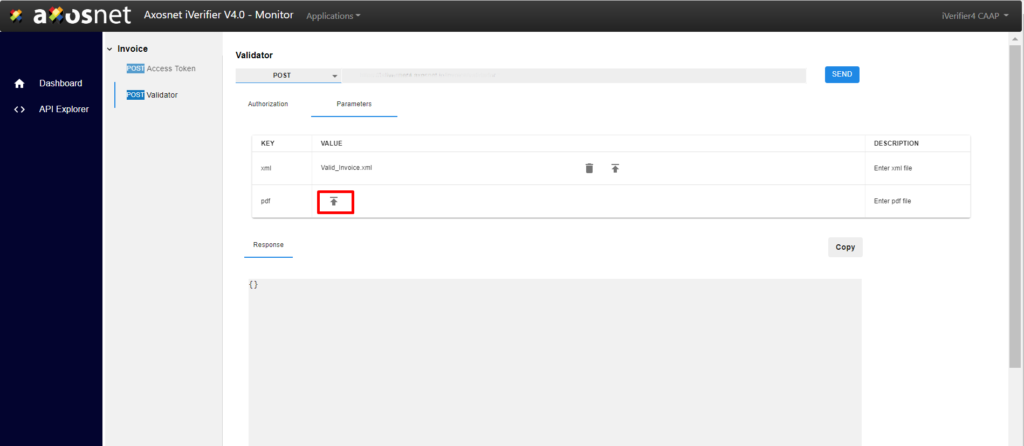
7. Then click the upload-icon button in the “VALUE” column for the “pdf” row. A file explorer window will open.
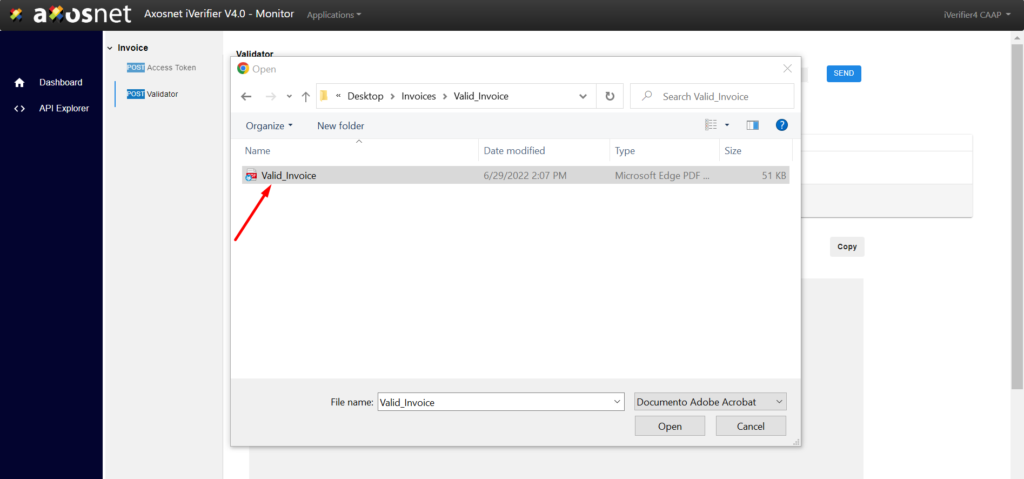
8. Select the PDF file corresponding to the invoice you want to validate and upload it.
9. Finally, click “SEND” to start the validation process.
10. After a few seconds, the invoice validation results will appear in the “Response” field.
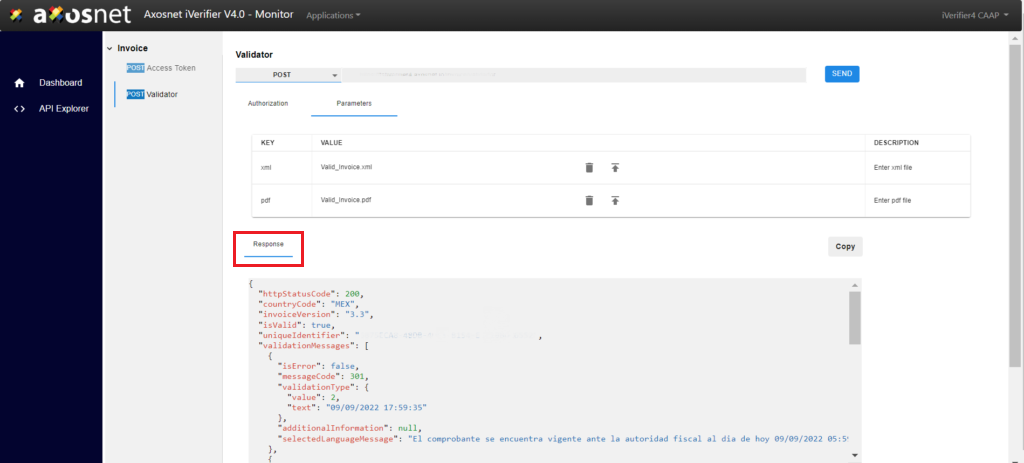
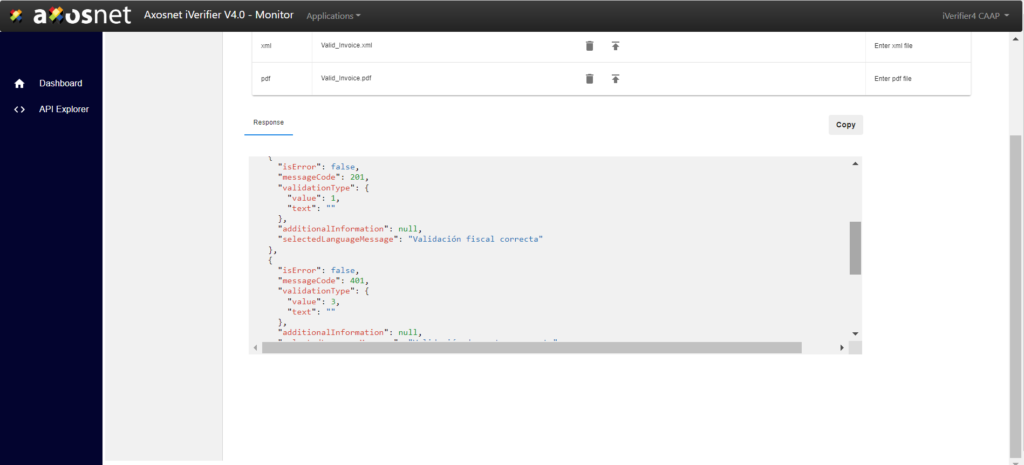
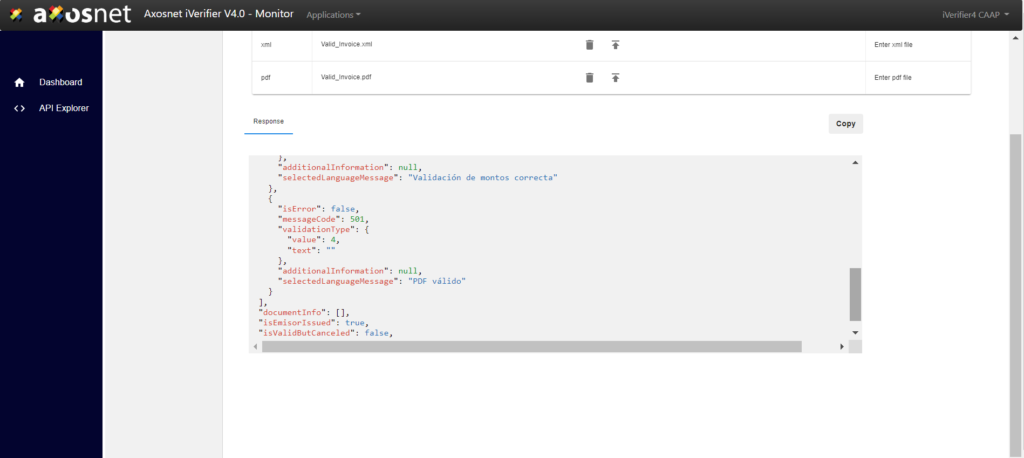
Note: When a validation result is negative, the entire list must be inspected to identify the corresponding error case, pointed out as this: validation is “IsValid”: false.