In the Document Upload section, you can upload documents such as invoices or payment supplements to the portal.
Documents can be uploaded in three formats: XML and PDF files, or a ZIP file (containing multiple files) so they can undergo validation and be linked and processed.
The system includes a specific tool for managing freight invoices, which allows you to link detailed delivery information to the corresponding invoice. This can be done in two ways:
1. Automatic Extraction: The system reads the delivery information directly from the appendix of the uploaded XML file.
2. Manual Template Upload: If the XML file does not include the appendix with the required data, the user can upload an XLS file (template) containing the detailed delivery information.
Enabling and using the freight invoice functionality provides direct benefits for your daily operations:
Time Savings: It automates and speeds up the freight registration process, transforming a complex task into a streamlined workflow and improving response times in your document management.
Error Reduction: By allowing the use of standardized templates (XLS) or direct import (XML), manual data entry is minimized and data accuracy is ensured.
To enable this feature, the client’s ACS administrator must configure the following settings for supplier users.
Enable freight functionality
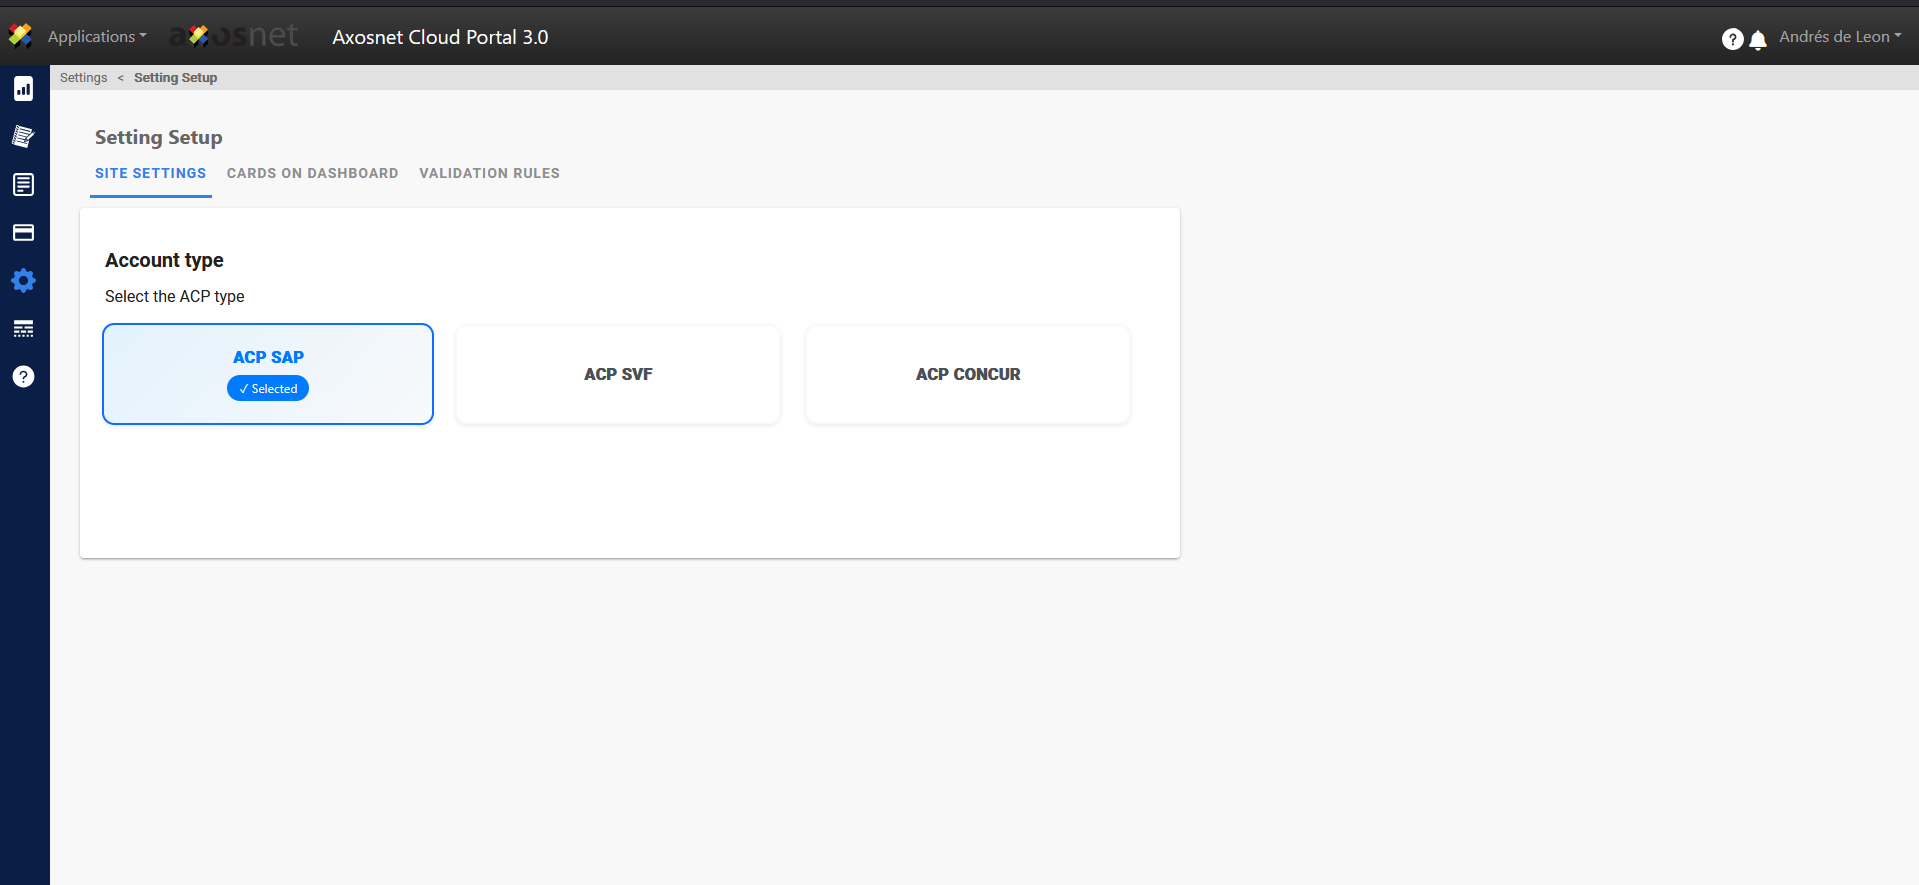
1. Verify that the SAP ACP account type is enabled in the settings.
Note: If this setting is not enabled and you need it, please contact the sales team.
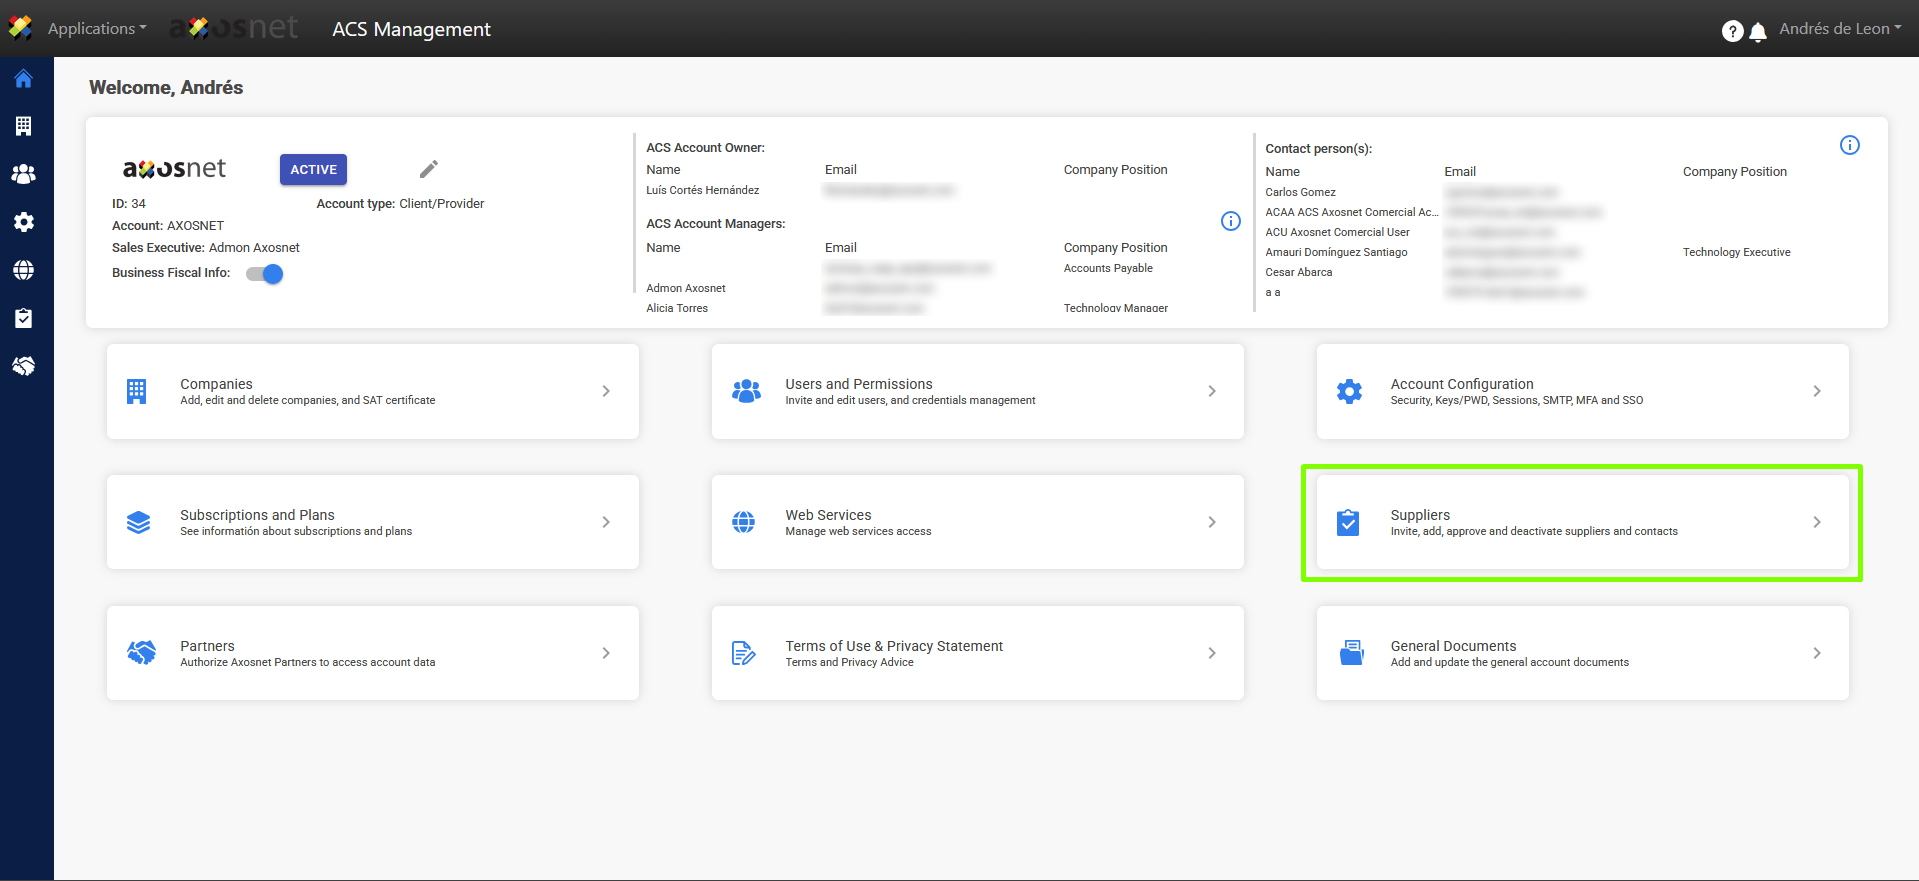
2. Once you have verified that you have the SAP ACP configuration, log in to ACS Management.

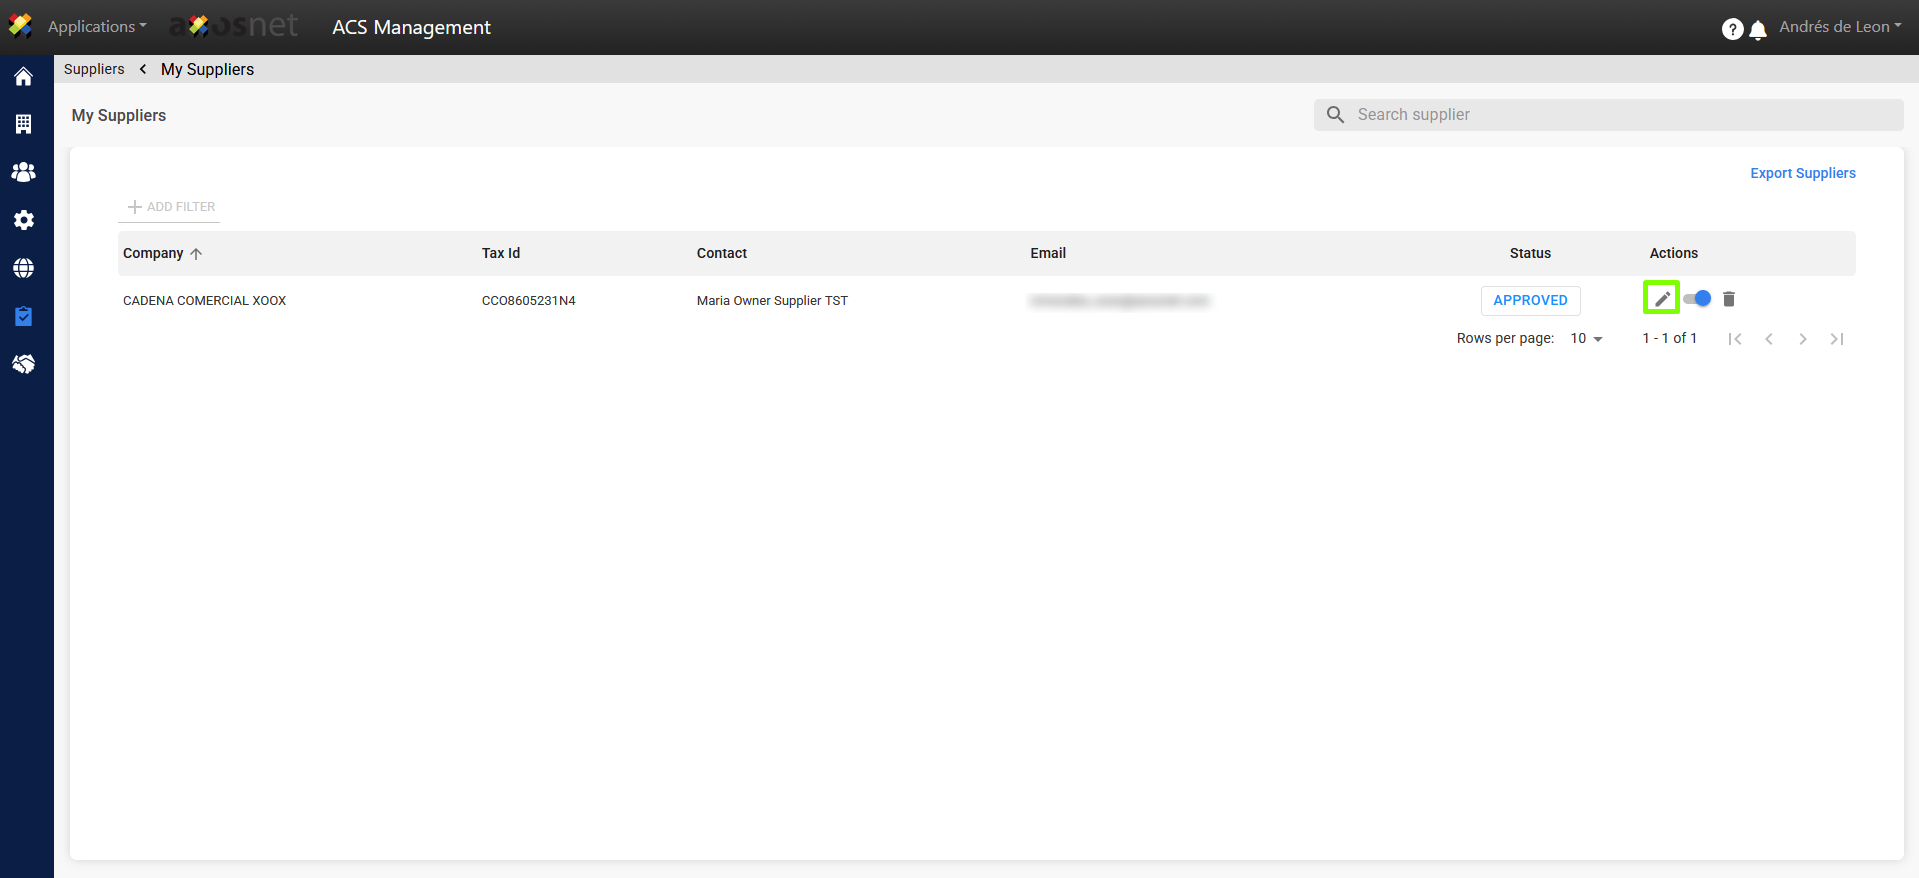
3. Go to the Suppliers section.
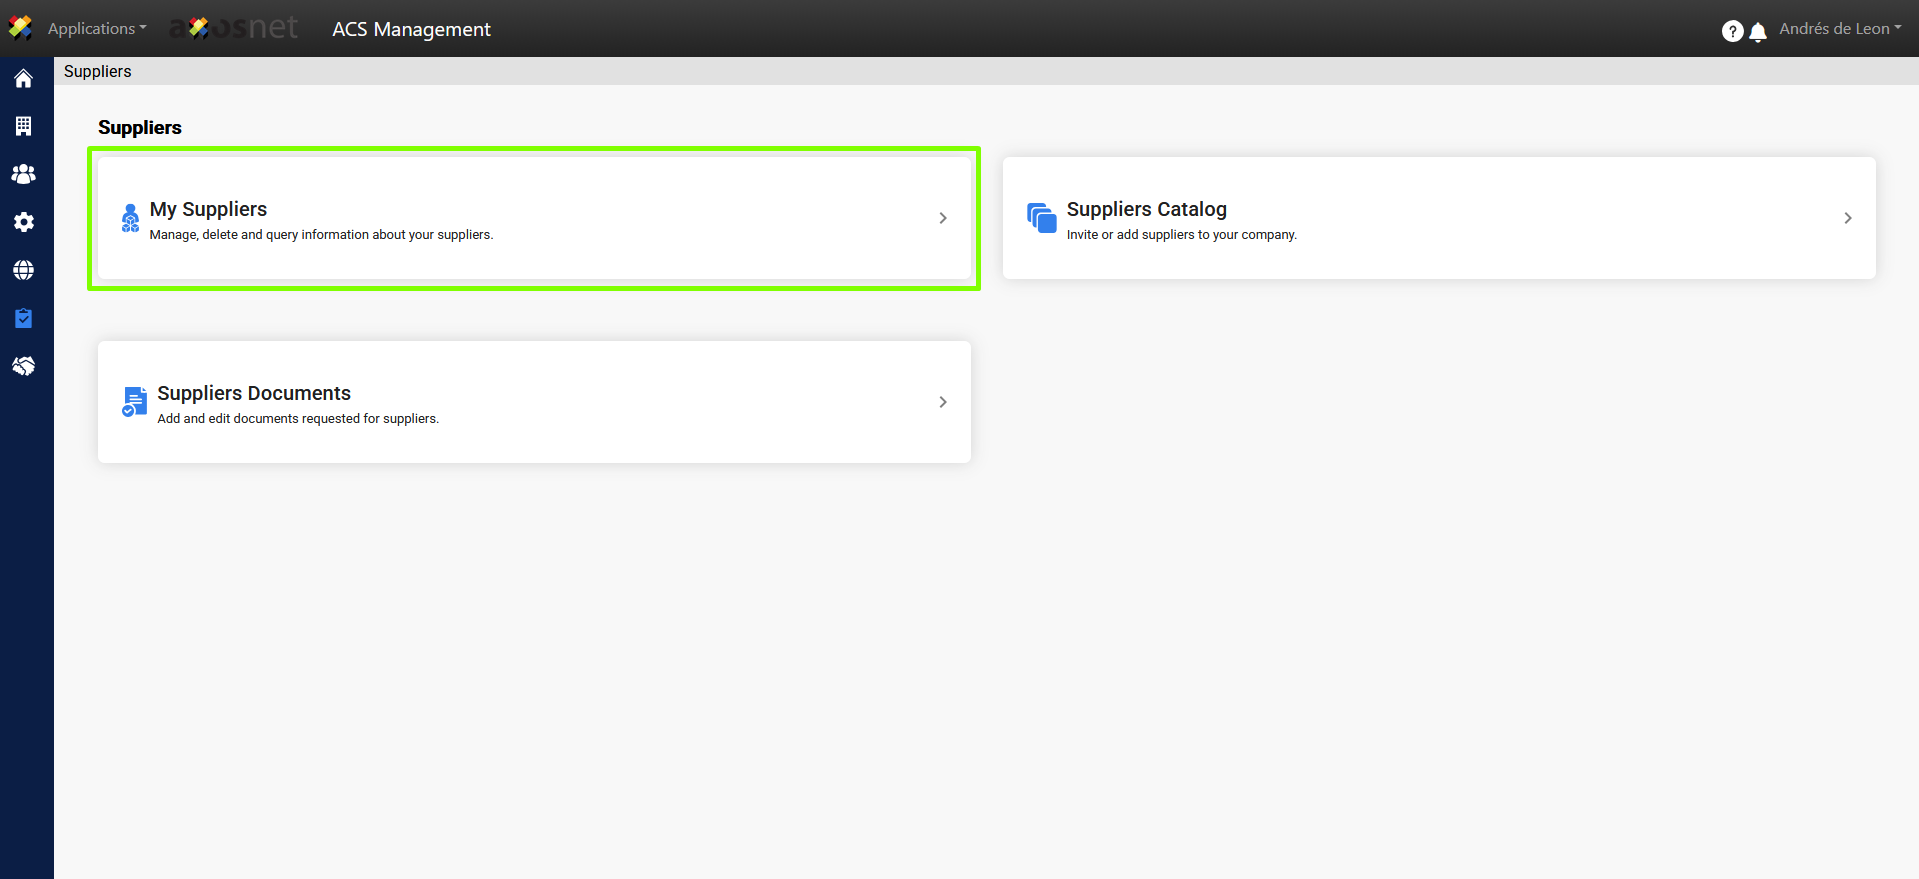
4. Select My Suppliers.
5. Click Edit next to the relevant company.
6. Select the relevant application (Axosnet Cloud Portal 3.0)
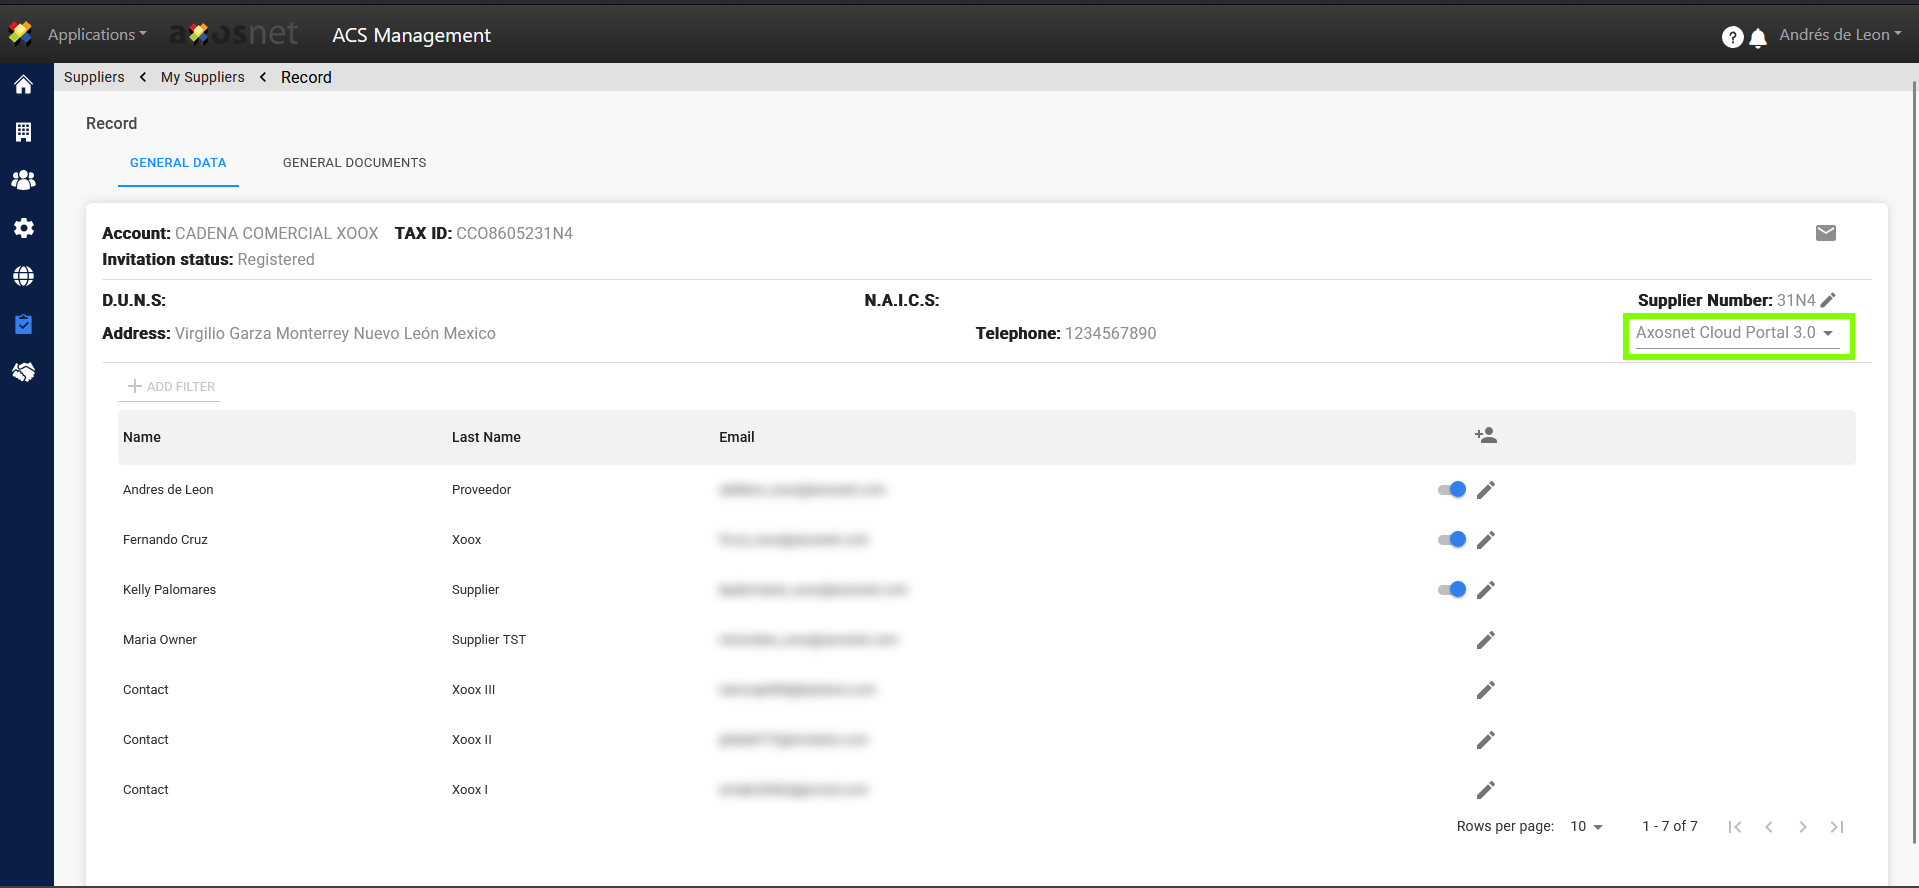
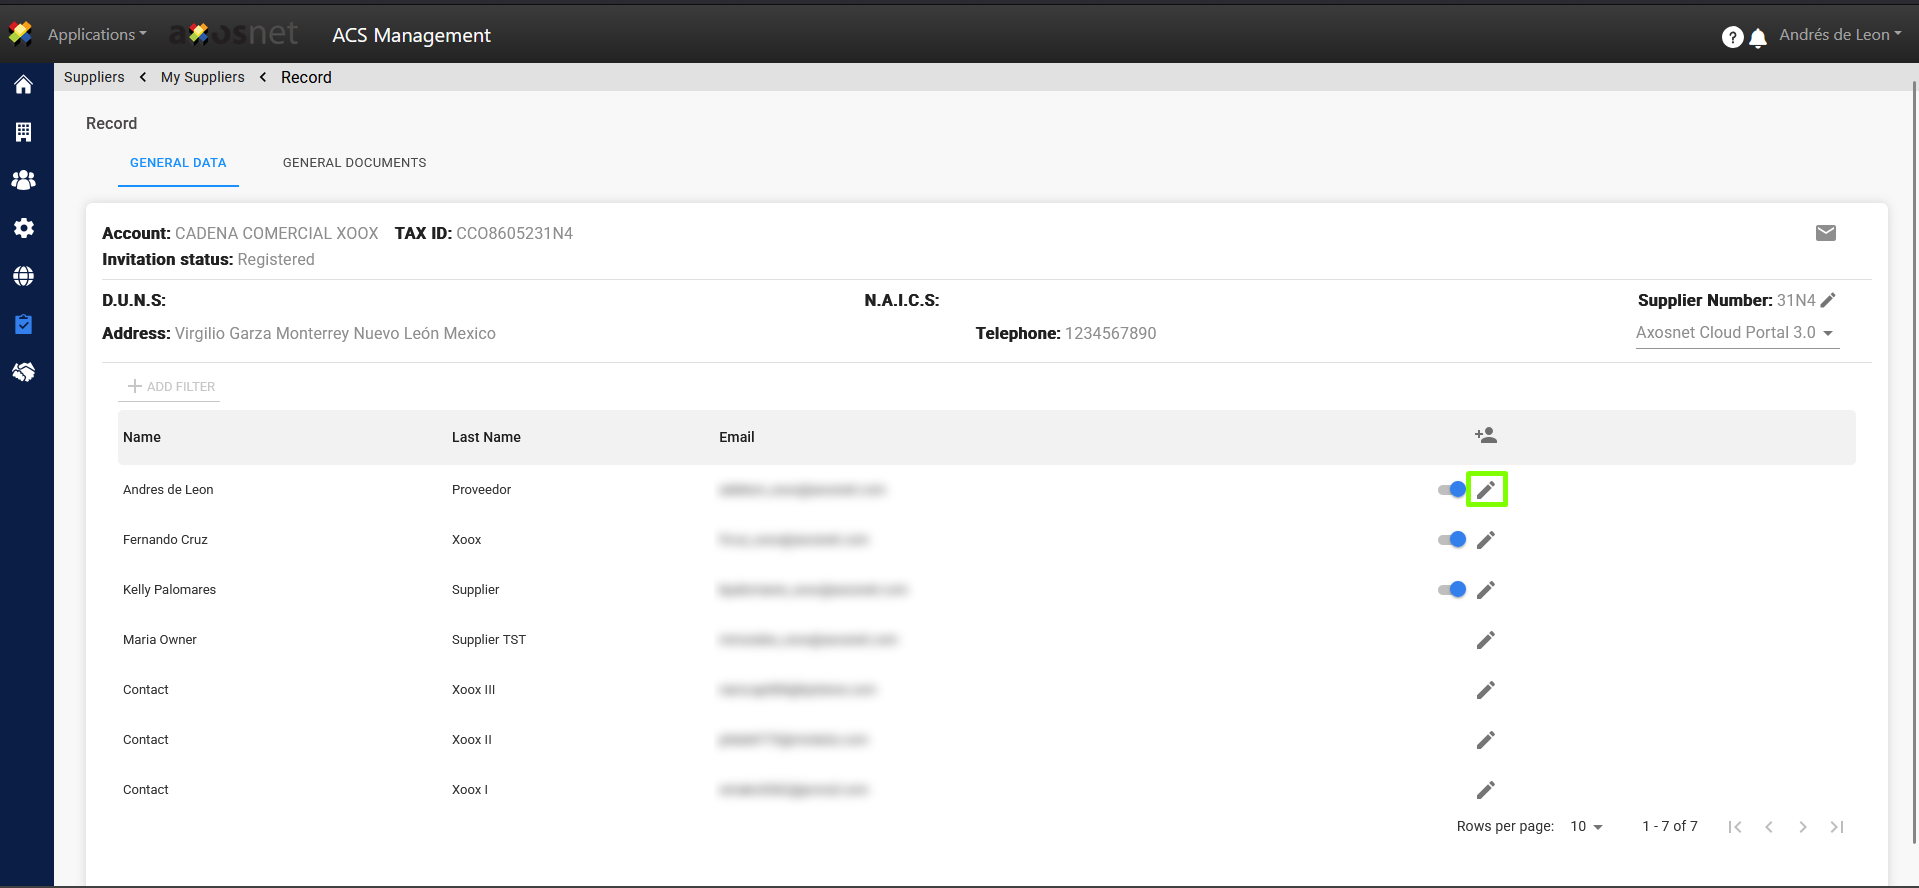
7. Click Edit next to the supplier you want to modify.
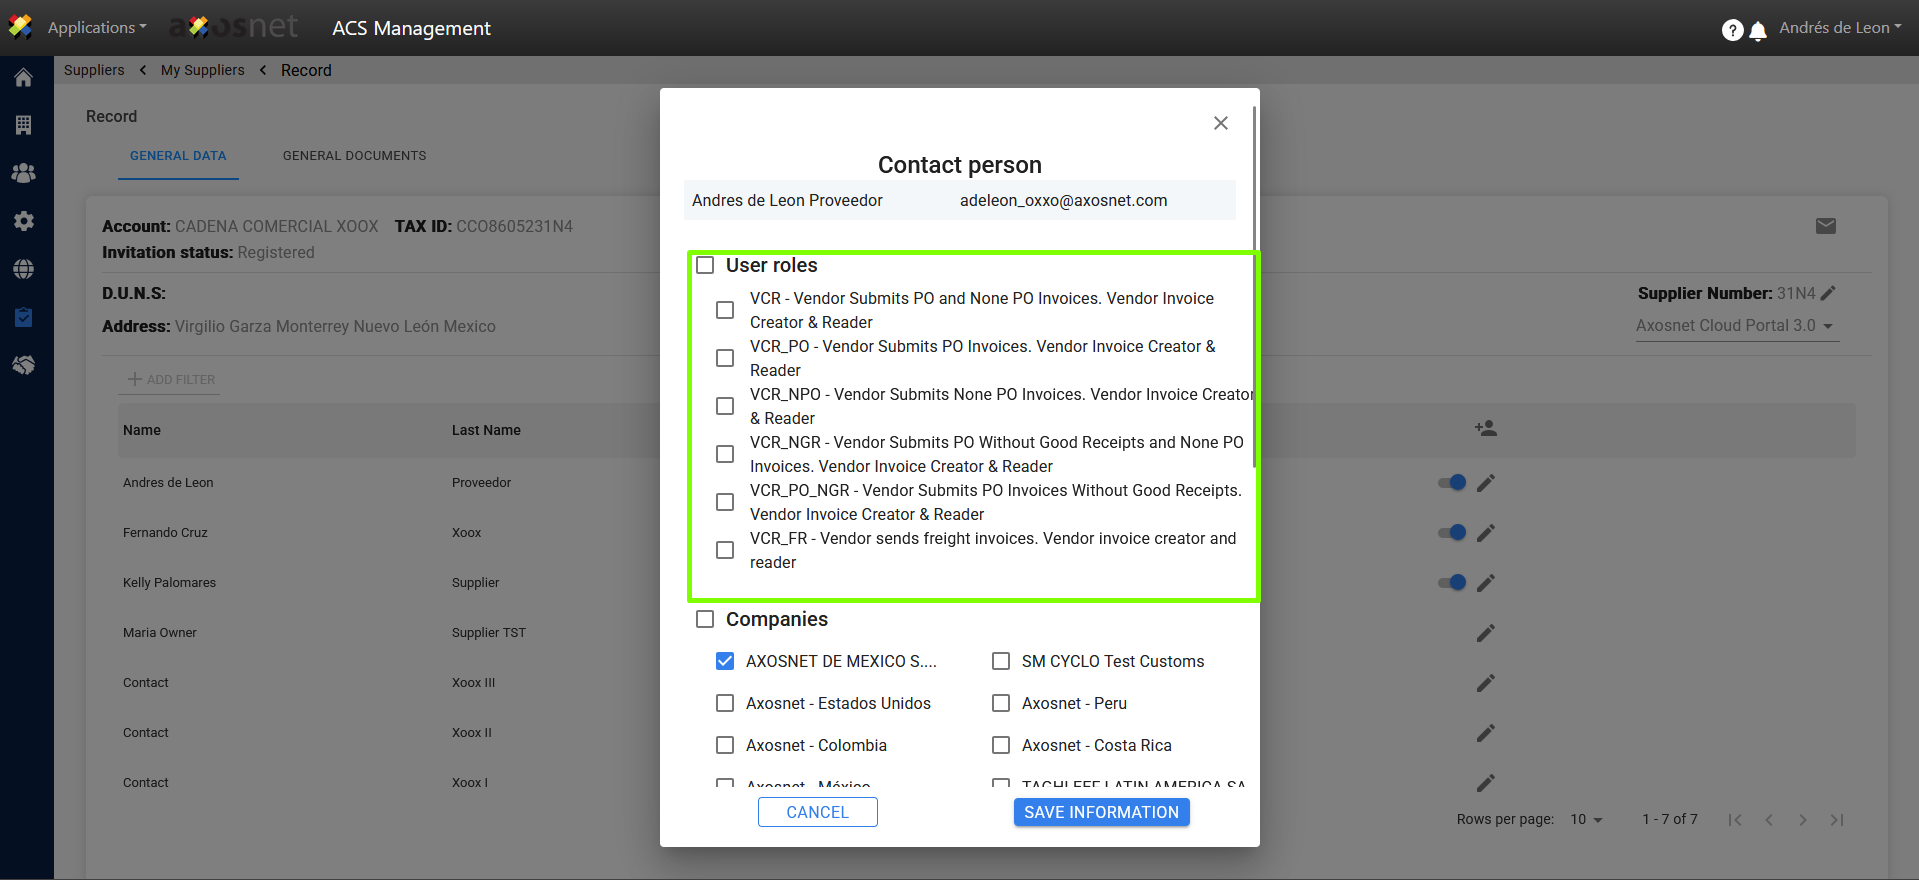
8. Select the VCR_FR option and another role that allows you to upload invoices to enable the freight functionality.
Enter Invoice with Freight Charges
This process is performed by the preconfigured supplier user.
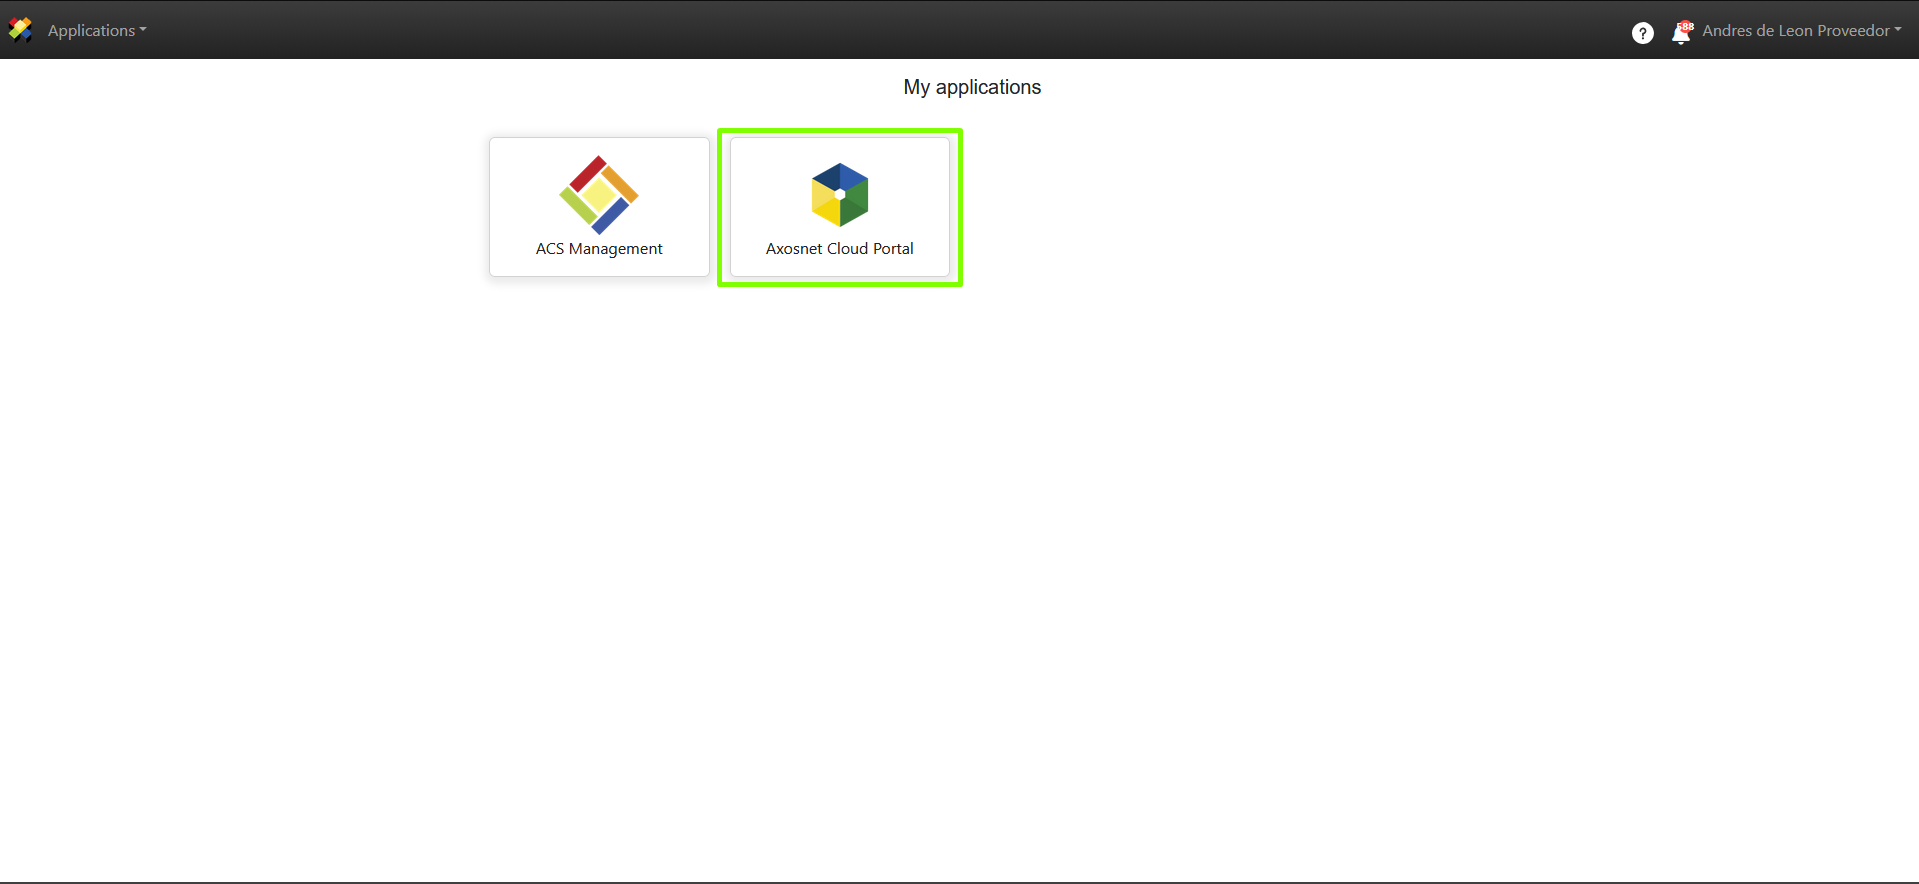
1. Log in to ACS Management and select the Axosnet Cloud Portal option.
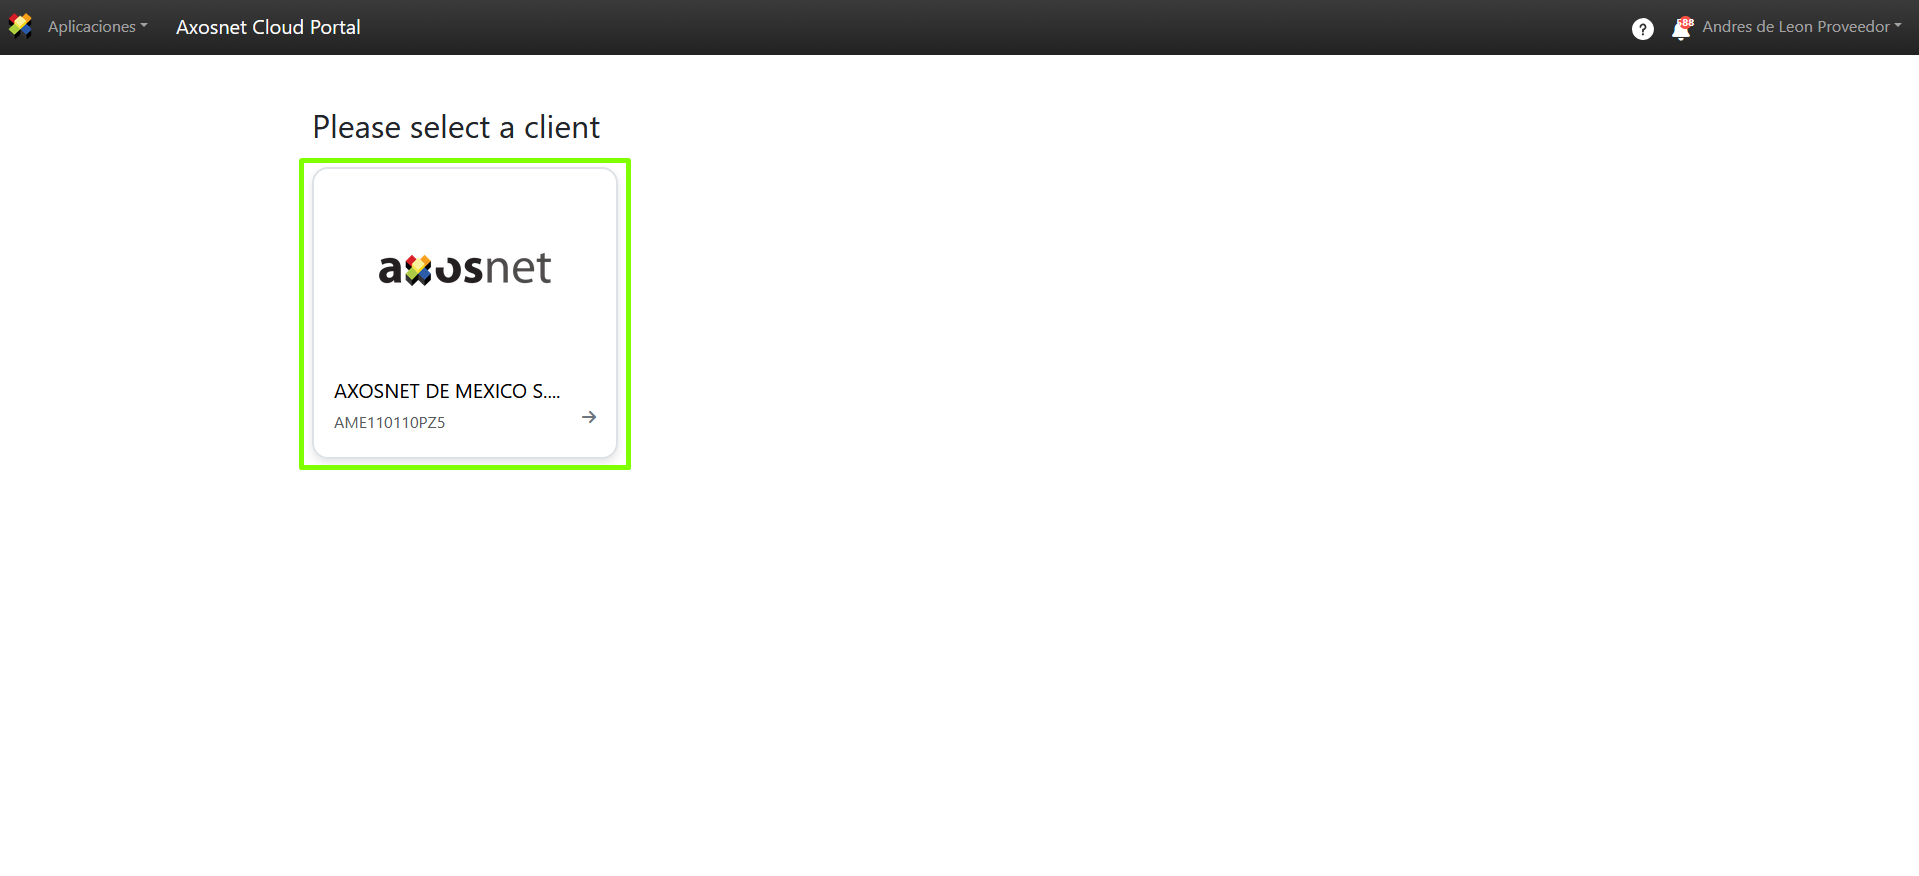
2. Once in ACP, select the client you wish to work with.
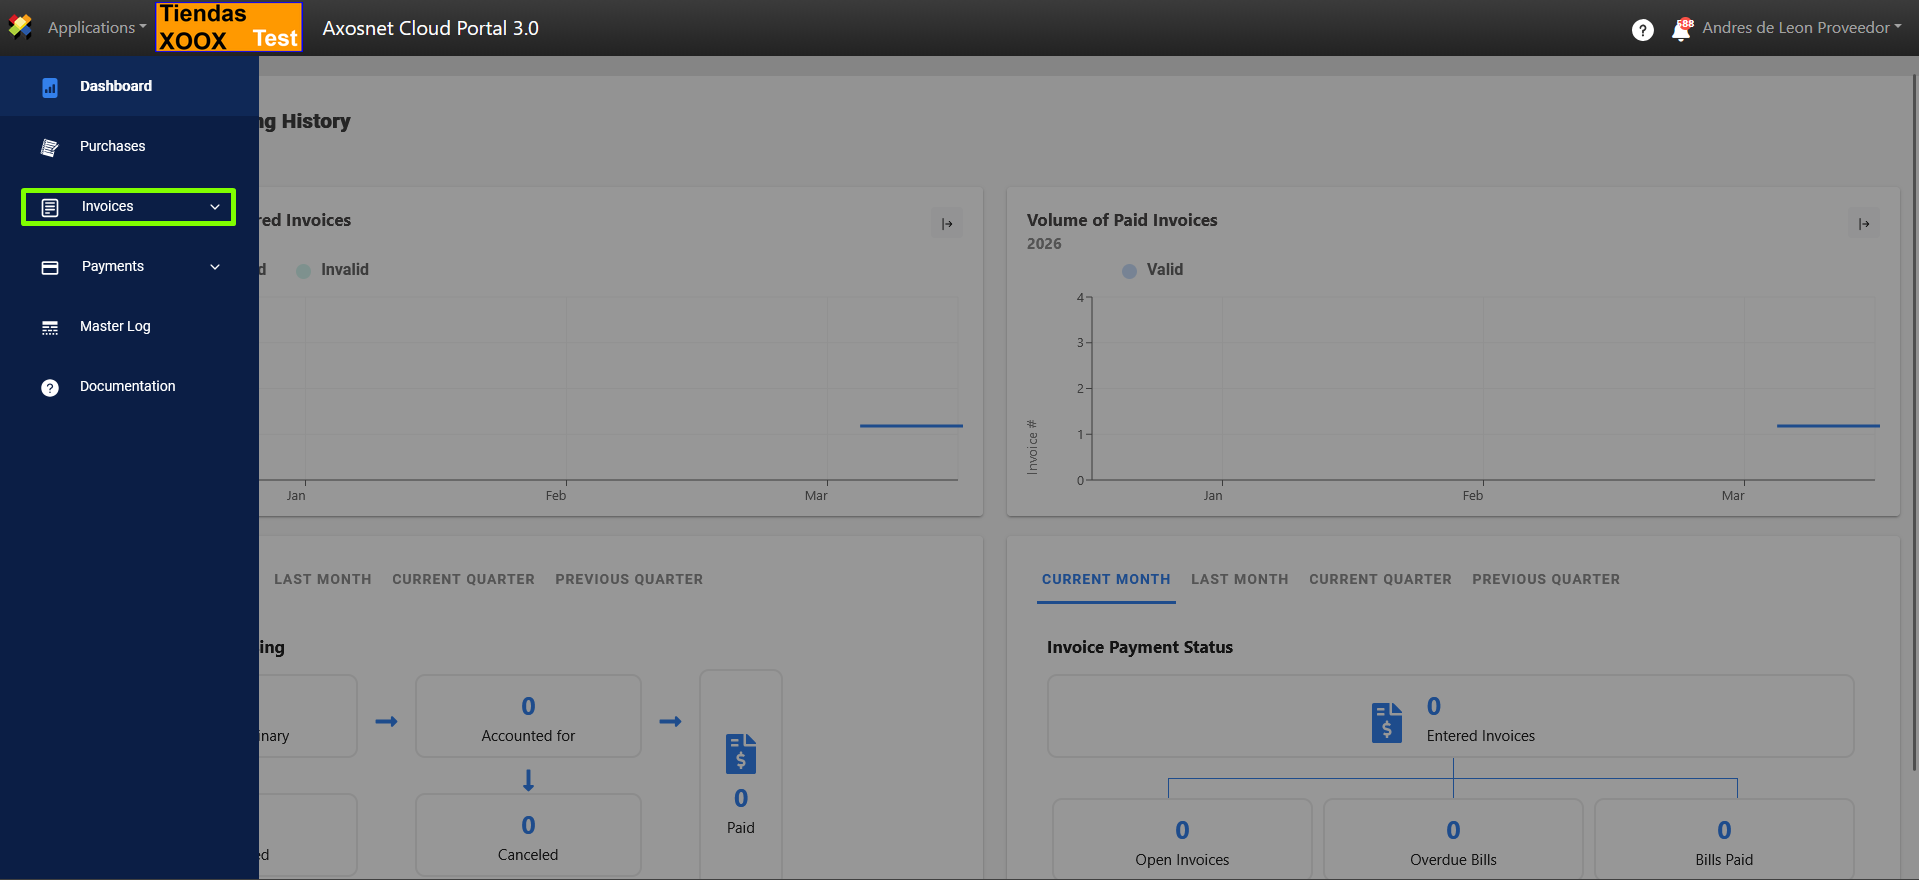
3. In ACP 3, select the “Invoices” option from the left-hand side menu; you can click the icon or hover your cursor over it to display the options.
4. Select “Document Entry.”
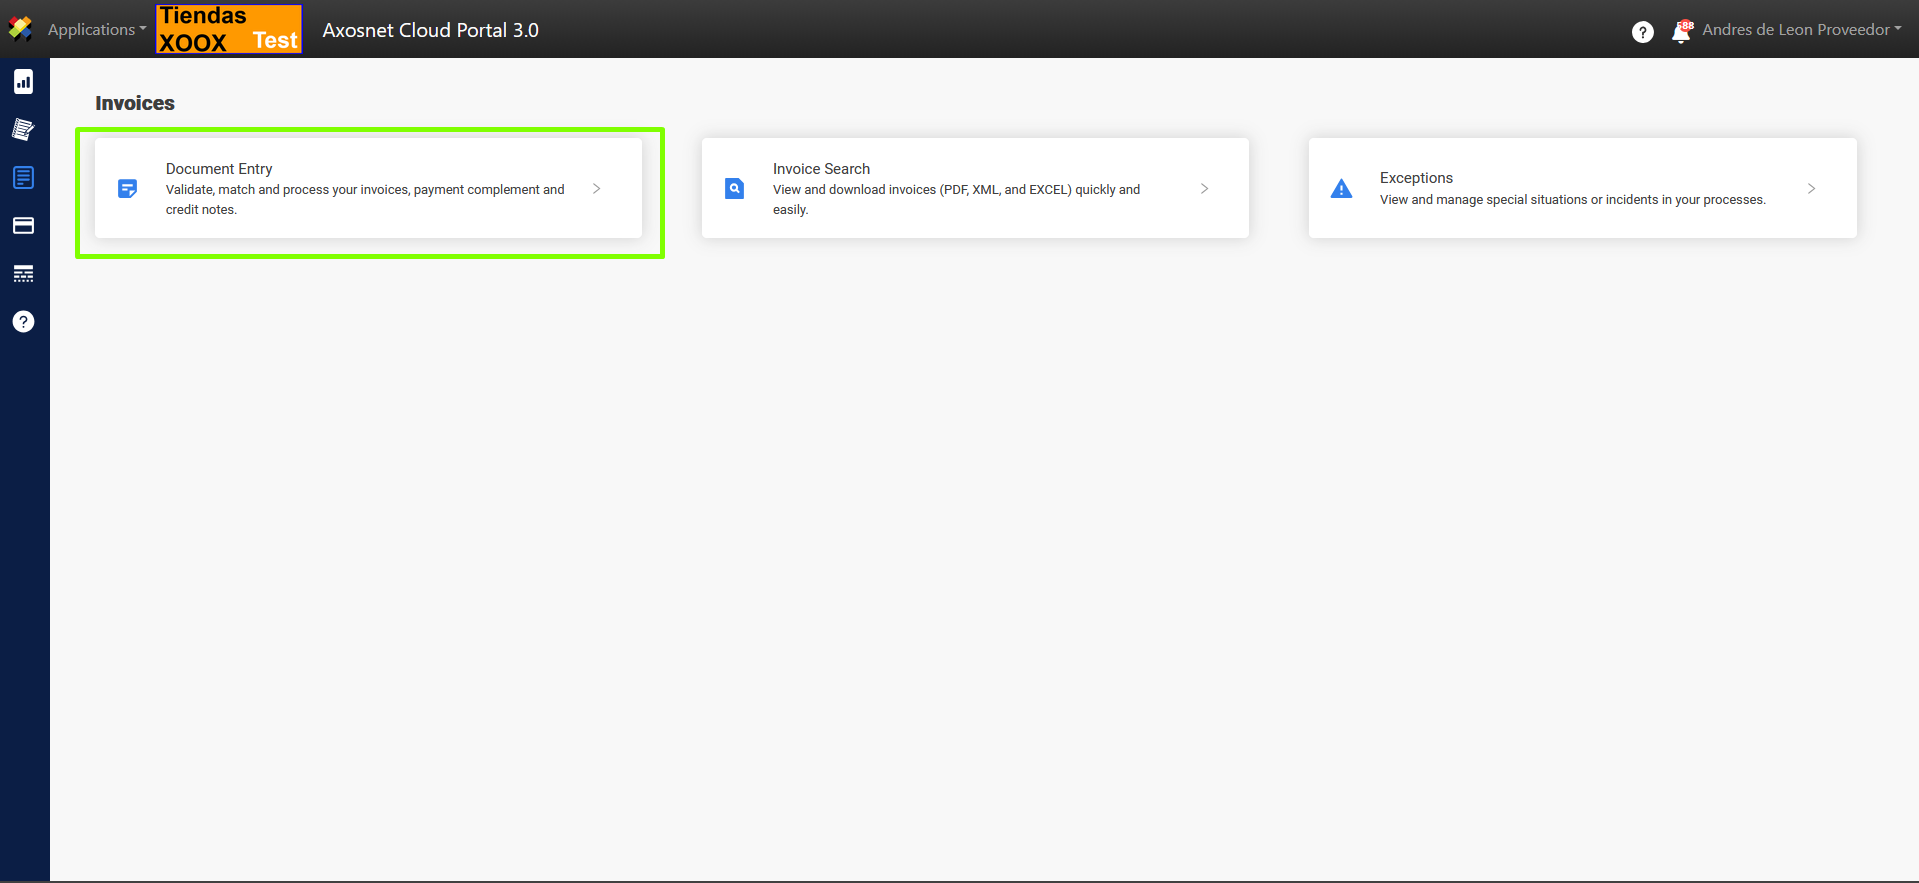
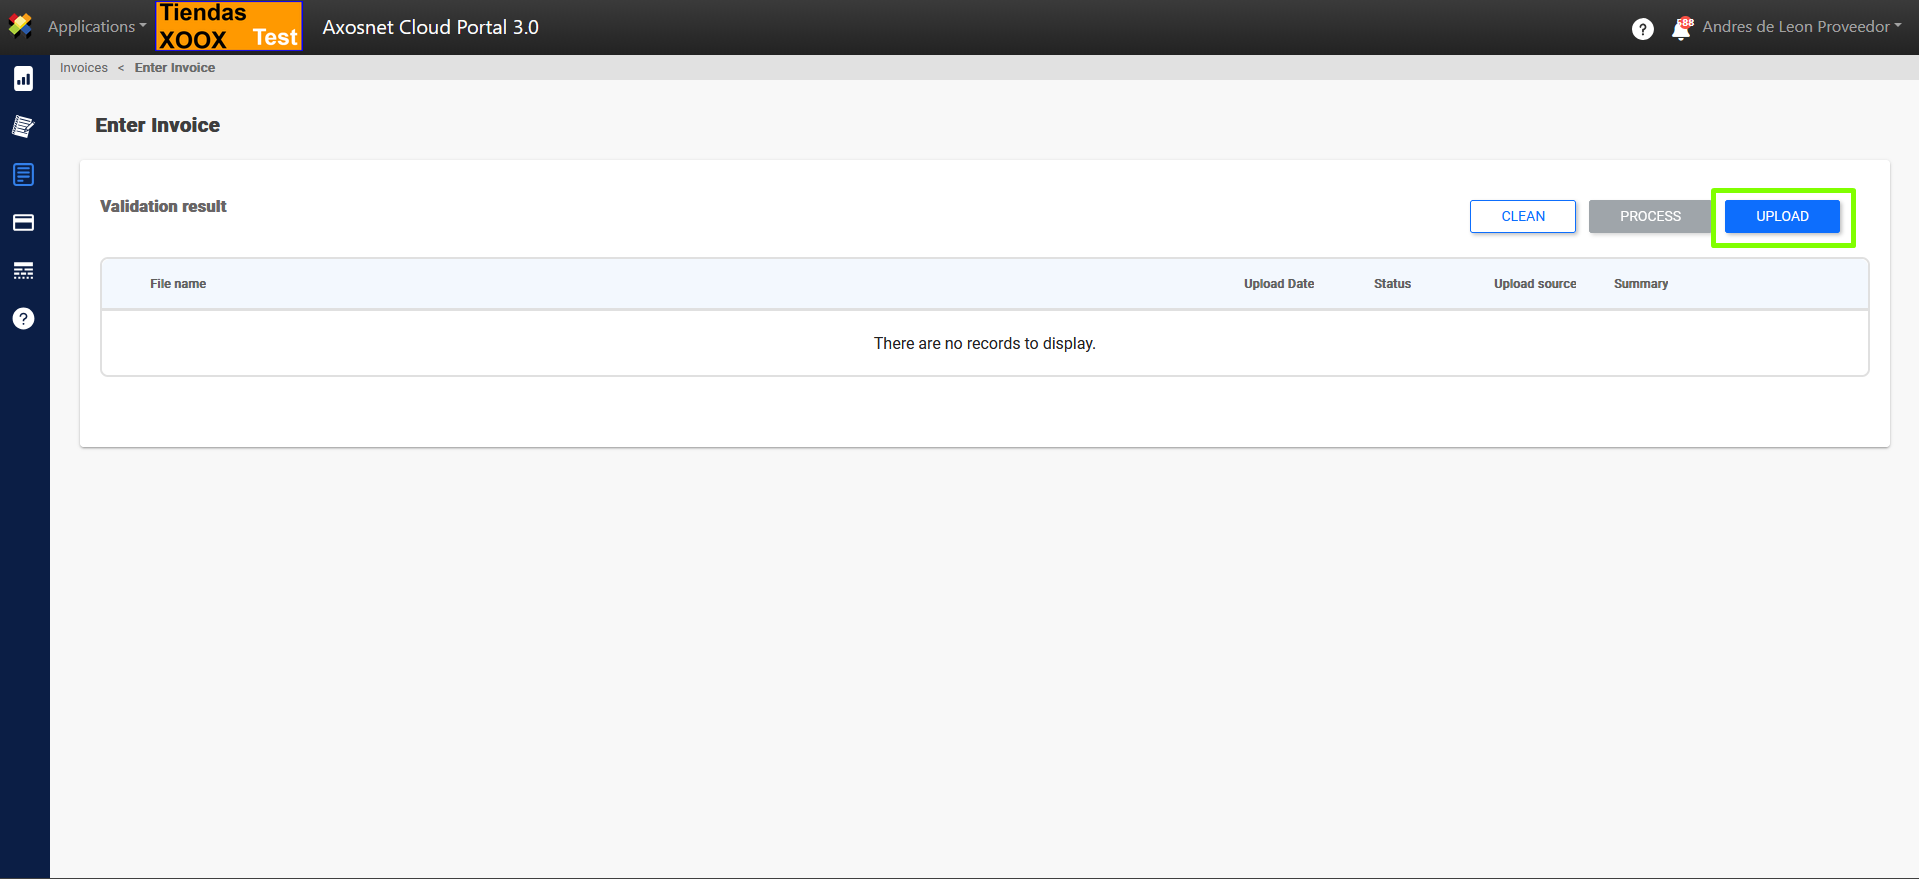
5. In this subsection, you can upload documents (invoices, payment supplements, etc.) to be entered into the portal. Click the “UPLOAD” button.
6. In the pop-up window, you can enable the freight functionality by clicking the toggle button.
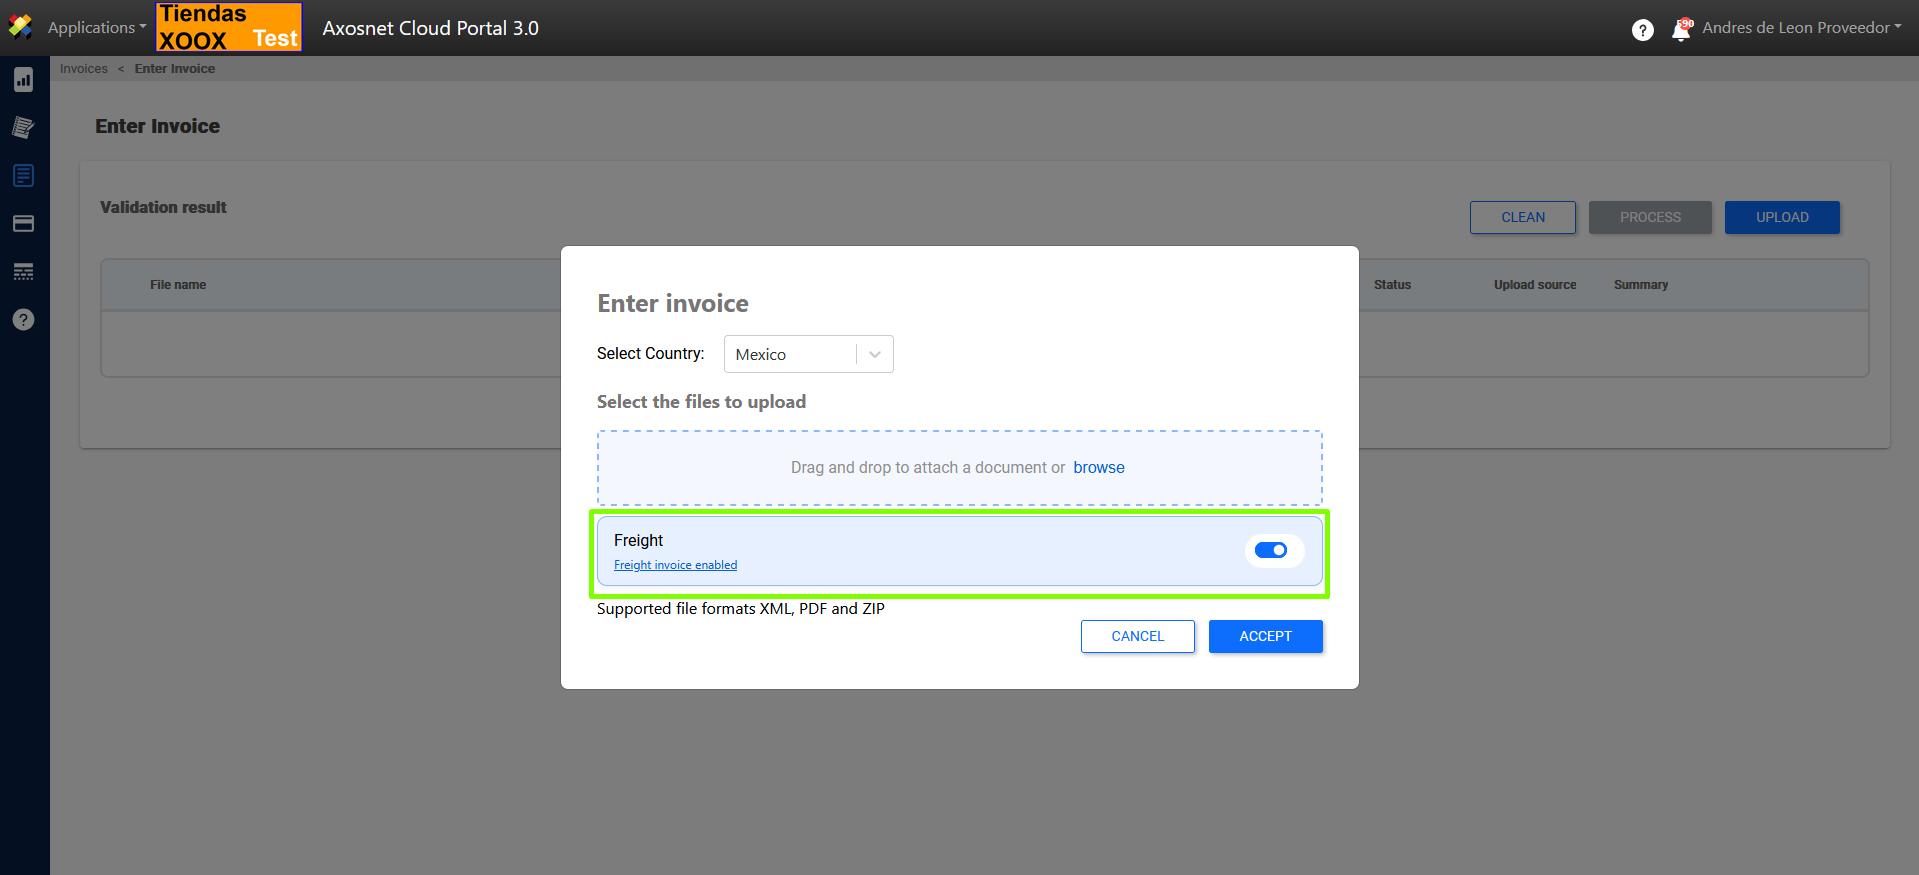
7. To upload the invoice, drag the documents or click “Select” depending on the following scenarios:
XML document with deliveries listed in an addendum.

XML file without delivery details and an XLS file with delivery information.
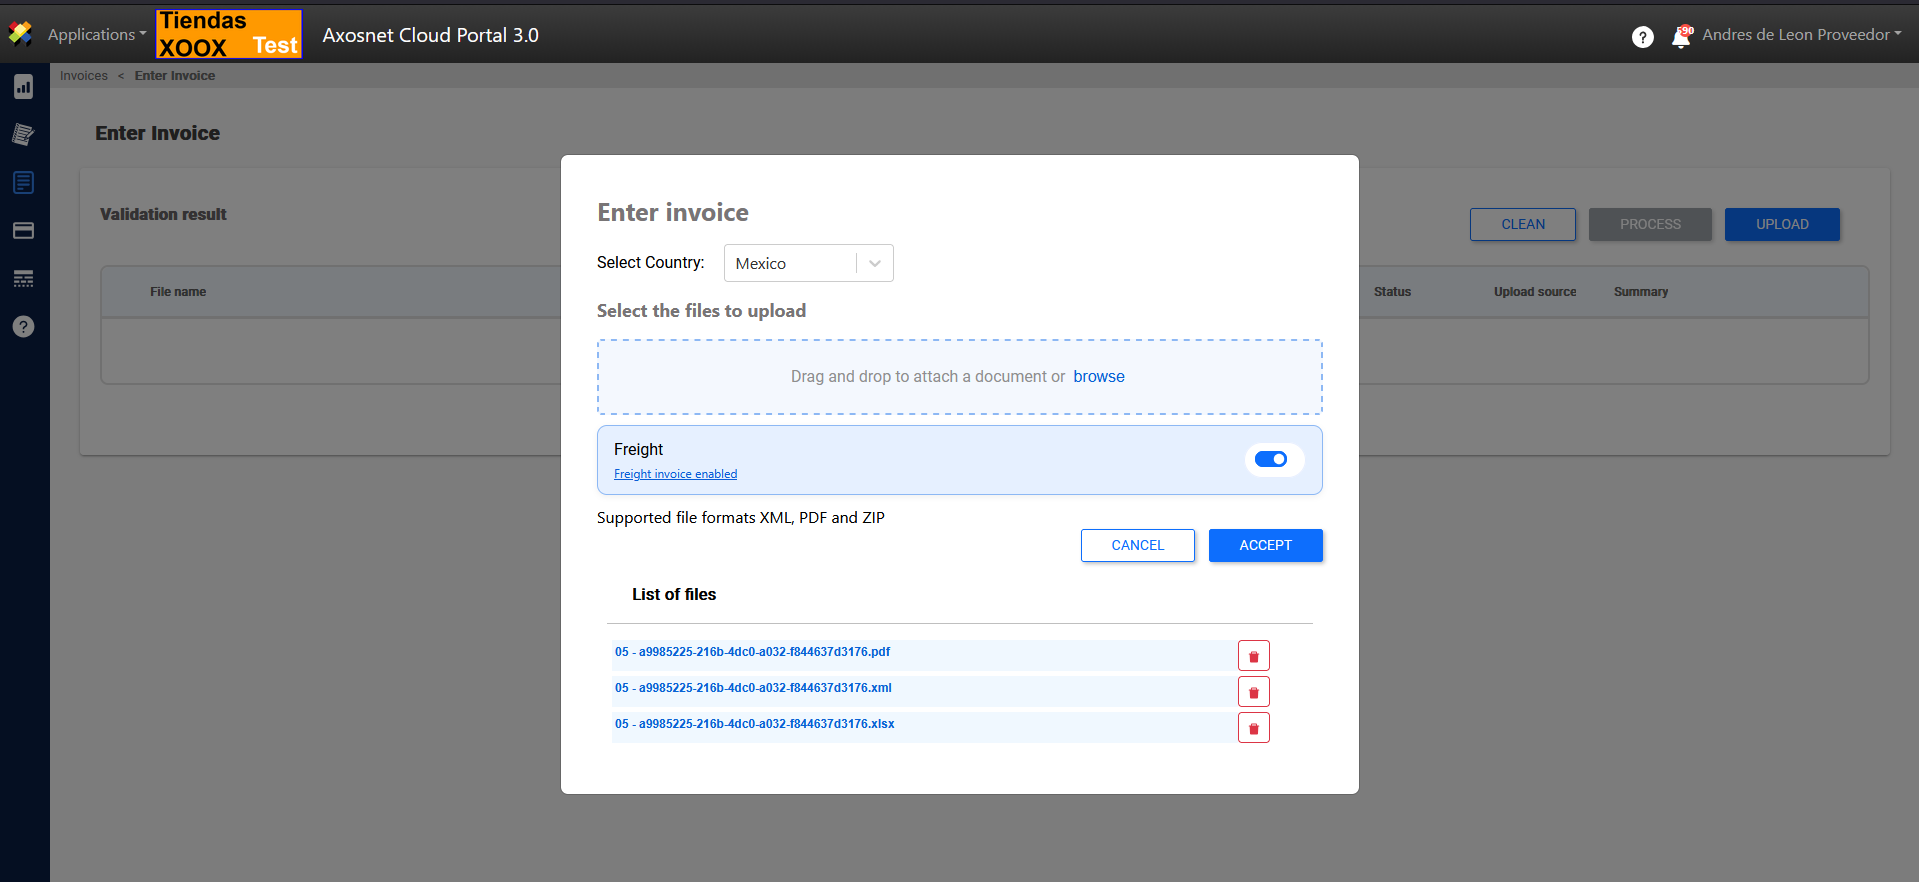
Once the upload is complete, click ACCEPT
Note: If you select an invoice that does not belong to the customer, the invoice status will be marked as “NOT ENTERED”.
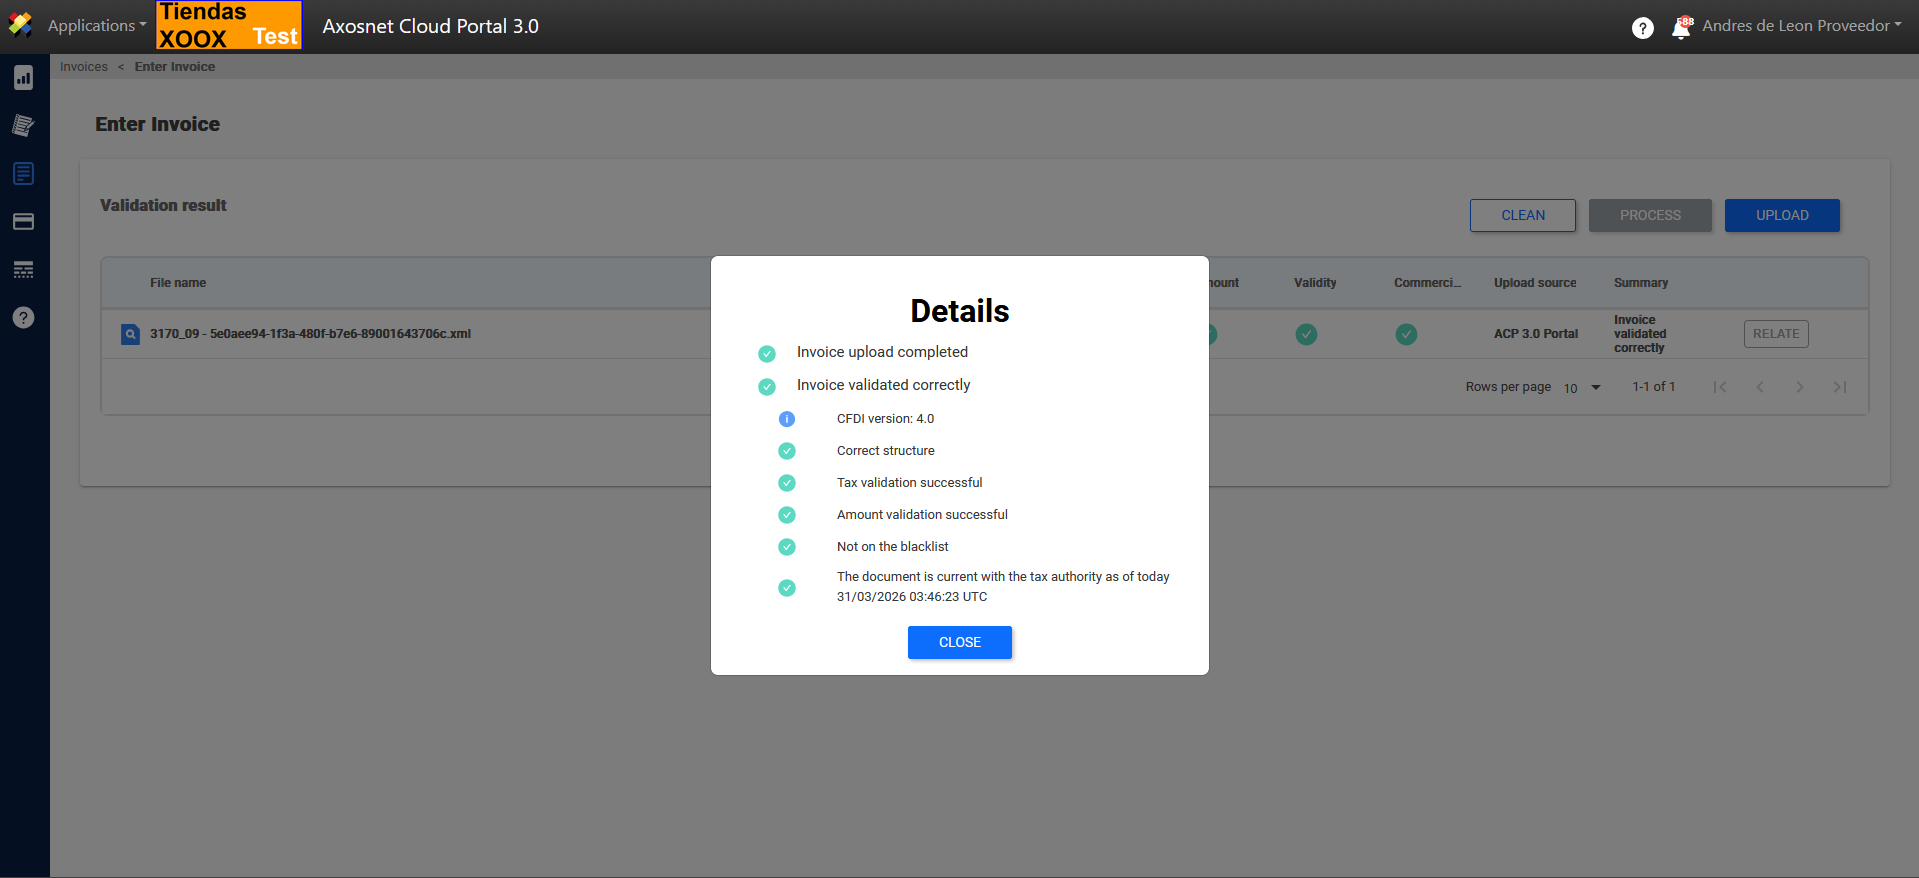
8. Once the invoice is successfully uploaded, it will be displayed with the status “ENTERED”.
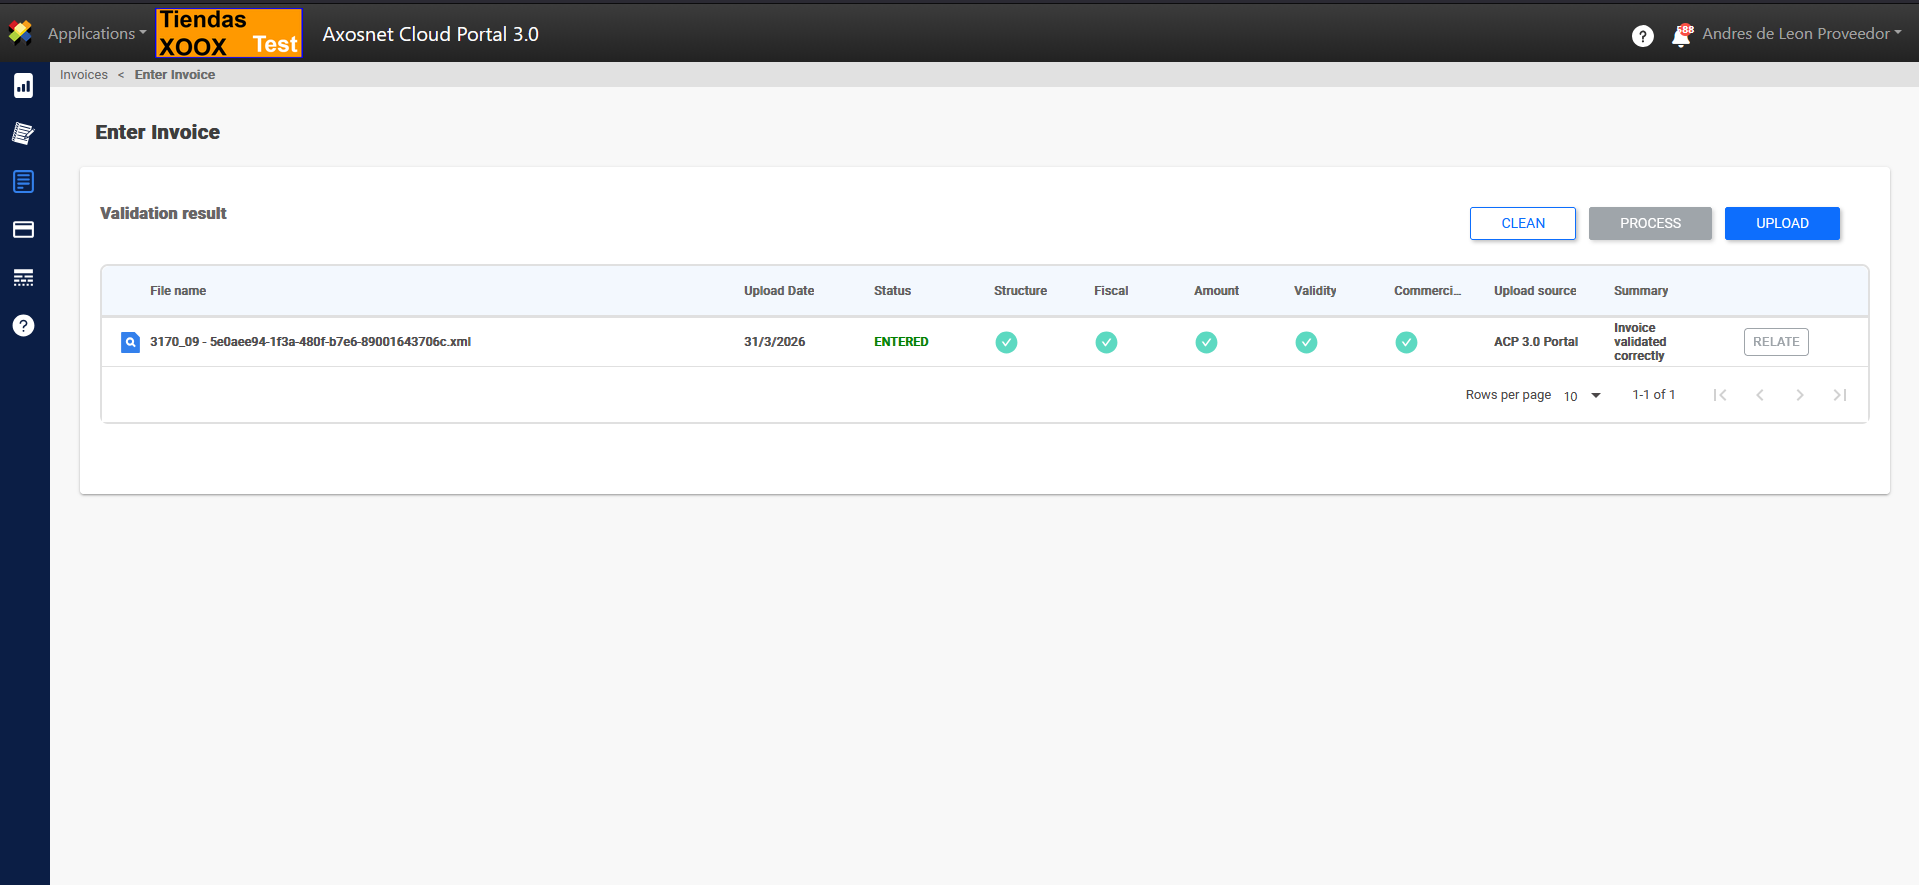
9. Click the magnifying glass icon to view the invoice details.