Once you have uploaded and validated the documents, it is necessary to continue with the following steps:
Relate Documents (Step 2)
After finishing the upload process and checking that the validations have been done correctly, you can move on to the process of RELATING invoices / payment complement where you can relate them to a purchase order or continue without a purchase order.
This relationship varies according to the type of ACP account:
- ACP SVF only allows you to relate documents without a purchase order, since the purchase orders come from the ERP, which is not considered in this ACP mode.
- ACP ERP allows you to relate documents with Purchase Orders. In this option you can enter the purchase order numbers to which your invoice is associated.
Process Documents (Step 3)
Finally you can PROCESS your invoices / payment complement. When you click this button, all invoices that were previously successfully related will be processed and will be eliminated from the validation results. At this point, your document entry has been successfully completed.
How to Relate a Payment Complement?
1. Enter ACS Management and select the Axosnet Cloud Portal option.
2. When you enter ACP, select the client you want to work with.
3. Within ACP 3, select the “Invoices” option in the left side menu. You can click on the icon or hover over the cursor to display the options.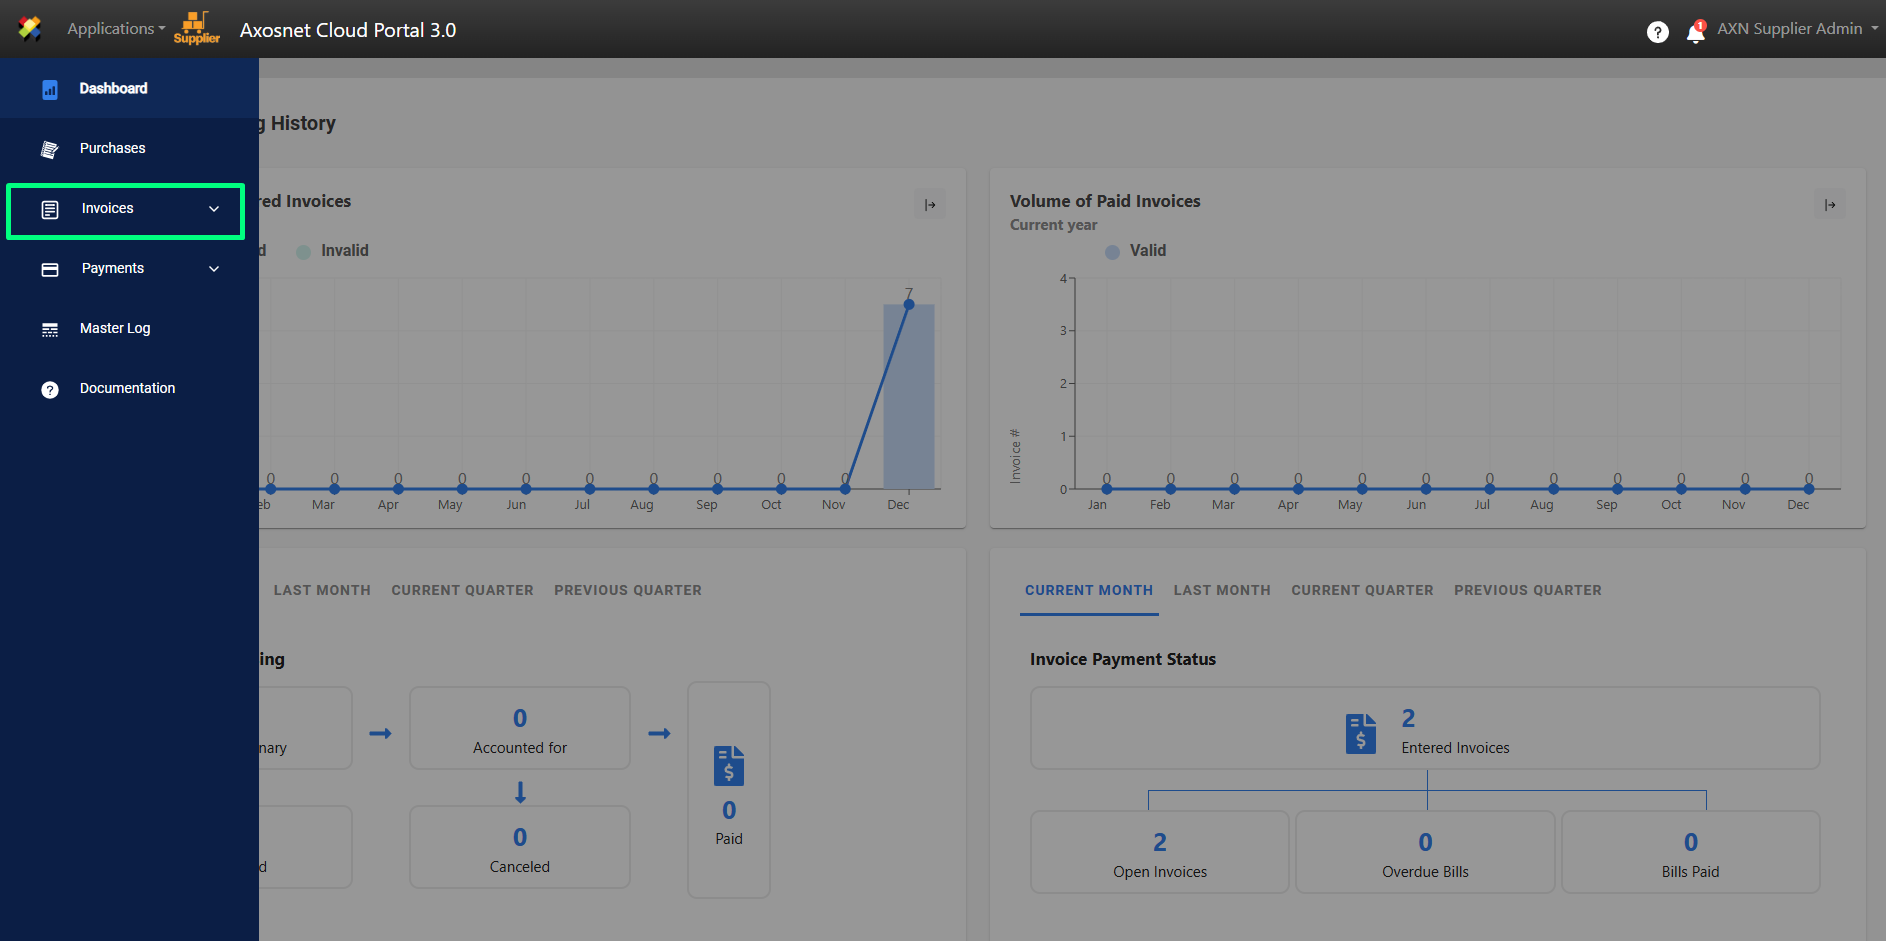
4. Select the “Document Entry” option.
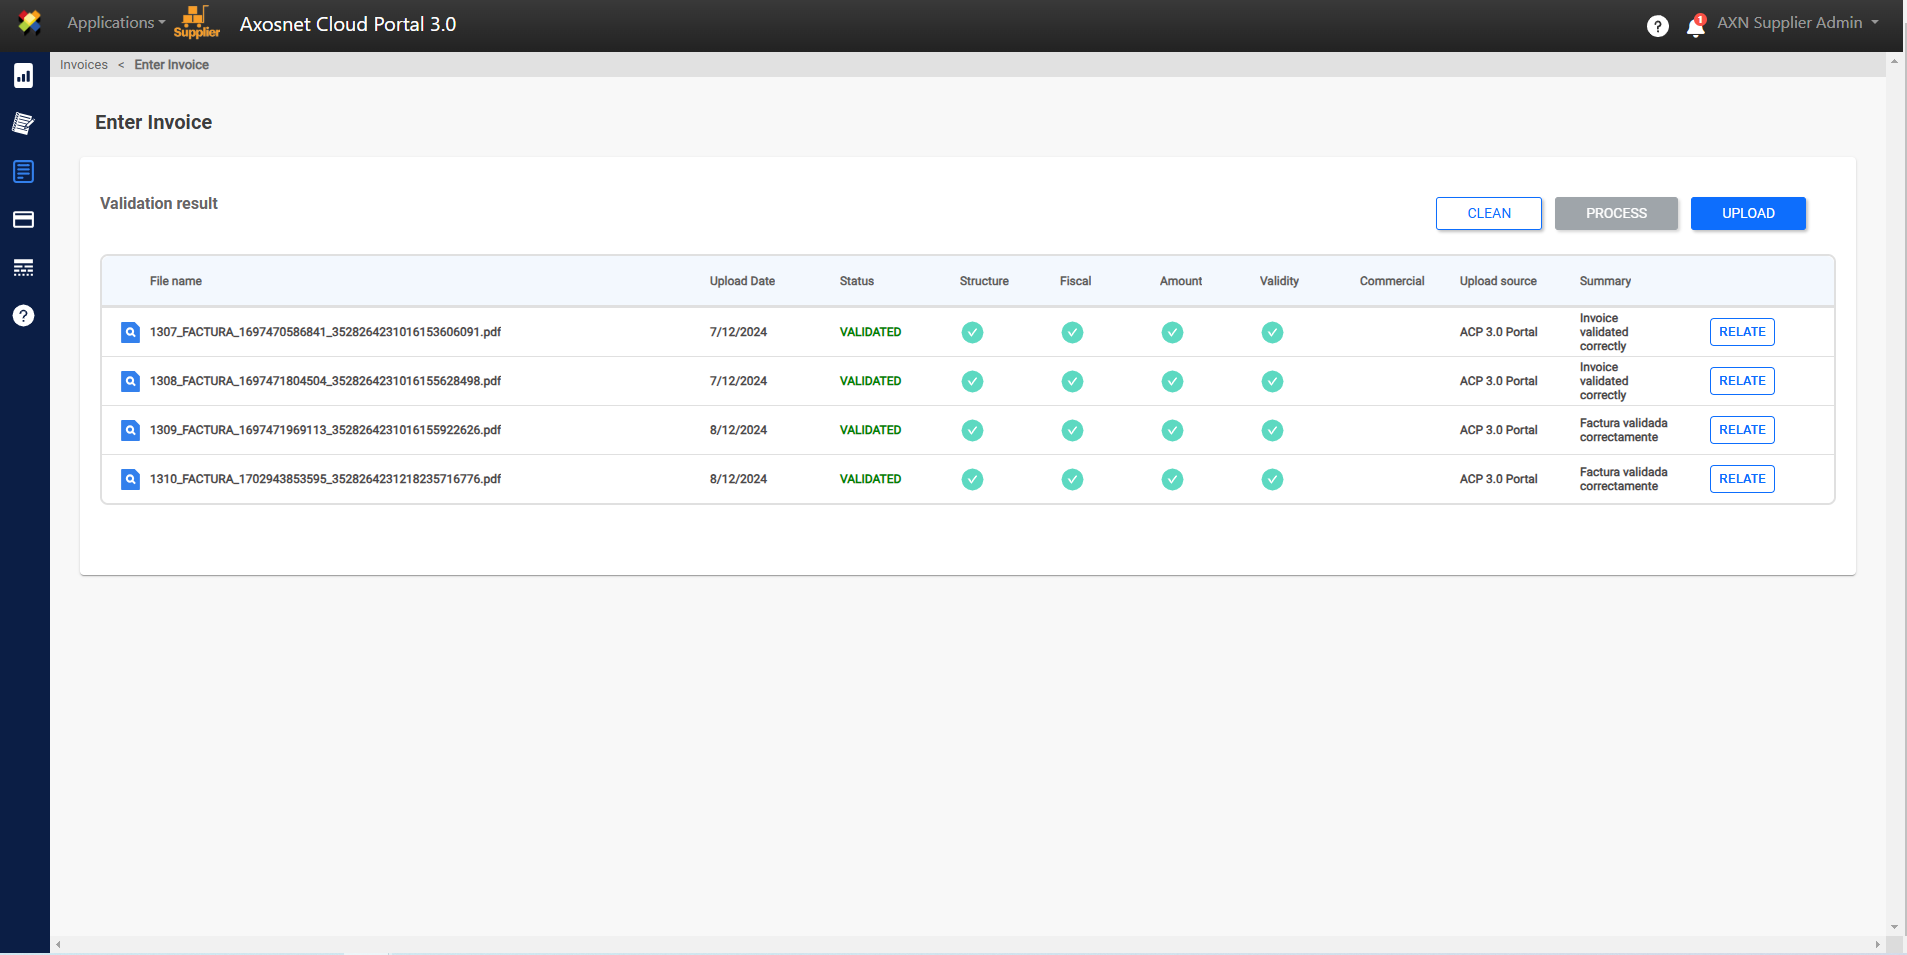
5. This screen displays the invoices / payment complements that have been uploaded and are ready to be related to a purchase order or without a purchase order. Select the desired invoice and click “RELATE”.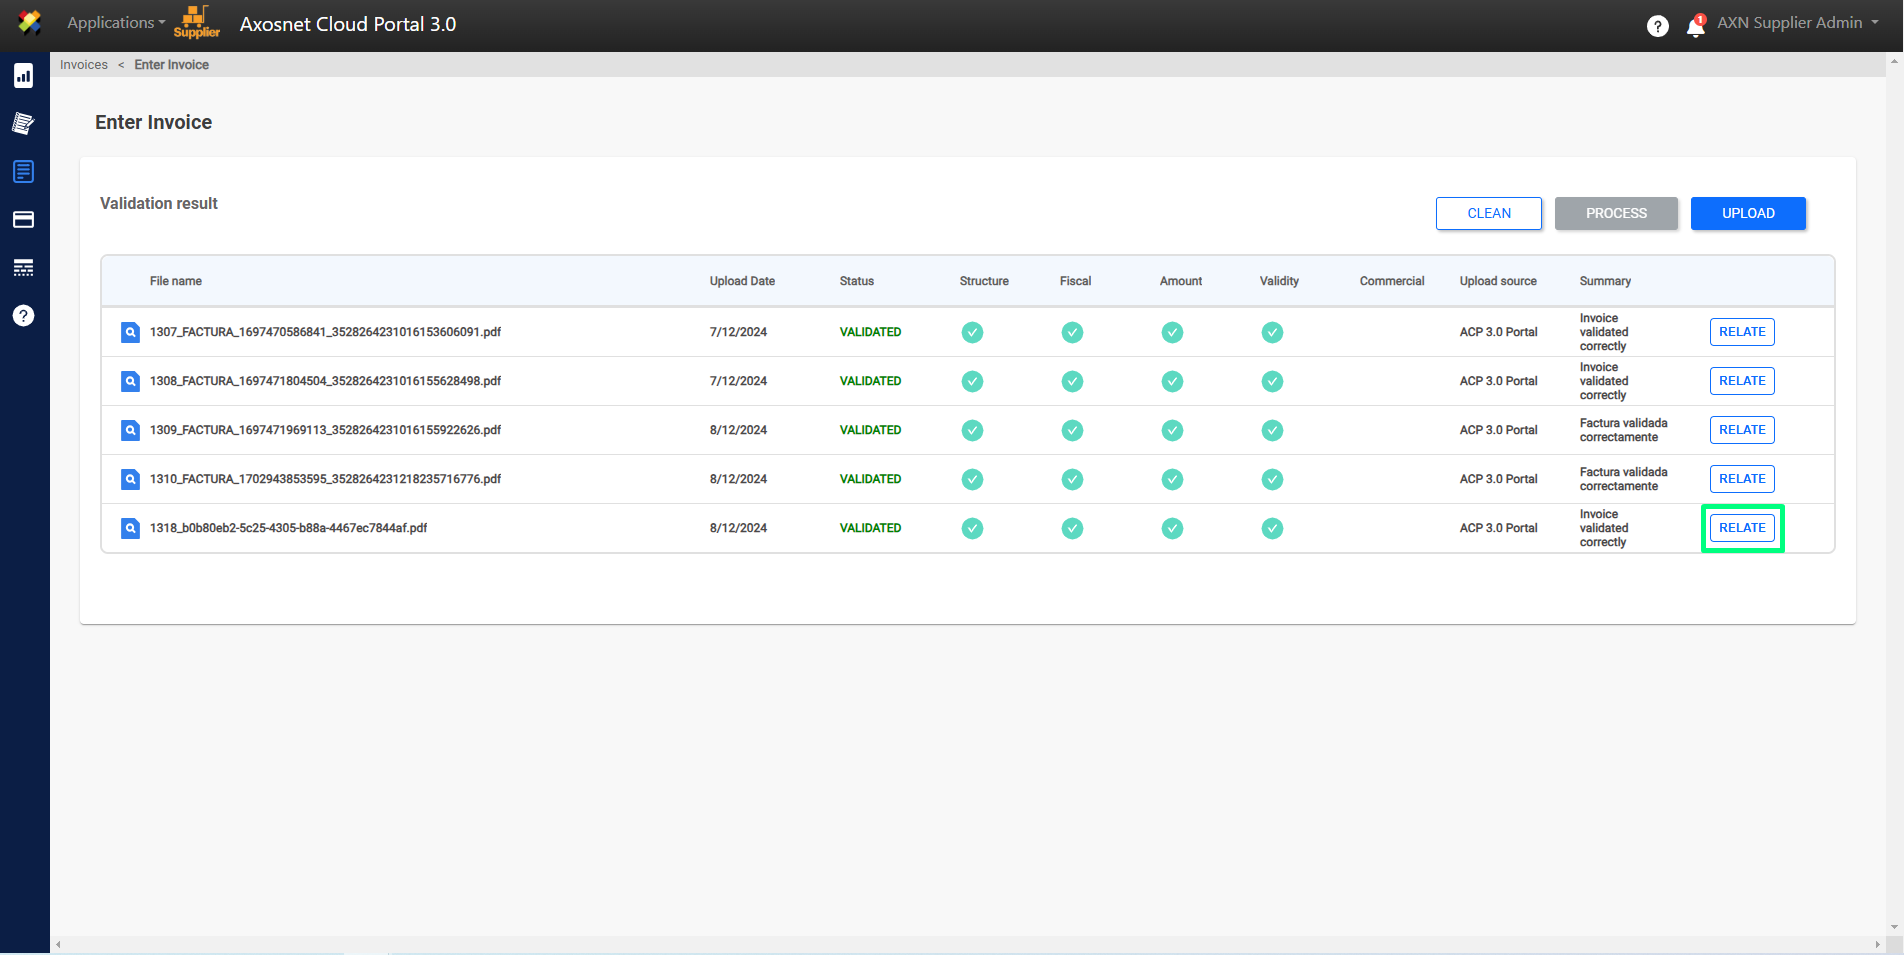
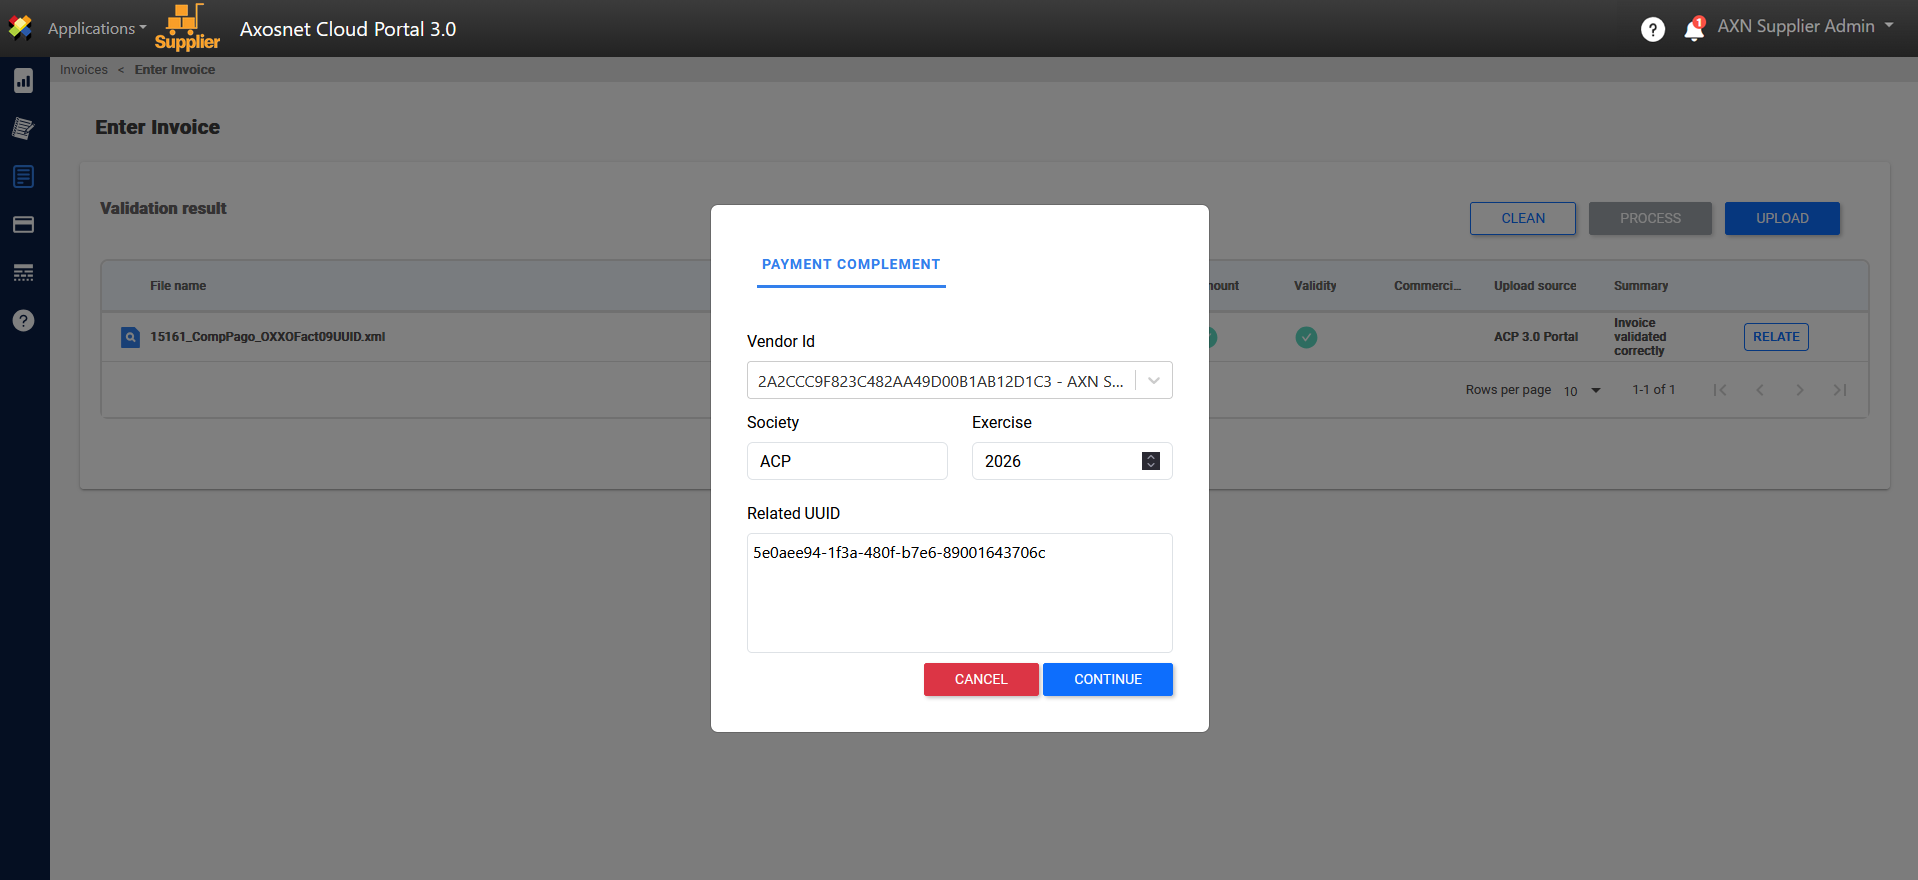
6. To add a Payment Complement, you must select the Supplier ID and provide the Company, Fiscal Year.
Note: The UUID may display one or more invoices related to the payment add-on.
7. Next, you must select the individual payments corresponding to the supplement for each invoice.
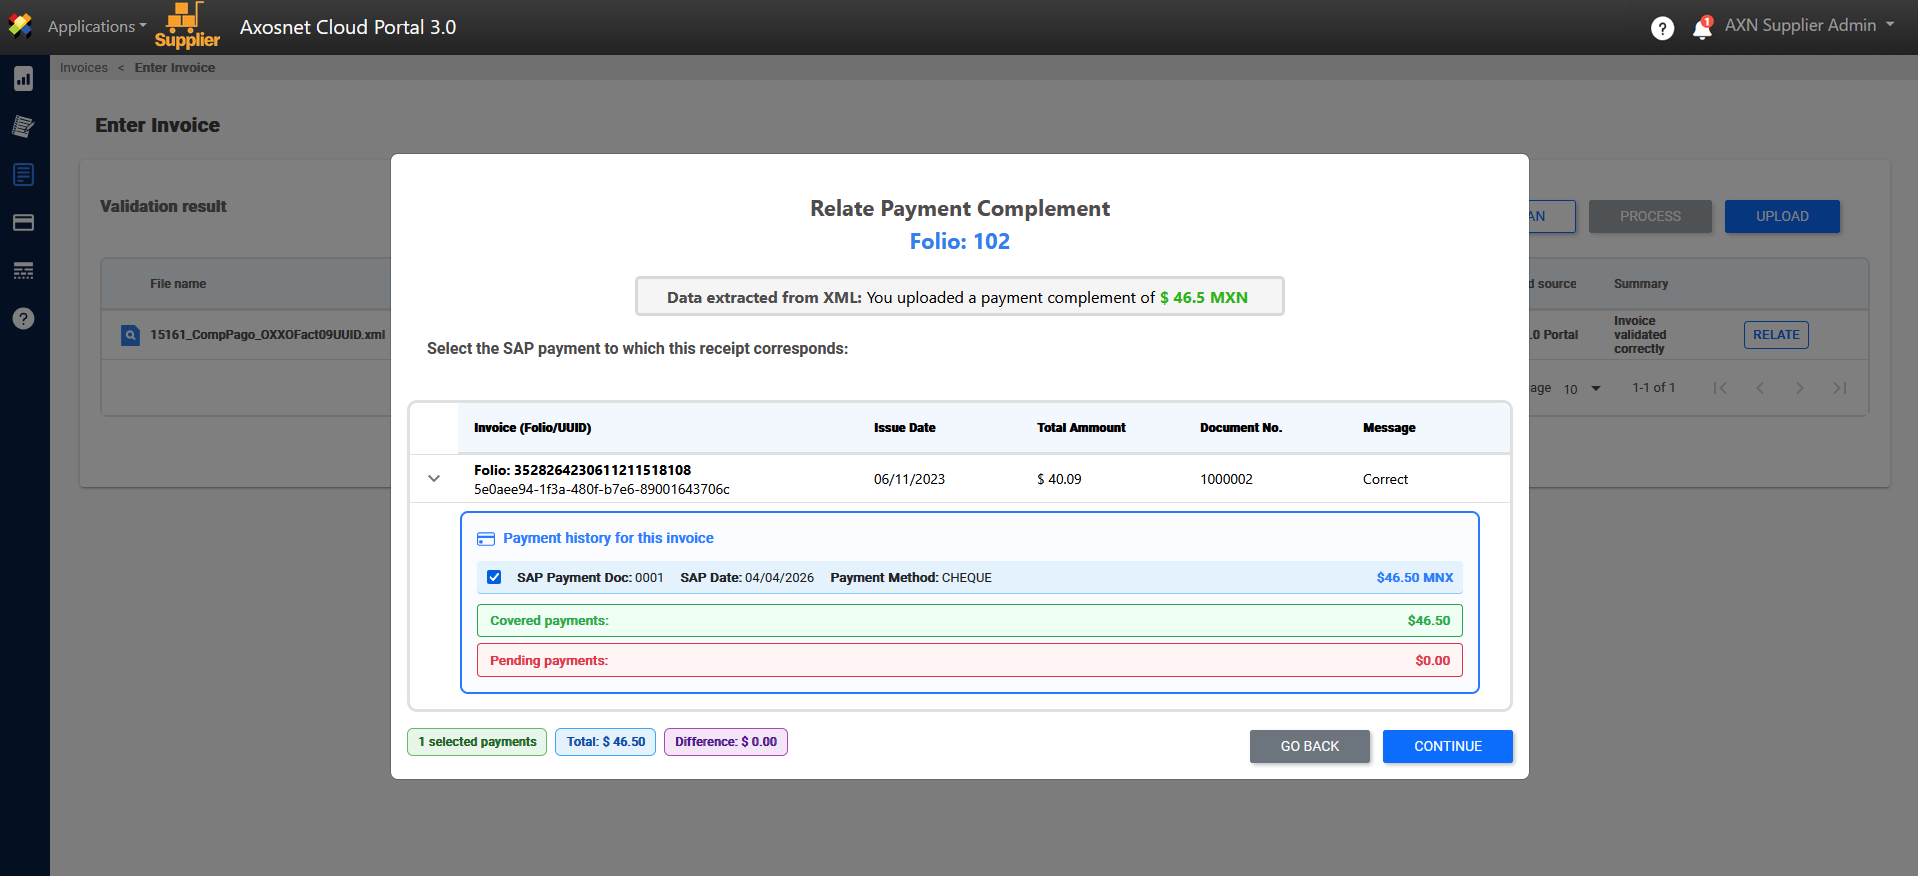
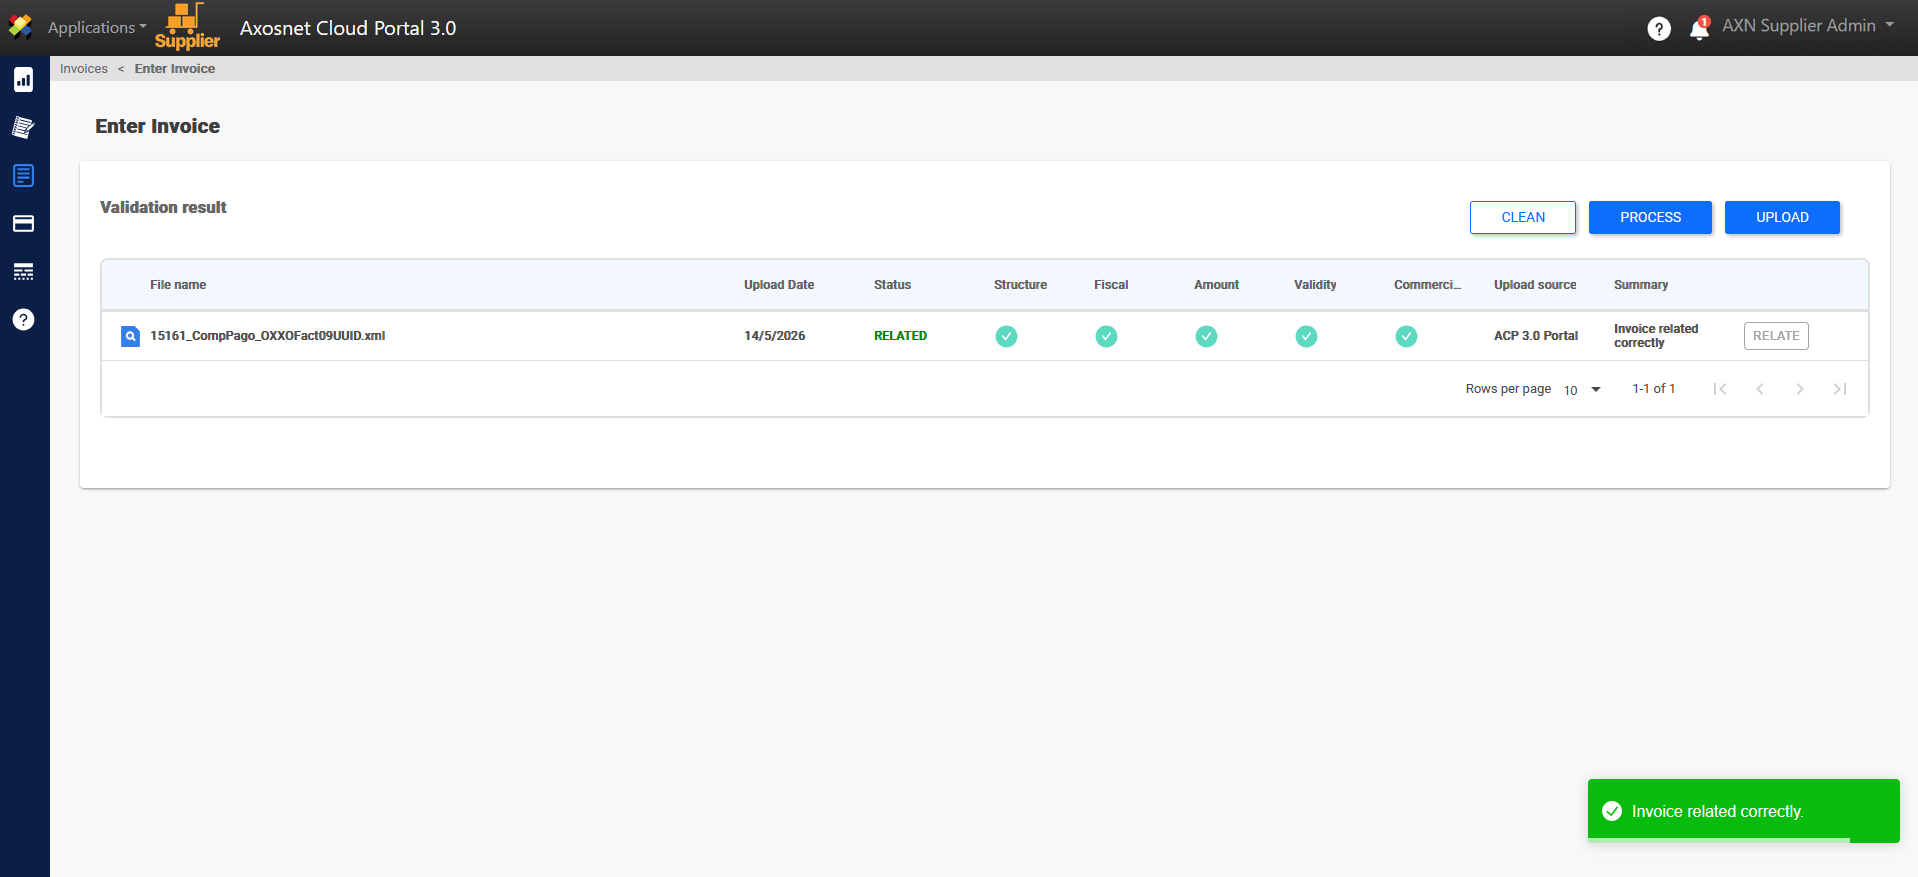
8. Finally, a notification will appear confirming that the invoice / payment complement has been linked correctly.
How to Process an Payment Complement ?
1. Enter ACS Management and select the Axosnet Cloud Portal option.
2. When you enter ACP, select the client you want to work with.
3. Within ACP 3, select the “Invoices” option in the left side menu. You can click on the icon or hover over it to display the options.
4. Select “Document Entry”.
5. At the top you will see the PROCESS button. When you press this button, all invoices / payment complements that were previously successfully linked will be processed.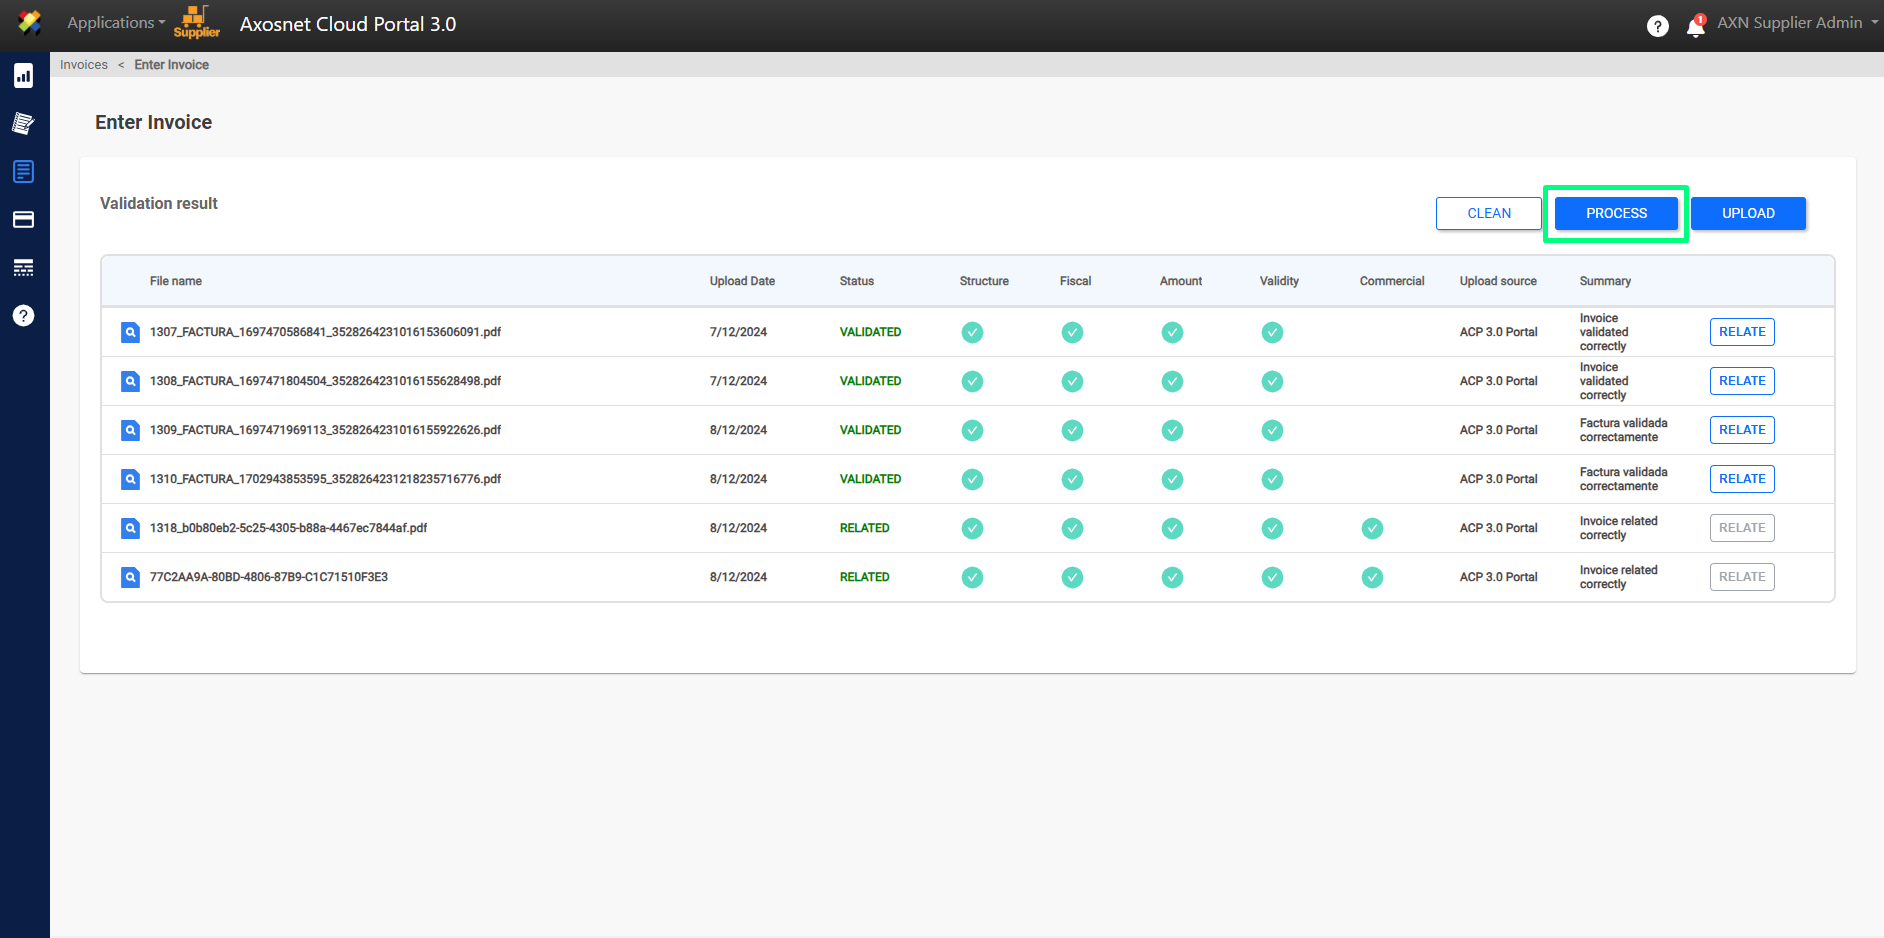
Note: When finished, invoices / payment complements that were processed correctly will be removed from the validation results. Otherwise, you can see the details on the screen or, if applicable, click on the 🔍 button to see more details.
At this point, your document entry has been successfully completed.
6. A notification will appear to confirm that the invoice has been processed related.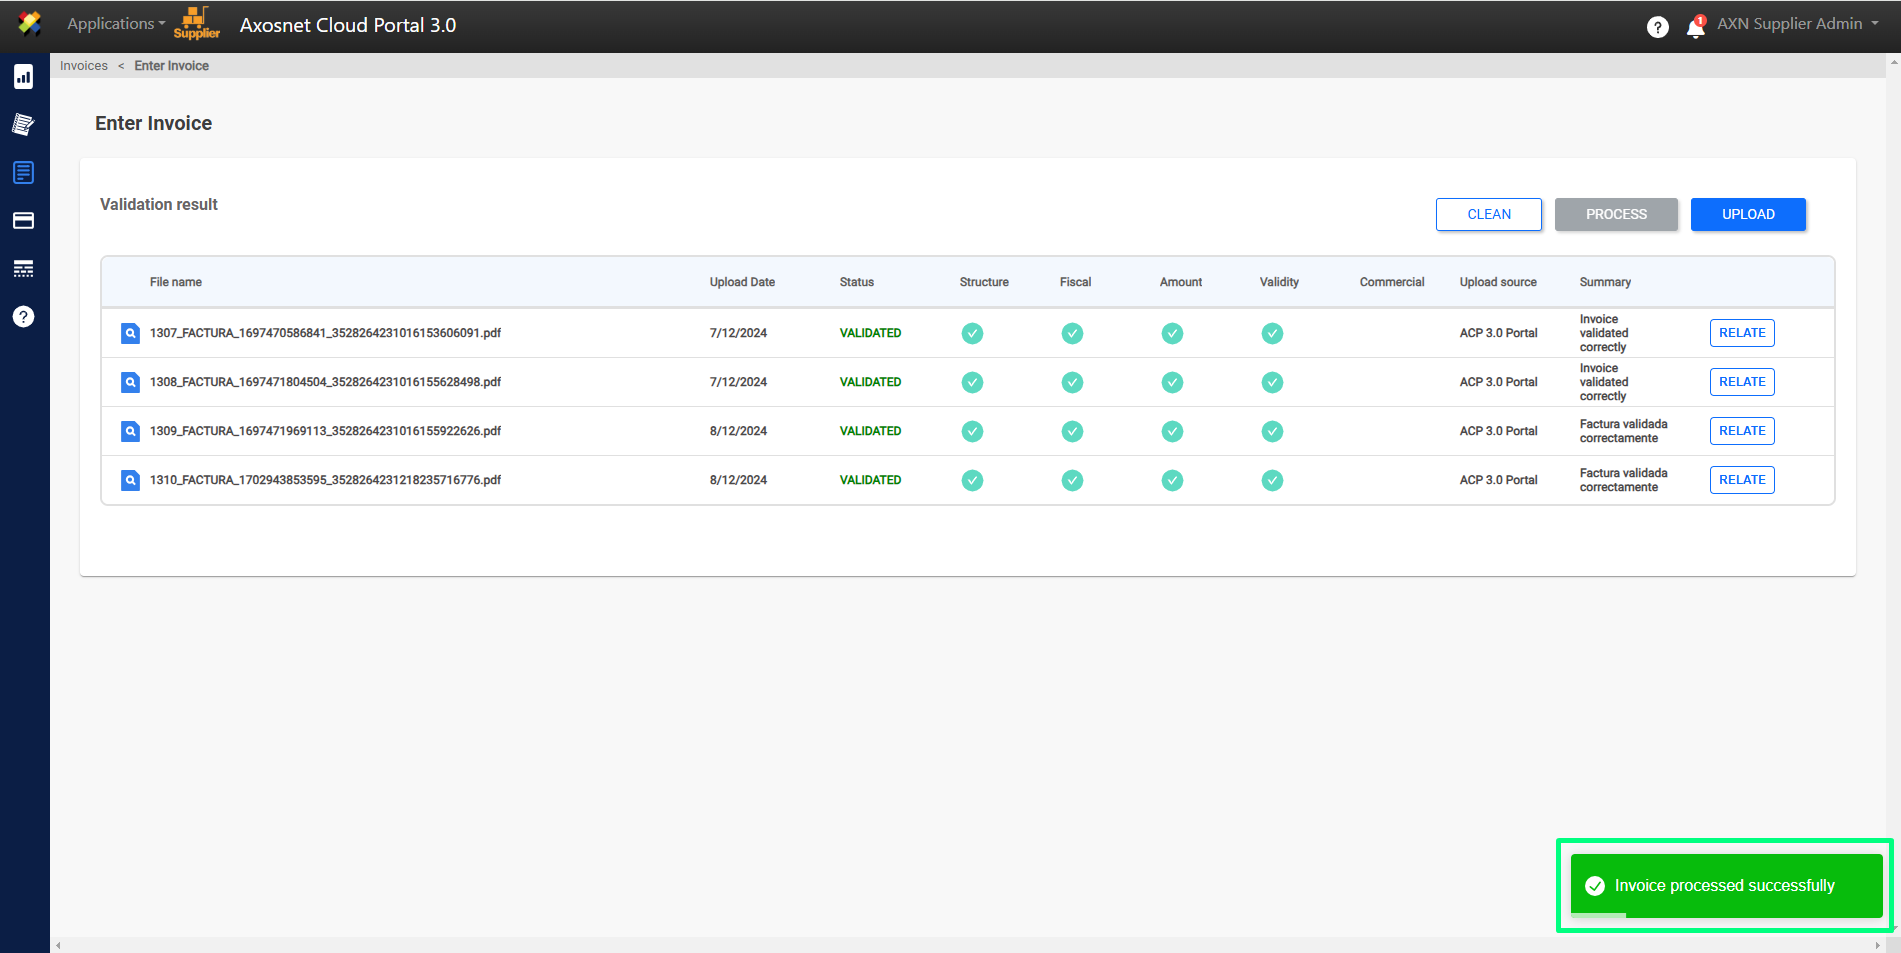
Clear Search/Validation
The “CLEAR” button is only enabled to delete invoices / payment complements that were uploaded and the result was a “not entered” status.
1. Enter ACS Management and select the Axosnet Cloud Portal option.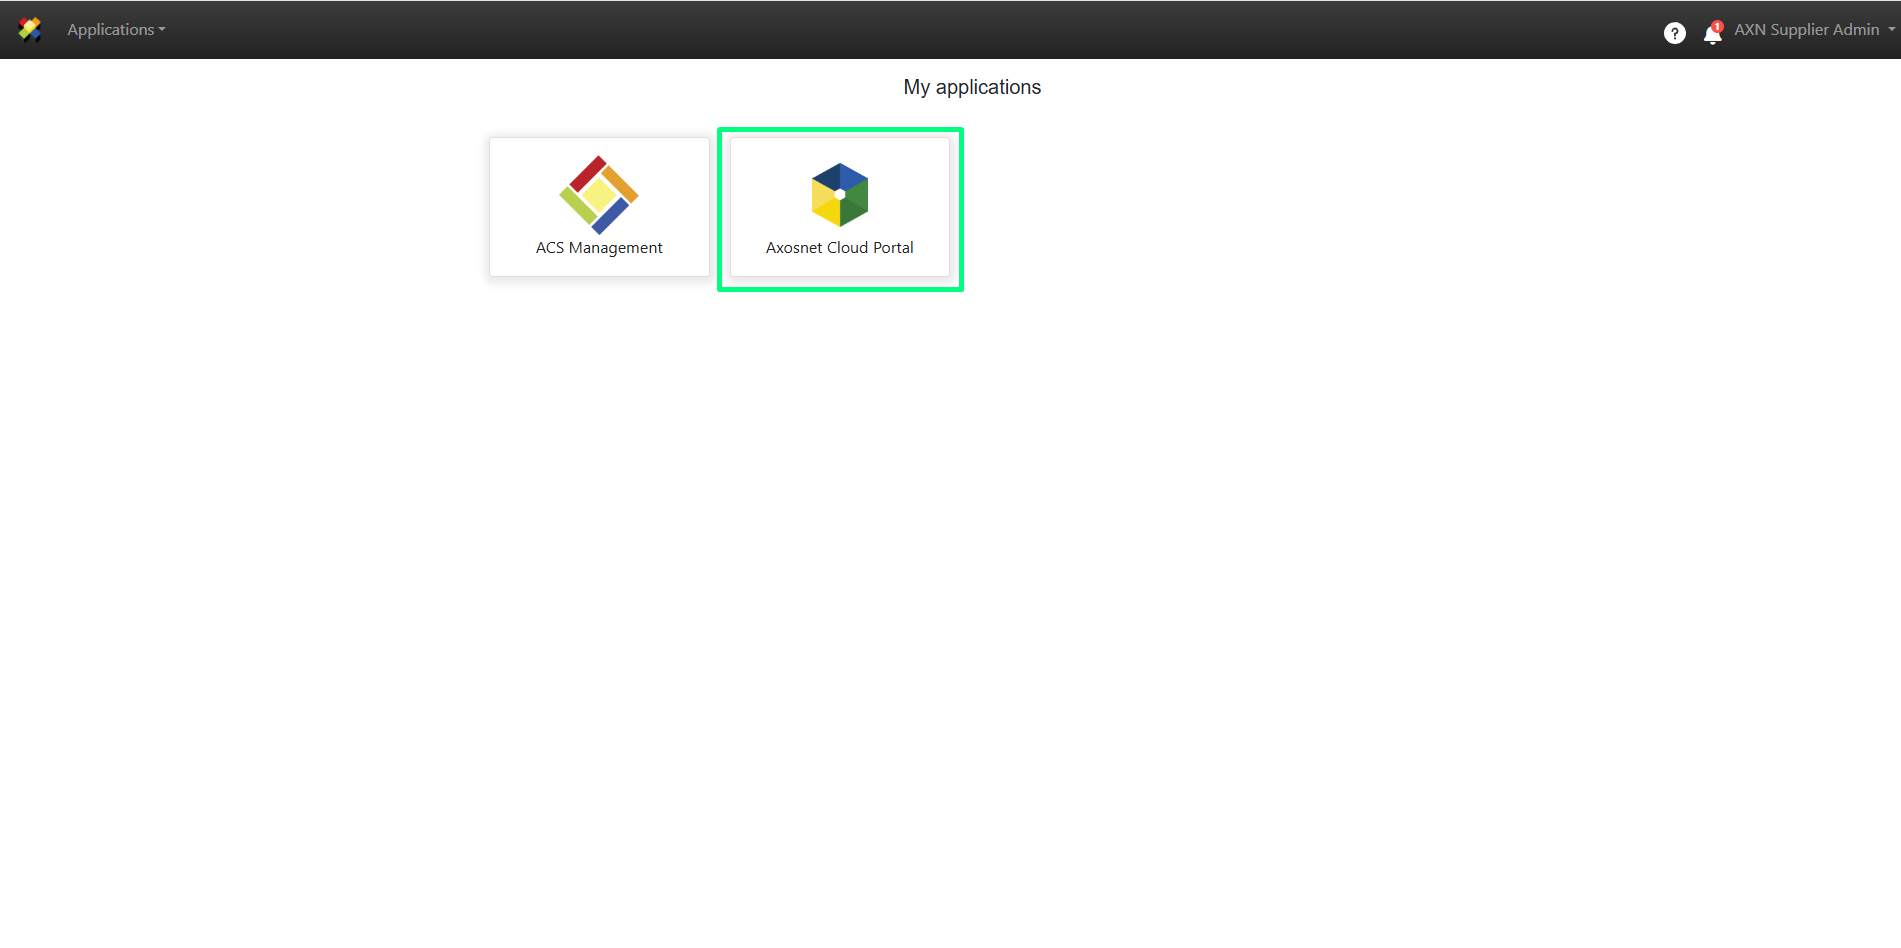
2. When you enter ACP, select the client you want to work with.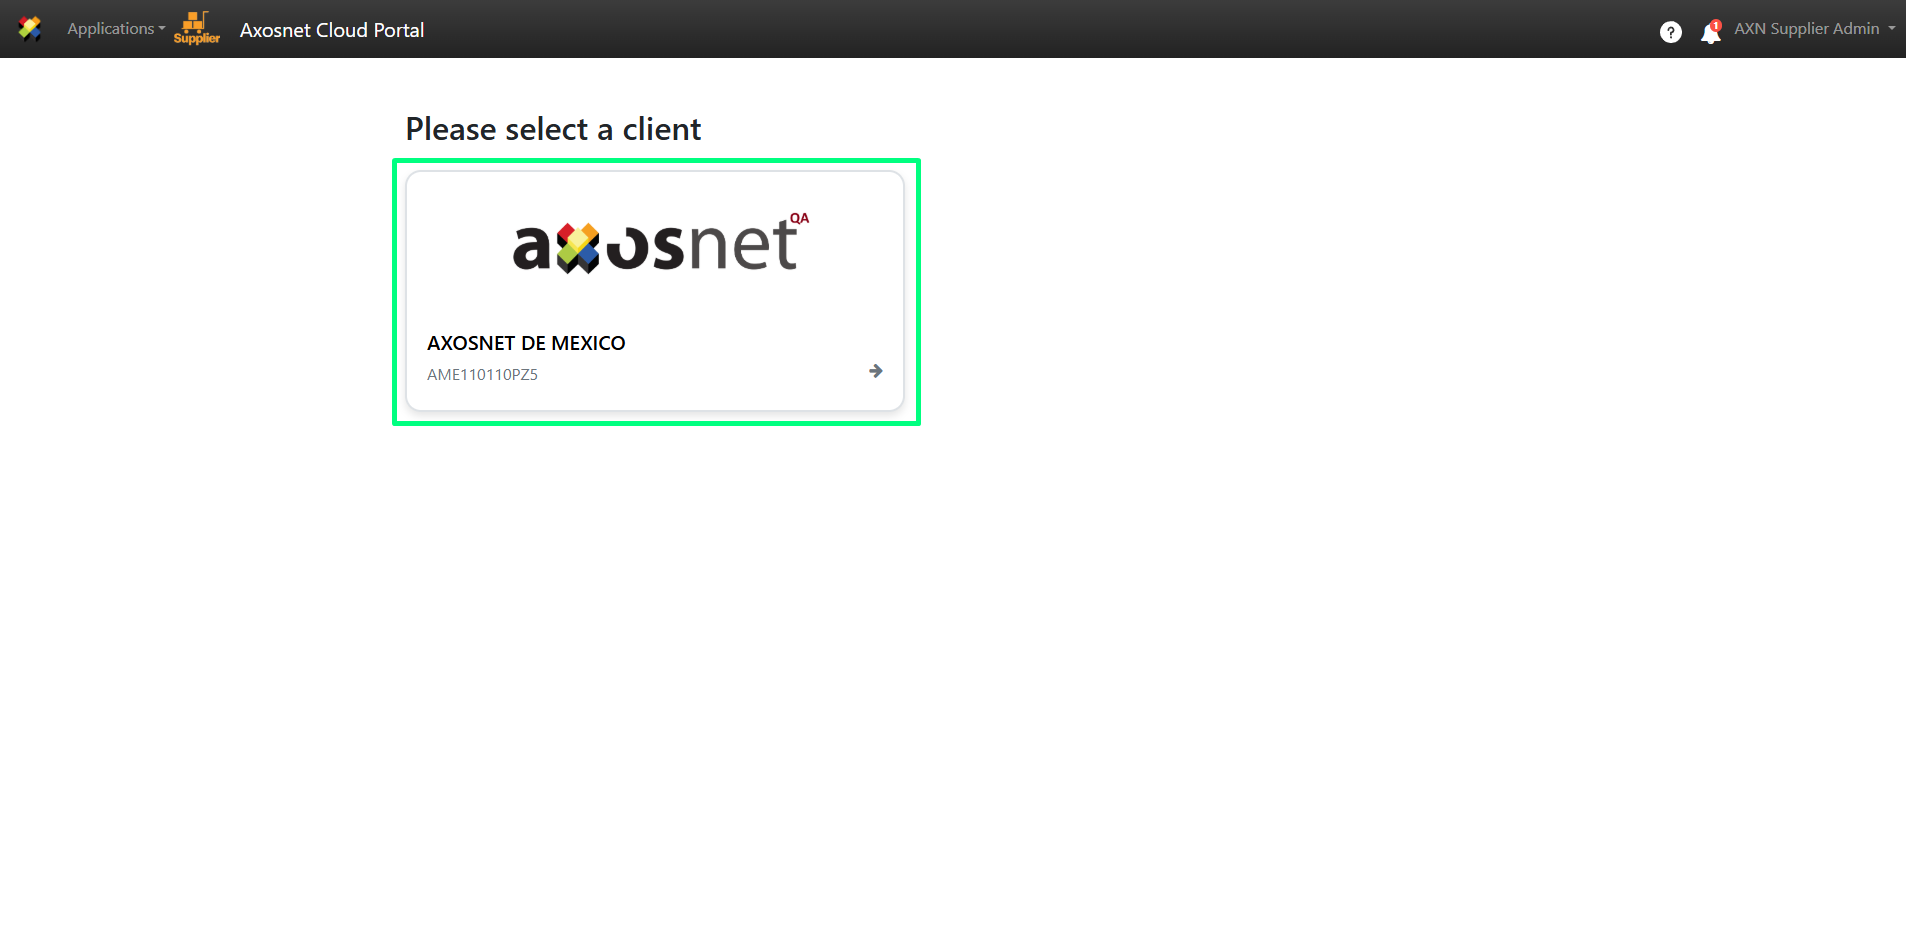
3. Within ACP 3, select the “Invoices” option in the left side menu. You can click on the icon or hover over the cursor to display the options.
4. Select “Document Entry”.
5. This screen displays the uploaded invoices / payment complements. To delete invoices with the status “NOT ENTERED”, click on “CLEAN”.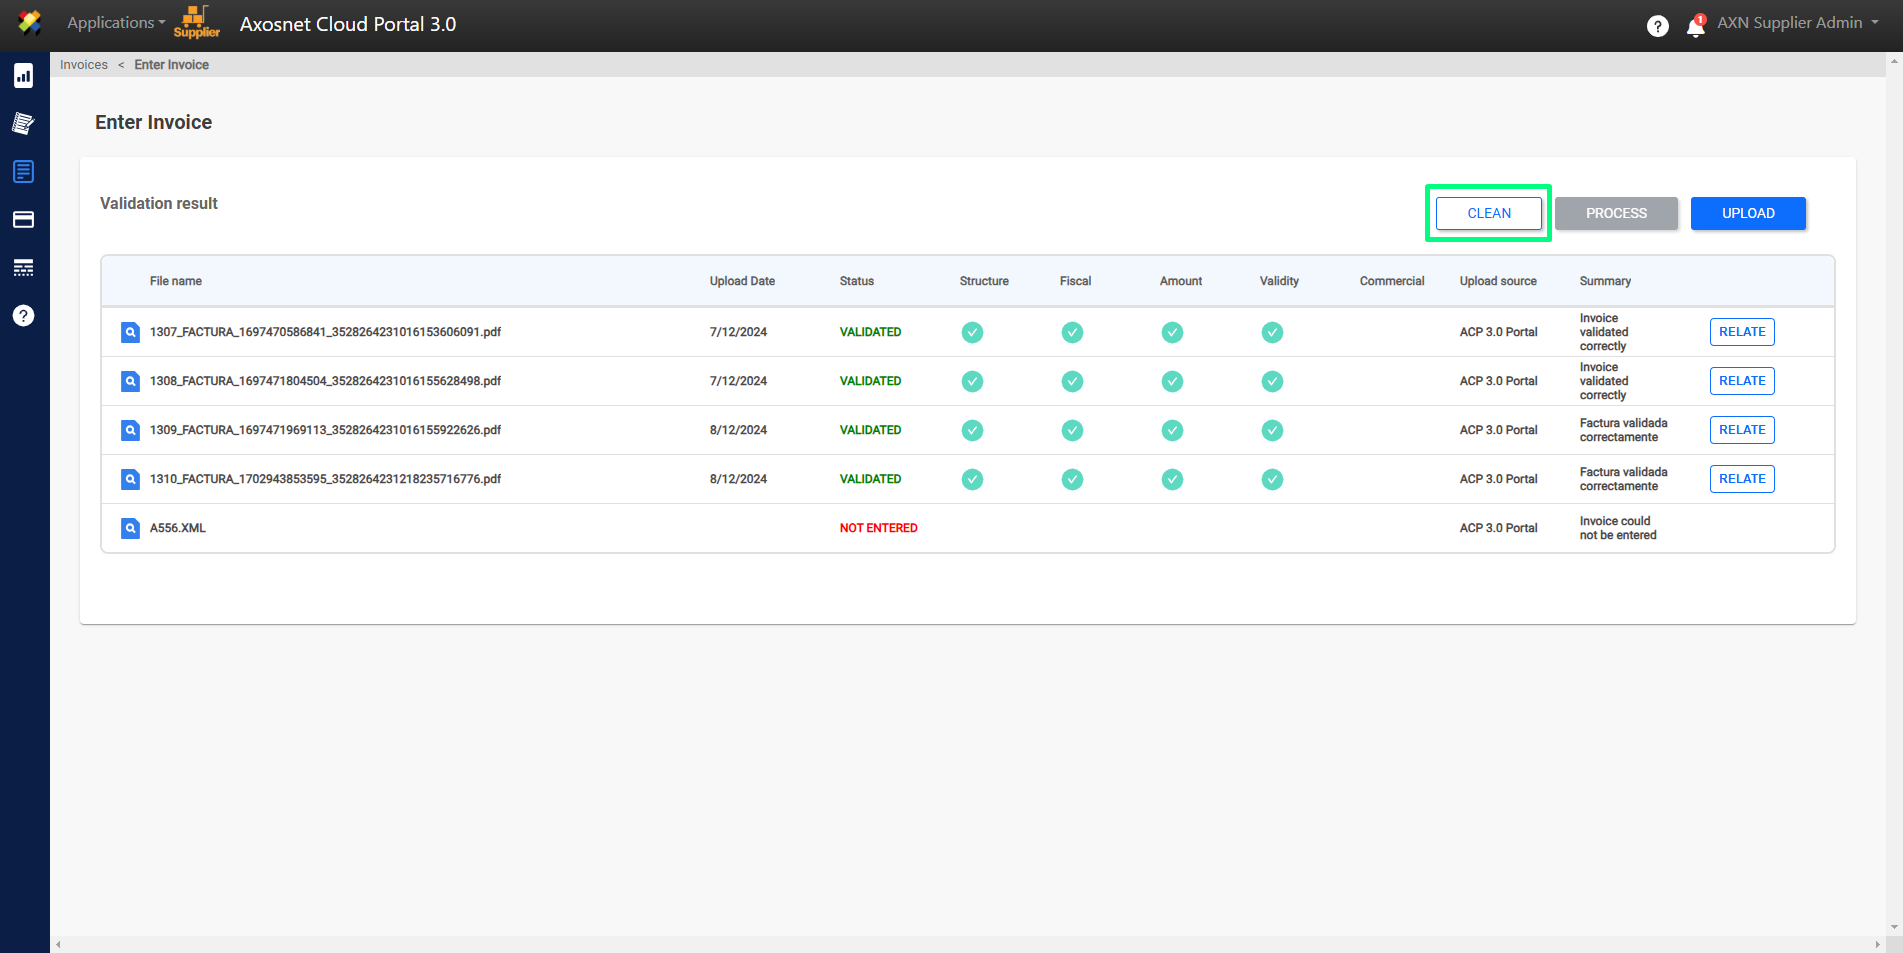
6. Invoices with the status “NOT ENTERED” will be deleted, showing only invoices / payment complements hat were successfully uploaded.