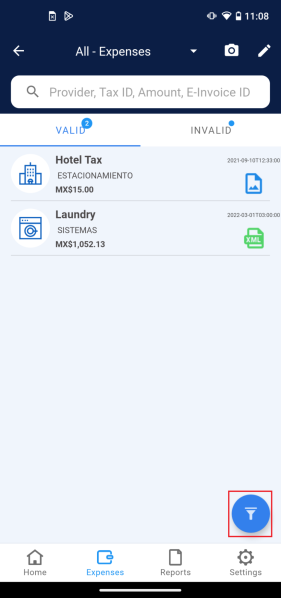
Use the filter section to search expenses and receipts by “Date, Provider, Tax ID, Amount,” and “Invoice ID.” Review the following examples.
Filter by Date
1. Go to the “Expense” menu and click the filter icon.
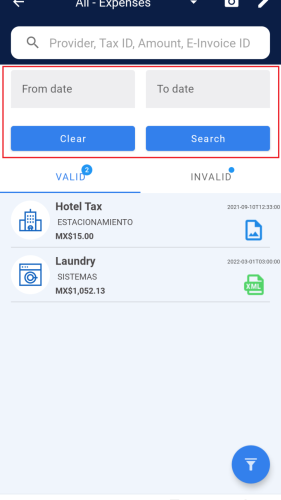
2. A tab is displayed where you can start filtering by date ranges.
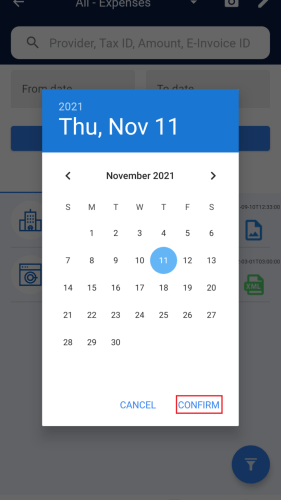
3. Press |||From date||| and select the date you want to set as a start in filtering, then press CONFIRM.
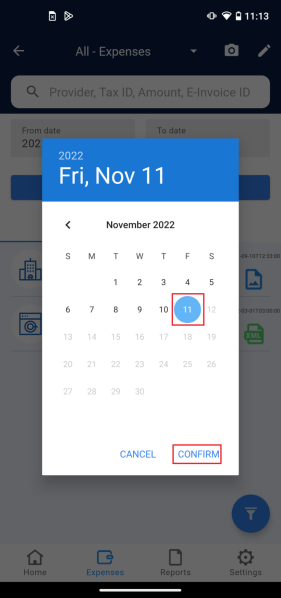
4. Press ||| To date ||| and select the date you want to set as an end in filtering, then press CONFIRM.
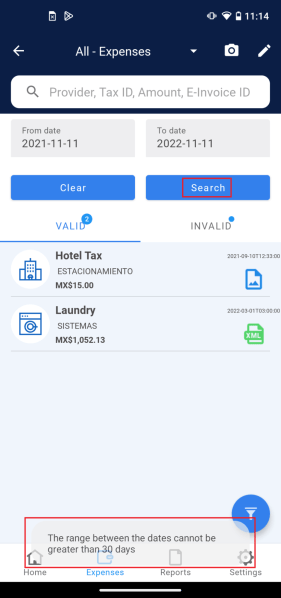
5. To filter, press the Search button; if the date range exceeds 30 days, the following alert will be displayed.
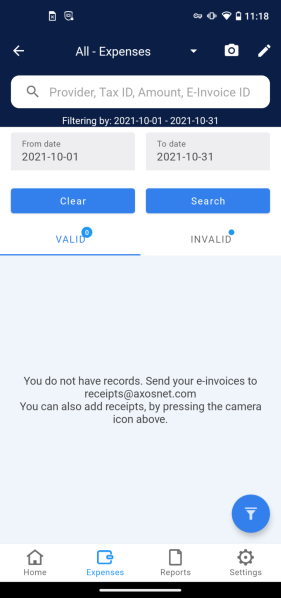
6. If you select a valid date range but do not have any expenses, the following screen will be displayed.
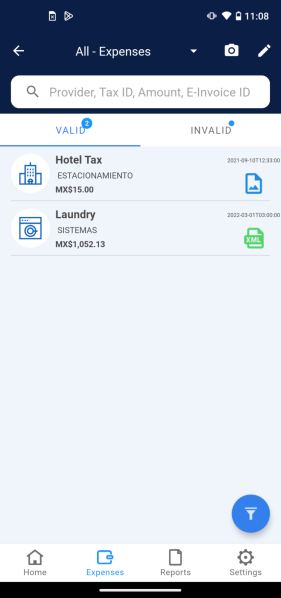
7. If you select a valid date range and have expenses, the following screen will be displayed.
8. To remove the filters, press | Continue |.
9. It will take you back to the “Expenses” menu.
Filter by Record Type
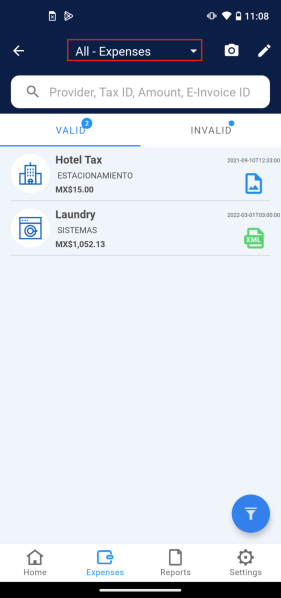
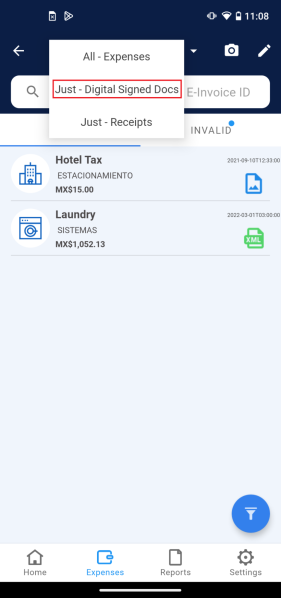
1. Press the pick list that is above with the default word “All – Expenses.“
2. A selection list will appear from the top of the screen with the options All – Expenses, Just – Digital Sign Docs, and Just – receipts. In this example, we will filter by Just – Digital Sign Docs.
3. All the records that belong to the selected type will be displayed.
Filter by Provider, Tax ID, Amount, Invoice ID
In addition to the options offered on the filter screen, you have a search field represented by the icon.
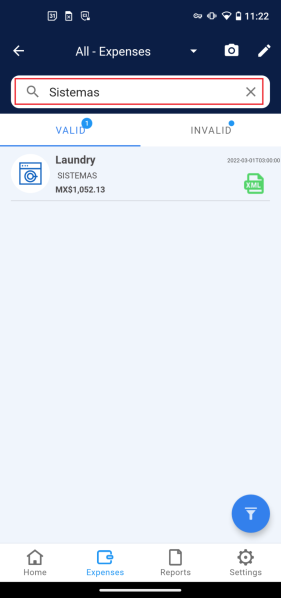
1. Filter by Provider: type the name of the provider you are looking for, and all the related records will be displayed.
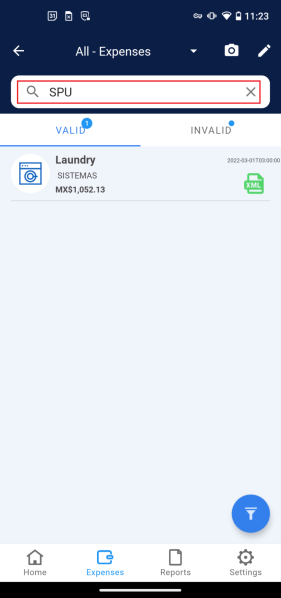
2. Filter by Tax ID: type the Tax ID you are looking for, and all the related records will be displayed.
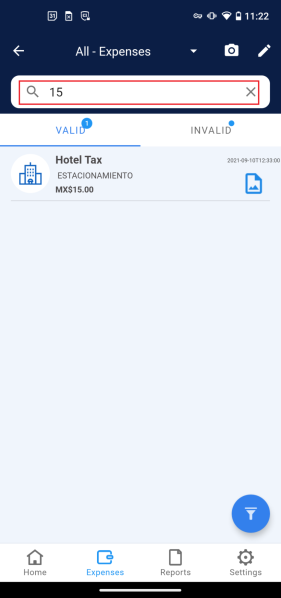
3. Filter by amount: type the amount that appears on the record you wish to locate.
4. Filter by Invoice ID: type the Invoice ID you are looking for, and all the records will be displayed.

