Perform an action using your valid expenses, such as adding to Reports, classifying expenses, viewing validation details, send by email.
Classify an expense
An expense needs to be validated and classified before using it. AxosMoney gives a proposal of the expense type based on the CFDi document, but the user can classify it as his convenience.
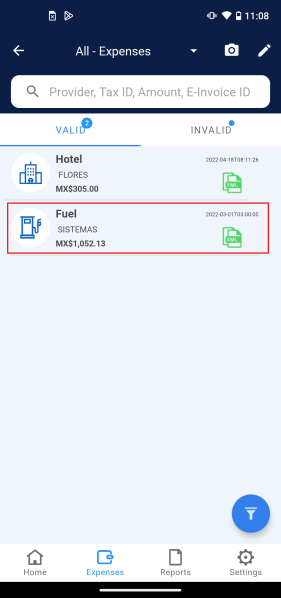
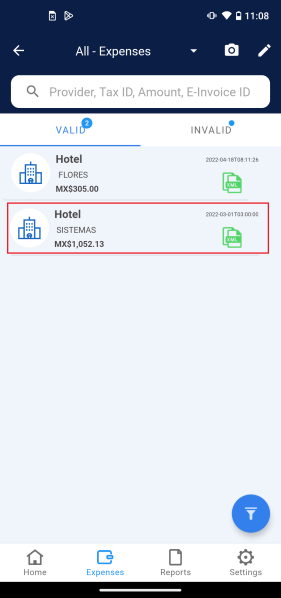
1. Access the “Expense” menu and select an expense.
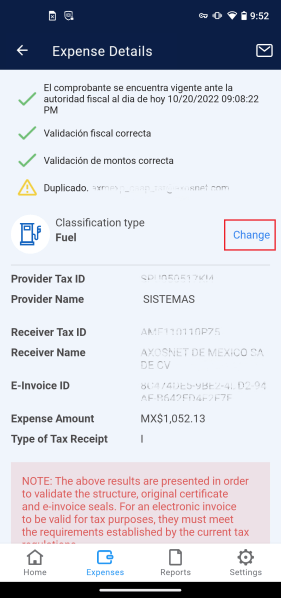
2. Inside the expense details, press Change
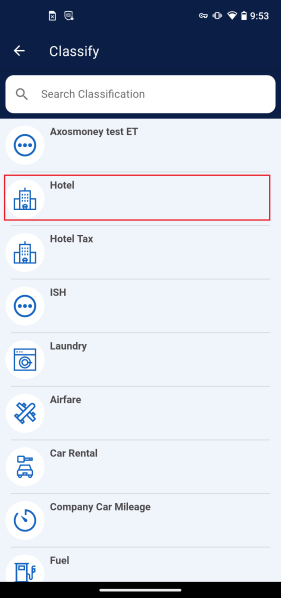
3. A list with different types of expenses will be displayed; select the desired one.
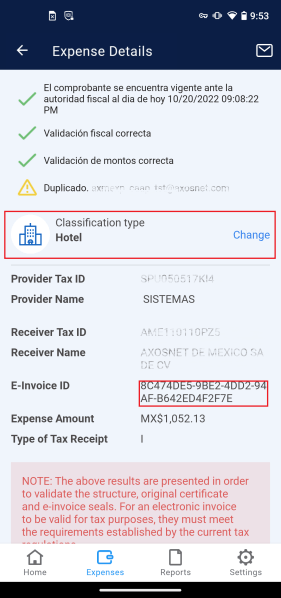
4. Returning to the expense details screen, you will see that the type of expense has changed.
5. The change will also be reflected on the main screen of “Expenses.”
Add expenses to a new report.
Add expenses and create a new report at the same time by following the steps described in this section.
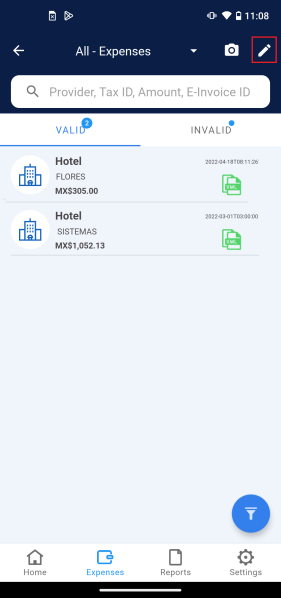
1. In the “Expenses” menu, click the icon.
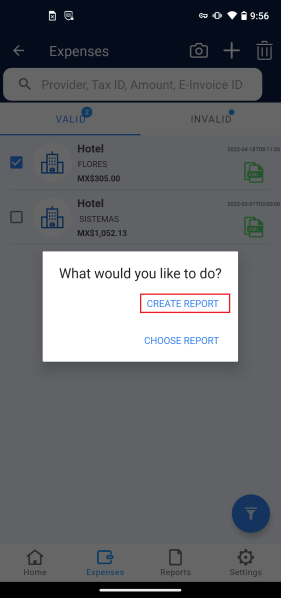
2. Select the desired expense and click the icon.
3. Click CREATE REPORT option.
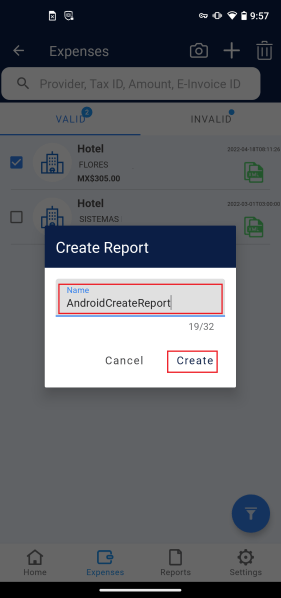
4. Put a name to the report and press Create.
5. A message will appear immediately indicating the number of expenses being added to the report.
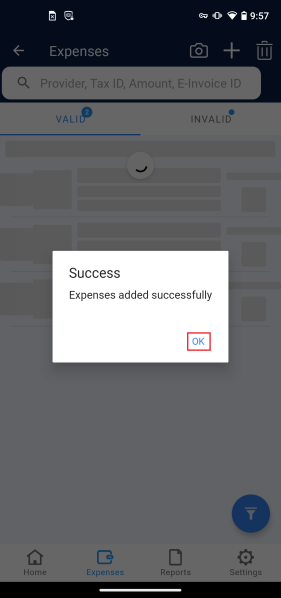
6. It will show a message saying that expenses have been added successfully to the report. Click OK to continue.
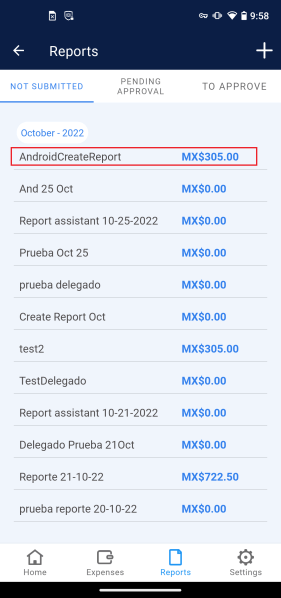
7. The report created will be listed in the “Reports” menu.
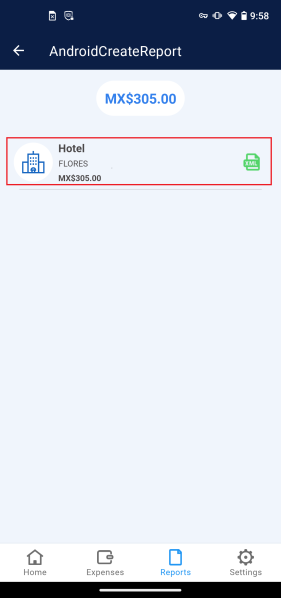
8. Opening the report, you will confirm that the selected expense is there.
Add expenses to an existing report
Add expenses to a previously created report by following these steps:
1. In the “Expenses” menu, click the icon.
2. Select the desired expense and click on the icon.
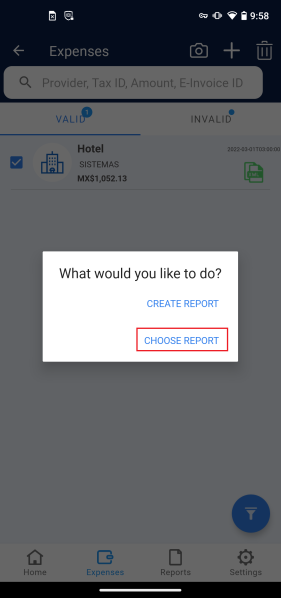
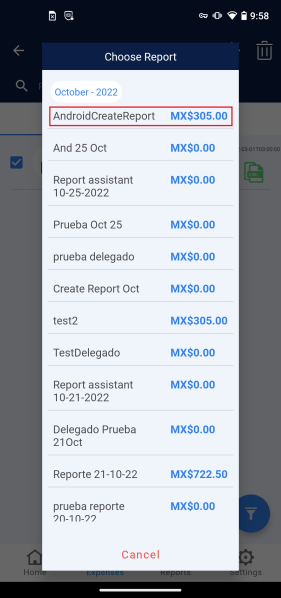
3. Click CHOOSE REPORT.
4. Select the report to which you want to add the expense.
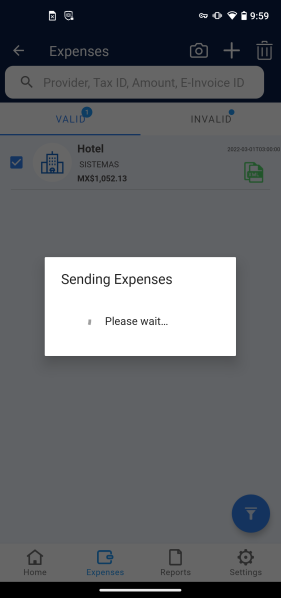
5. A message will indicate the number of expenses that are being added to the report.
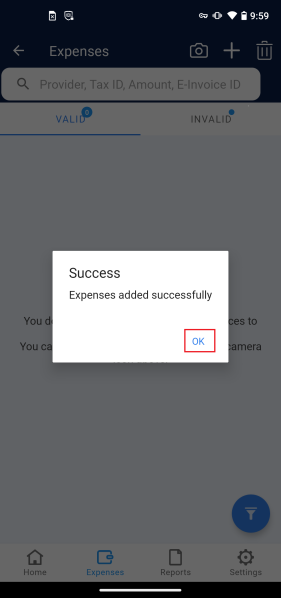
6. It will show a message saying that expenses have been added successfully to the report. Click OK to continue.
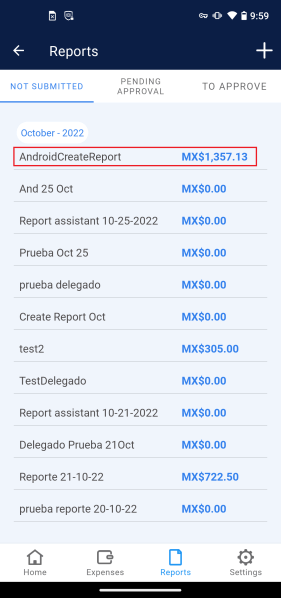
7. The report created will be listed in the “Reports” menu.
8. Opening the report, you will confirm that the selected expense is there.
Delete a valid expense
To delete a valid expense of AxosMoney, follow the steps described in this section.
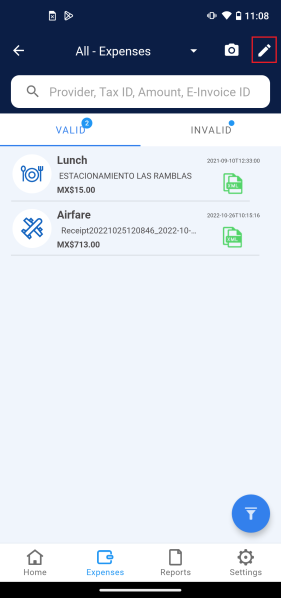
1. Go to the “Expenses” menu, then to the valid tab, and press the icon.
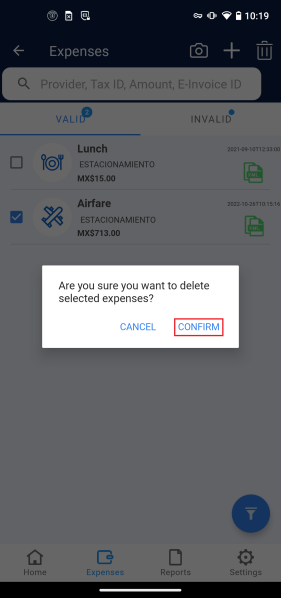
2. Select the desired expense and press the icon.
3. The application will require you to confirm and click CONFIRM to proceed.
4. After a few seconds, the expense will be deleted.

