Approvals are the recognitions made by the collaborators and must be managed by their team leader, either approving or rejecting them, which is done as follows
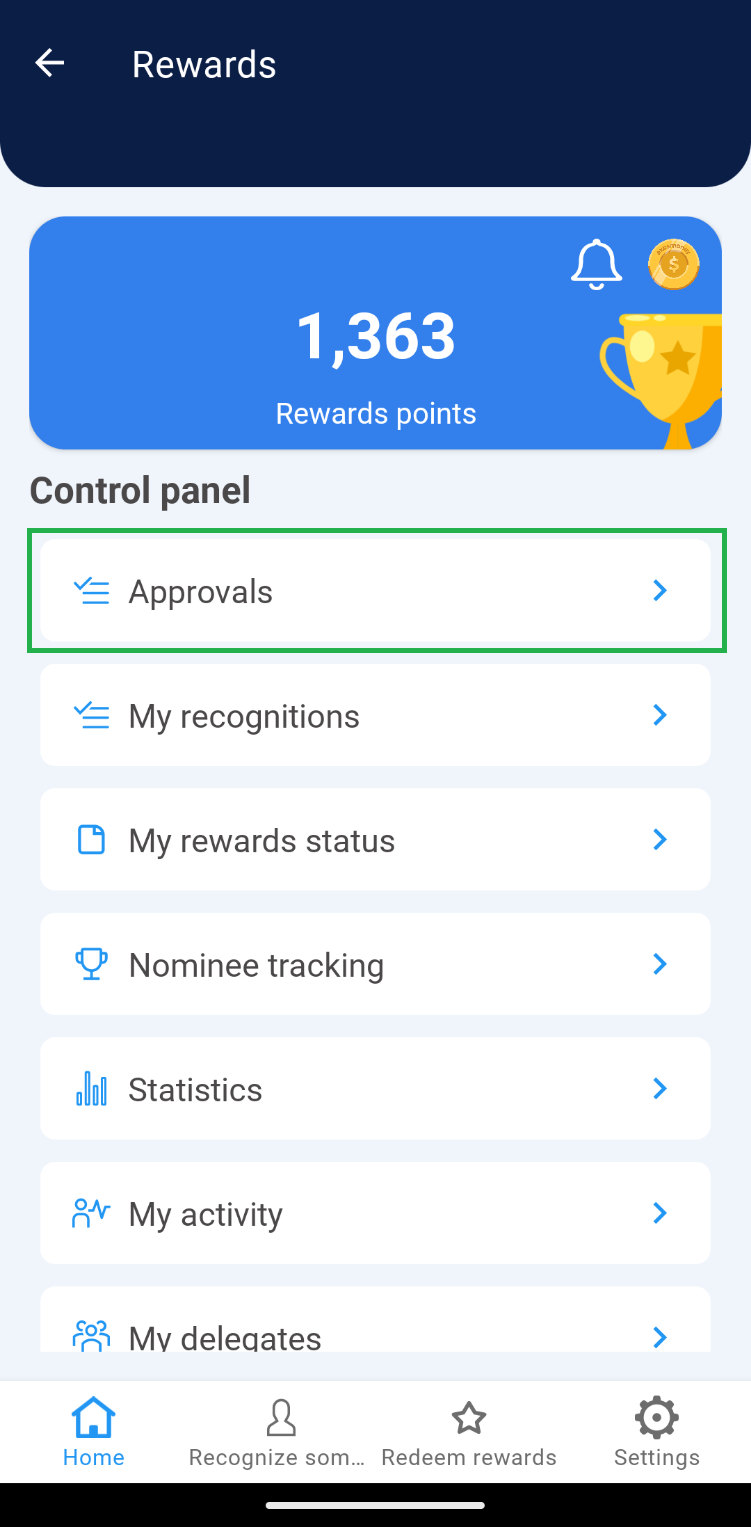
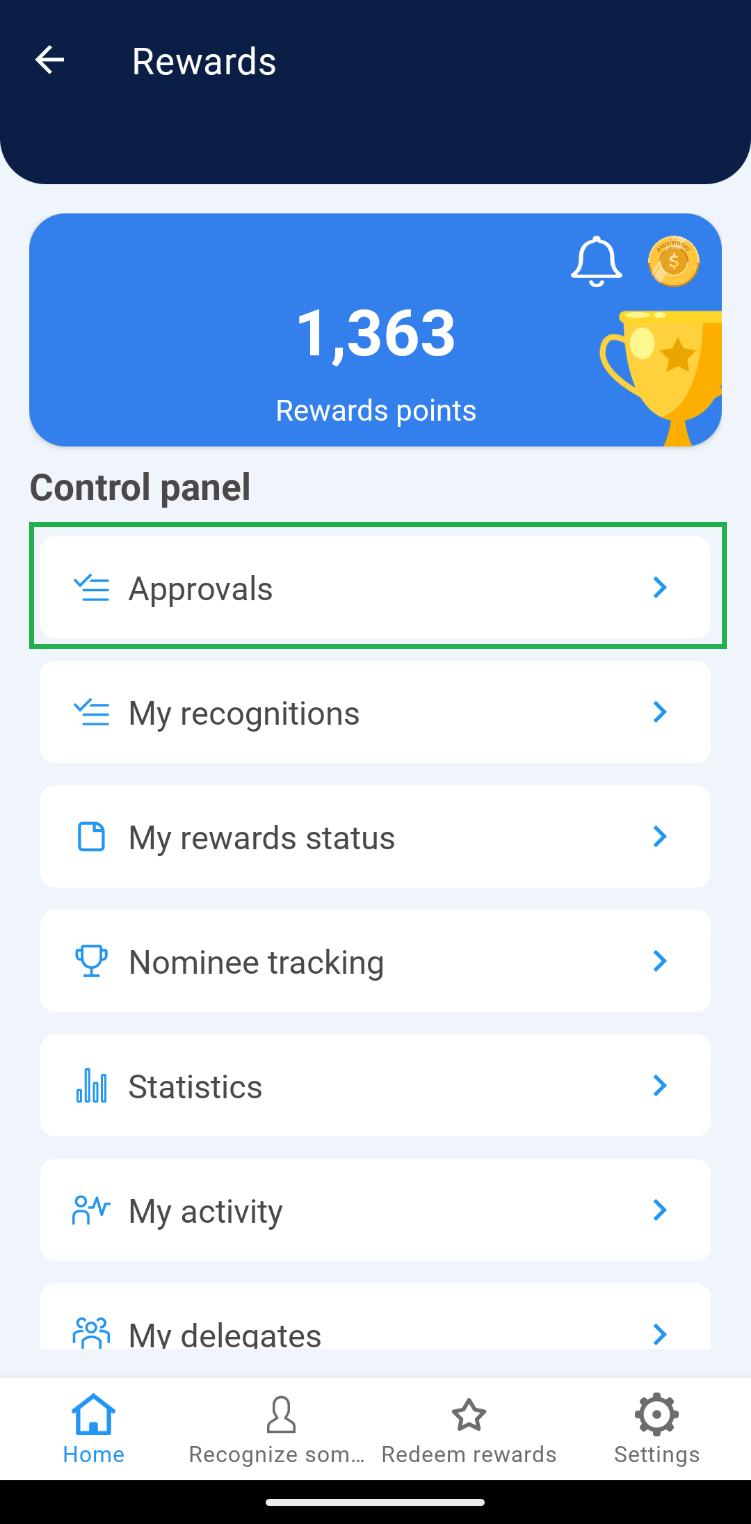
1. Enter “Approvals” through the control panel.
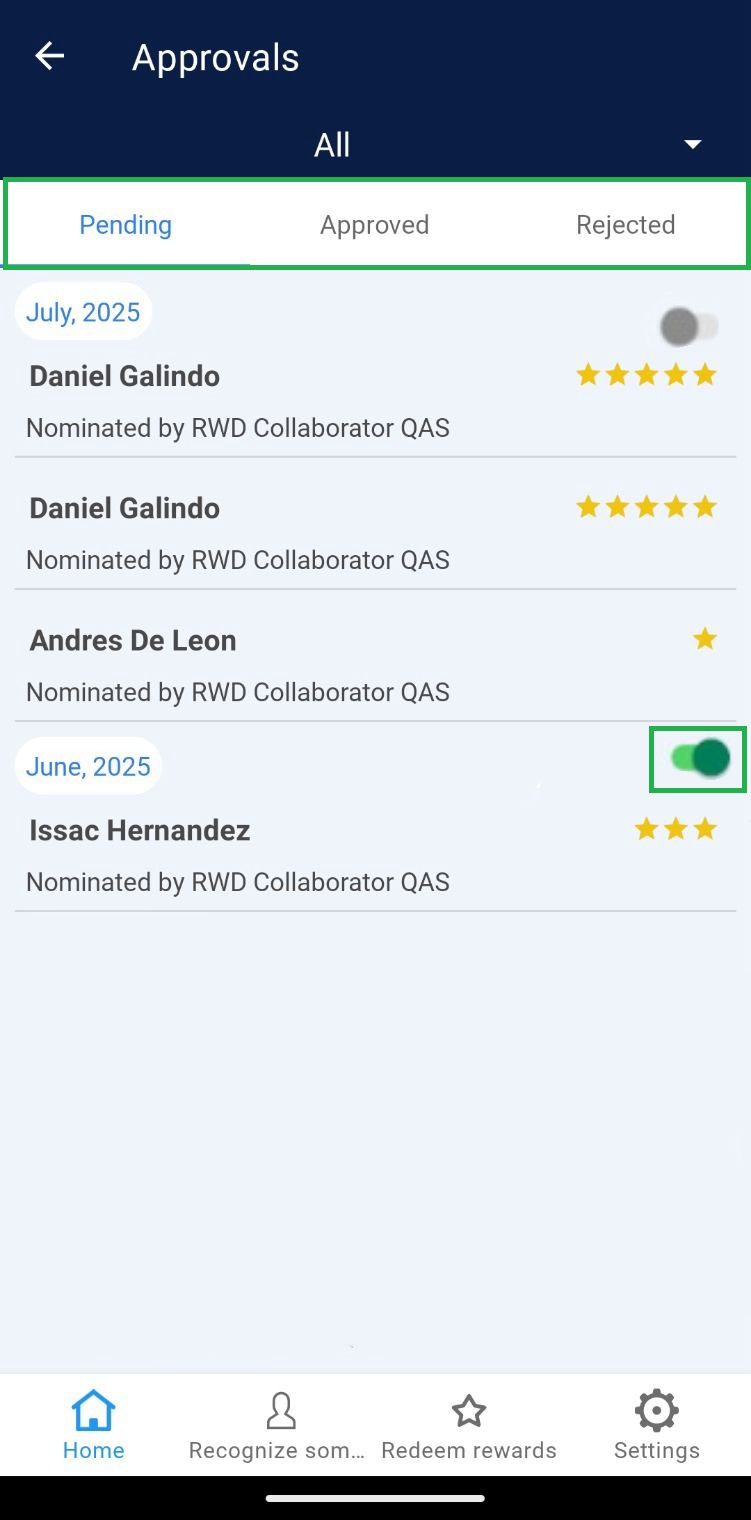
 2. In the “Approvals” section there are 3 sections: “Pending”, “Approved” and “Rejected”.
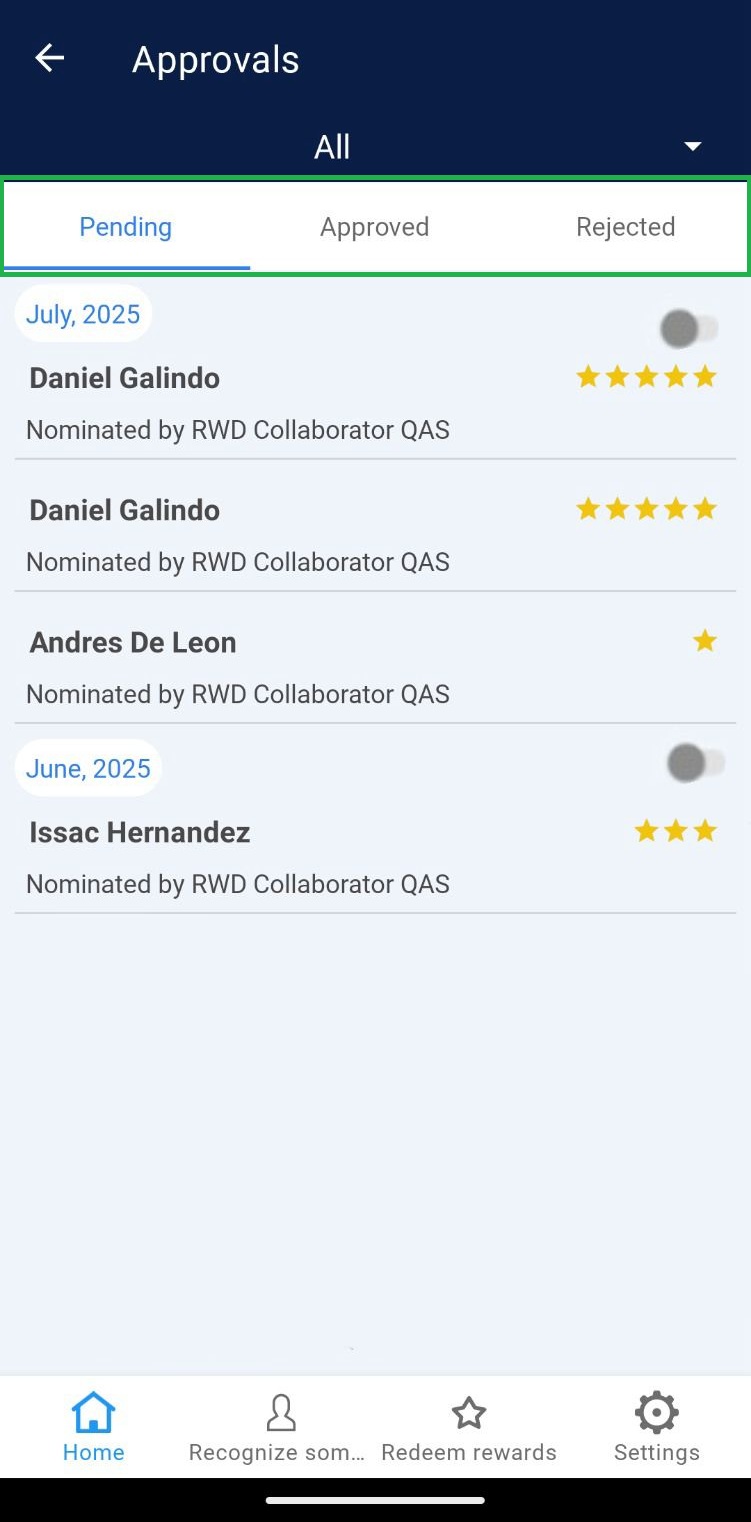 Pending: These are the recognitions that have not yet been processed by the team leader.
Approved: These are the recognitions that were authorized by the team leader.
Rejected: These are the recognitions that were rejected by the team leader.
Pending: These are the recognitions that have not yet been processed by the team leader.
Approved: These are the recognitions that were authorized by the team leader.
Rejected: These are the recognitions that were rejected by the team leader.
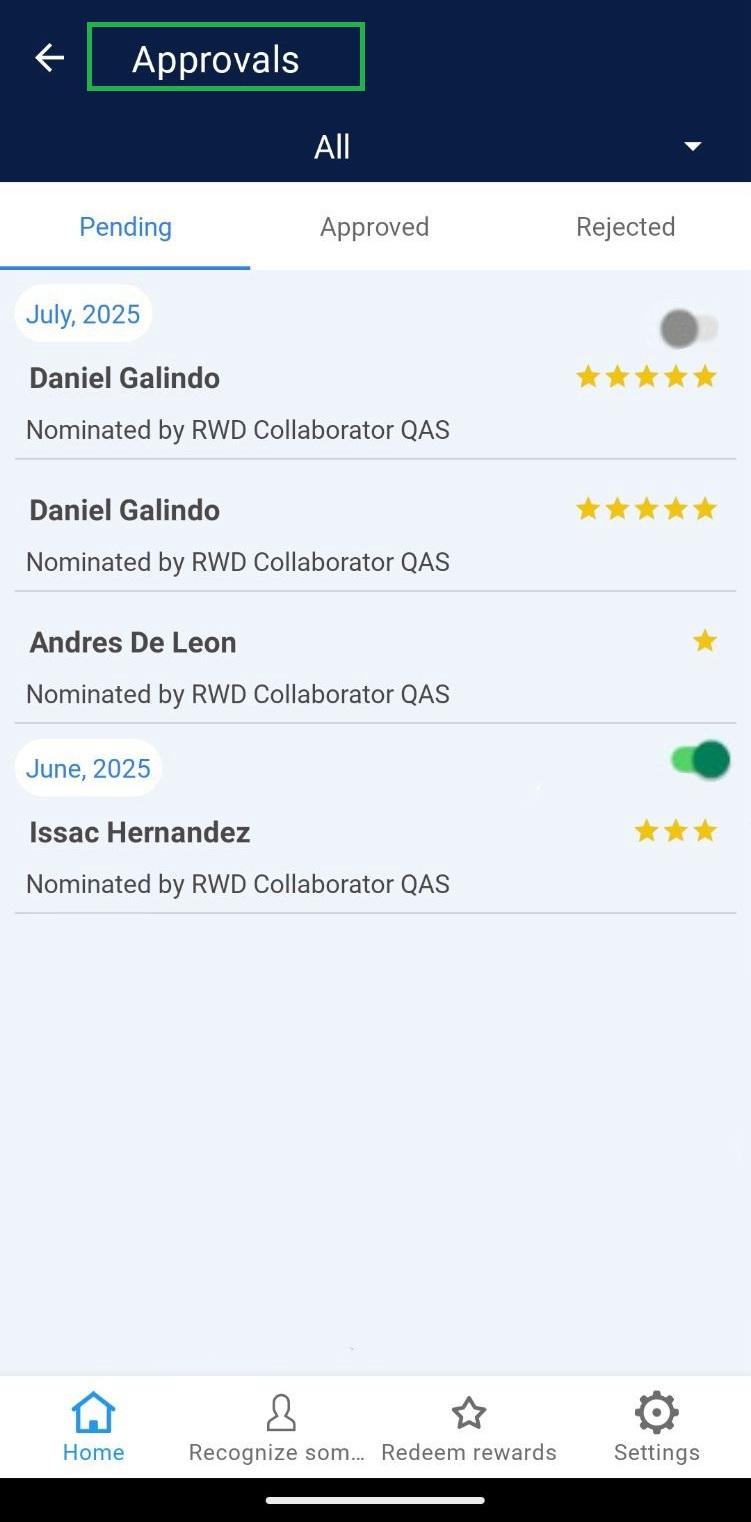
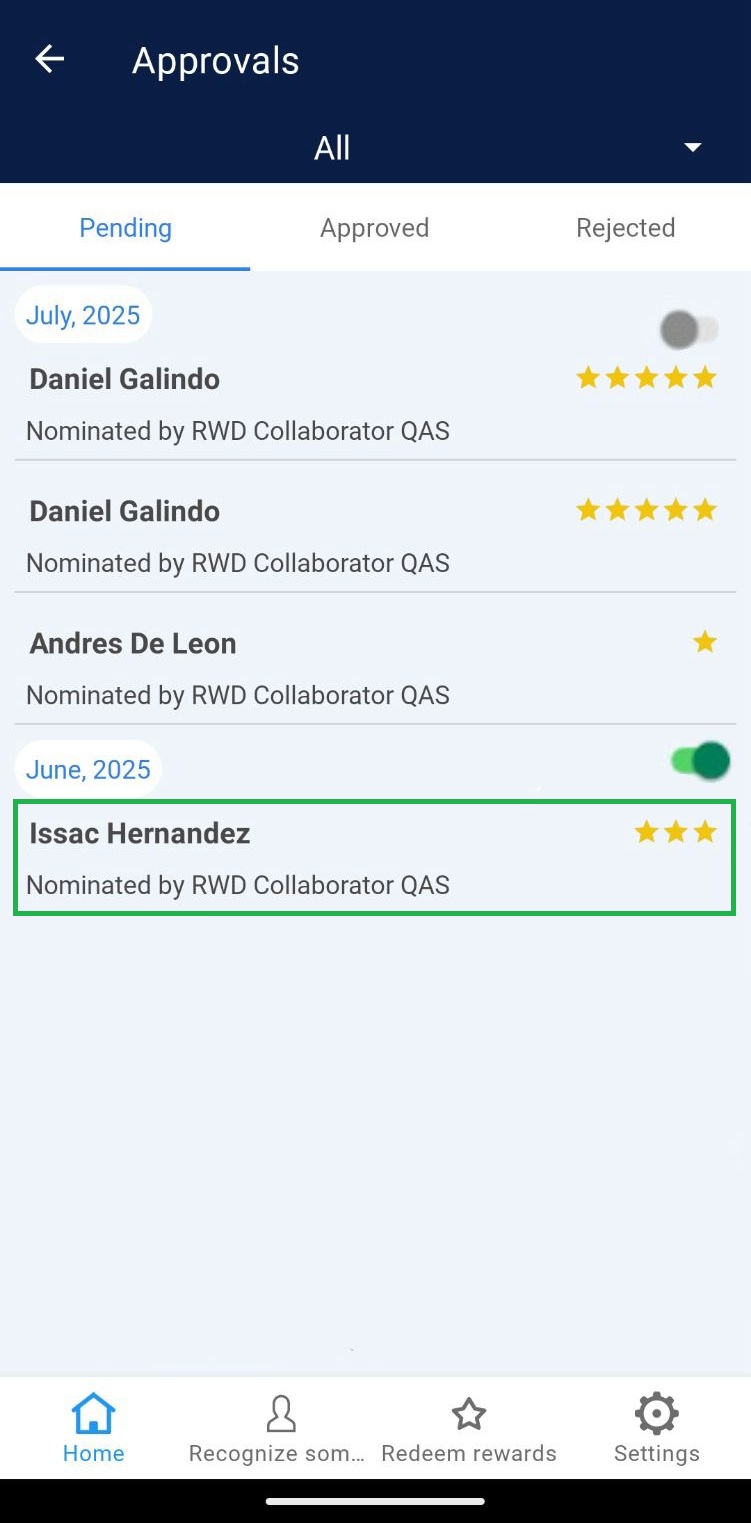
 2. In the “Approvals” section, go to the “Pending” section.
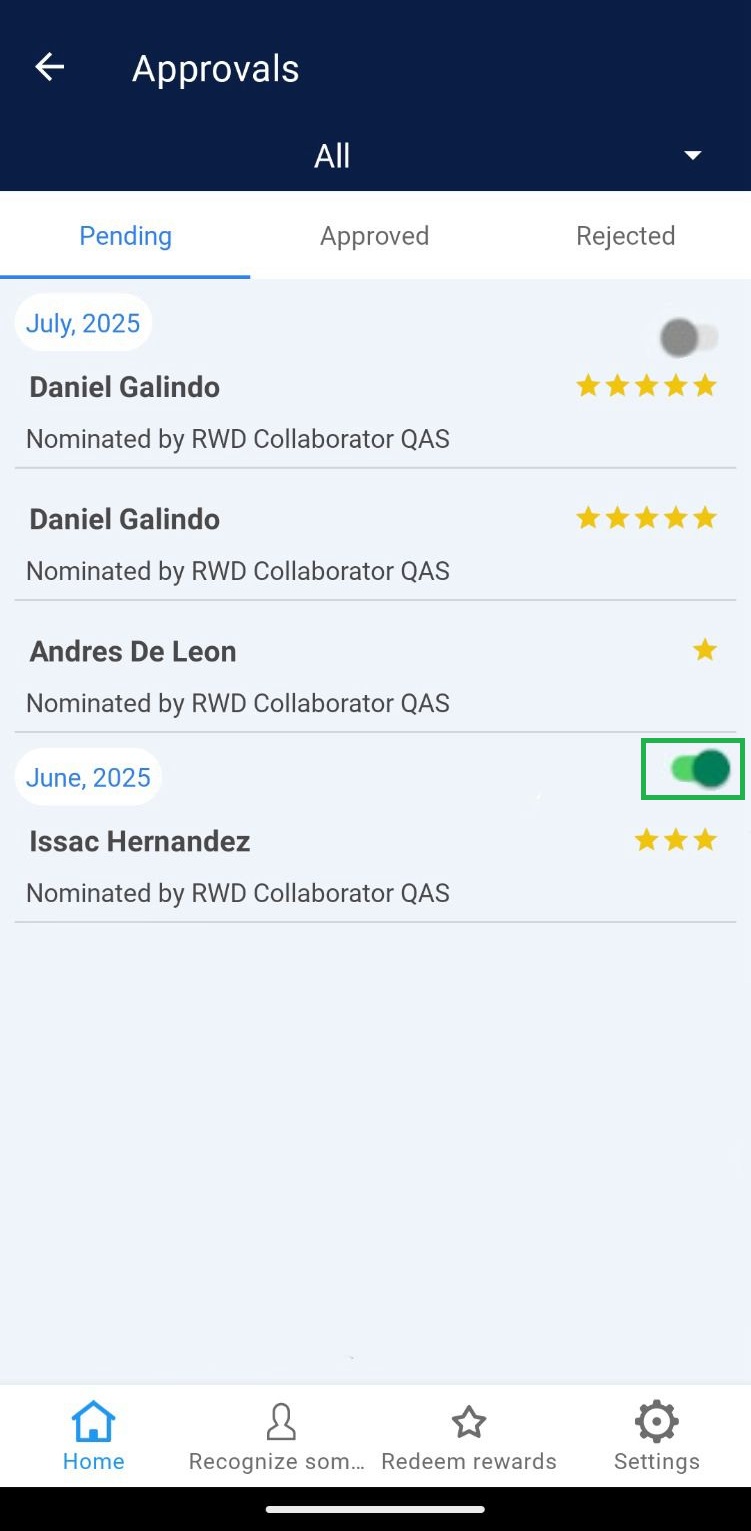
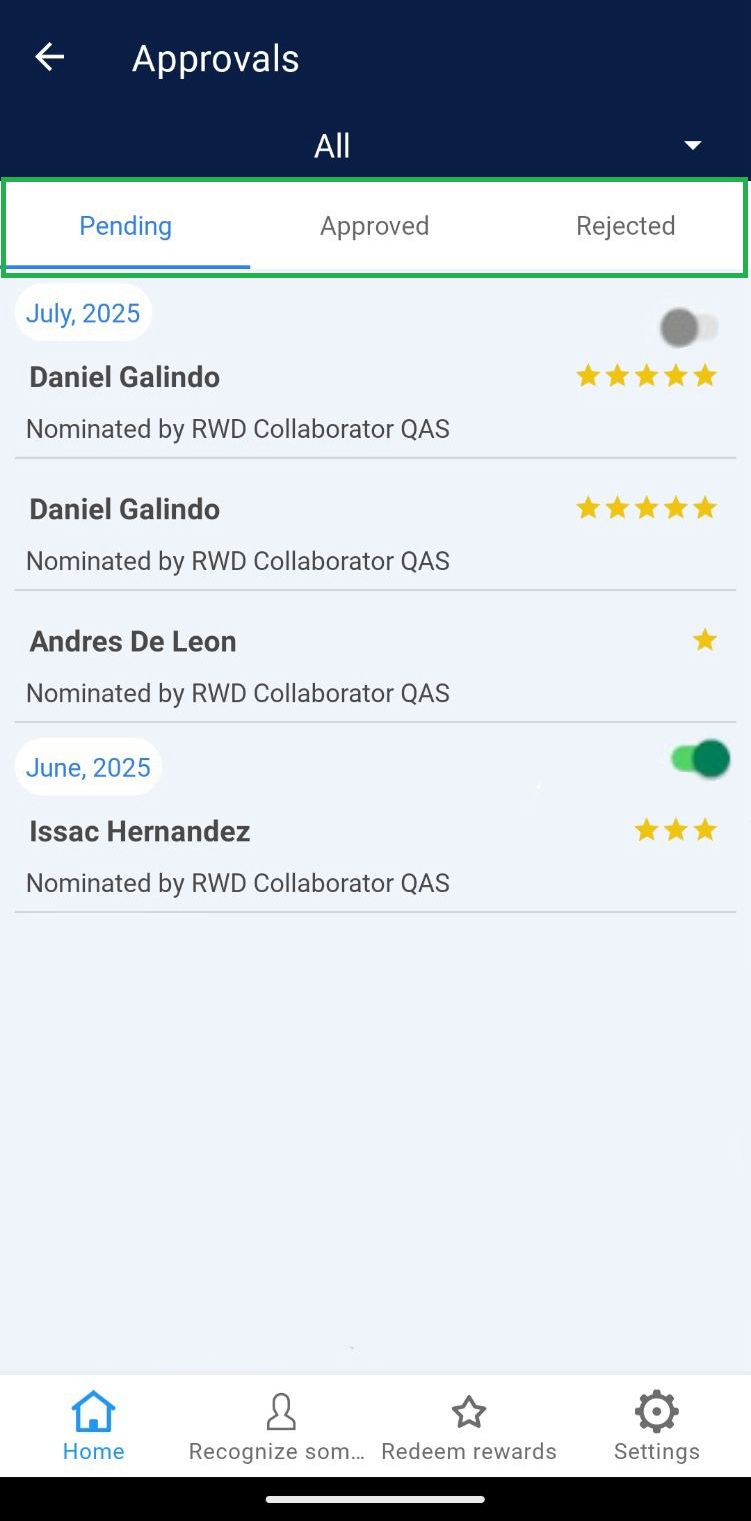 3. Activate the points corresponding to the month of the surveys you are going to manage.
 4. Select the recognition to approve.
Note: At this step a message may be displayed indicating that the recognition cannot be approved, which may be due to the following reasons:
Inactive points: When the switch has not been activated (Step 3).
Insufficient points: When the points to be awarded in the approval exceed the available points.
Pending recognitions from previous months: Approvals must be made from the oldest month to the most recent month
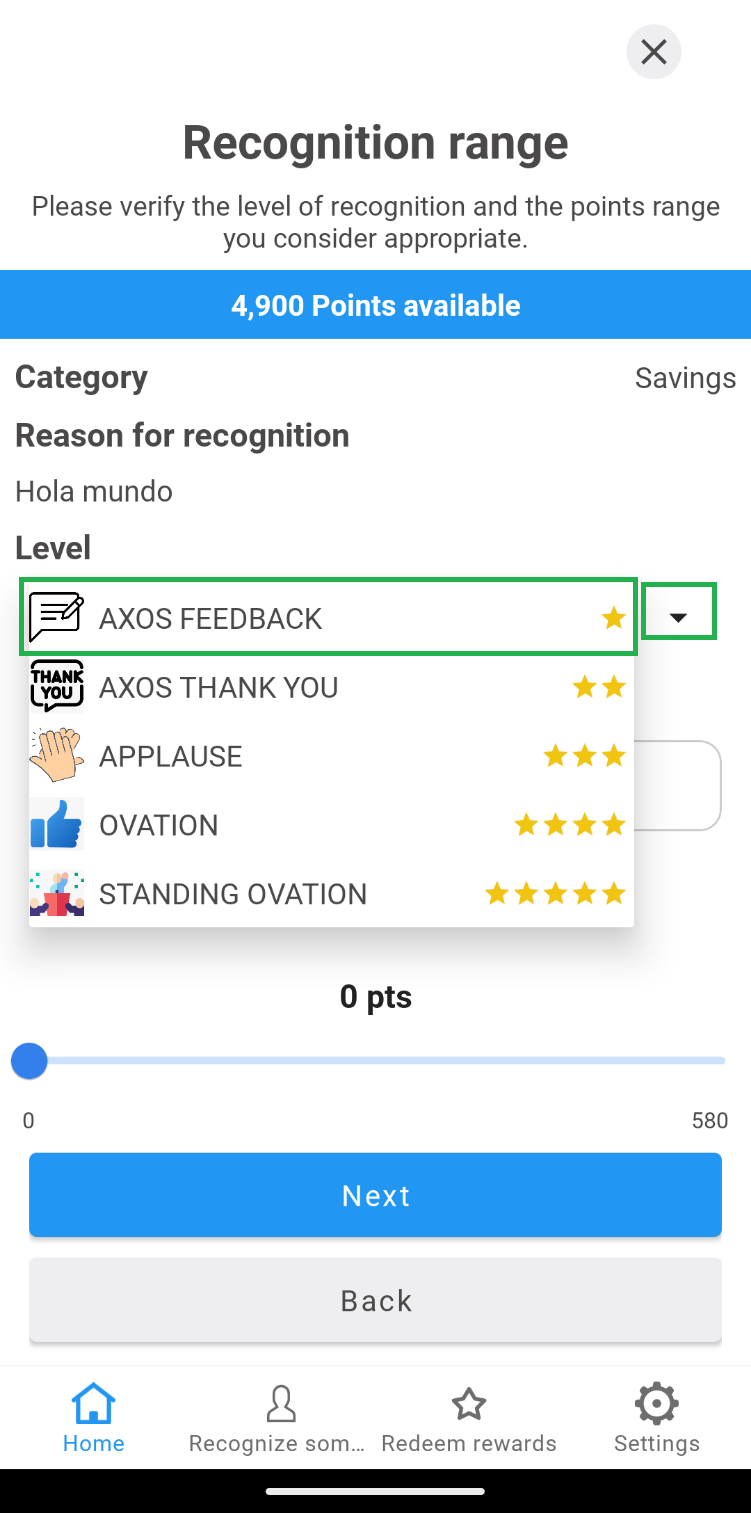
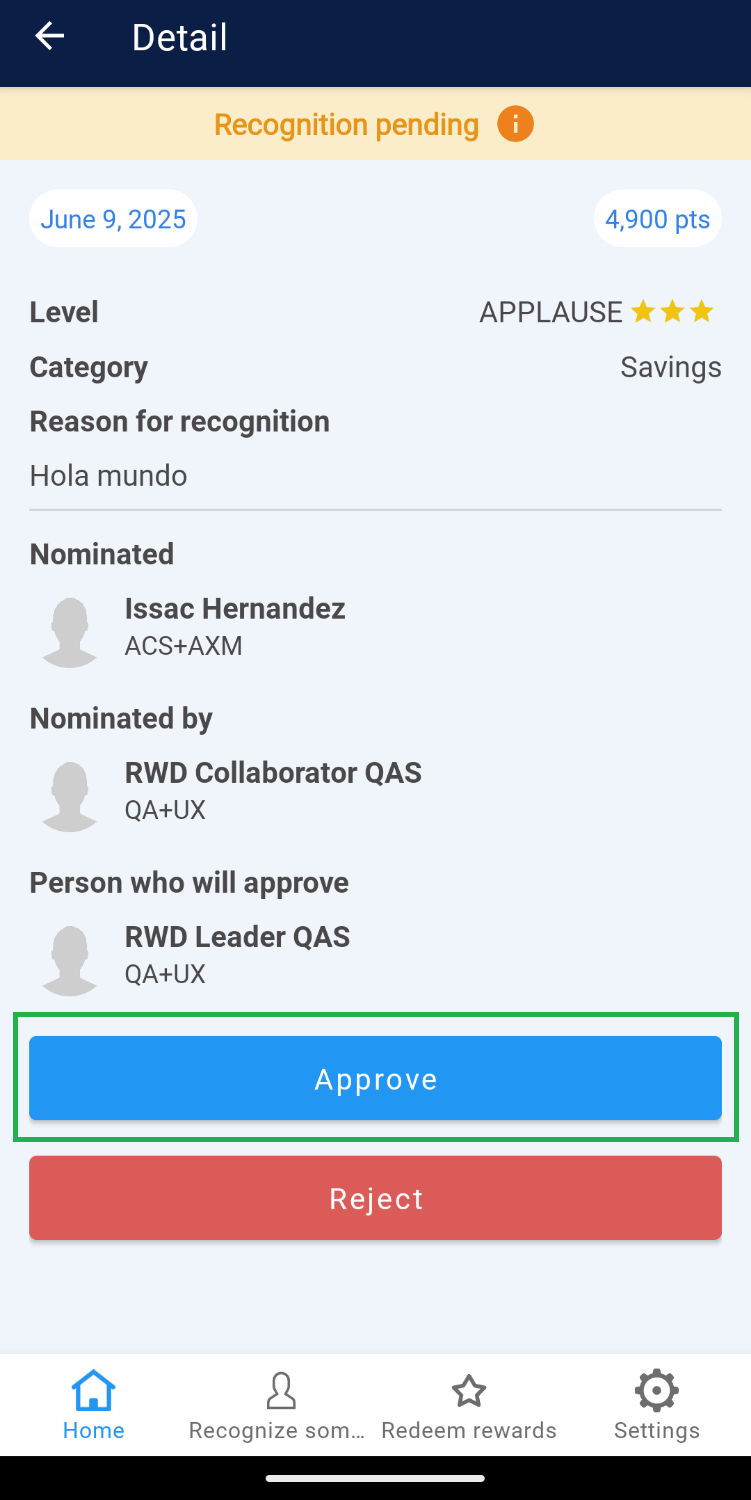
5. Review the recognition and, if required, modify category and/or level.
 6. Select the range of points to be awarded.
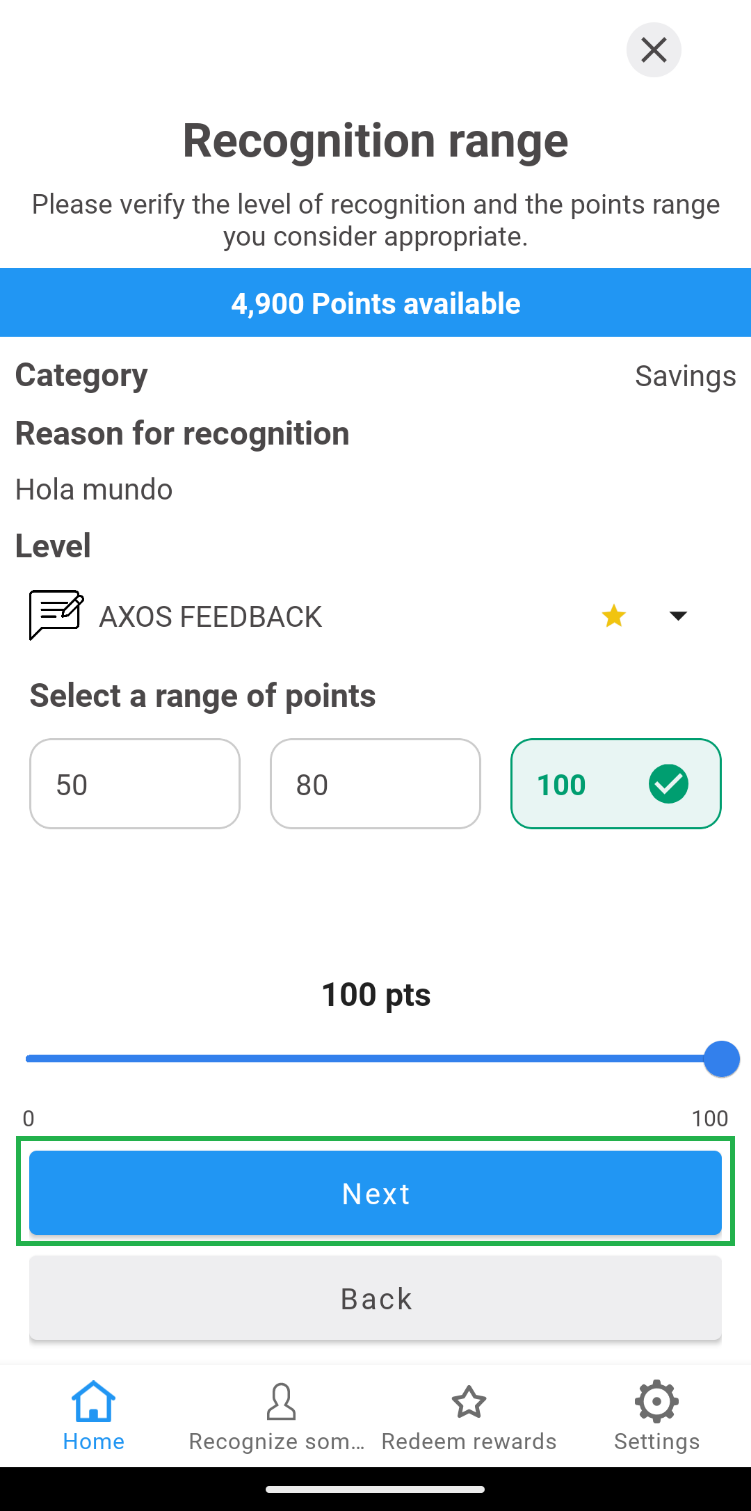
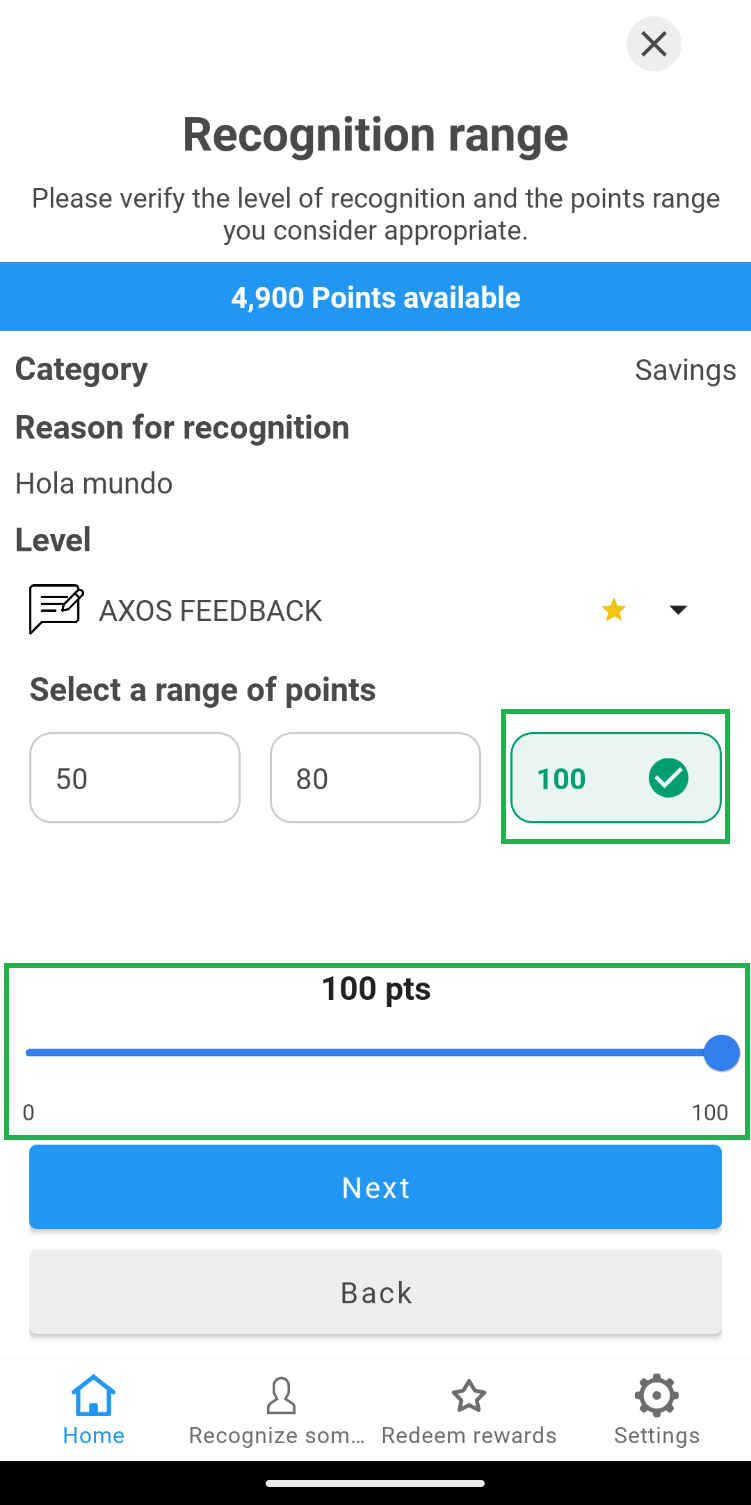 7. Click on the “Next” button.
 Note: The recognitions to be approved are with a one-month gap, which means that the current month’s recognitions cannot be authorized until the following month.
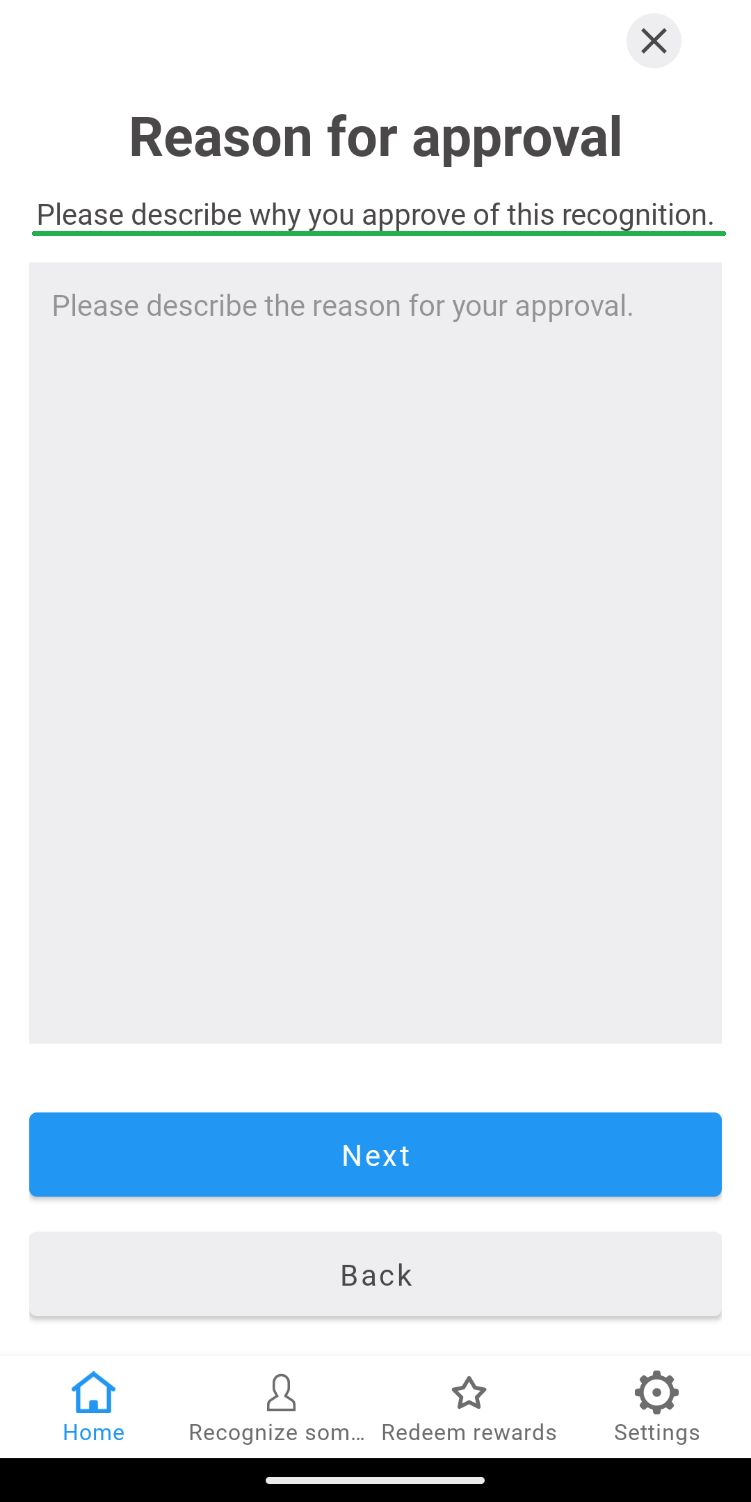
8. Write the reason for approval of the recognition.
Note: The recognitions to be approved are with a one-month gap, which means that the current month’s recognitions cannot be authorized until the following month.
8. Write the reason for approval of the recognition.
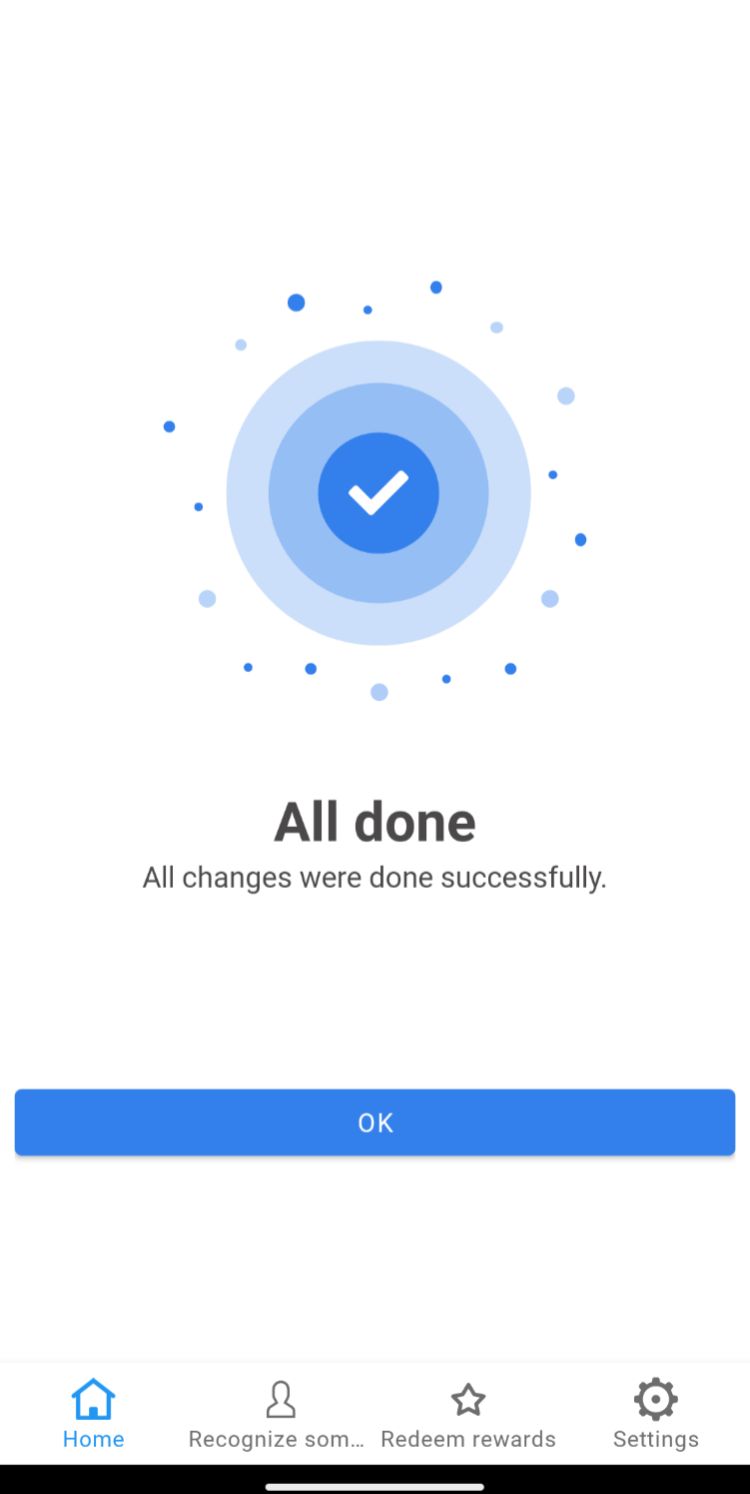
 9. Click the “Ok” button on the success message that is displayed.
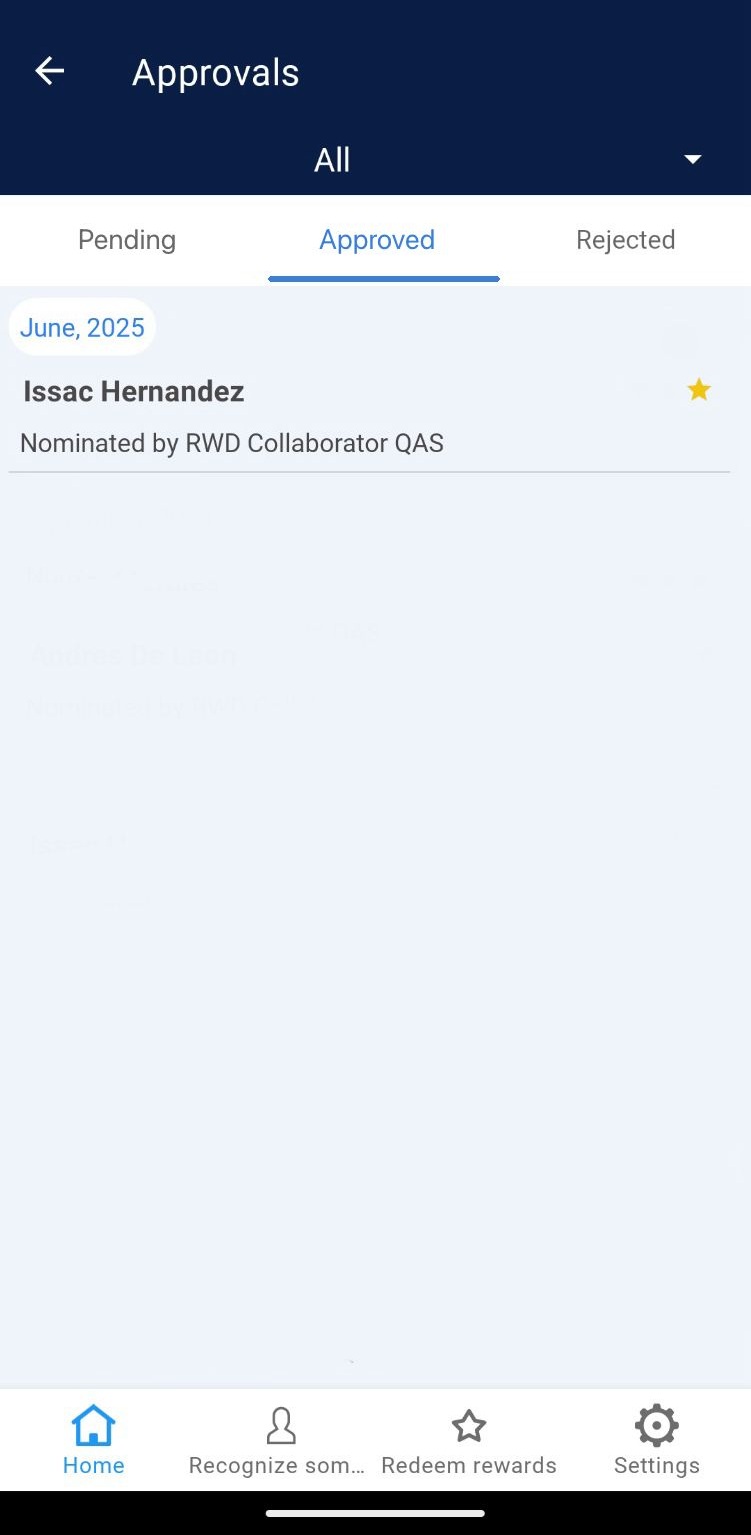
 10. The app will automatically direct you to the “Approved” section to view the recognition you just passed, as shown in the following image.
 2. In the “Approvals” section, go to the “Pending” section.
 3. Activate the points corresponding to the month of the surveys you are going to manage.
 Note: This step is optional if only rejections are made in the month to be managed.
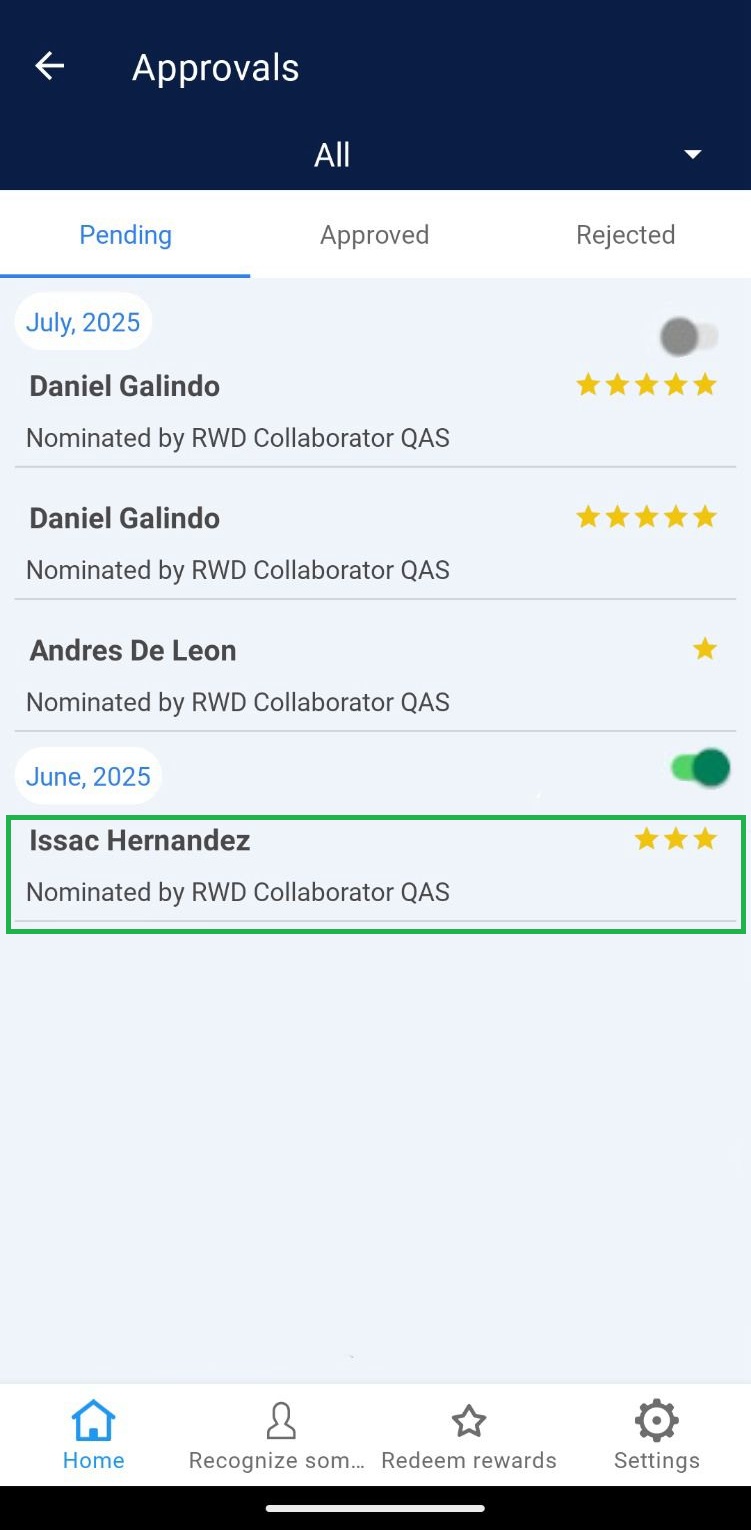
4. Select the recognition to reject.
Note: This step is optional if only rejections are made in the month to be managed.
4. Select the recognition to reject.
 5. Click on the “Reject” button.
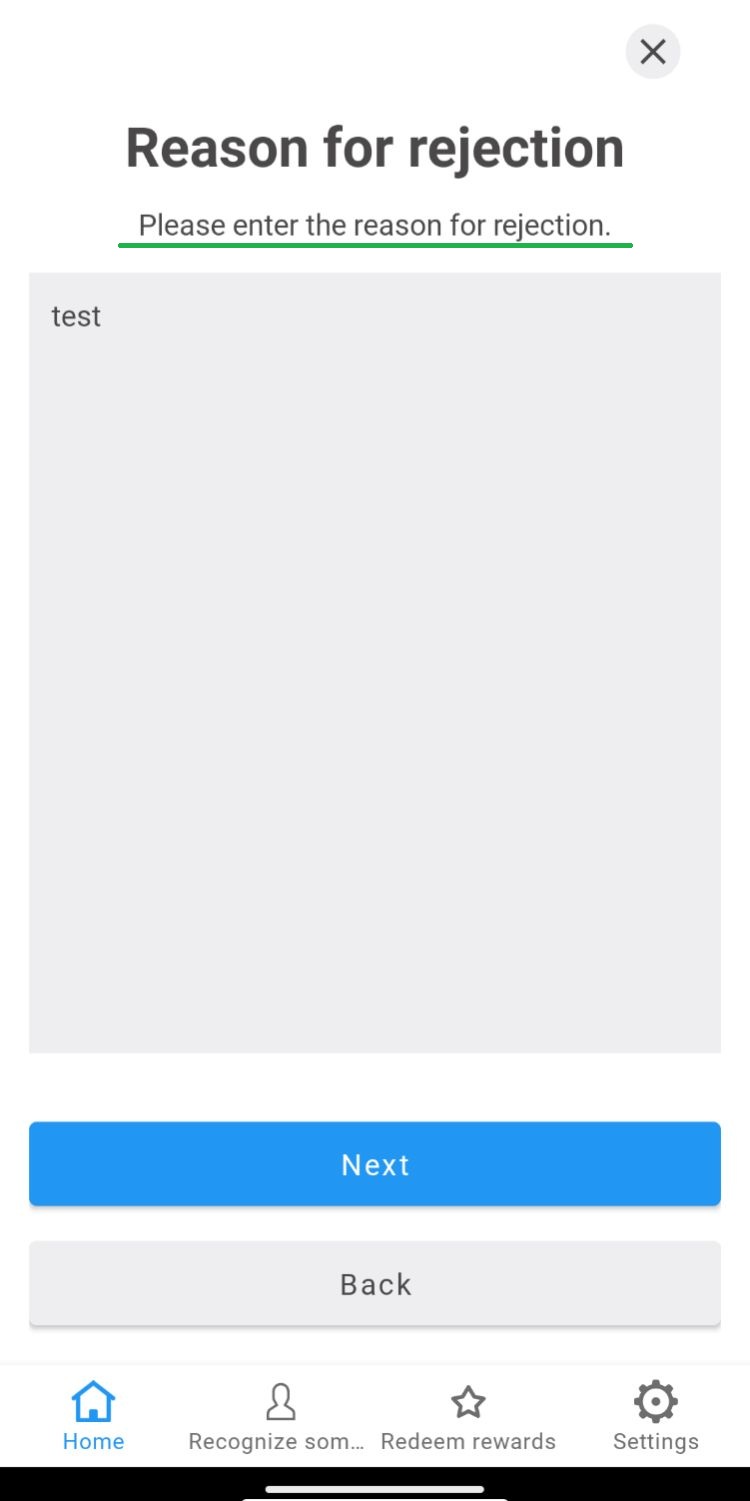
 6. Write the reason for rejection of the recognition.
 7. Click on the “Done” button of the success message displayed.
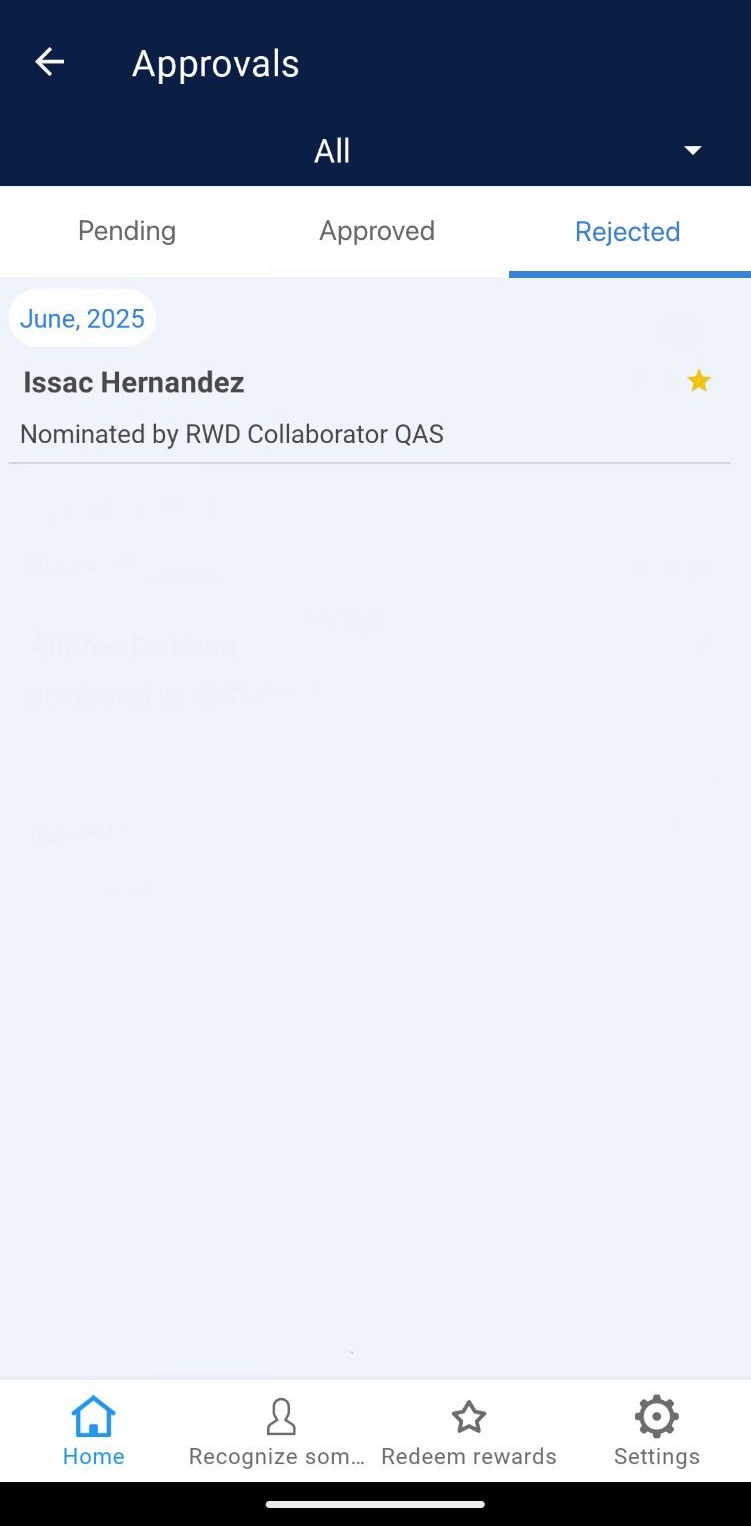
 8. The application will automatically direct you to the “Rejected” section to view the recognition you have just rejected, as shown in the following image.
2. In the “Approvals” section there are 3 sections: “Pending”, “Approved” and “Rejected”.
Pending: These are the recognitions that have not yet been processed by the team leader.
Approved: These are the recognitions that were authorized by the team leader.
Rejected: These are the recognitions that were rejected by the team leader.
How to approve a recognition?
1. Go to “Approvals” through the control panel.
2. In the “Approvals” section, go to the “Pending” section.
3. Activate the points corresponding to the month of the surveys you are going to manage.
4. Select the recognition to approve.
|
|
6. Select the range of points to be awarded.
7. Click on the “Next” button.
Note: The recognitions to be approved are with a one-month gap, which means that the current month’s recognitions cannot be authorized until the following month.
8. Write the reason for approval of the recognition.
9. Click the “Ok” button on the success message that is displayed.
10. The app will automatically direct you to the “Approved” section to view the recognition you just passed, as shown in the following image.
How to reject a recognition?
1. Go to “Approvals” through the control panel.
2. In the “Approvals” section, go to the “Pending” section.
3. Activate the points corresponding to the month of the surveys you are going to manage.
Note: This step is optional if only rejections are made in the month to be managed.
4. Select the recognition to reject.
5. Click on the “Reject” button.
6. Write the reason for rejection of the recognition.
7. Click on the “Done” button of the success message displayed.
8. The application will automatically direct you to the “Rejected” section to view the recognition you have just rejected, as shown in the following image.