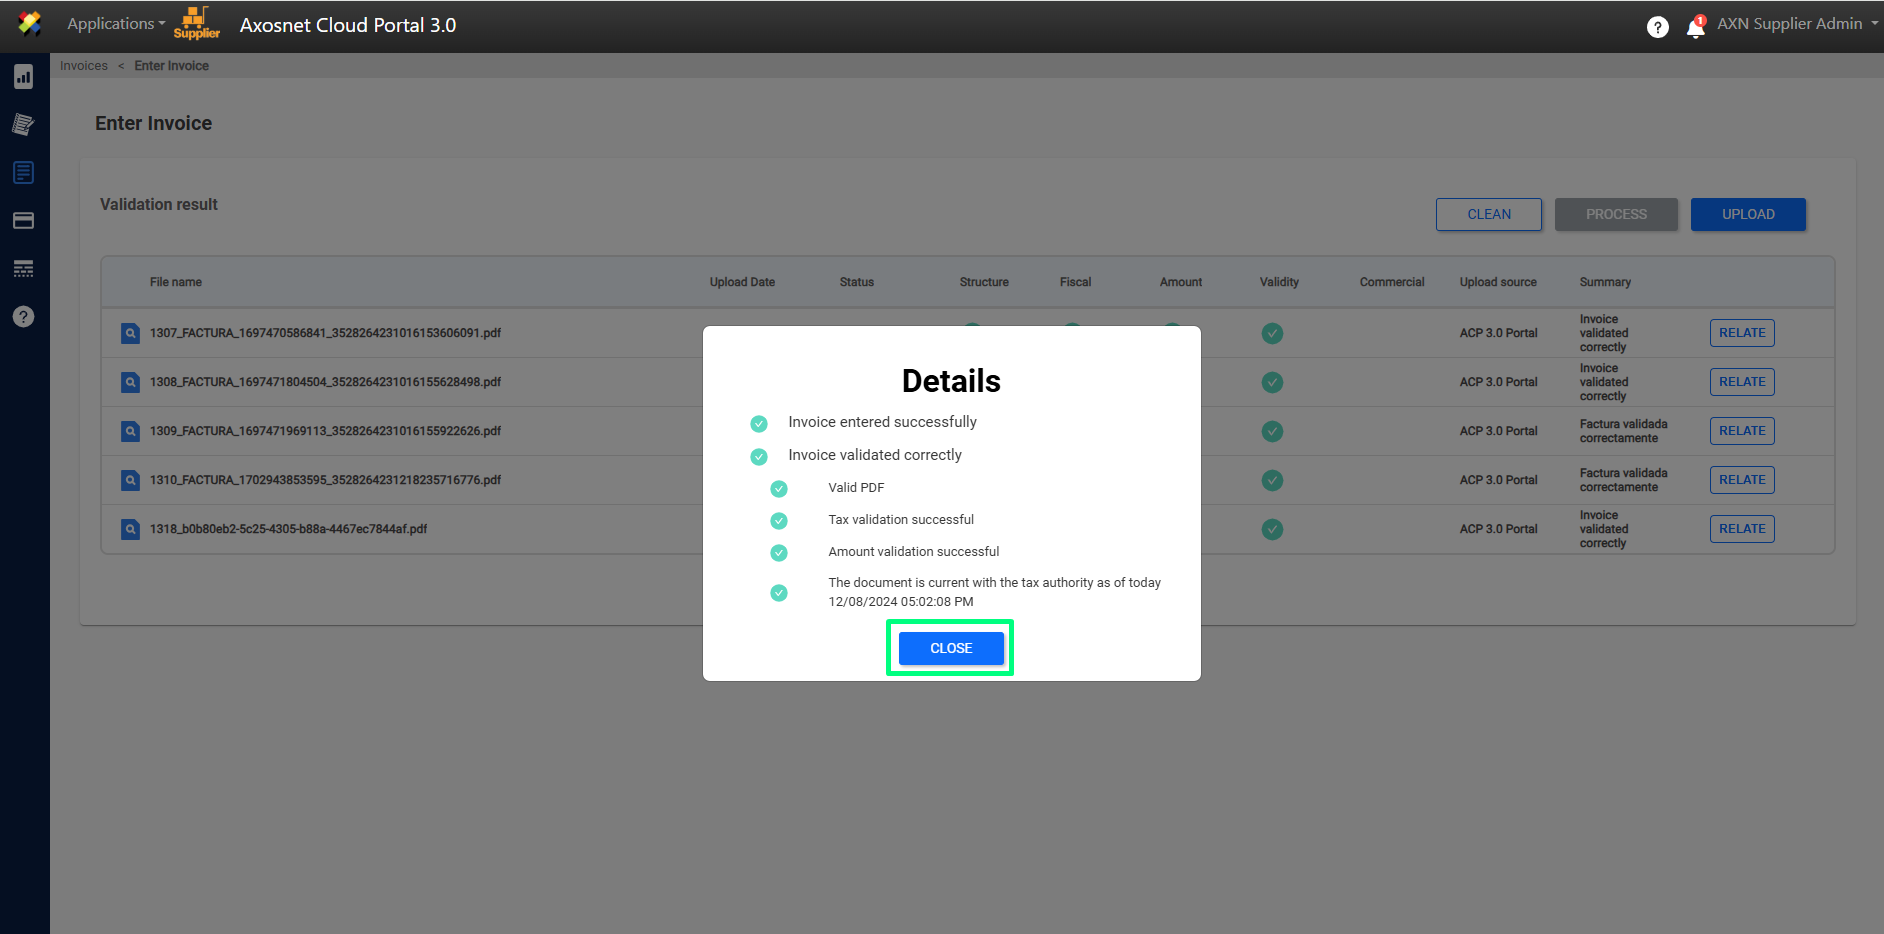
In the Document Entry section you can upload documents such as Invoices or Payment Add-ons to the portal.
Documents are uploaded in three possible formats. These can be XML and PDF files or upload a zip file (with several files in it) so that they can be passed to Validation and can be Related and Processed.
How to Enter/Upload an Invoice?
1. Enter ACS Management and select the Axosnet Cloud Portal option.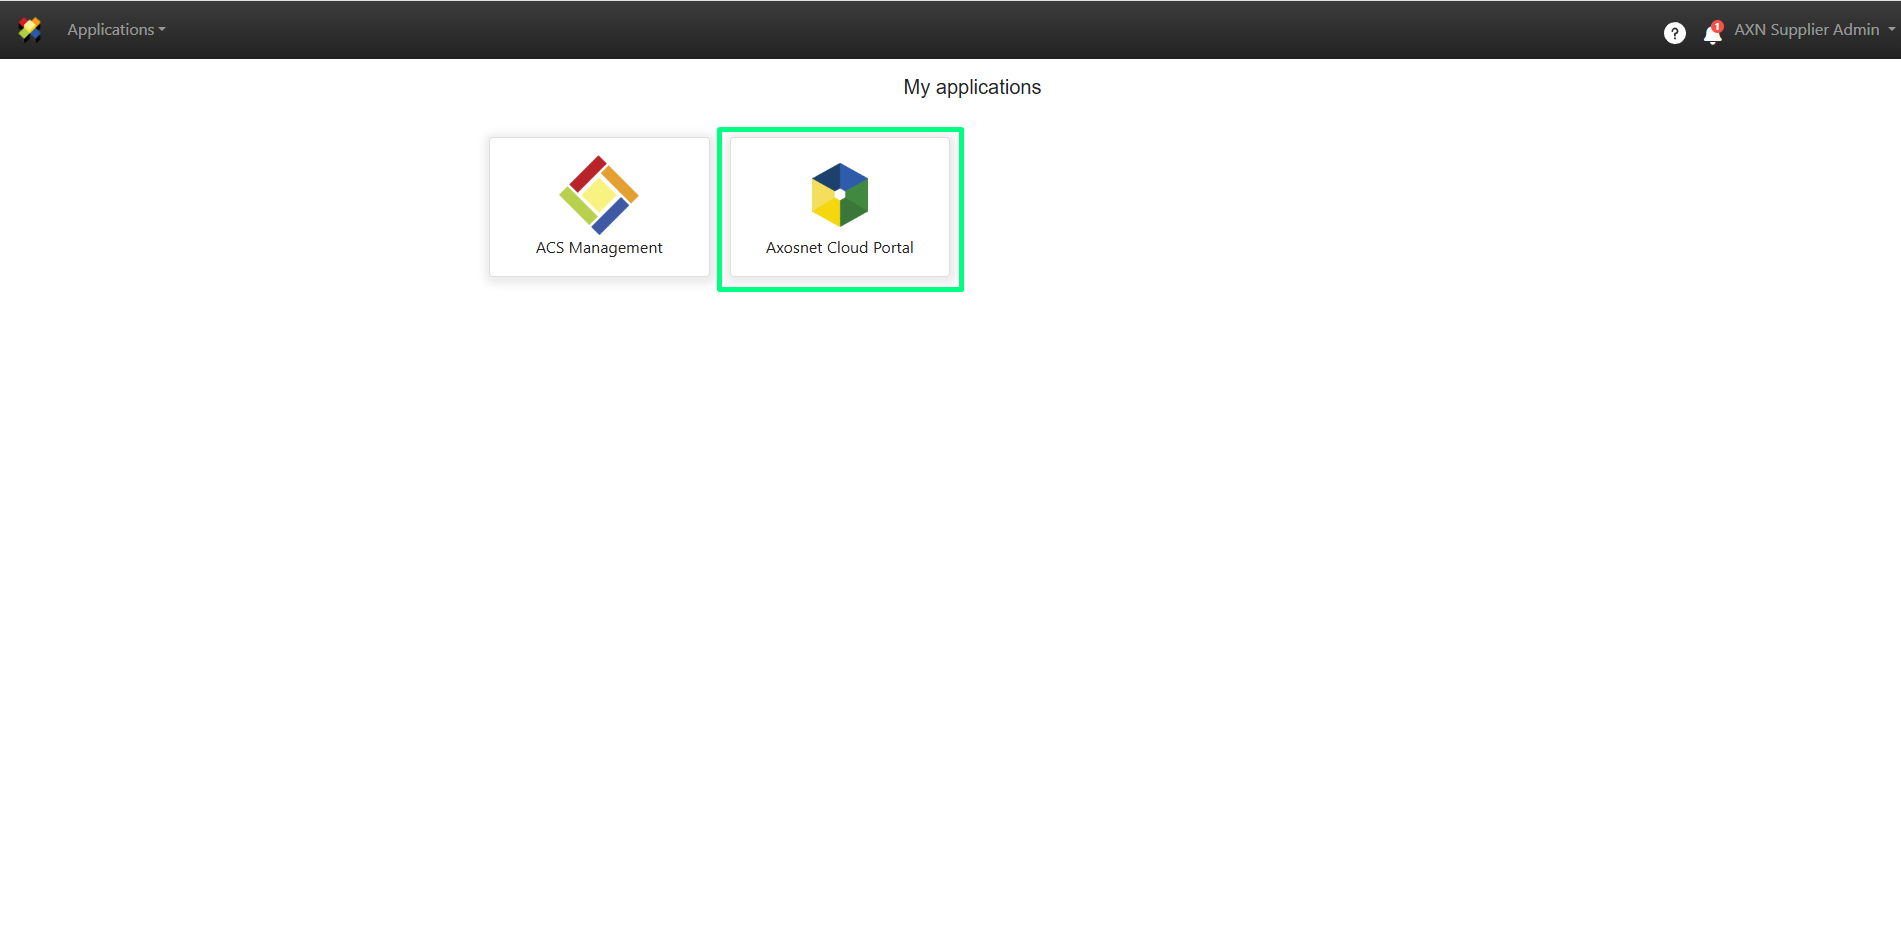
2. When you enter ACP, select the client you want to work with.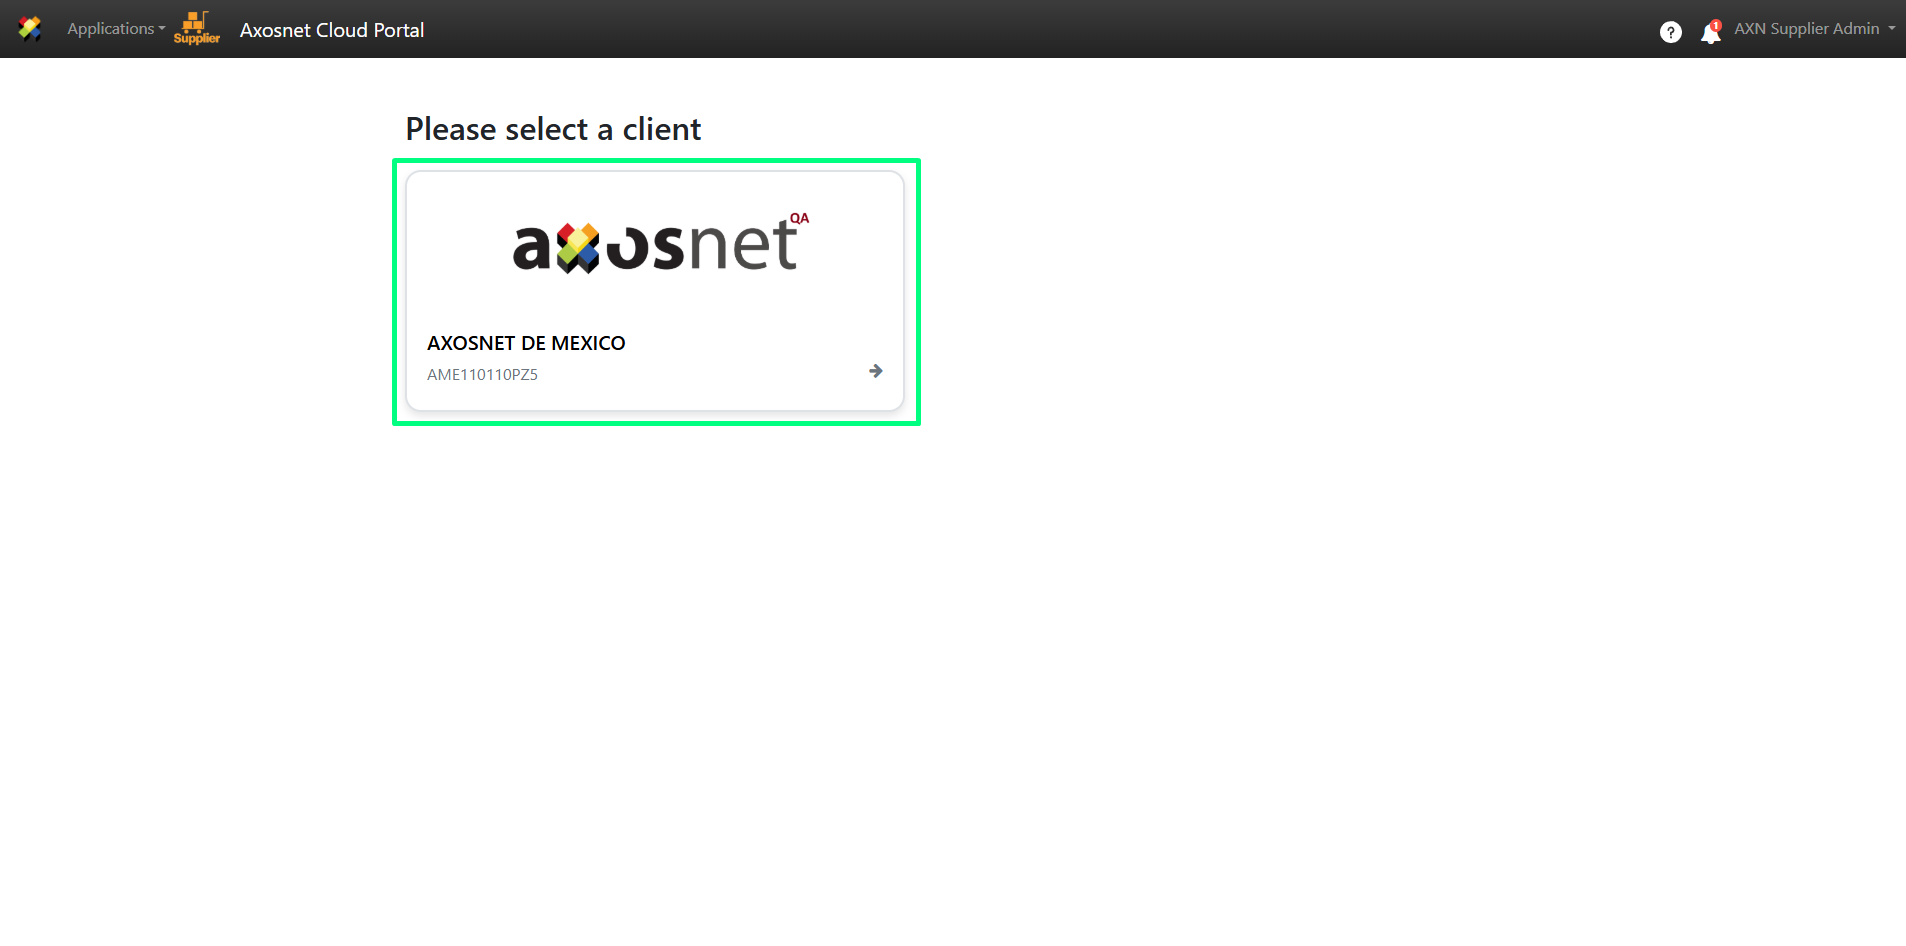
3. Within ACP 3, select the “Invoices” option in the left side menu. You can click on the icon or hover over it to display the options.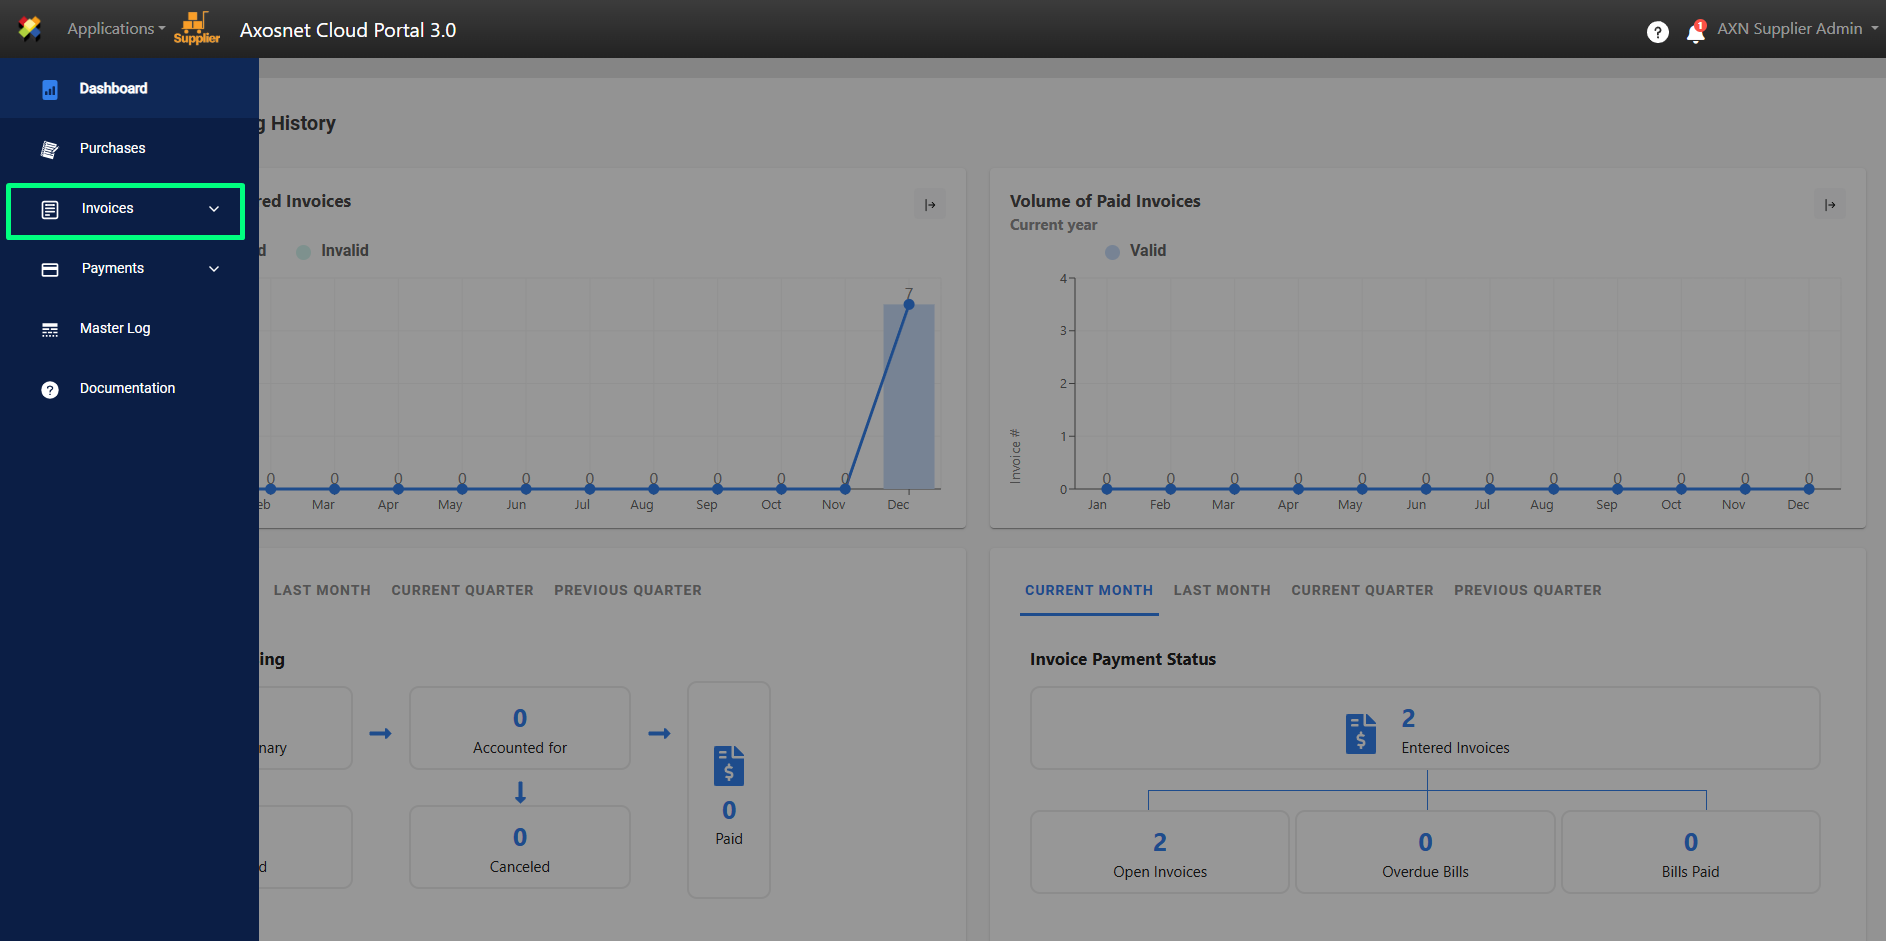
4. Select “Document Entry”.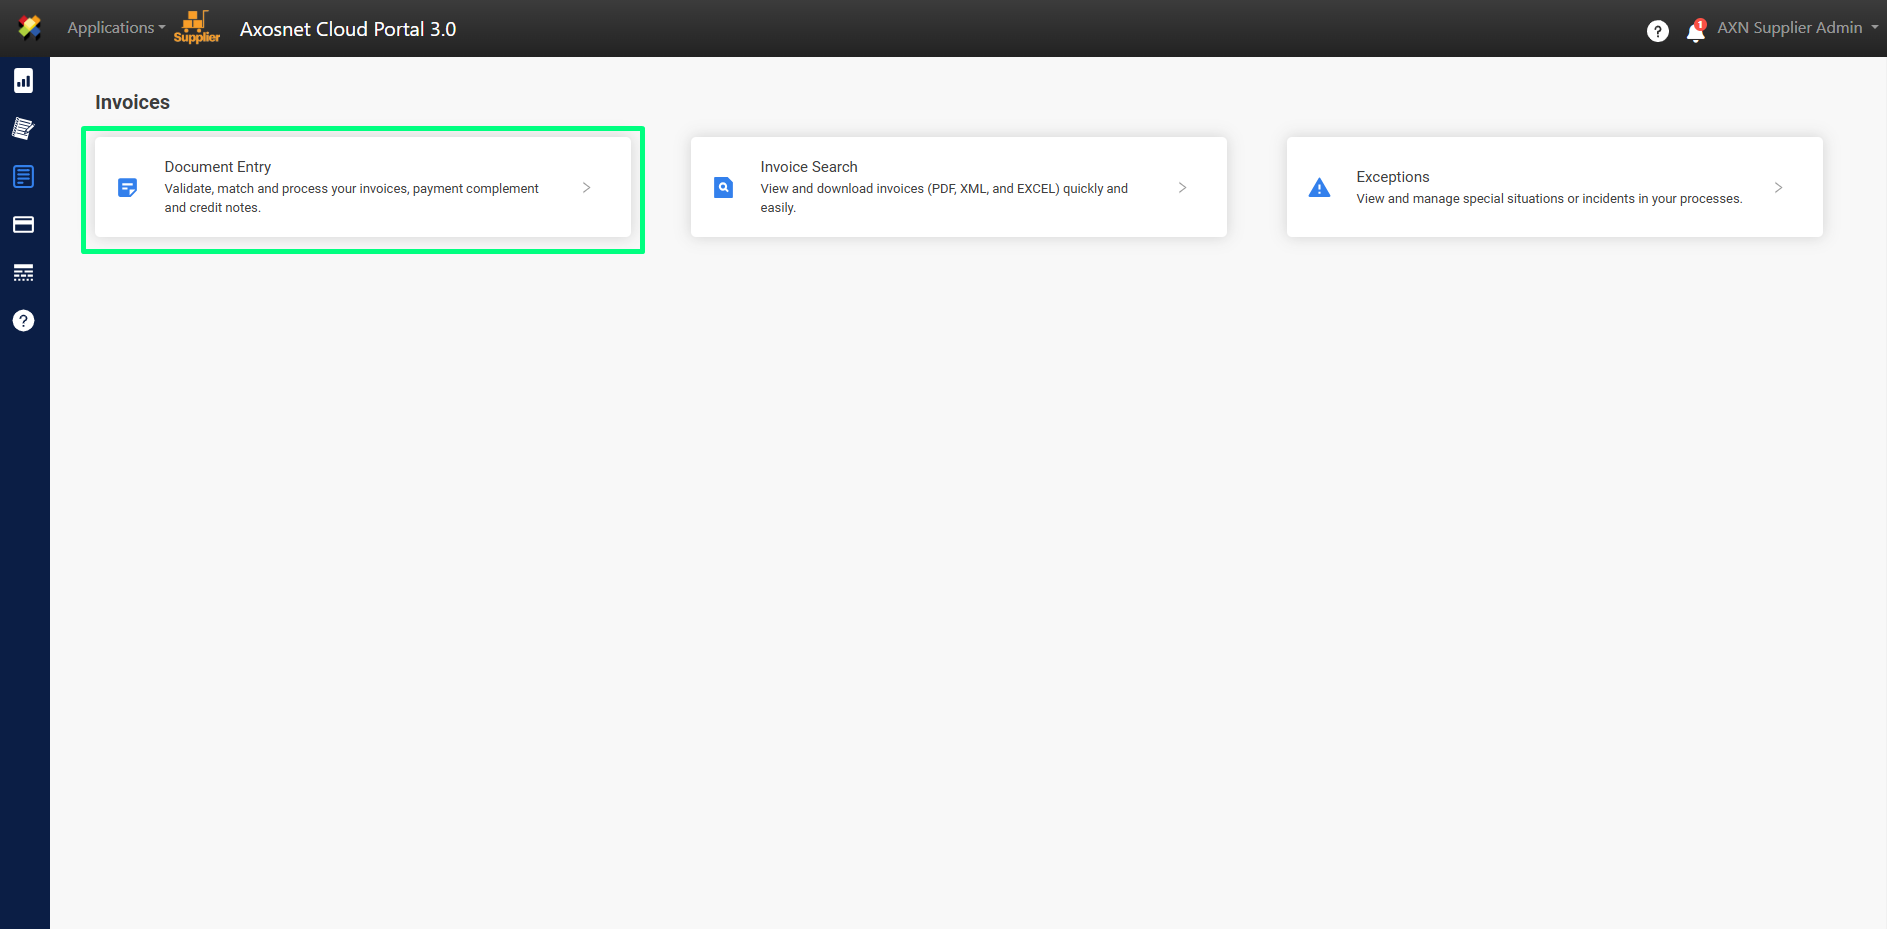
5. In this subsection you can enter documents (Invoices, payment add-ons, etc.) to be entered into the portal. Click on the “UPLOAD” button.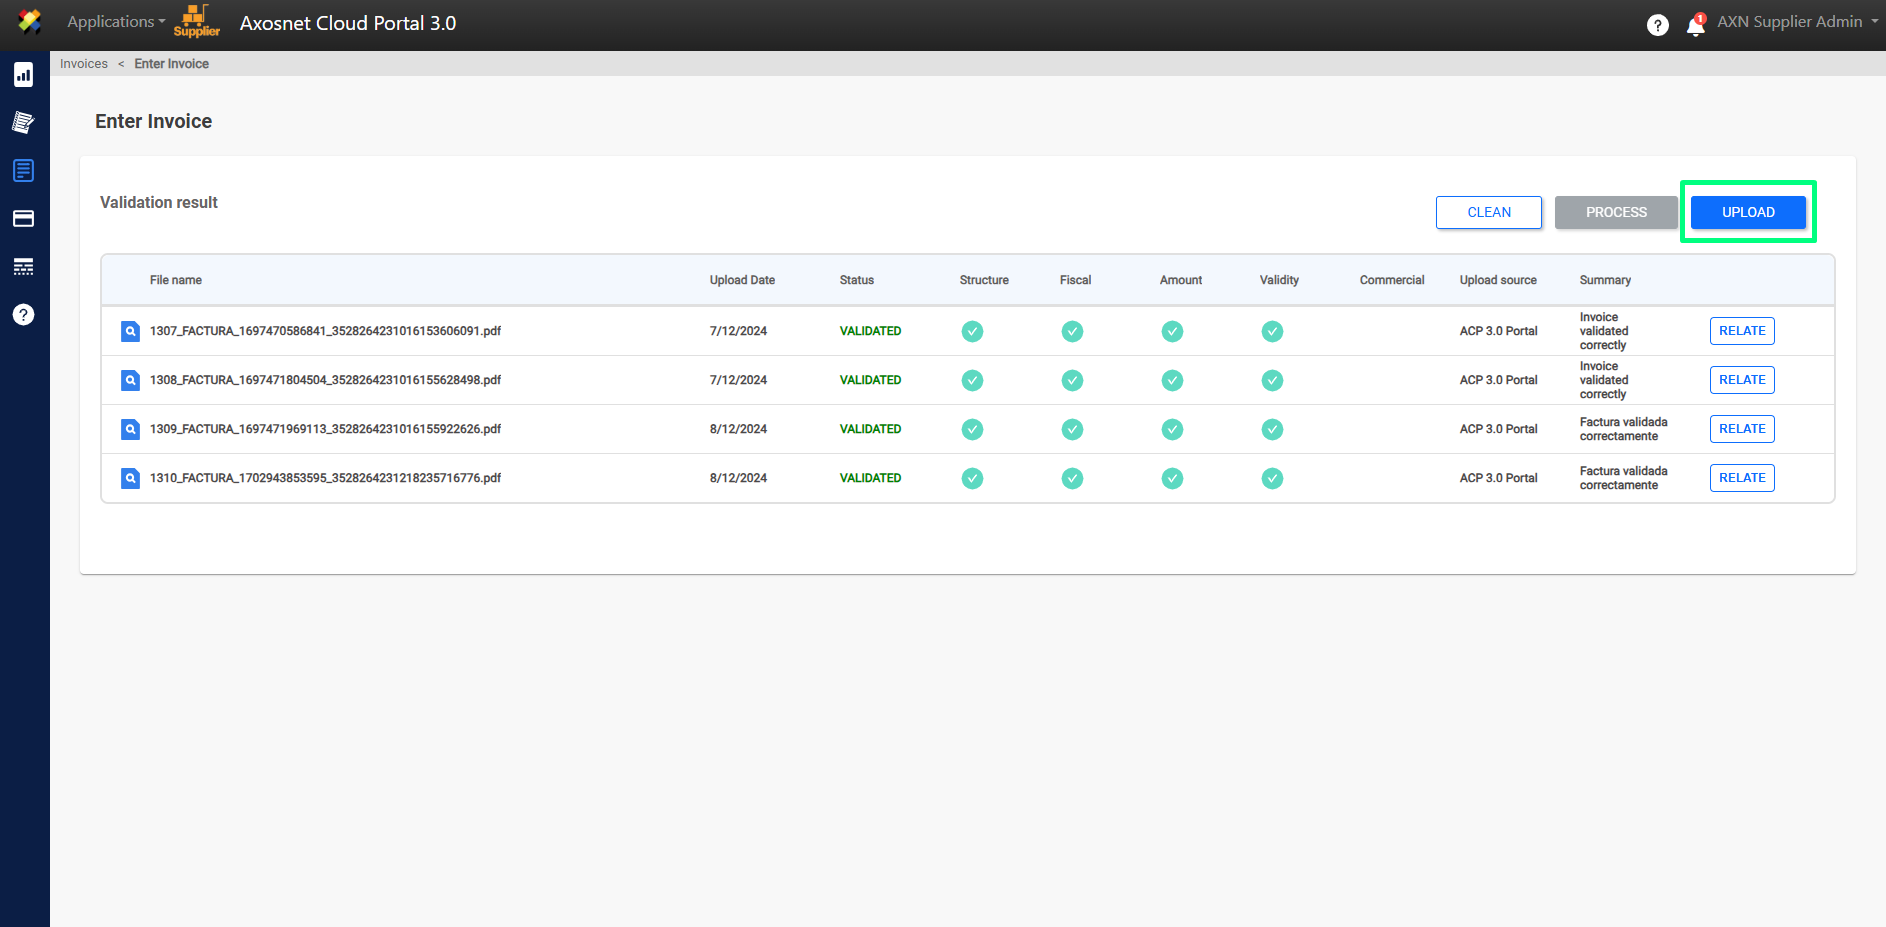
6. A window will appear where you must drag the documents or click on “browse” to upload the document.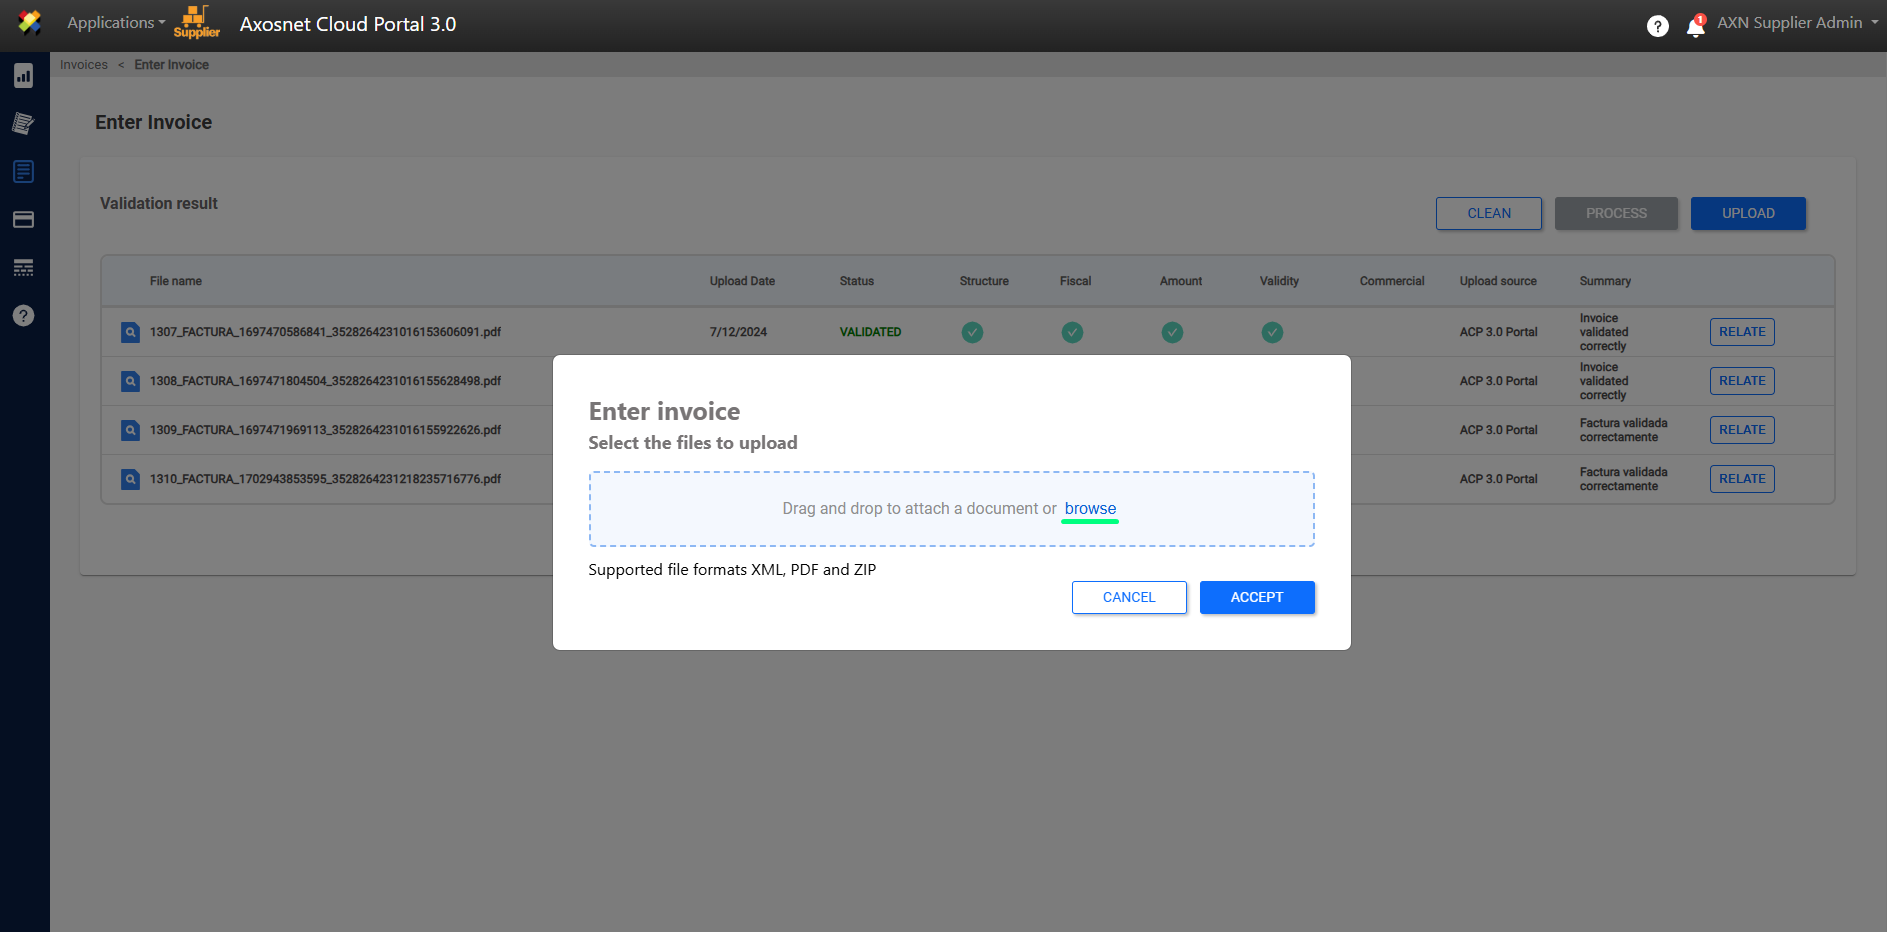
7. The selected document will be displayed at the bottom.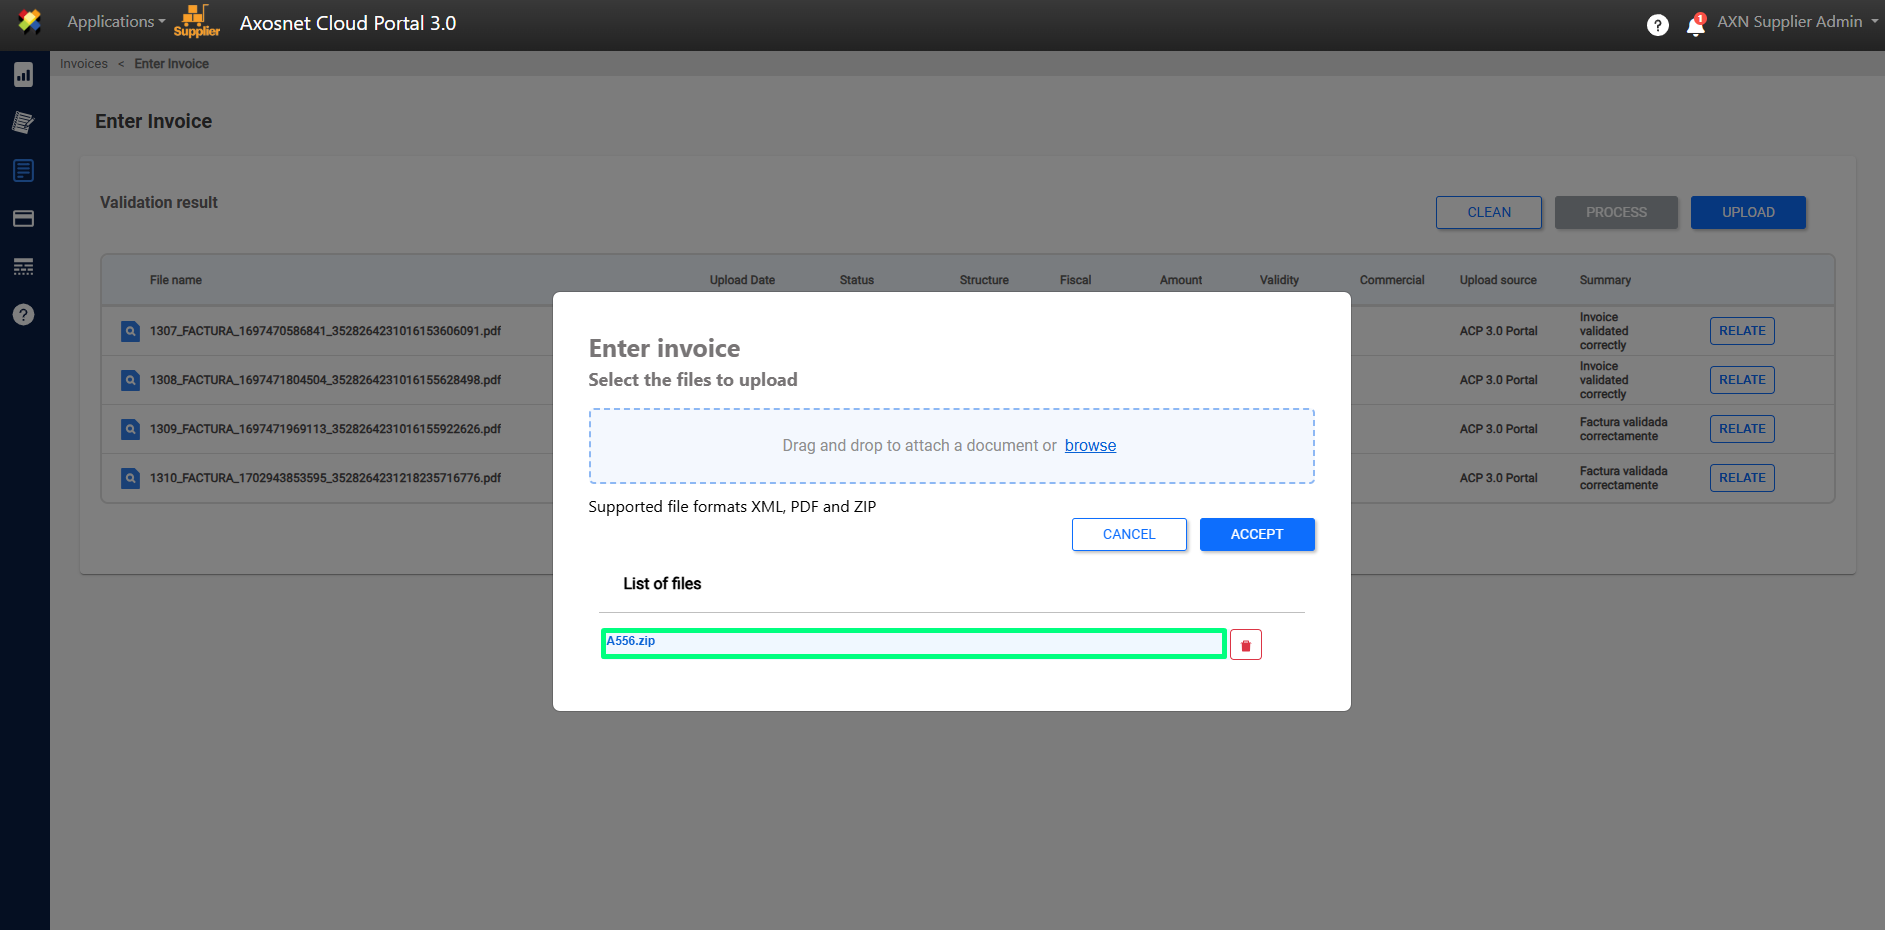
8. If you want to change the document, you can click on the “Delete” button to choose another file.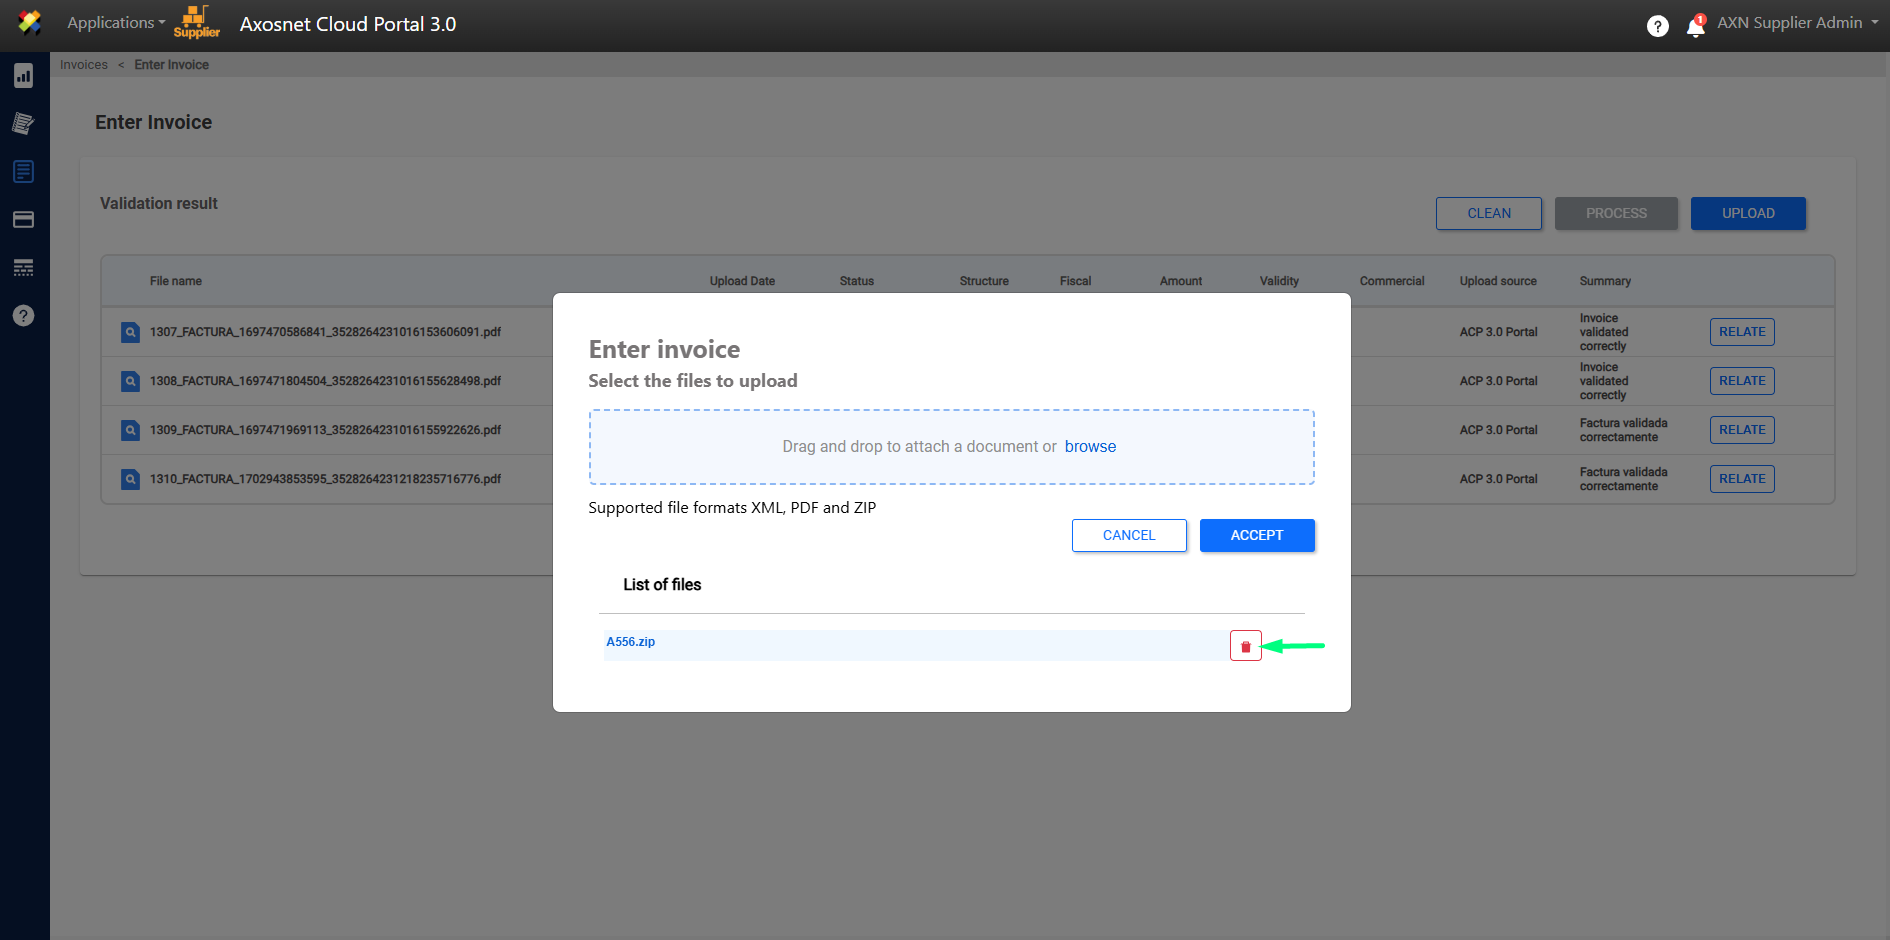
9. Click on the “ACCEPT” button.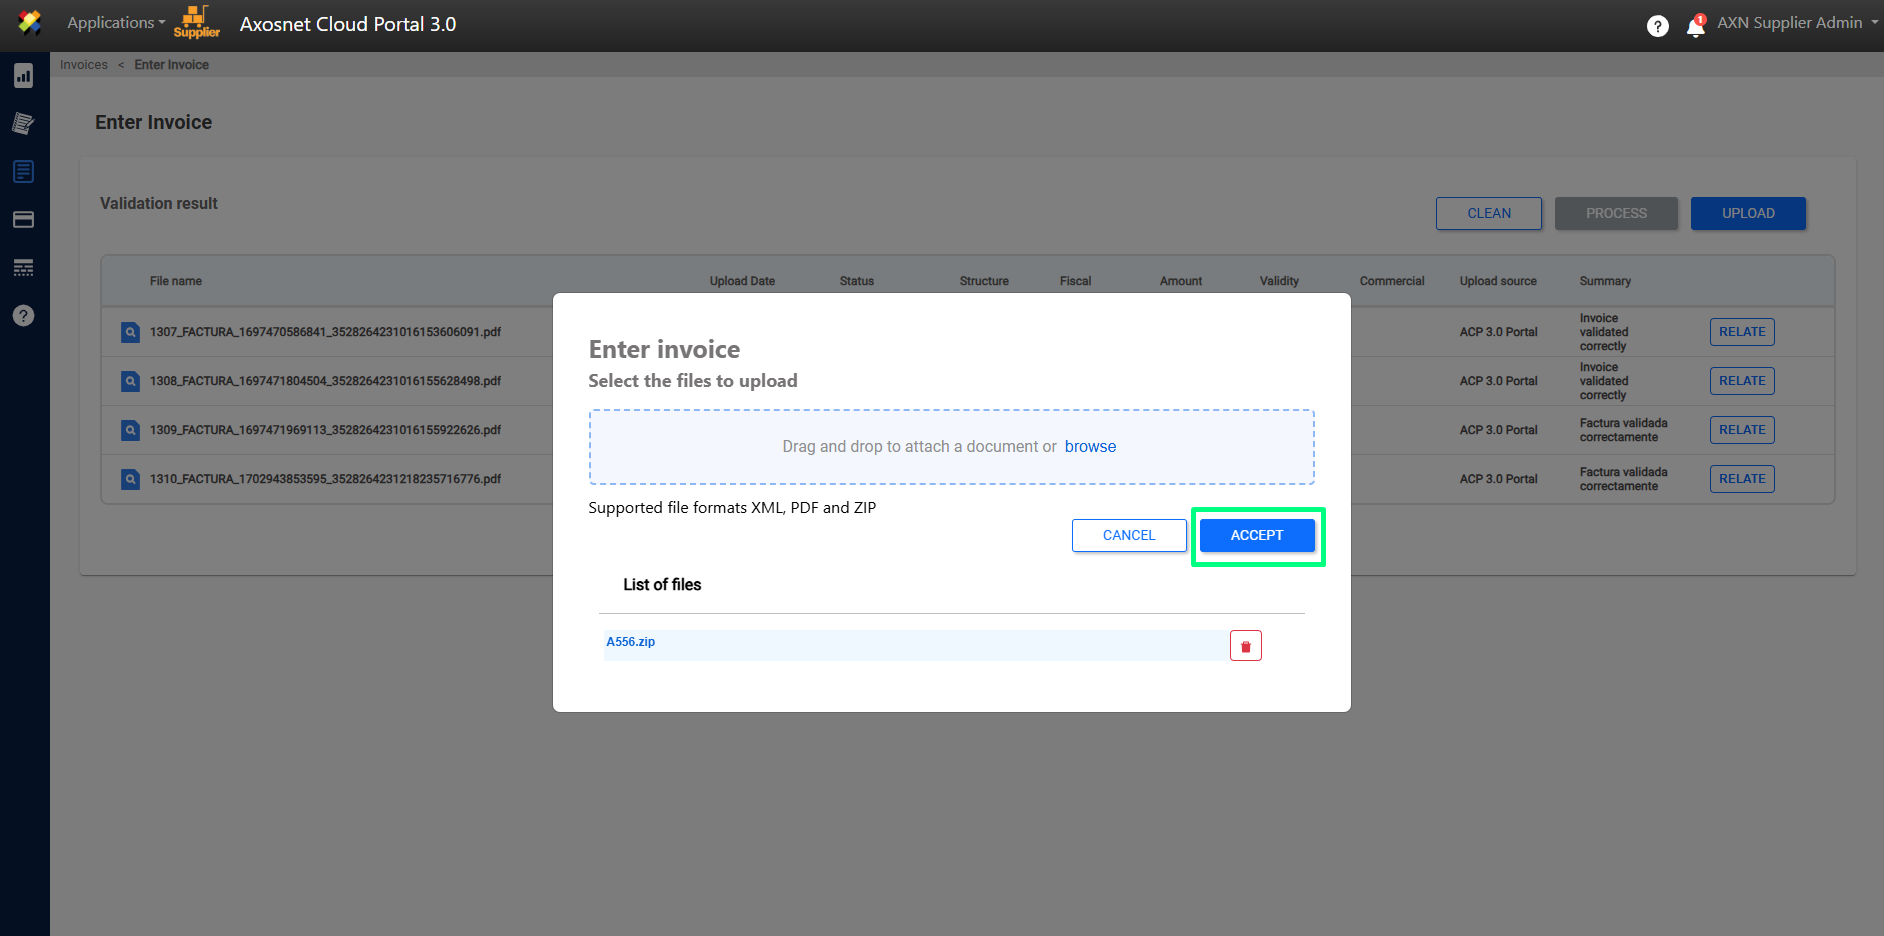
Note: If you select an invoice that does not correspond to the client selected in step 4, the invoice status will be marked as “NOT ENTERED”.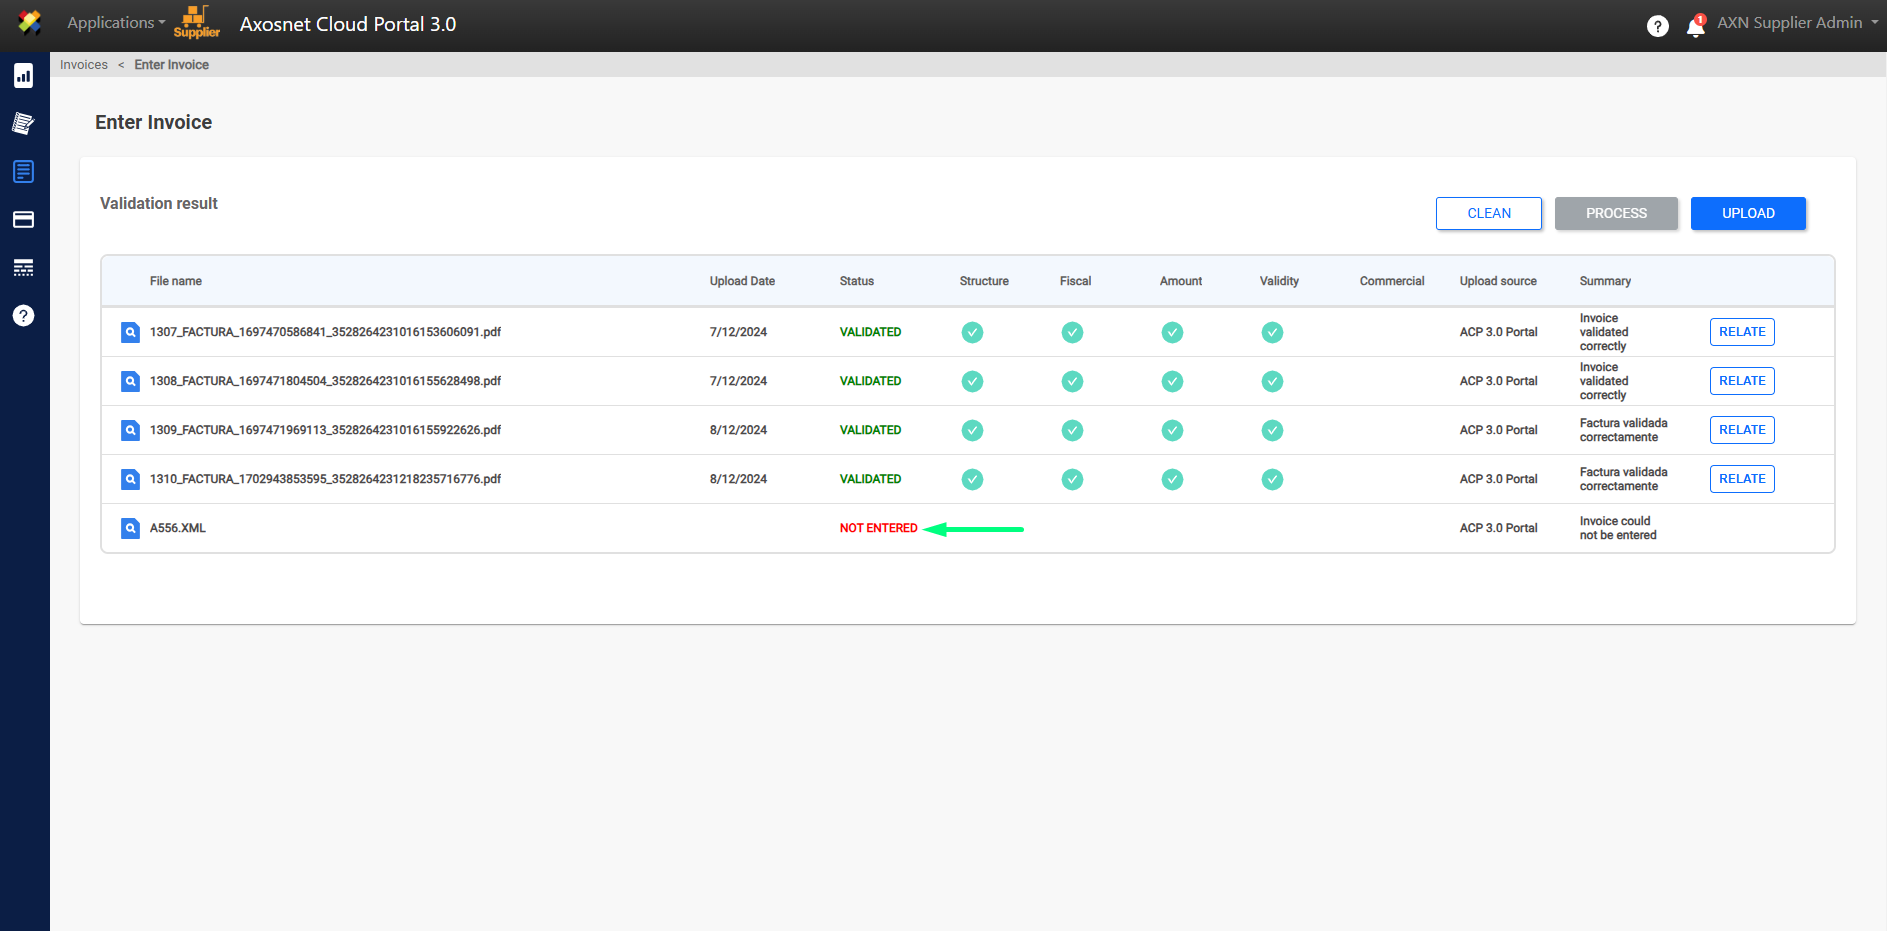
10. Once the invoice is successfully uploaded, it will be displayed with the status “ENTERED”.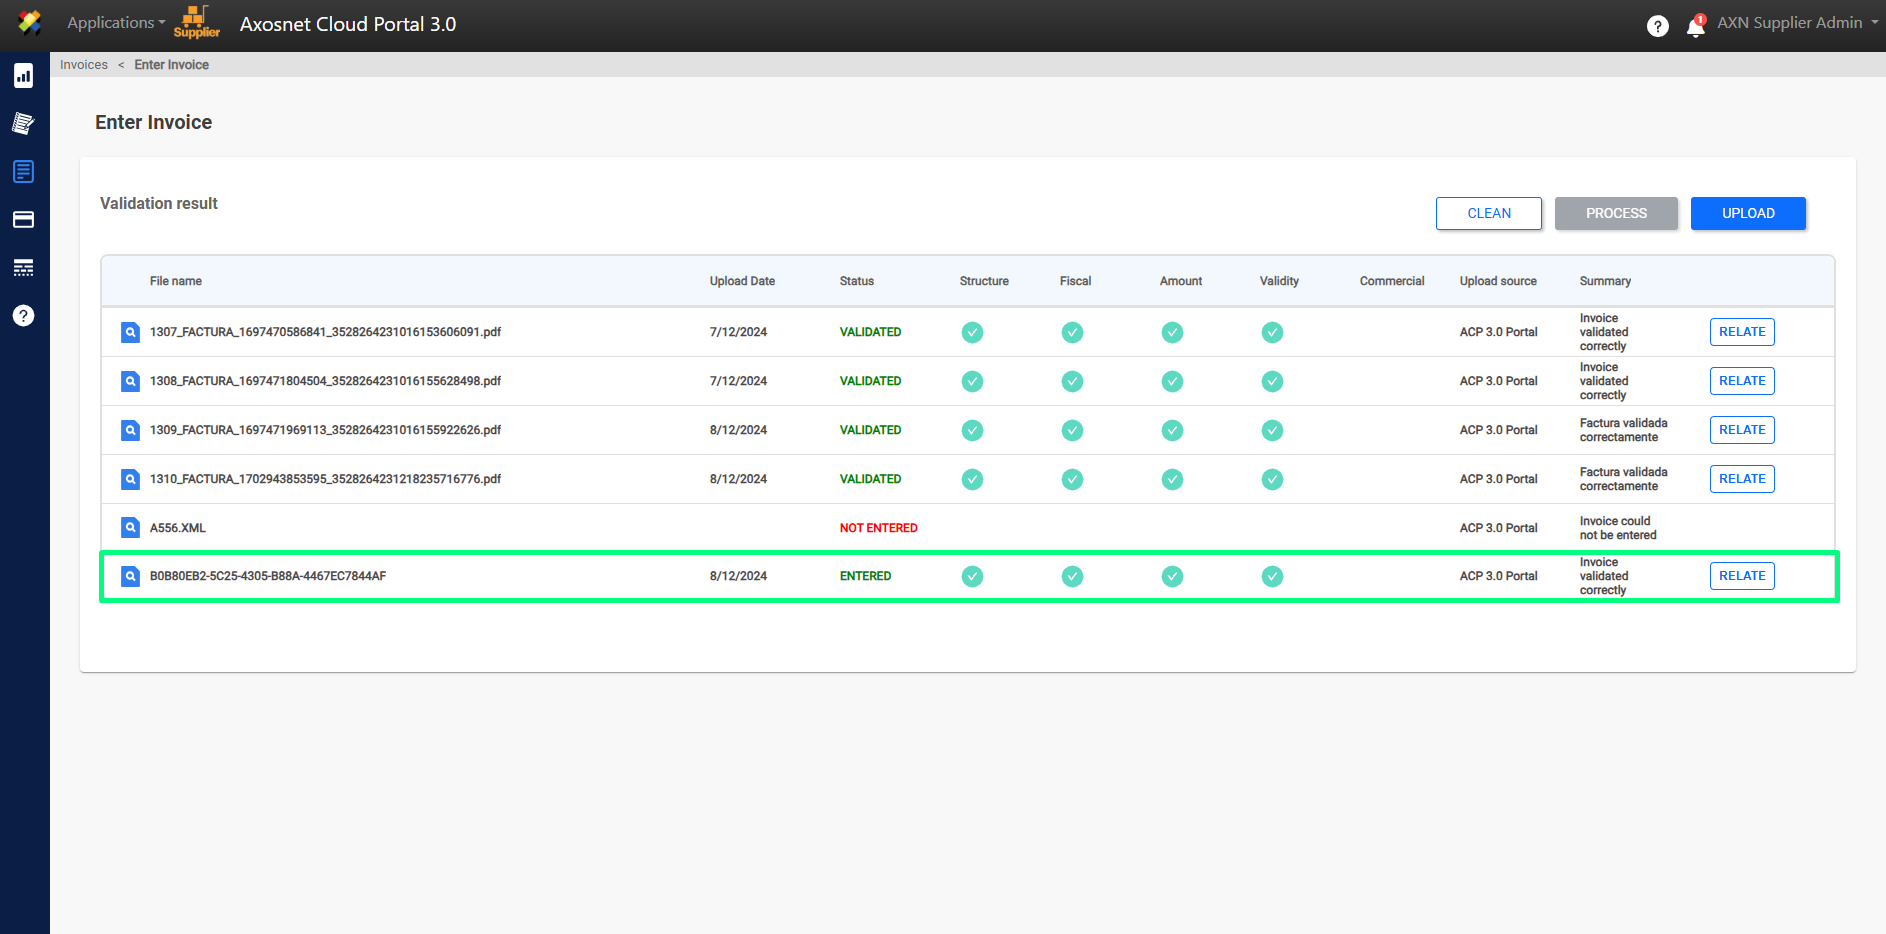
How to View Invoice Details?
1. Enter ACS Management and select the Axosnet Cloud Portal option.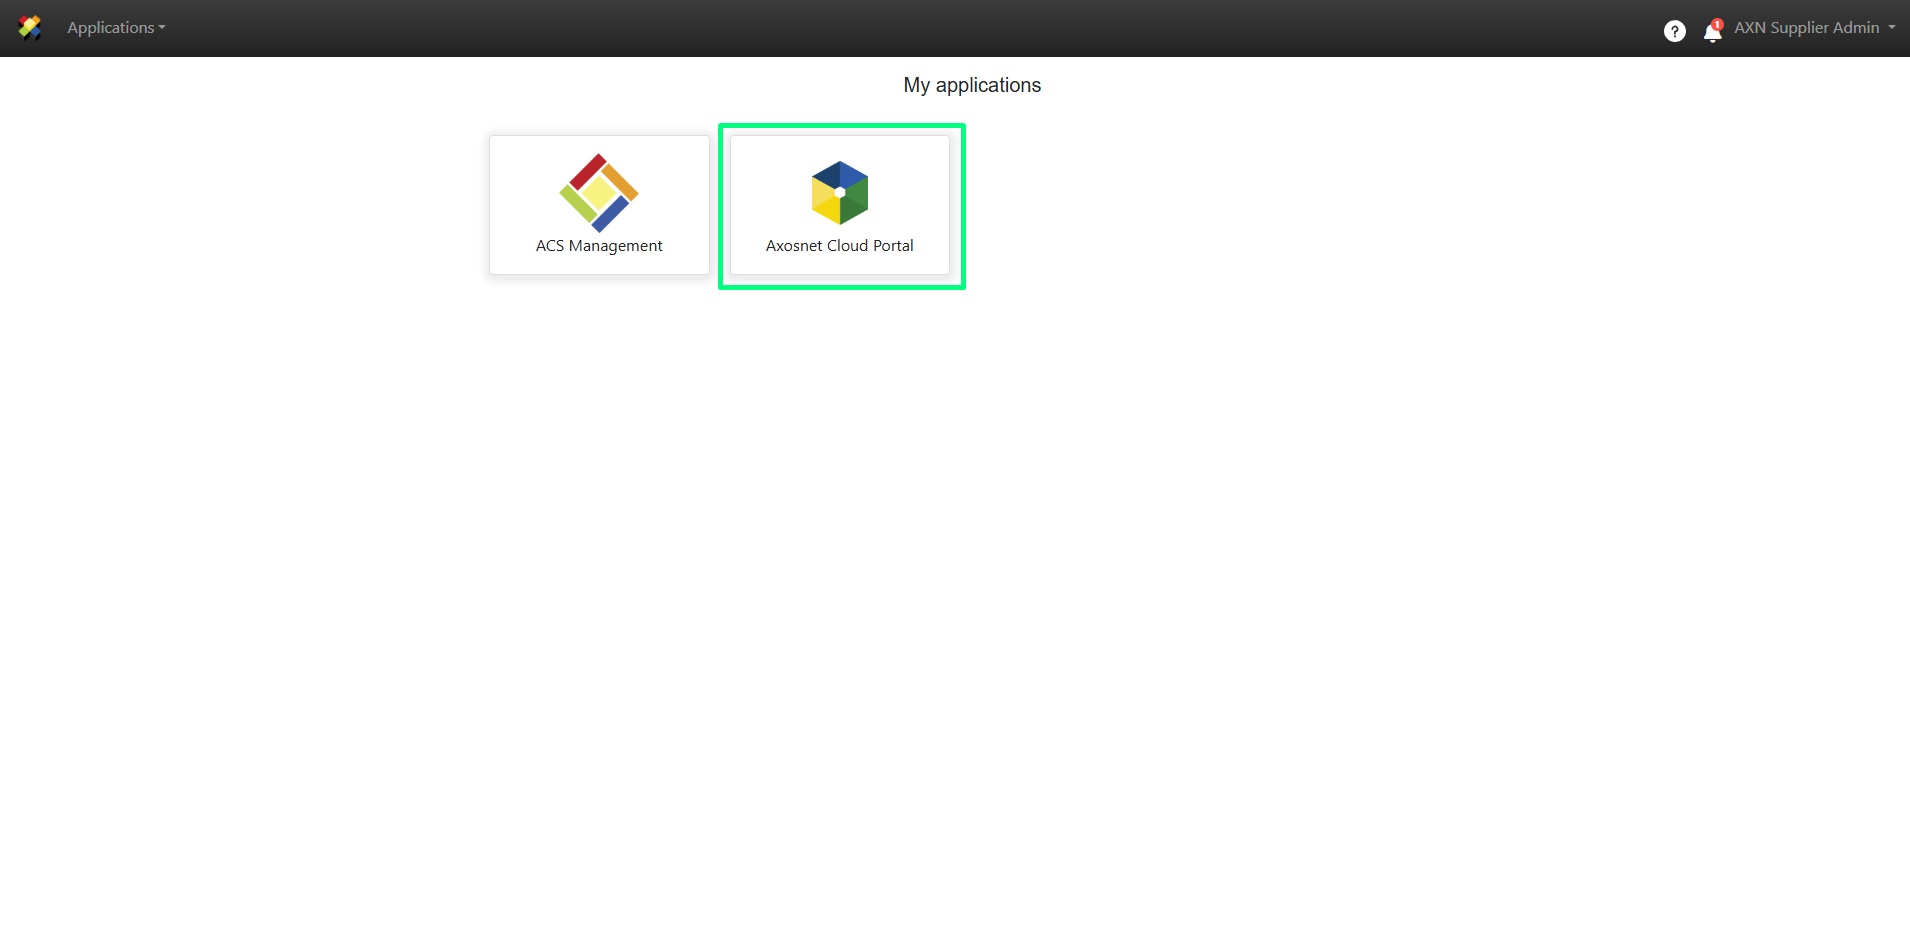
2. When you enter ACP, select the client you want to work with.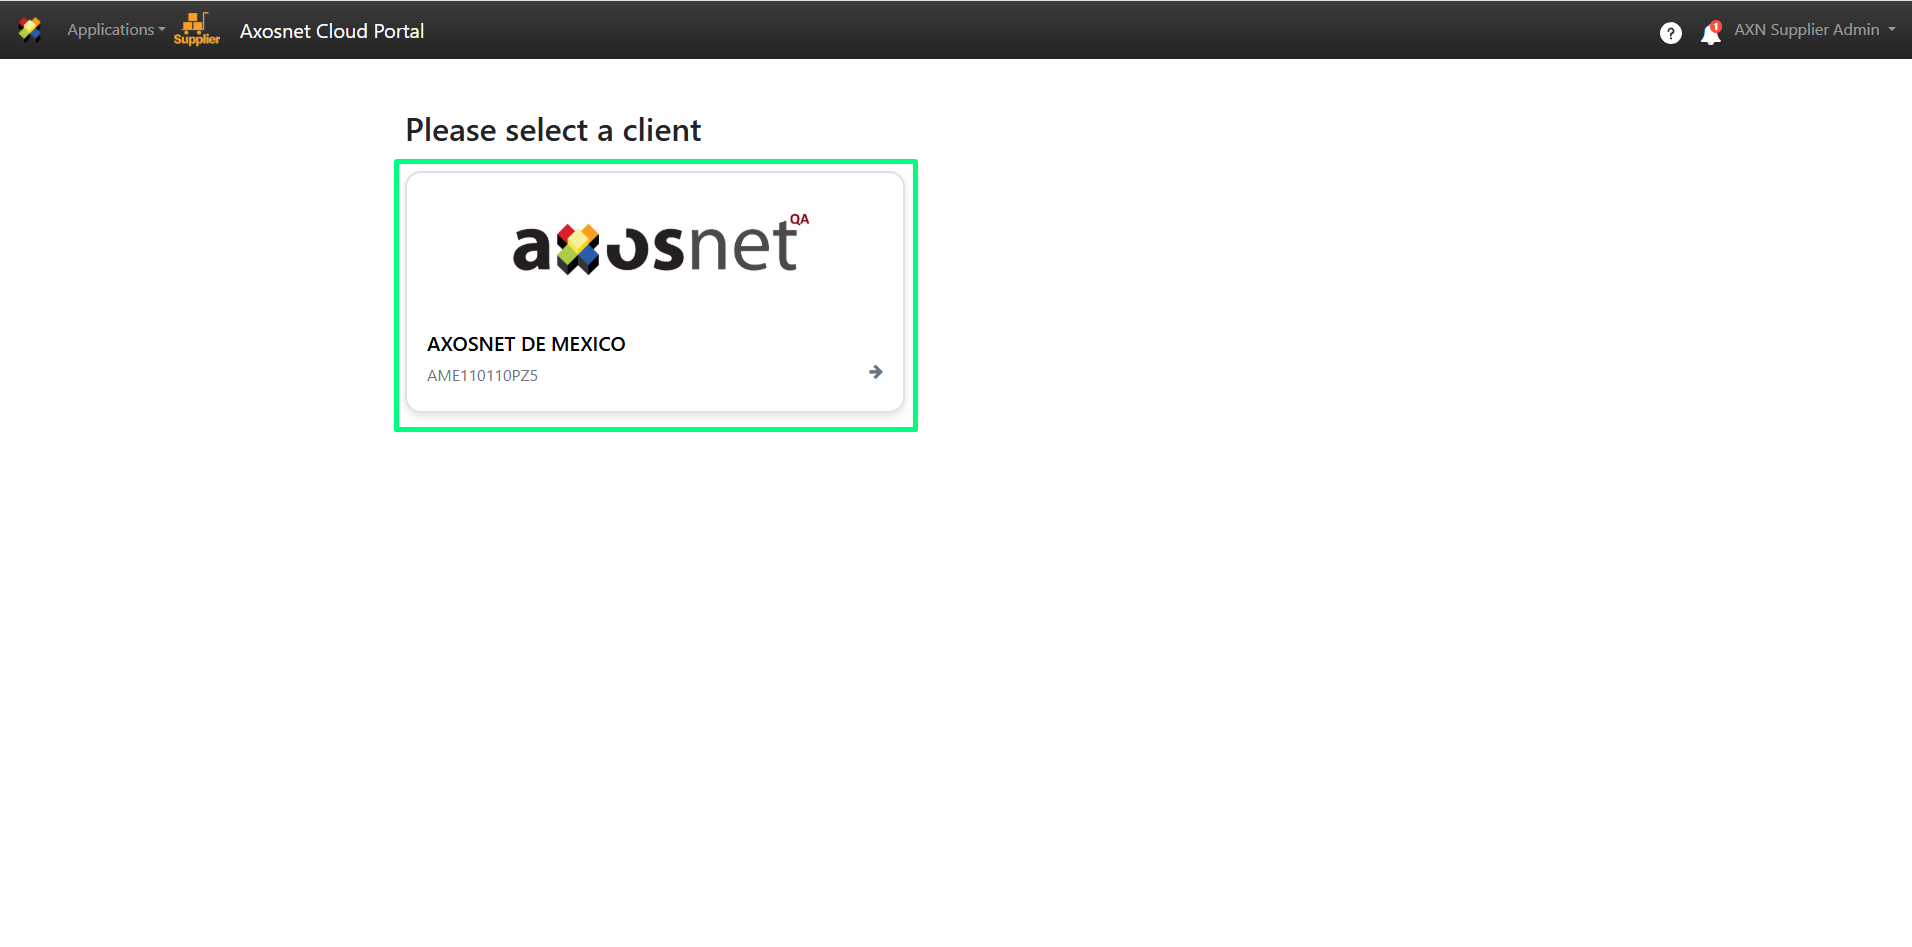
3. Within ACP 3 select the “Invoices” option in the left side menu, you can click on the icon or hover over it to display the options.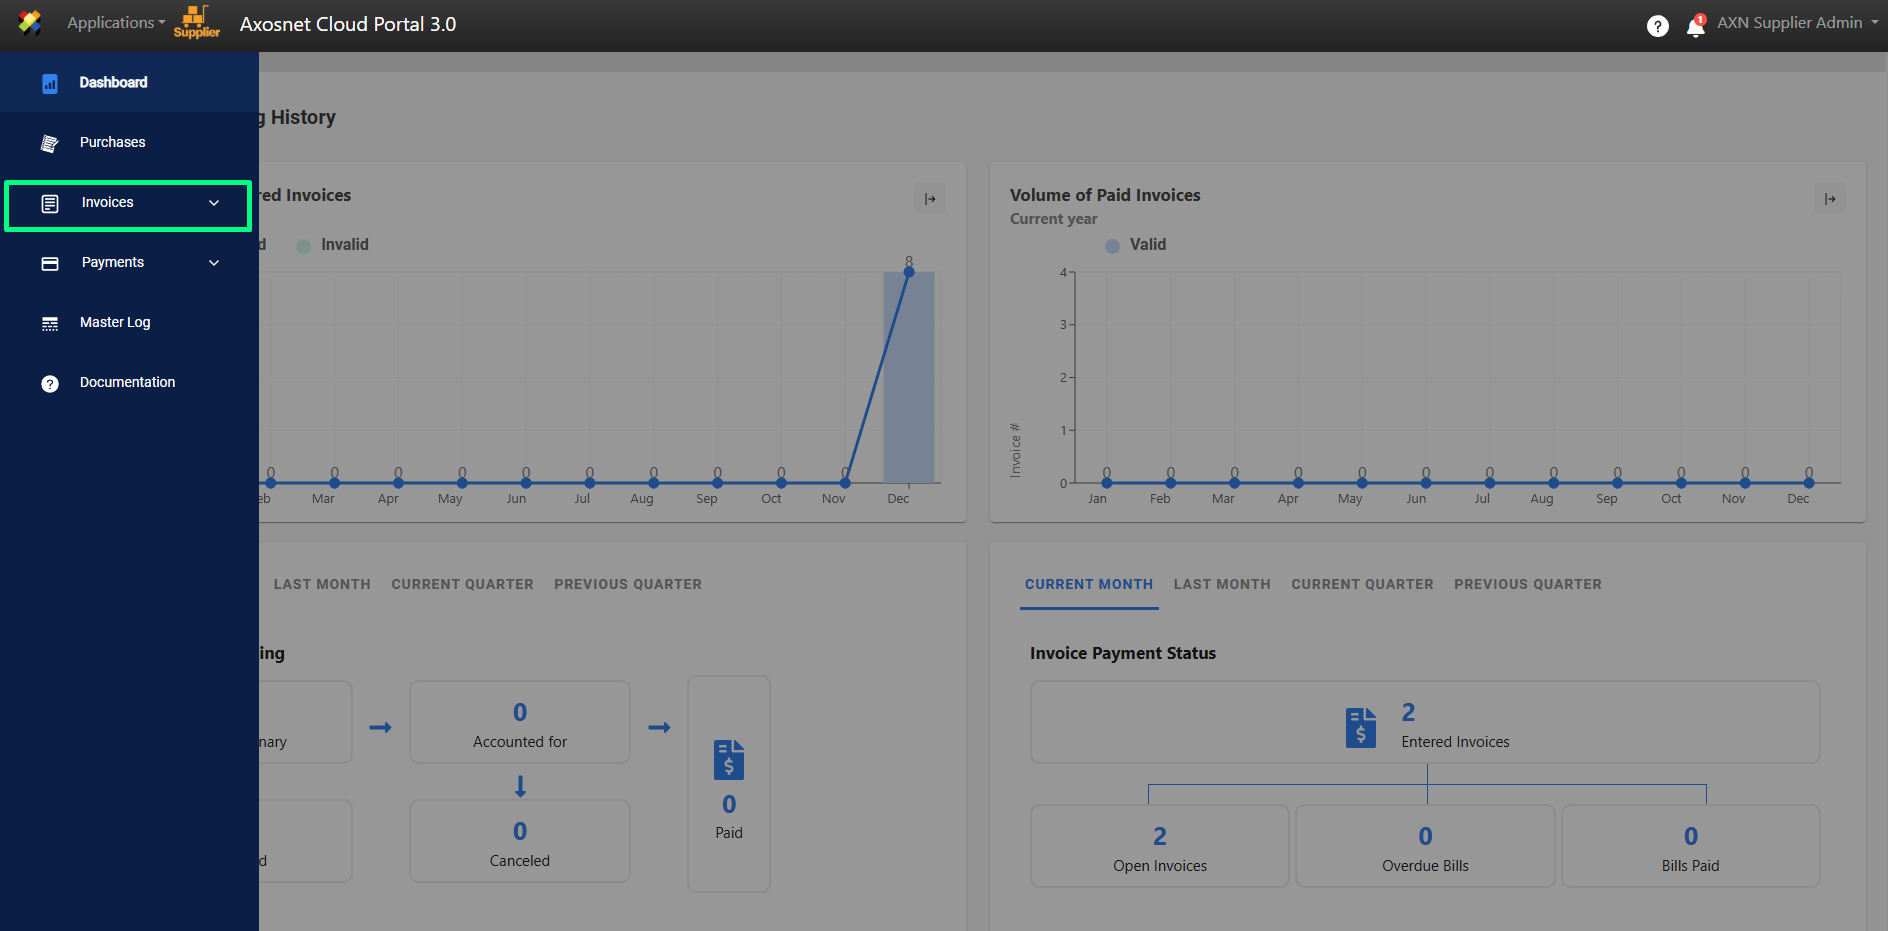
4. Select “Document Entry”.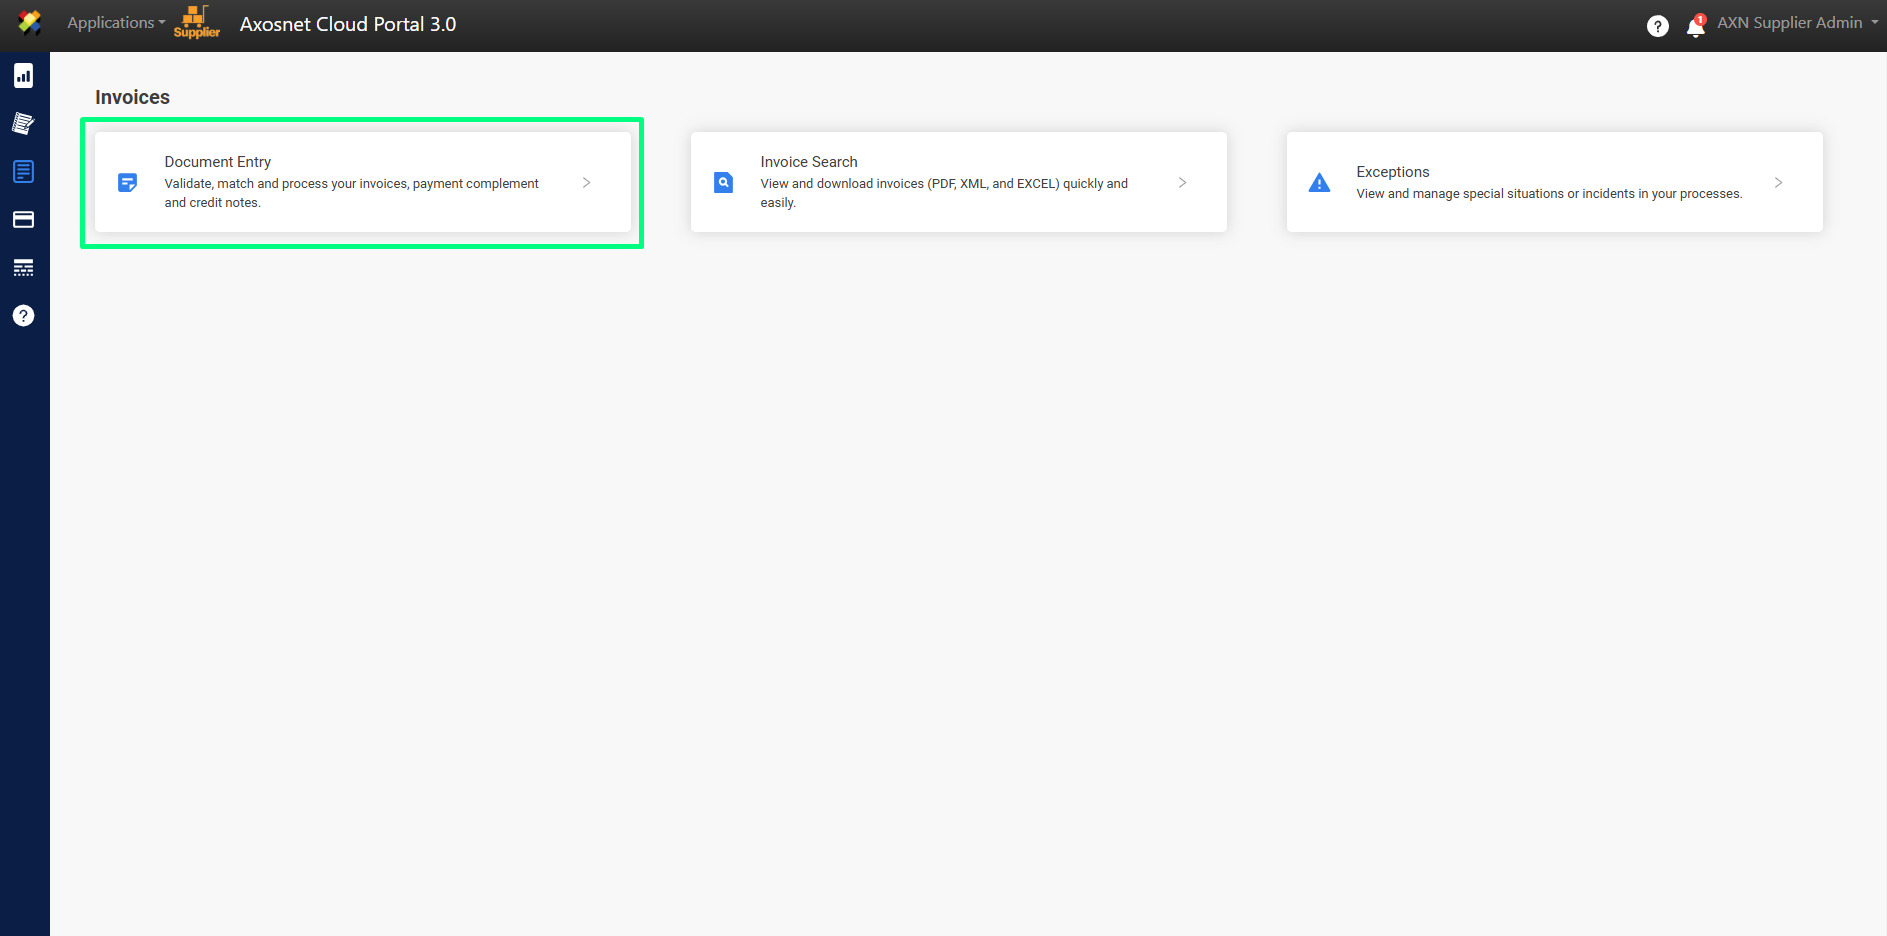
5. This screen displays the invoices that have been uploaded, click on the 🔍 icon to view the details.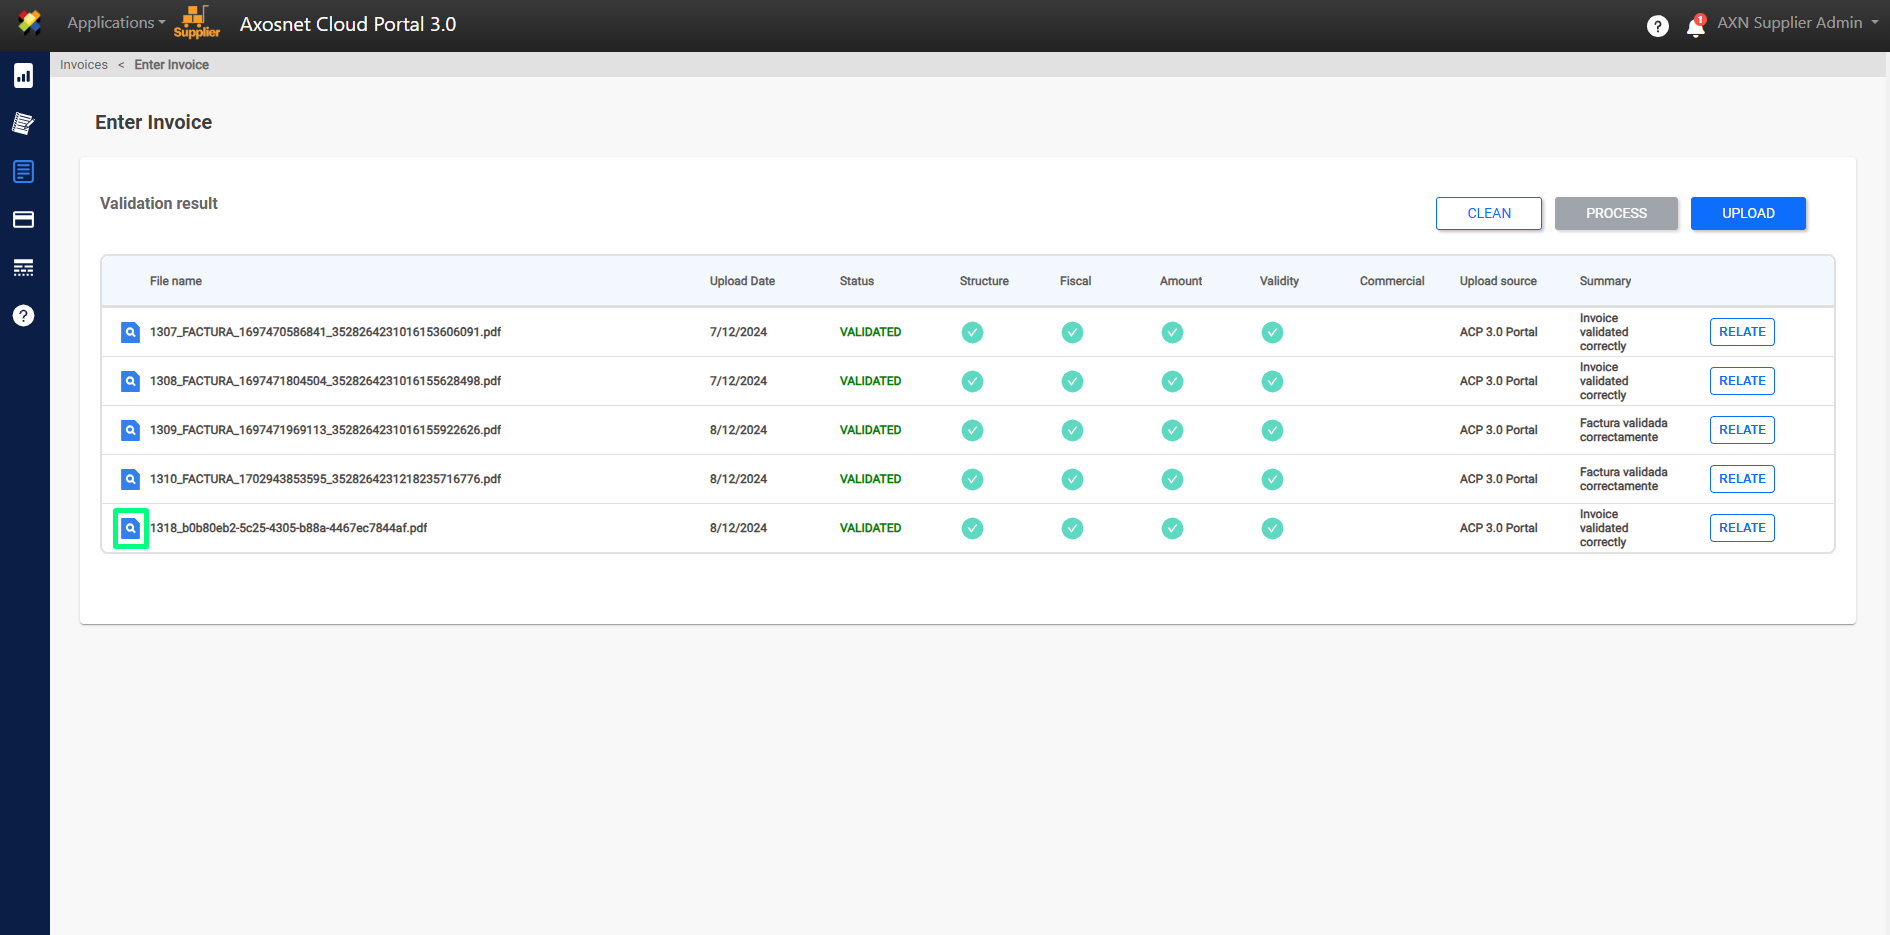
6. The itemized details are displayed, click “CLOSE” for the window.