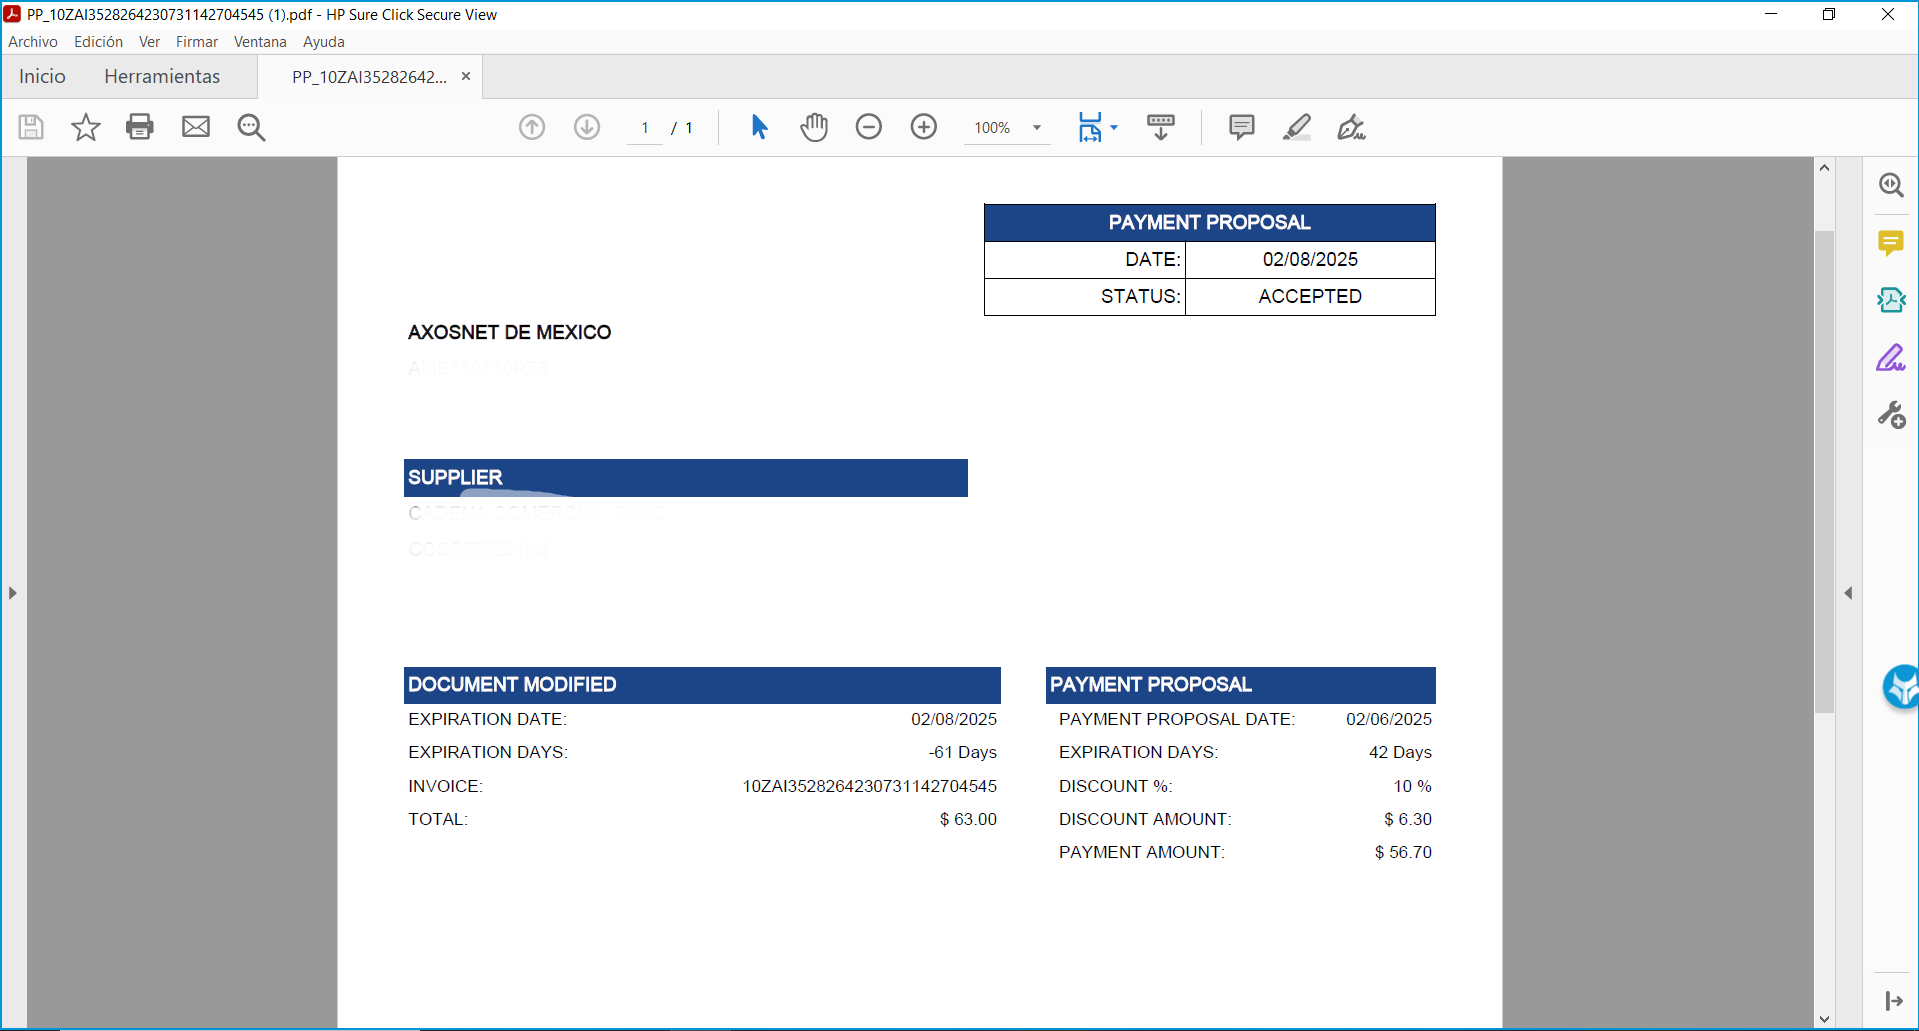
The Payments section of ACP 3 includes a process to manage an Prepayment. The Client and Supplier participate in the process as follows:
- Step 1: Client identifies viable invoices for Prepayment.
- Step 2: Client generates a Prepayment proposal in exchange for a discount.
- Step 3: Client sends proposal.
- Step 4: Supplier receives notification.
- Step 5: Supplier Accepts/Rejects proposal.
Important: This document considers the options that correspond to the Supplier Role.
How to access Prepayment?
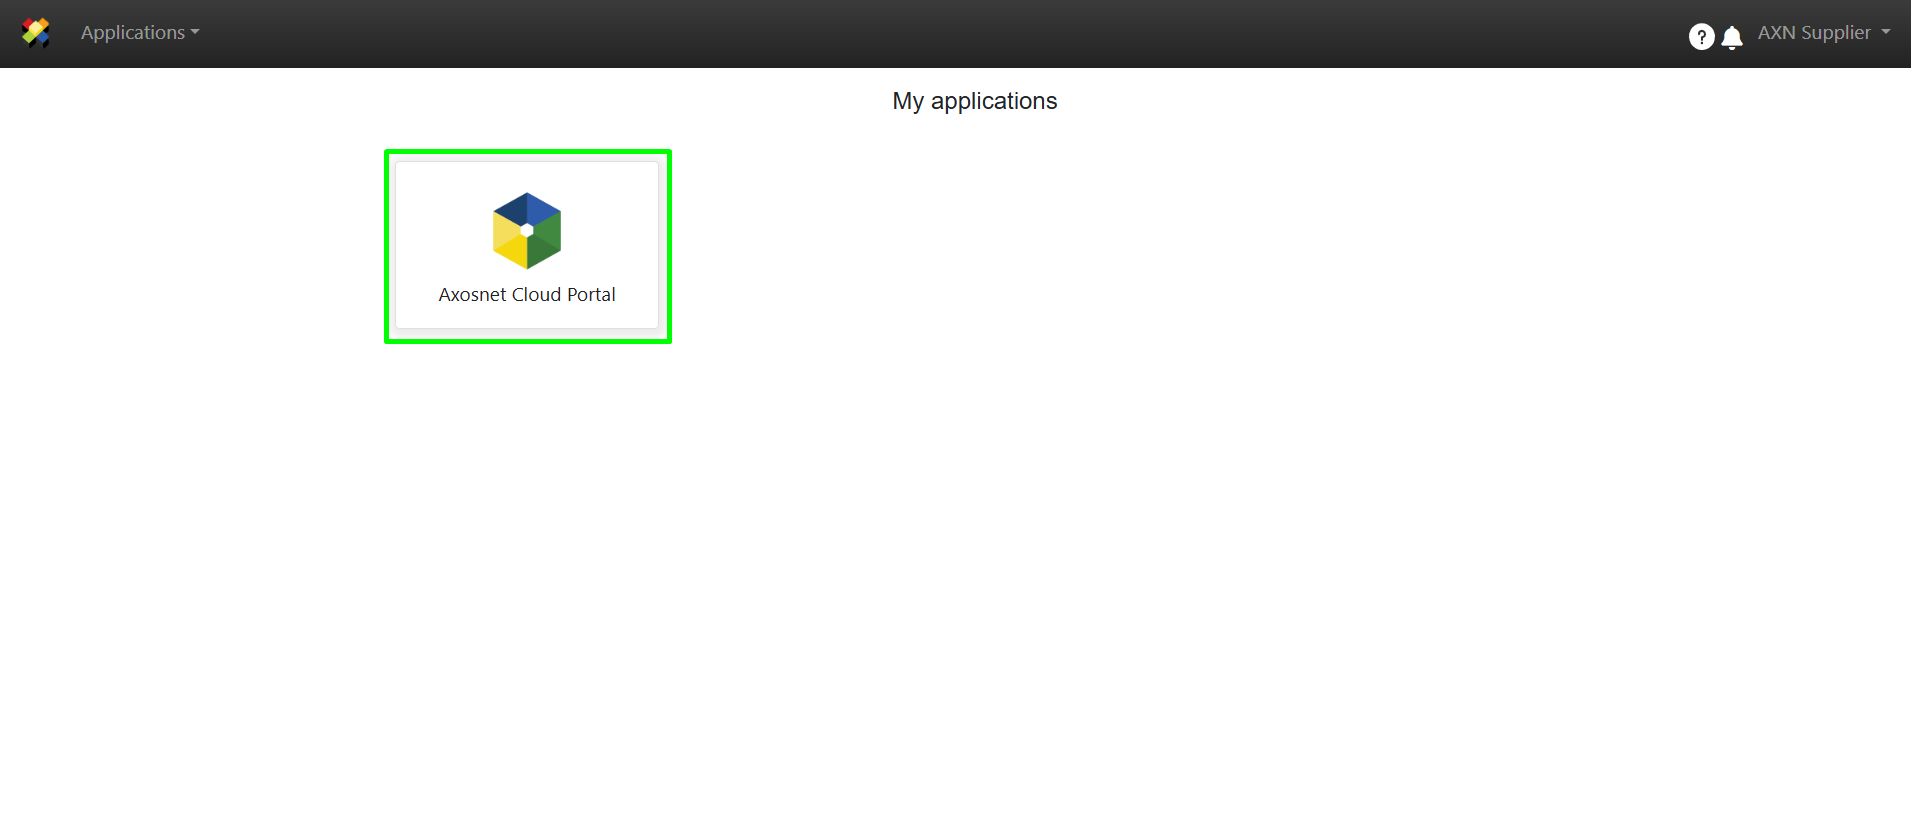
1. Enter ACS Management and select the Axosnet Cloud Portal option.
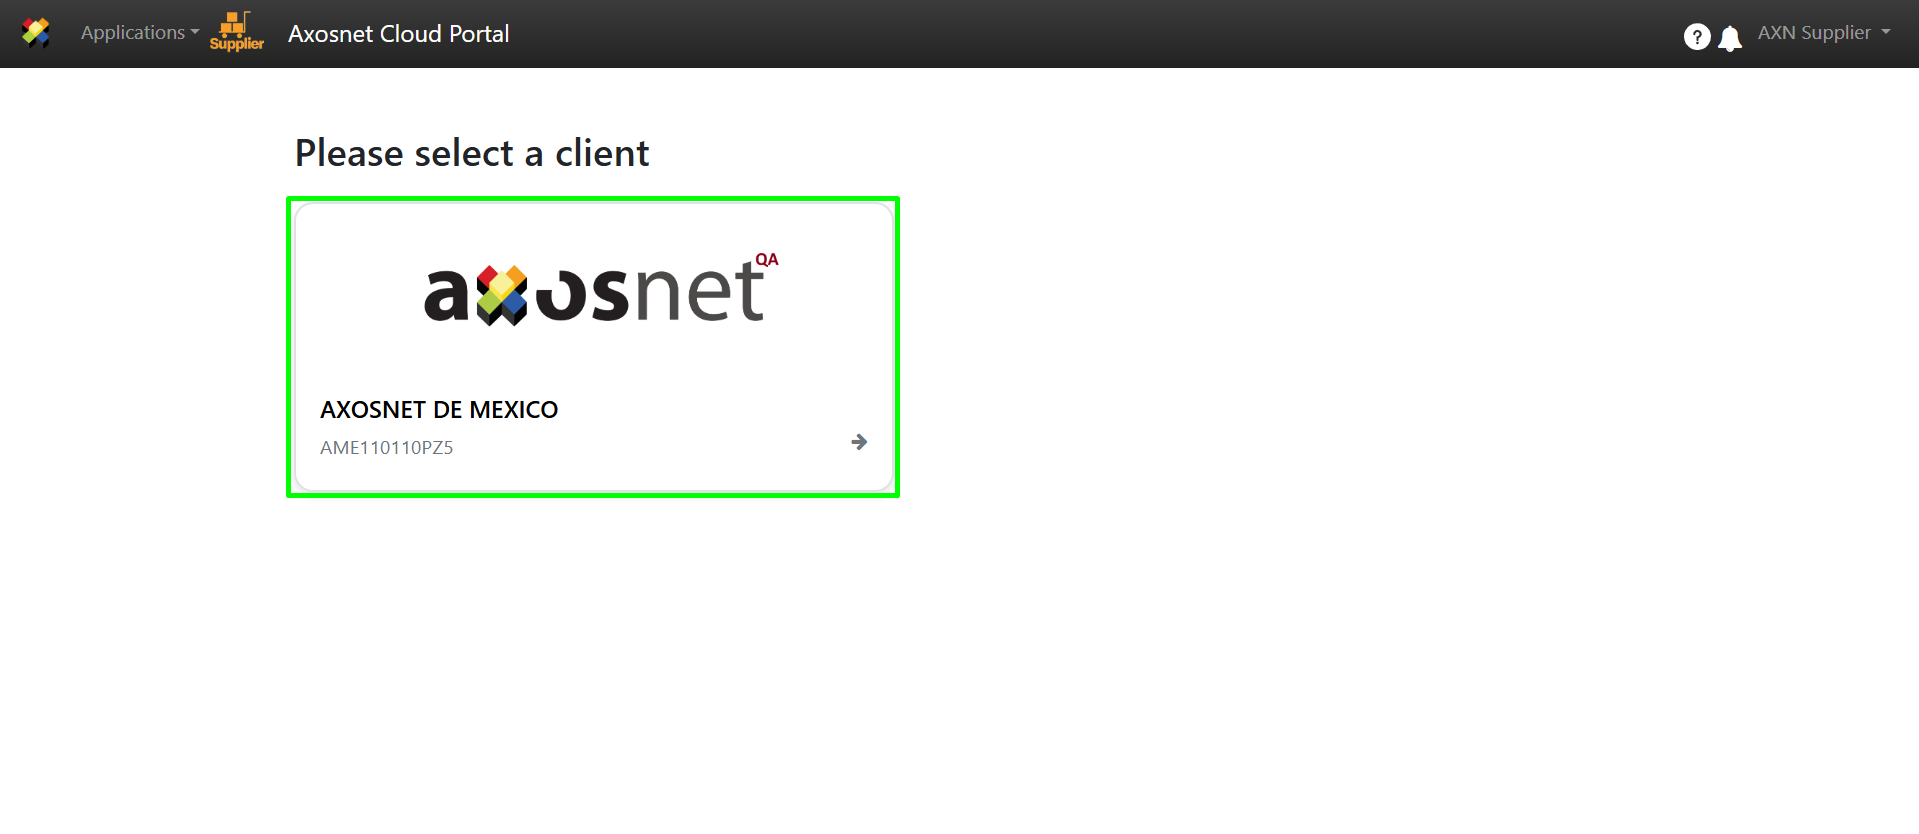
2. When entering ACP, select the client you want to work with.
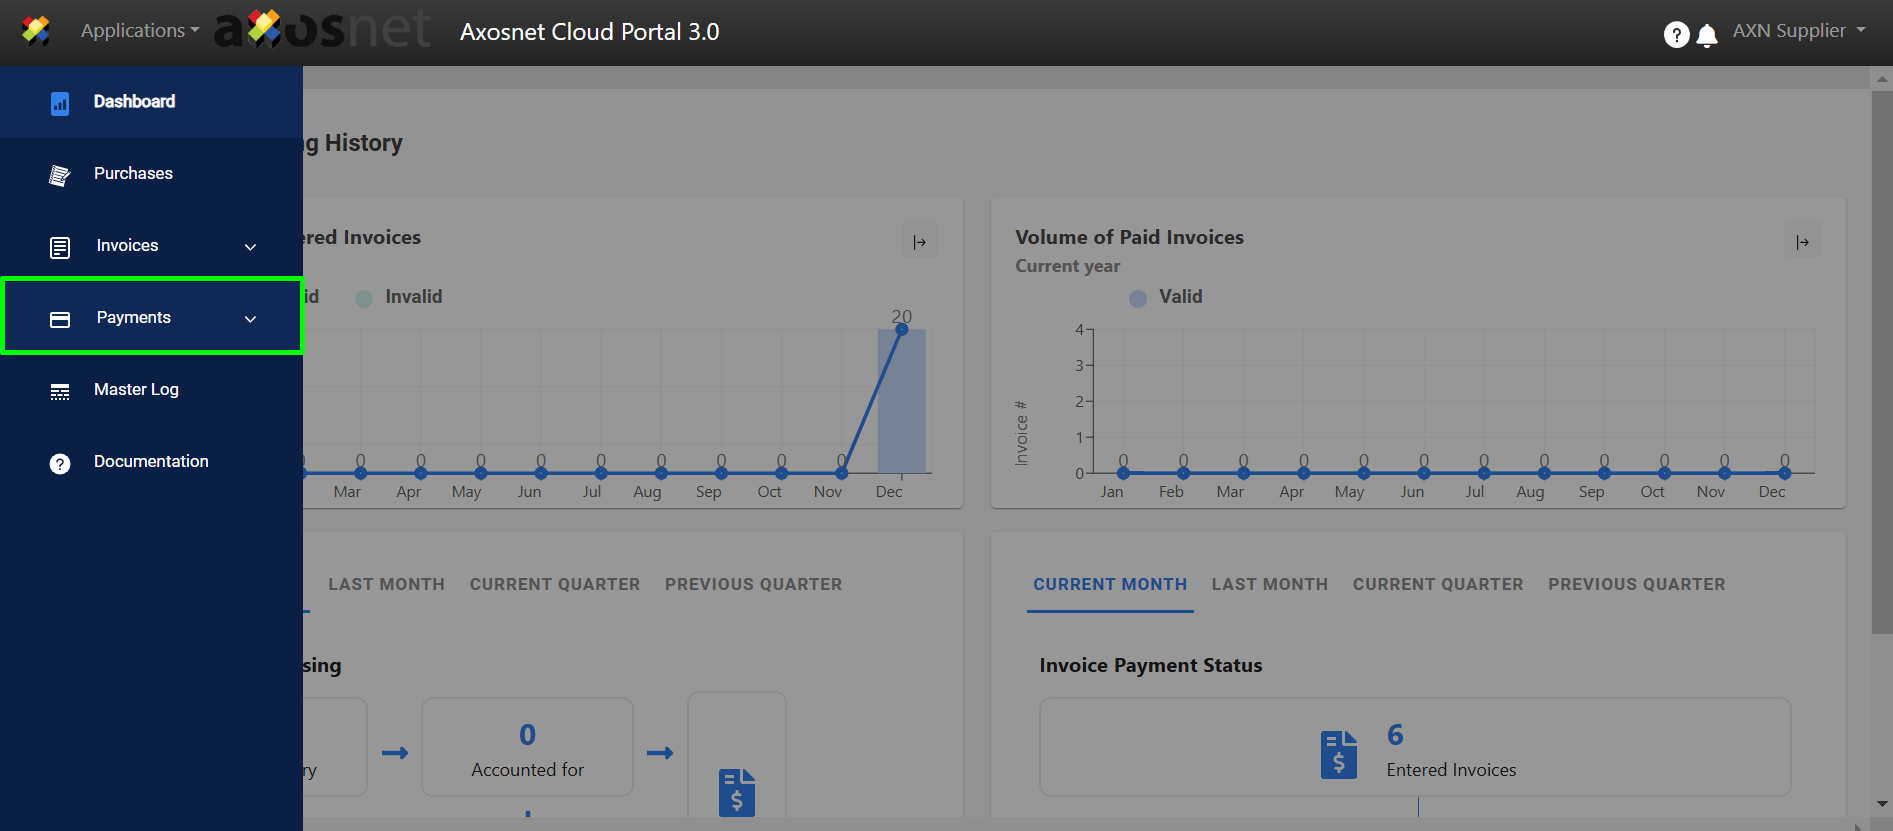
3. Within ACP 3 select the “Payments” option in the left side menu, you can click on the icon or hover over it to display the options.
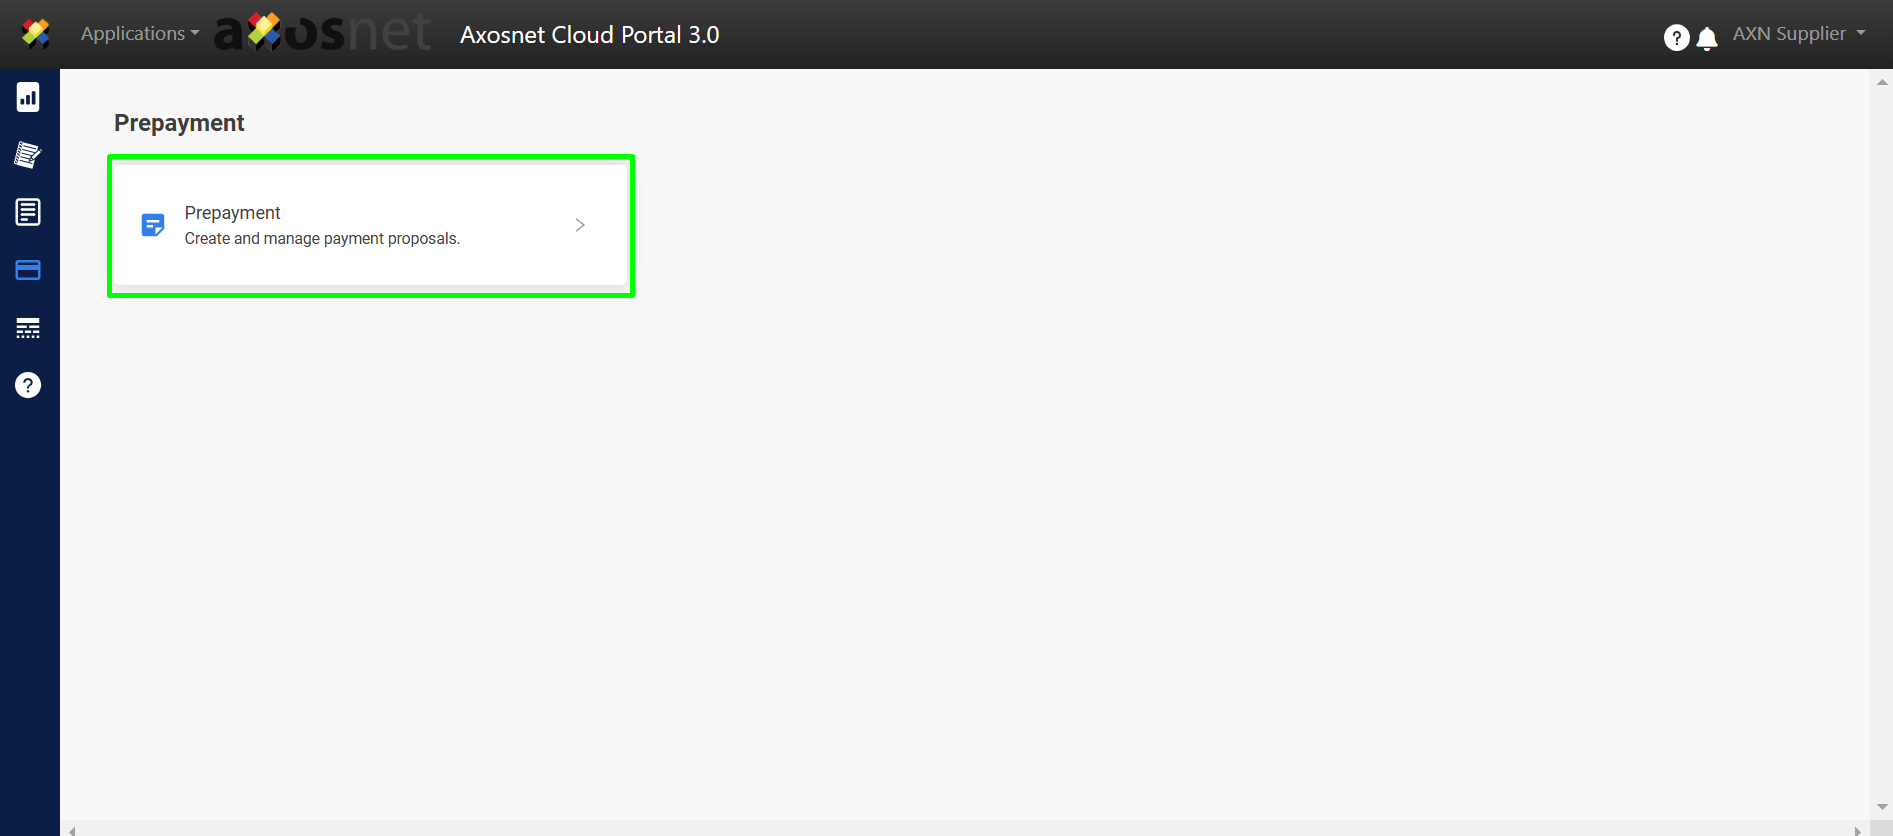
4. Select “Prepayment”.
How to Accept a Proposal?
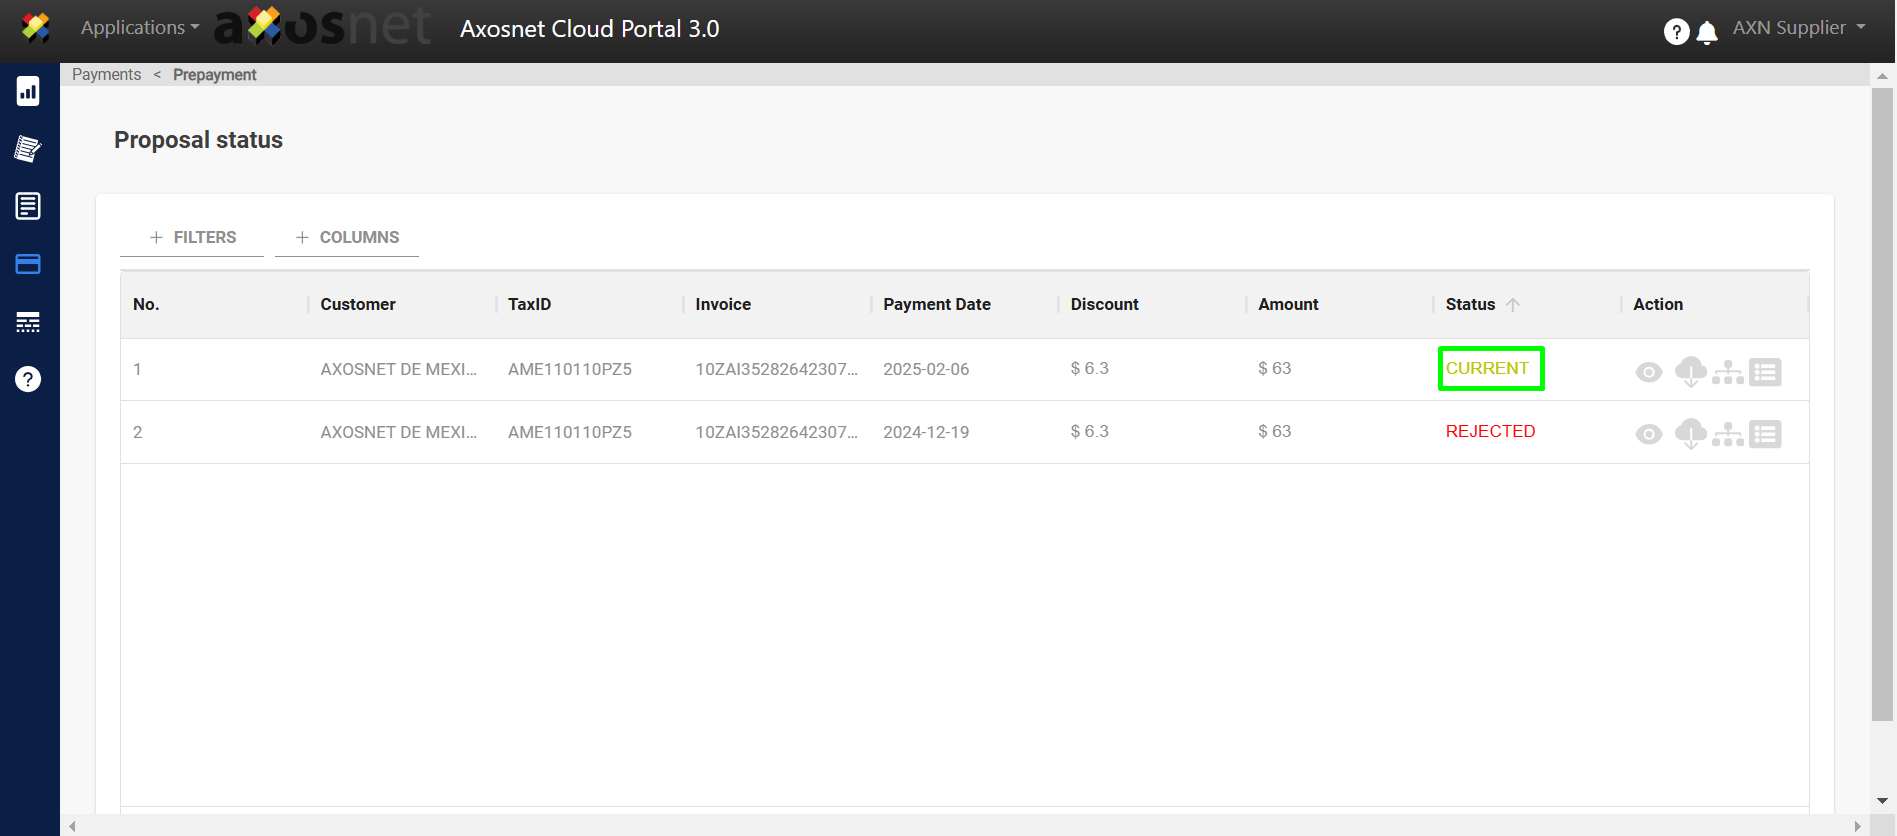
1. When entering Prepayment, the proposals are displayed and in the “Status” column you can identify as “CURRENT” the proposals that are pending to be rejected or accepted.
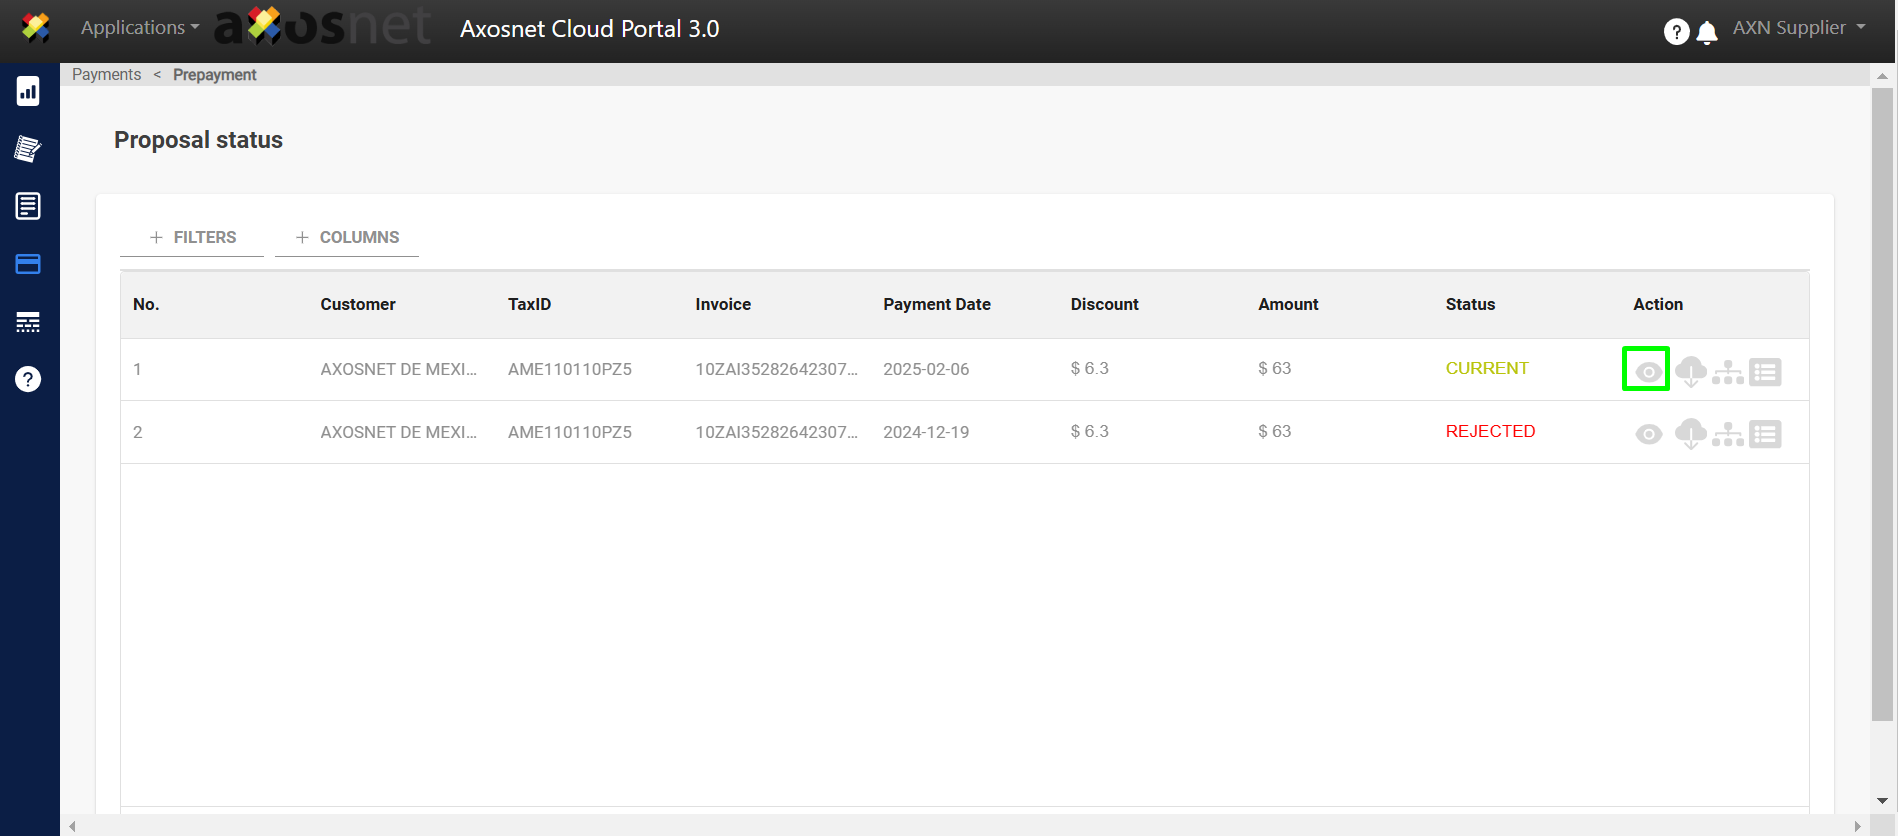
2. In the “Action” column, the 👁️ icon is displayed, which is used to view the proposal that has been made.
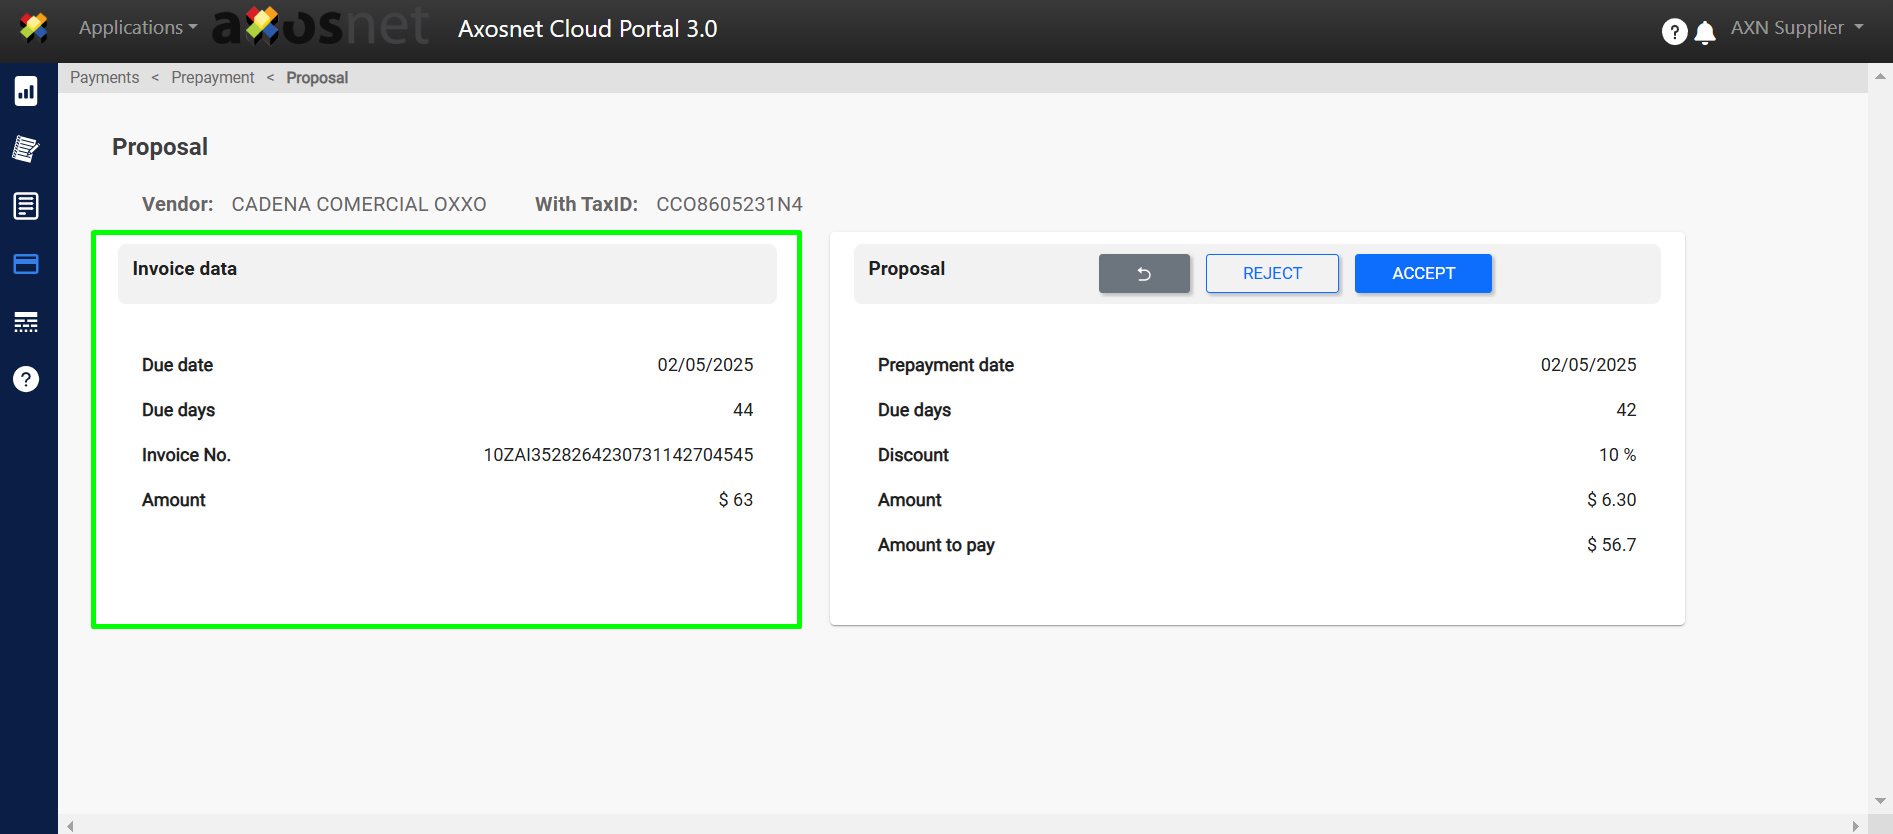
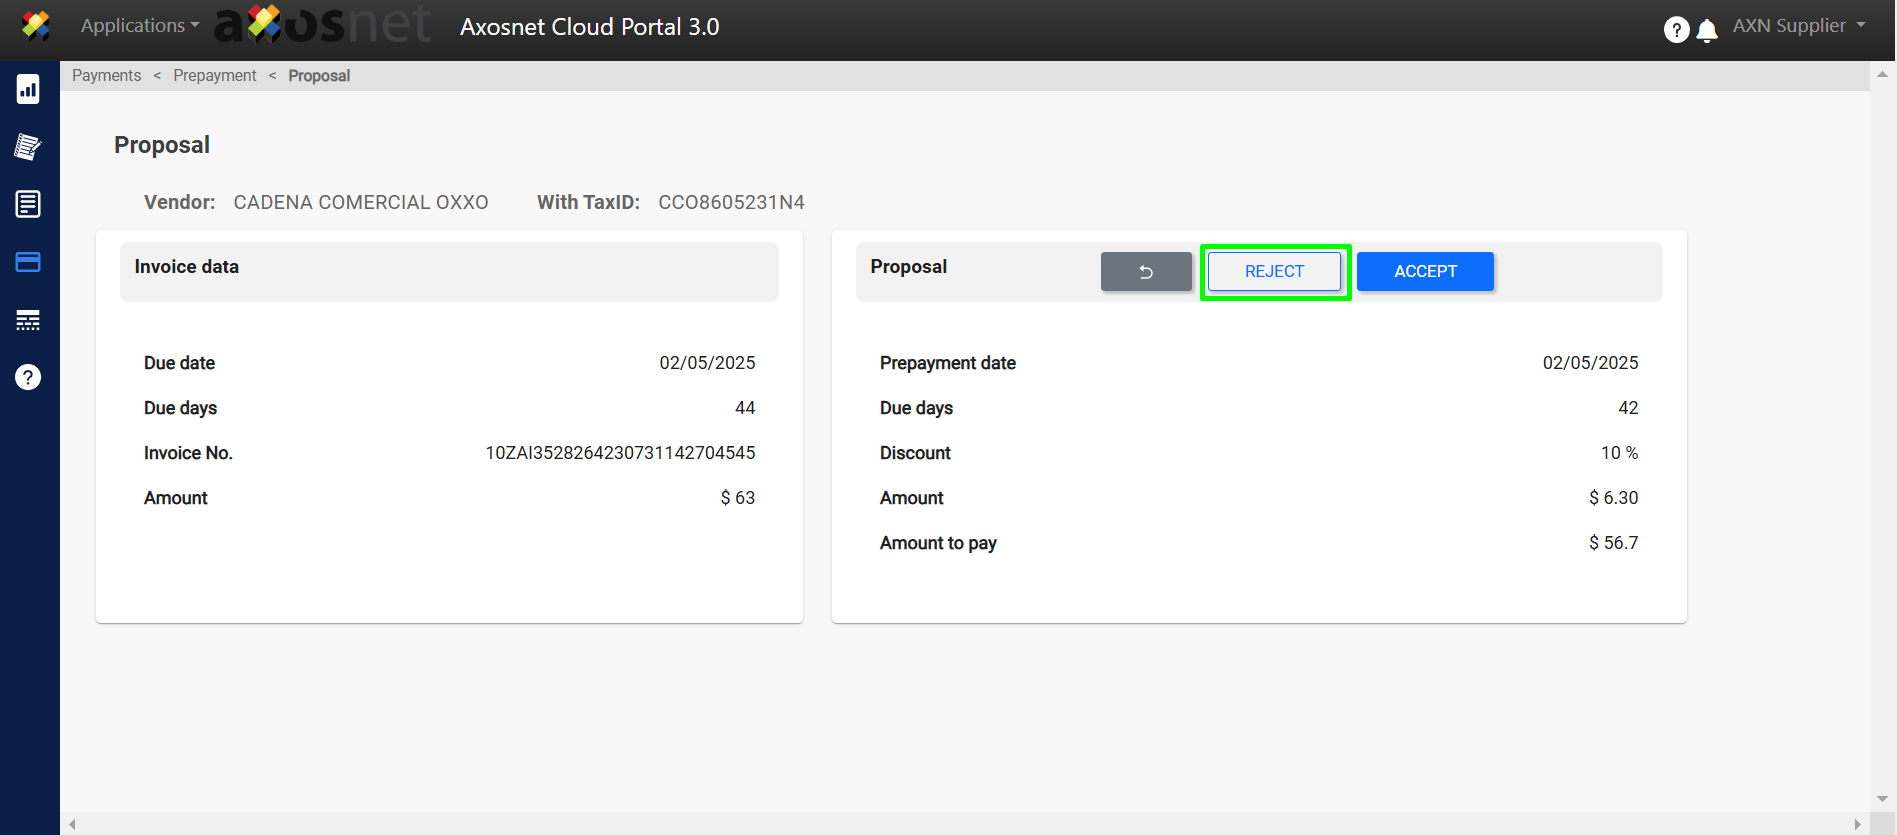
3. At the time of making the invoice, the “Invoice Data” is displayed, where the following is shown:
- Due Date
- Due days
- Invoice No.
- Amount
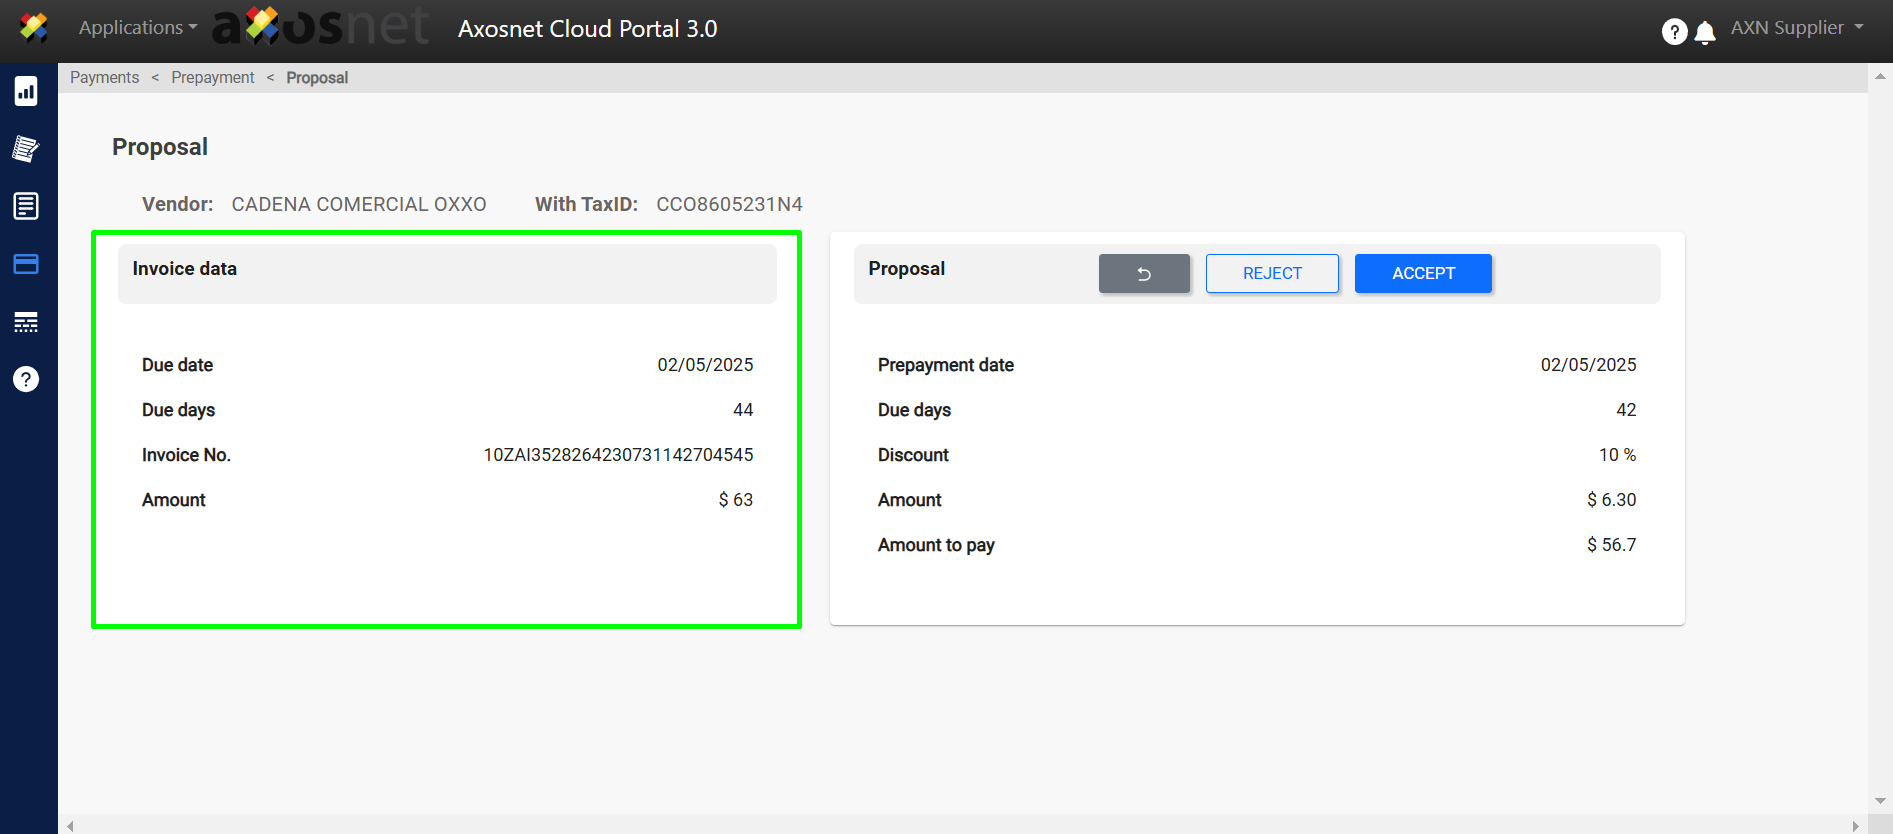
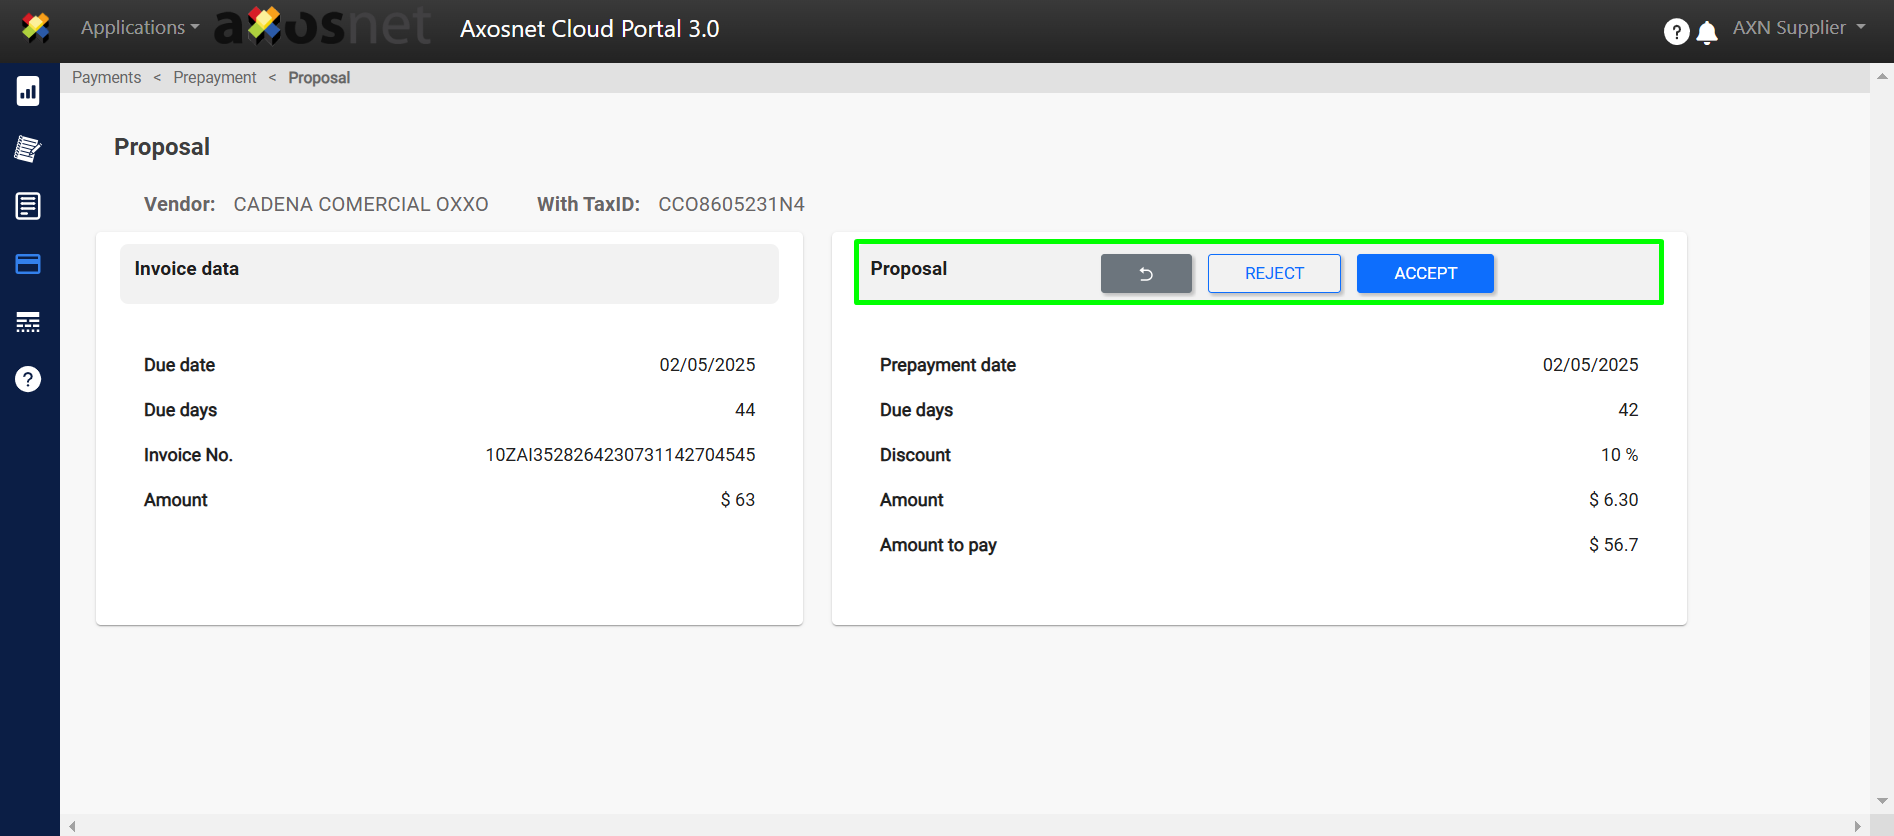
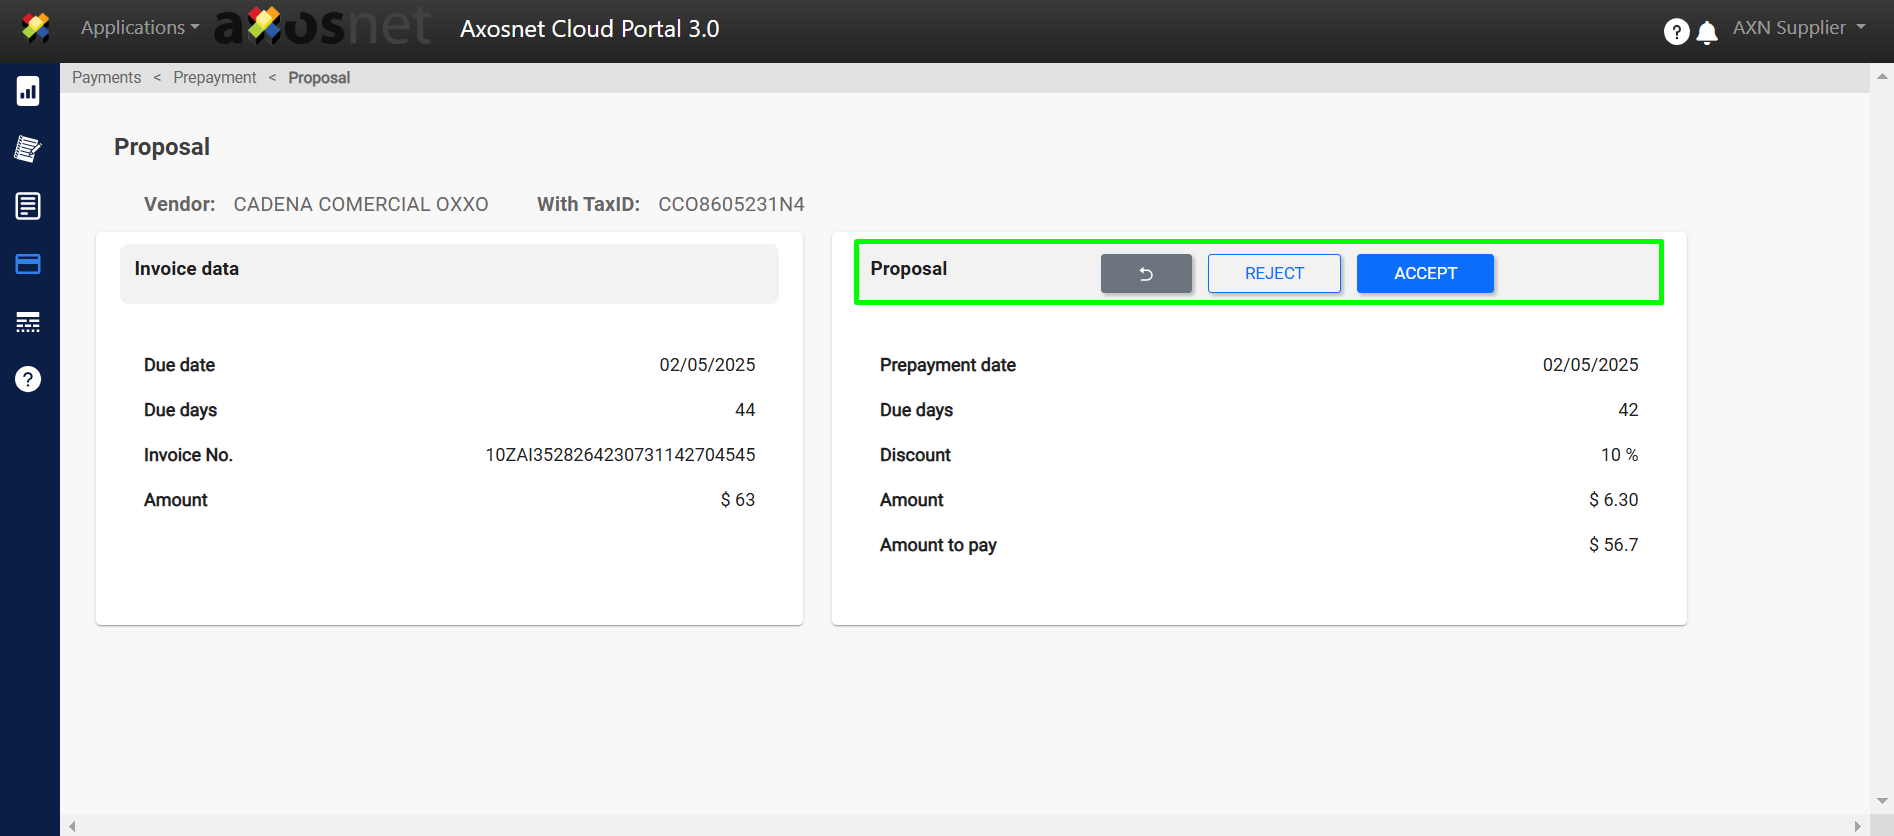
4. At the top of “Proposal” the buttons are shown
- Return ↩️
- REJECT
- ACCEPT
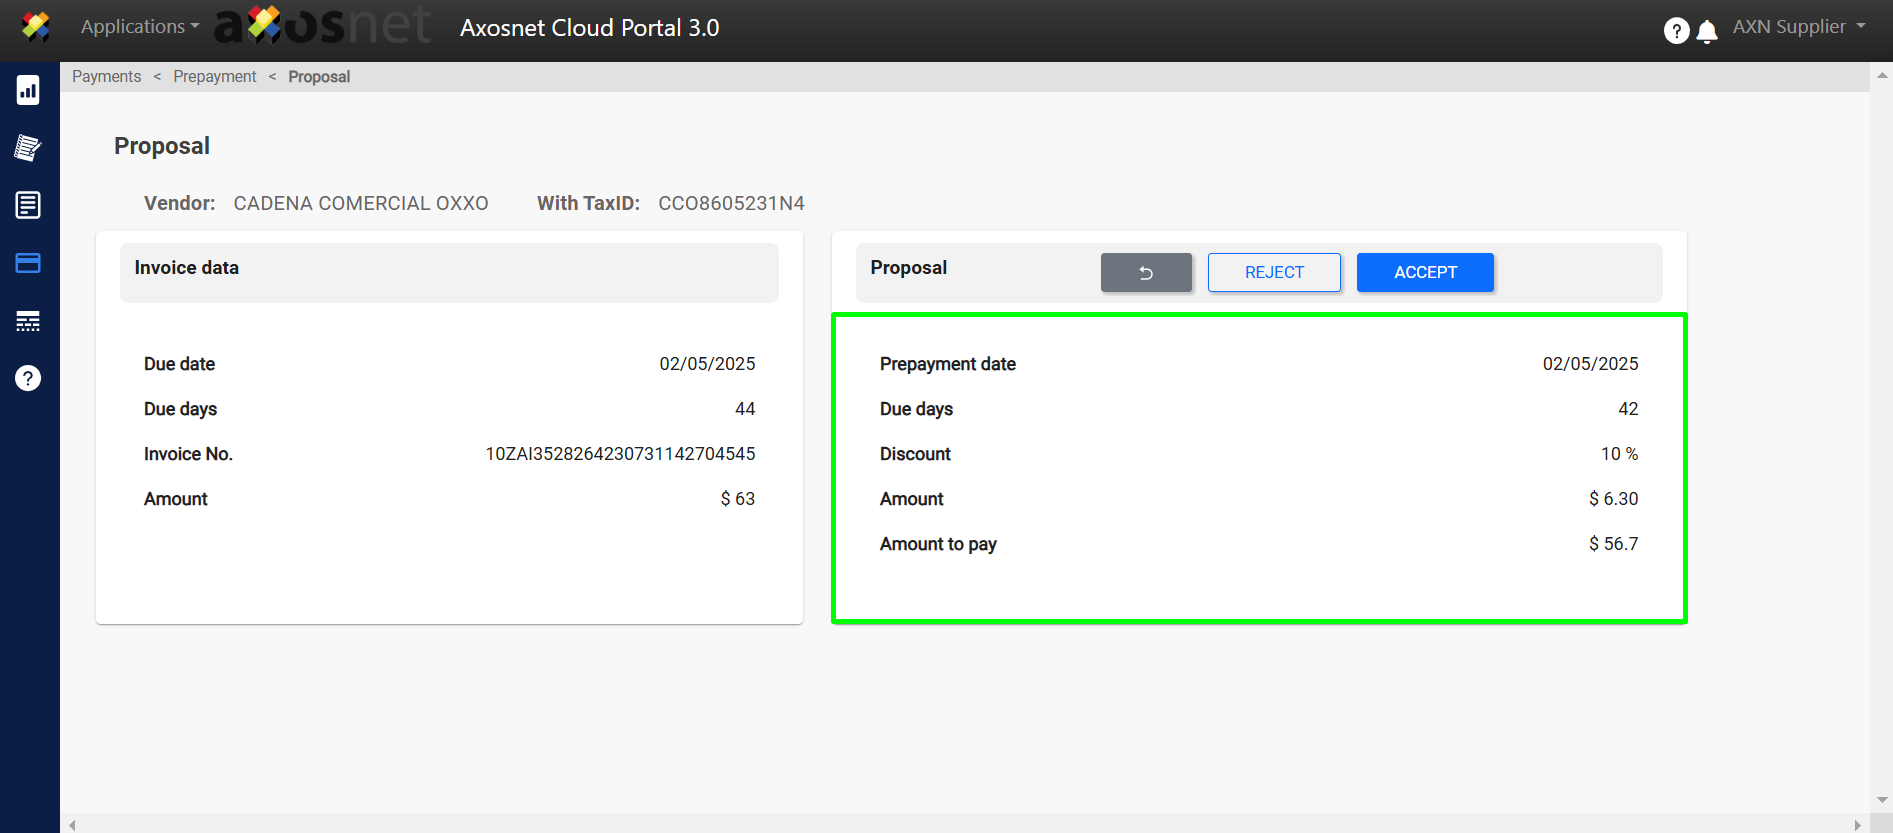
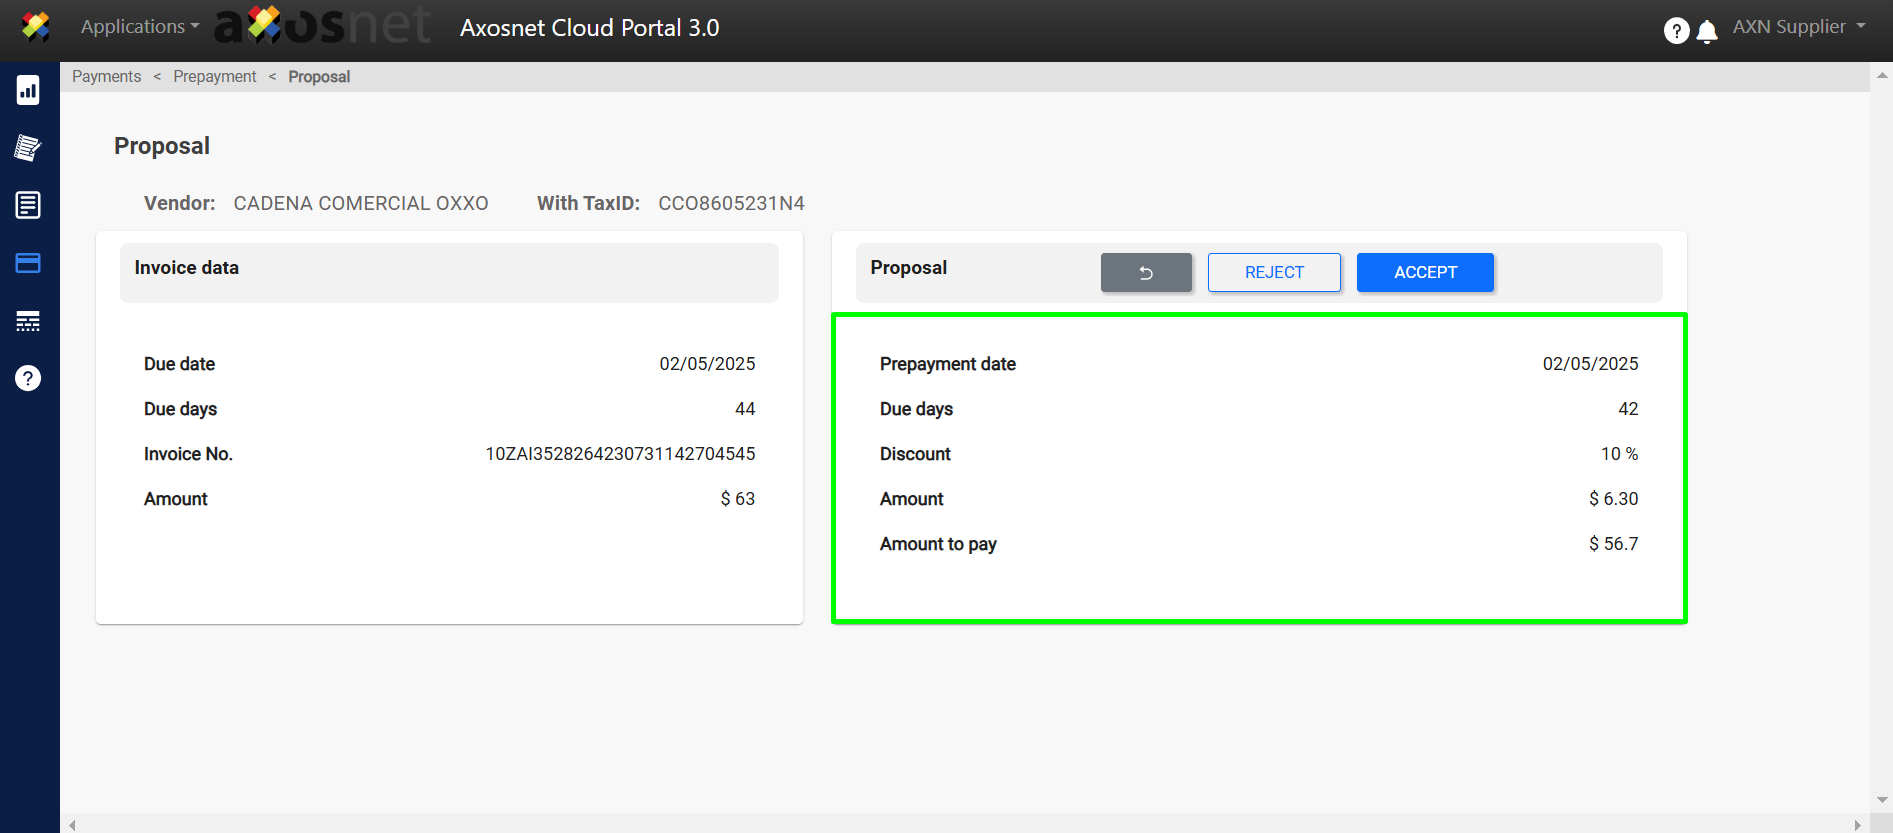
5. At the bottom of “Proposal” the following information is shown.
- Prepayment Date
- Due days
- Discount
- Amount
- Amount to Pay
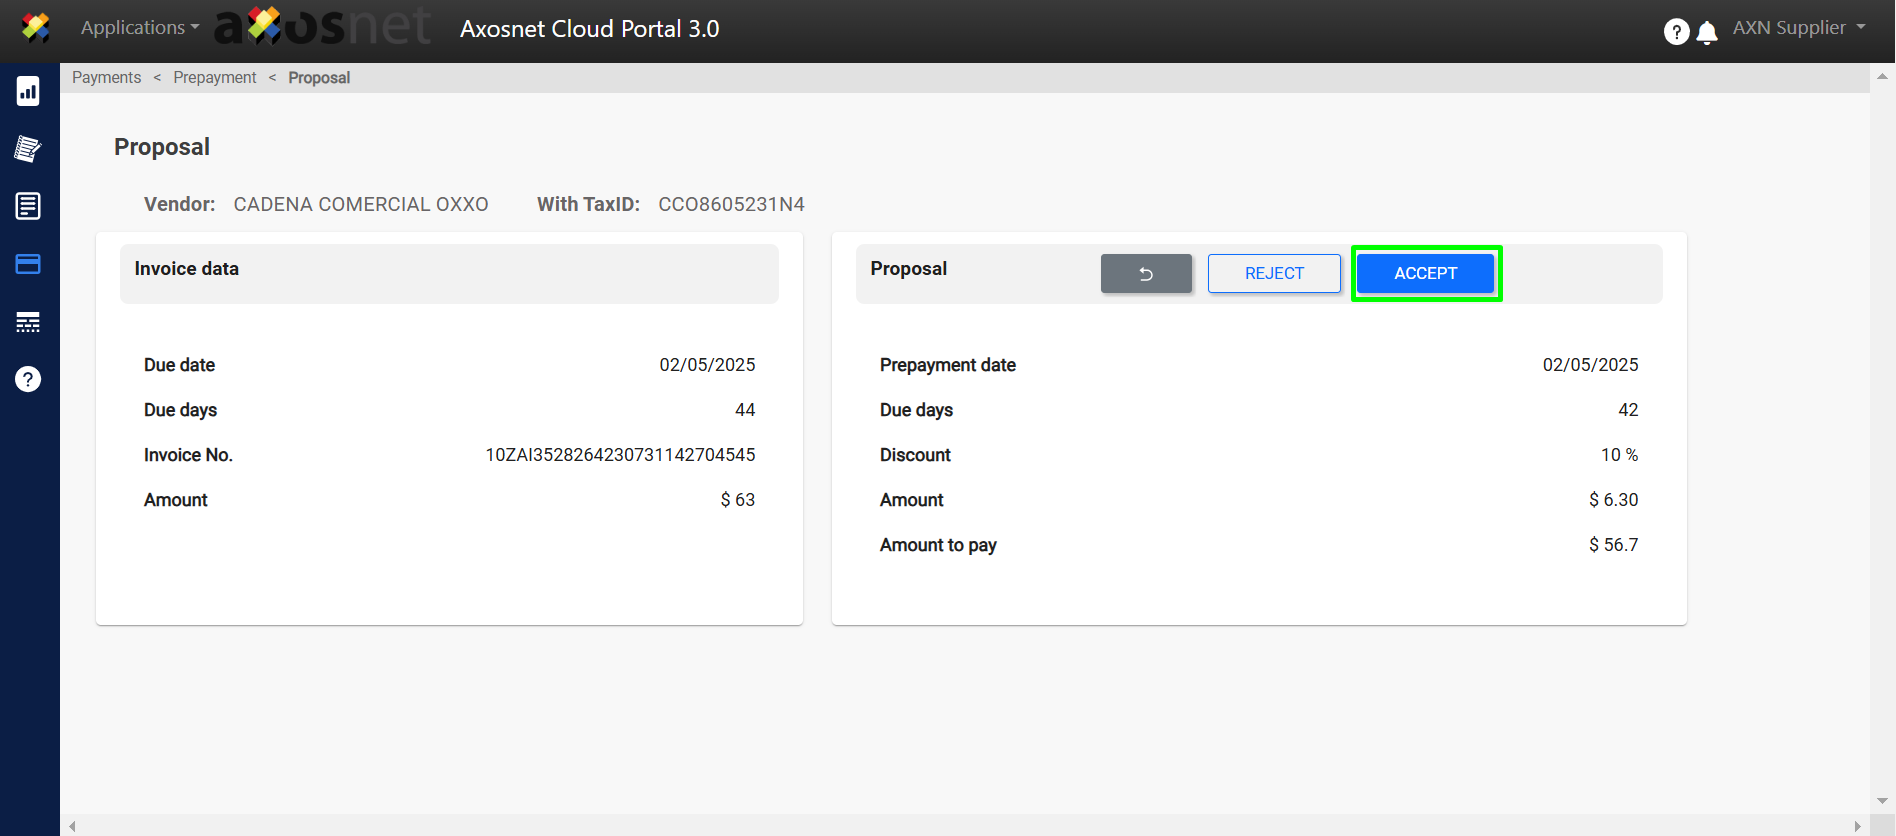
6. Click on the “ACCEPT” button if you want to finalize the proposal.
7. Confirm your response.
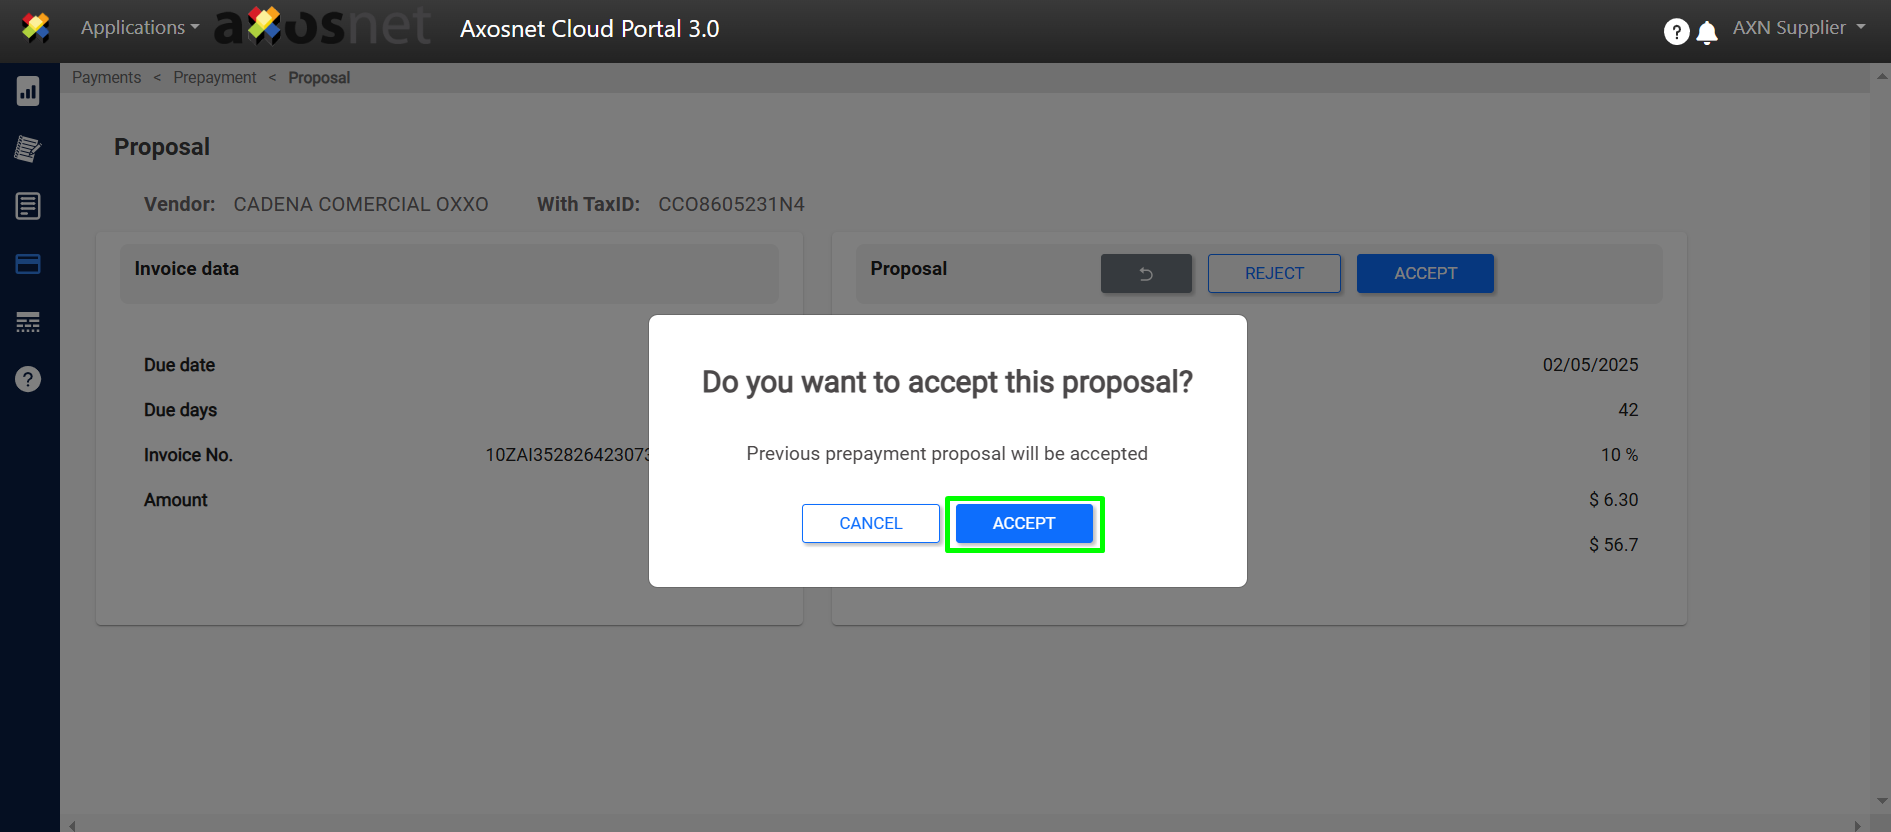
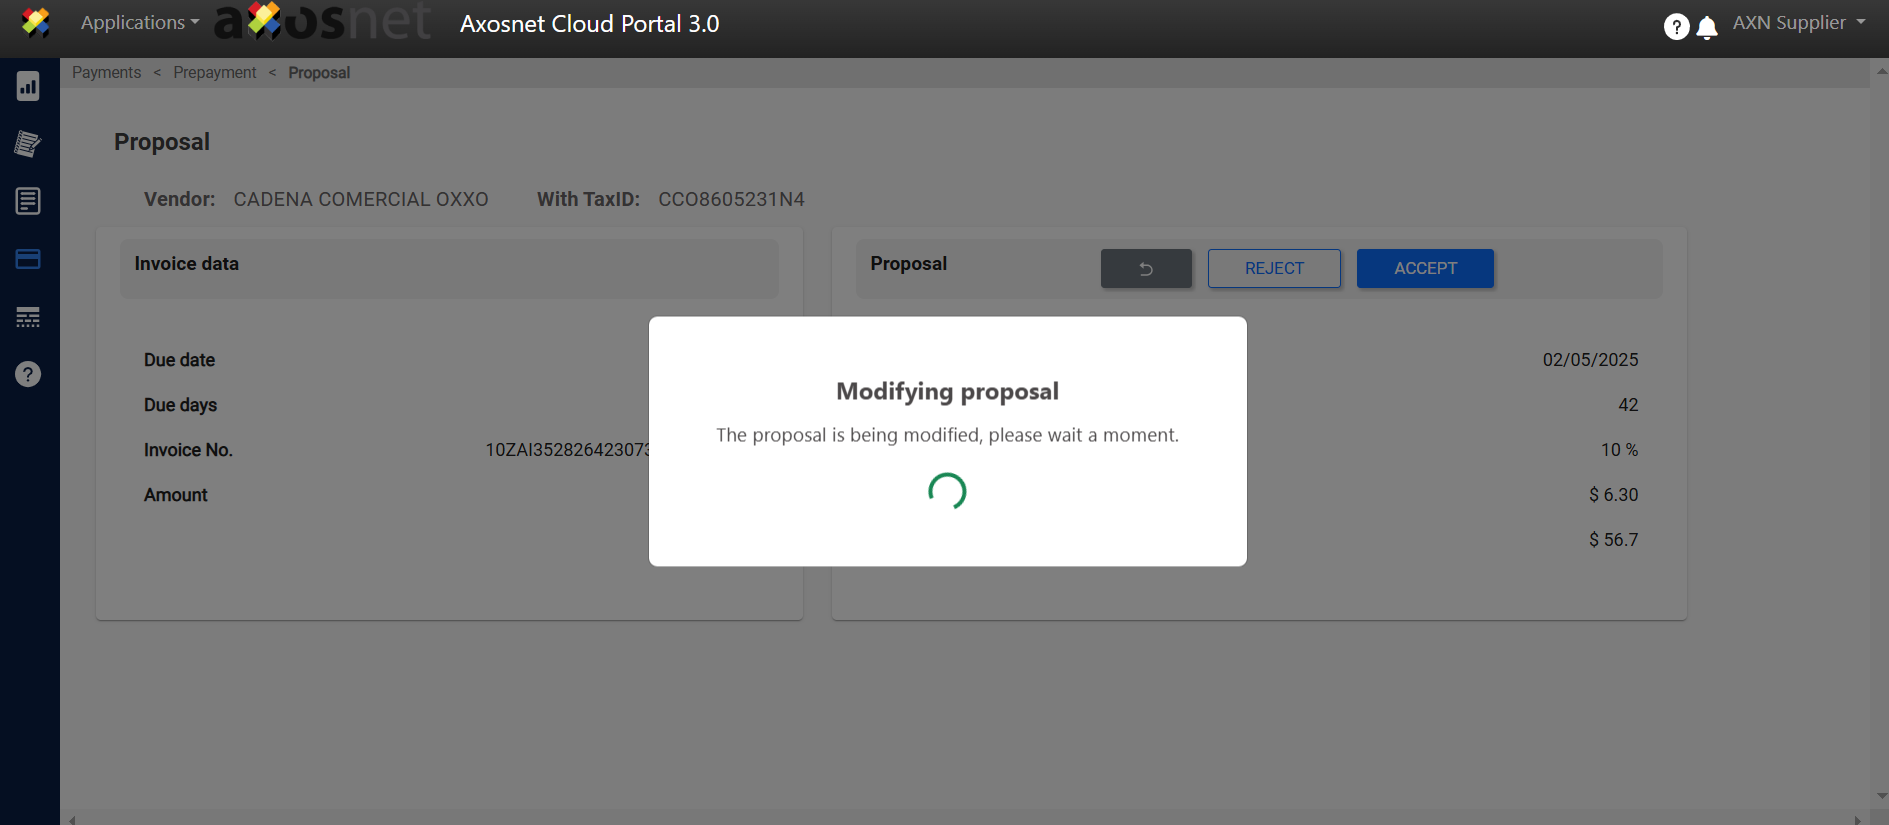
8. The proposal is accepted.
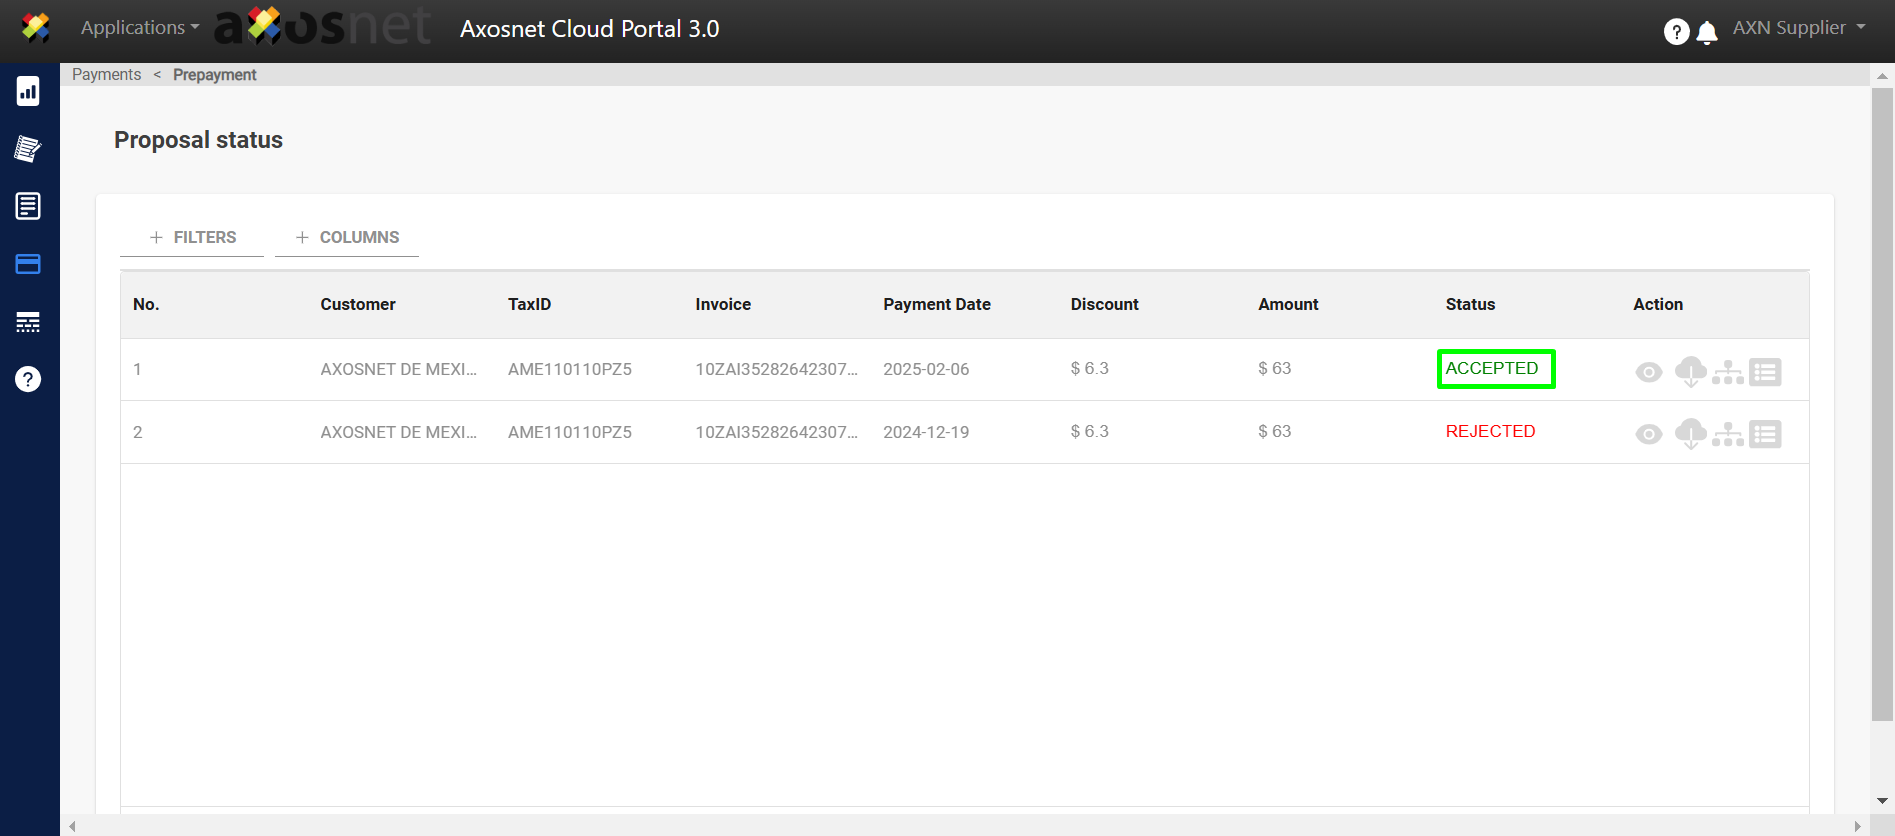
9. The proposal is now displayed with the status “ACCEPTED”.
How to Reject a Proposal?
1. When entering Prepayment, the proposals are displayed and in the “Status” column you can identify as “CURRENT” the proposals that are pending to be rejected or accepted.
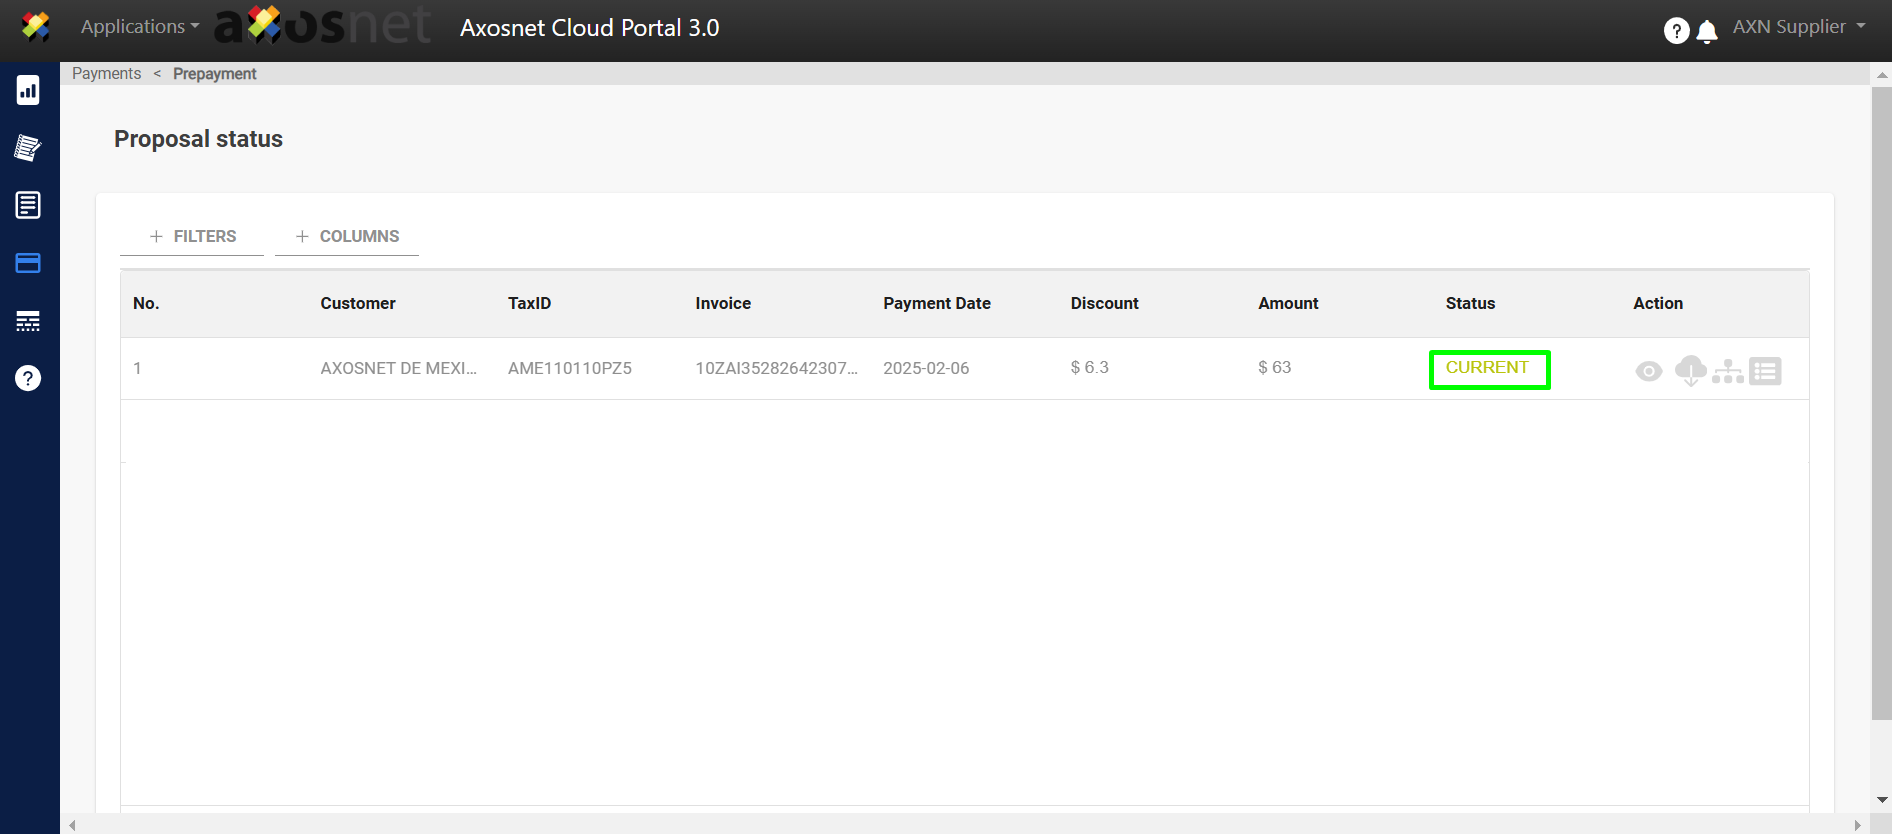
2. In the “Action” column, the 👁️ icon is displayed, which is used to view the proposal that has been made.
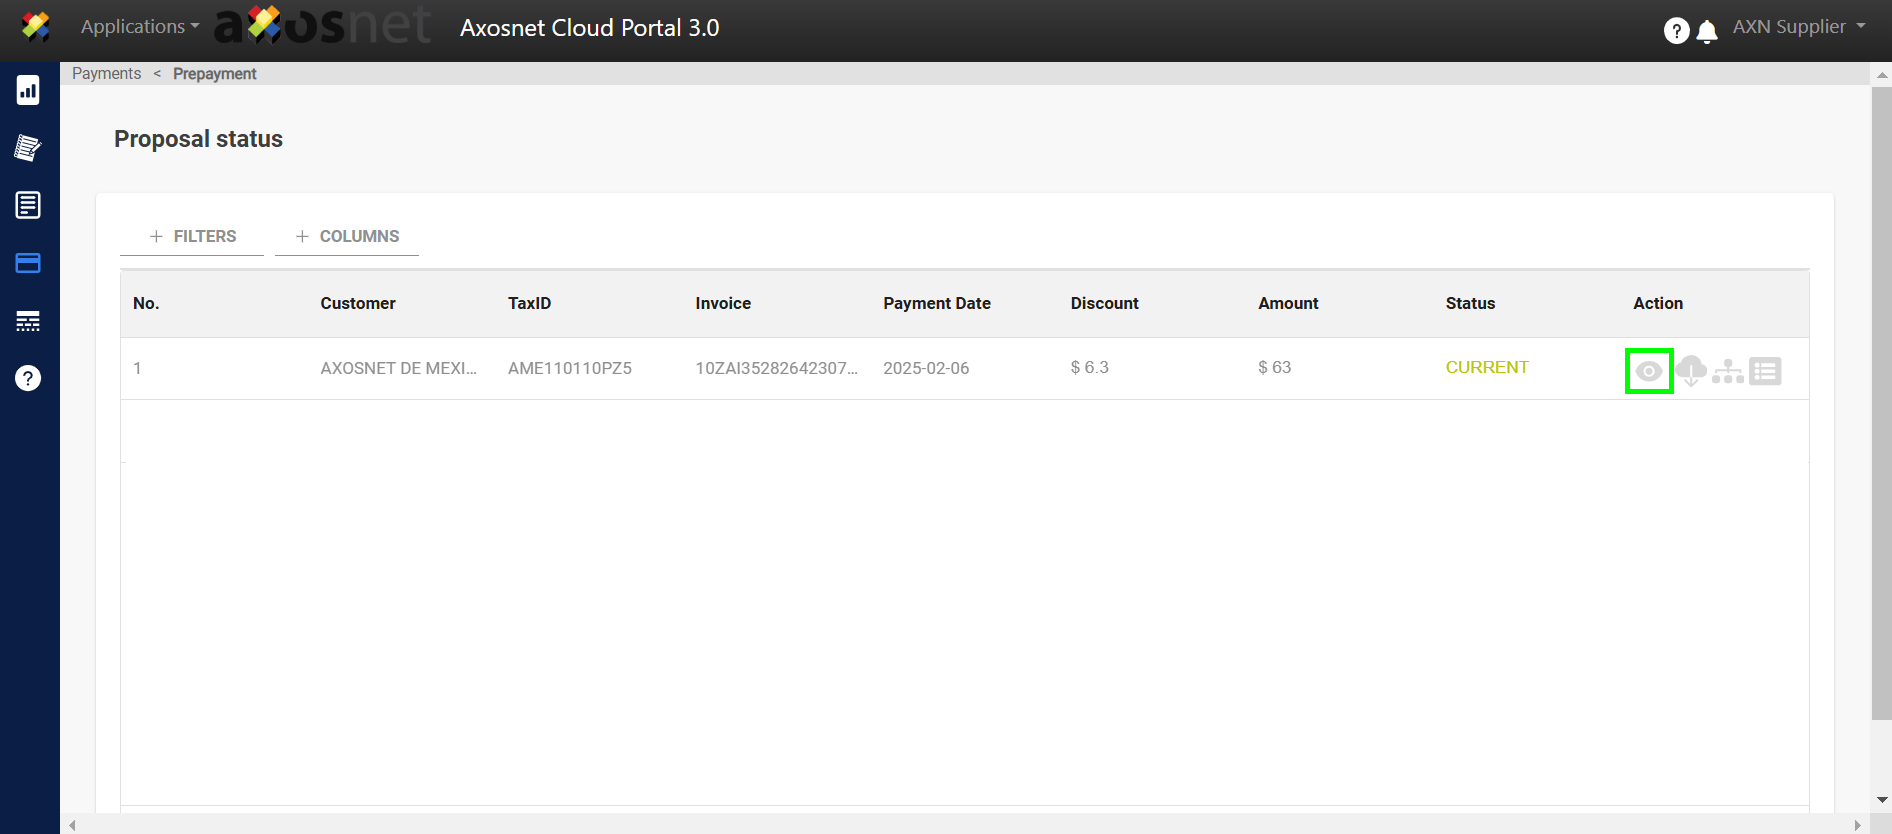
3. When making the payment, the “Invoice Data” is displayed, where the following is shown:
- Due Date
- Due days
- Invoice No.
- Amount
4. At the top of “Proposal” the buttons are displayed:
- Return ↩️
- REJECT
- ACCEPT
5. At the bottom of “Proposal” the following information is displayed.
- Date of Prepayment
- Days to due
- Discount
- Amount
- Amount to pay
6. Click on the “REJECT” button if you wish.
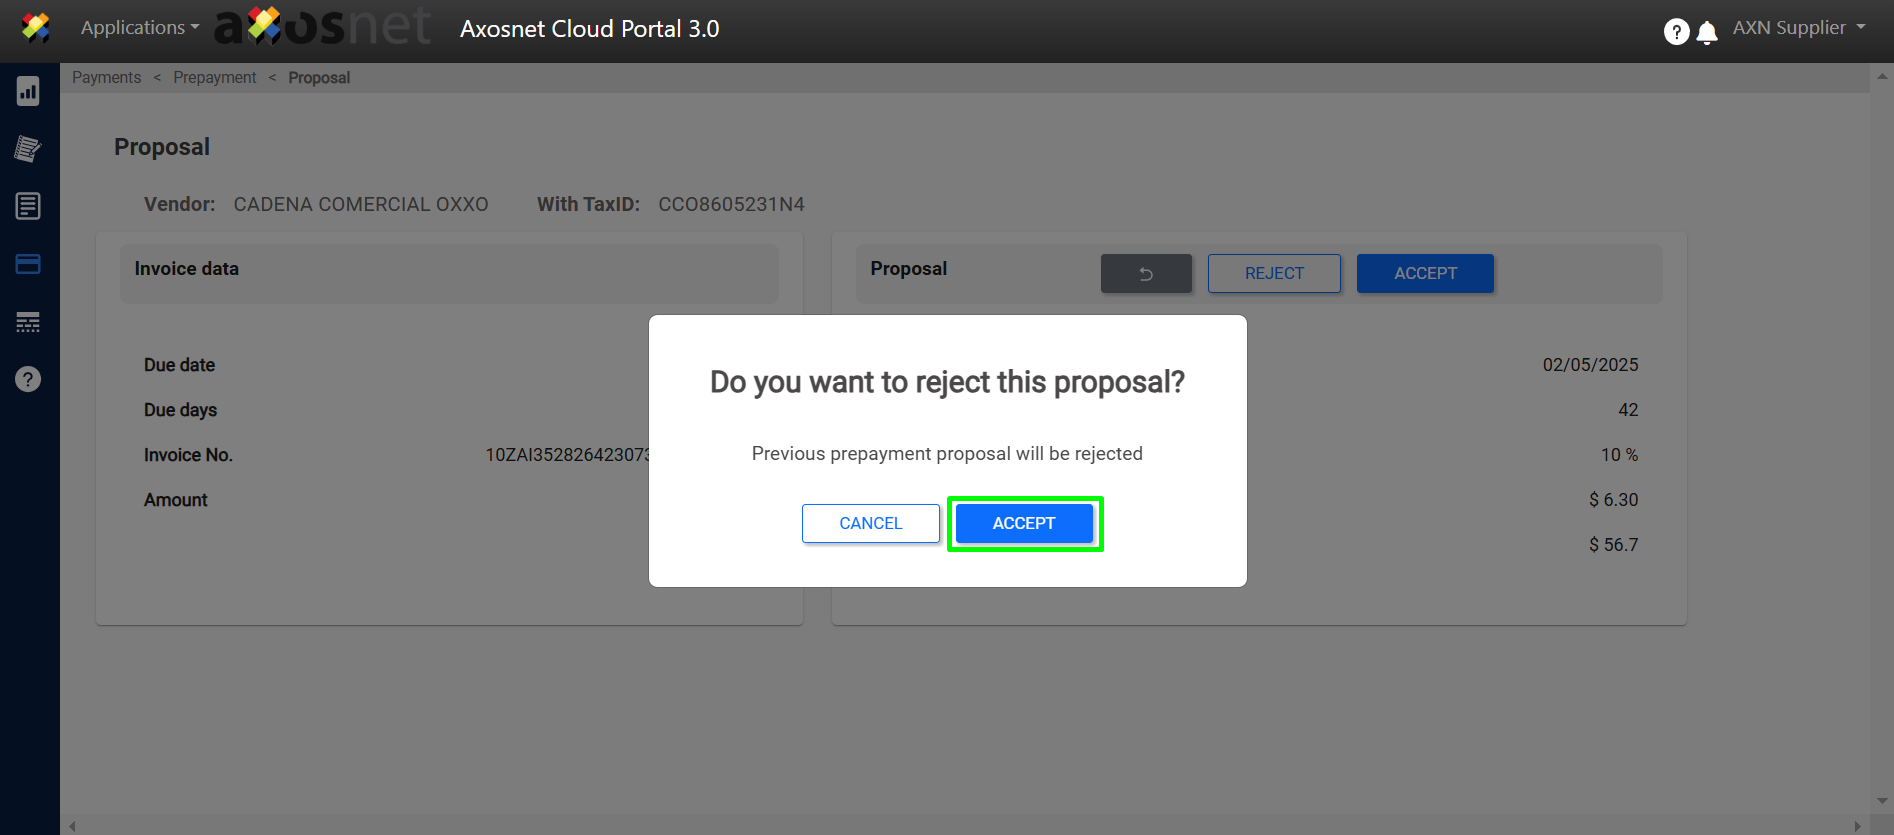
7. Confirm your response.
8. The proposal has been rejected.
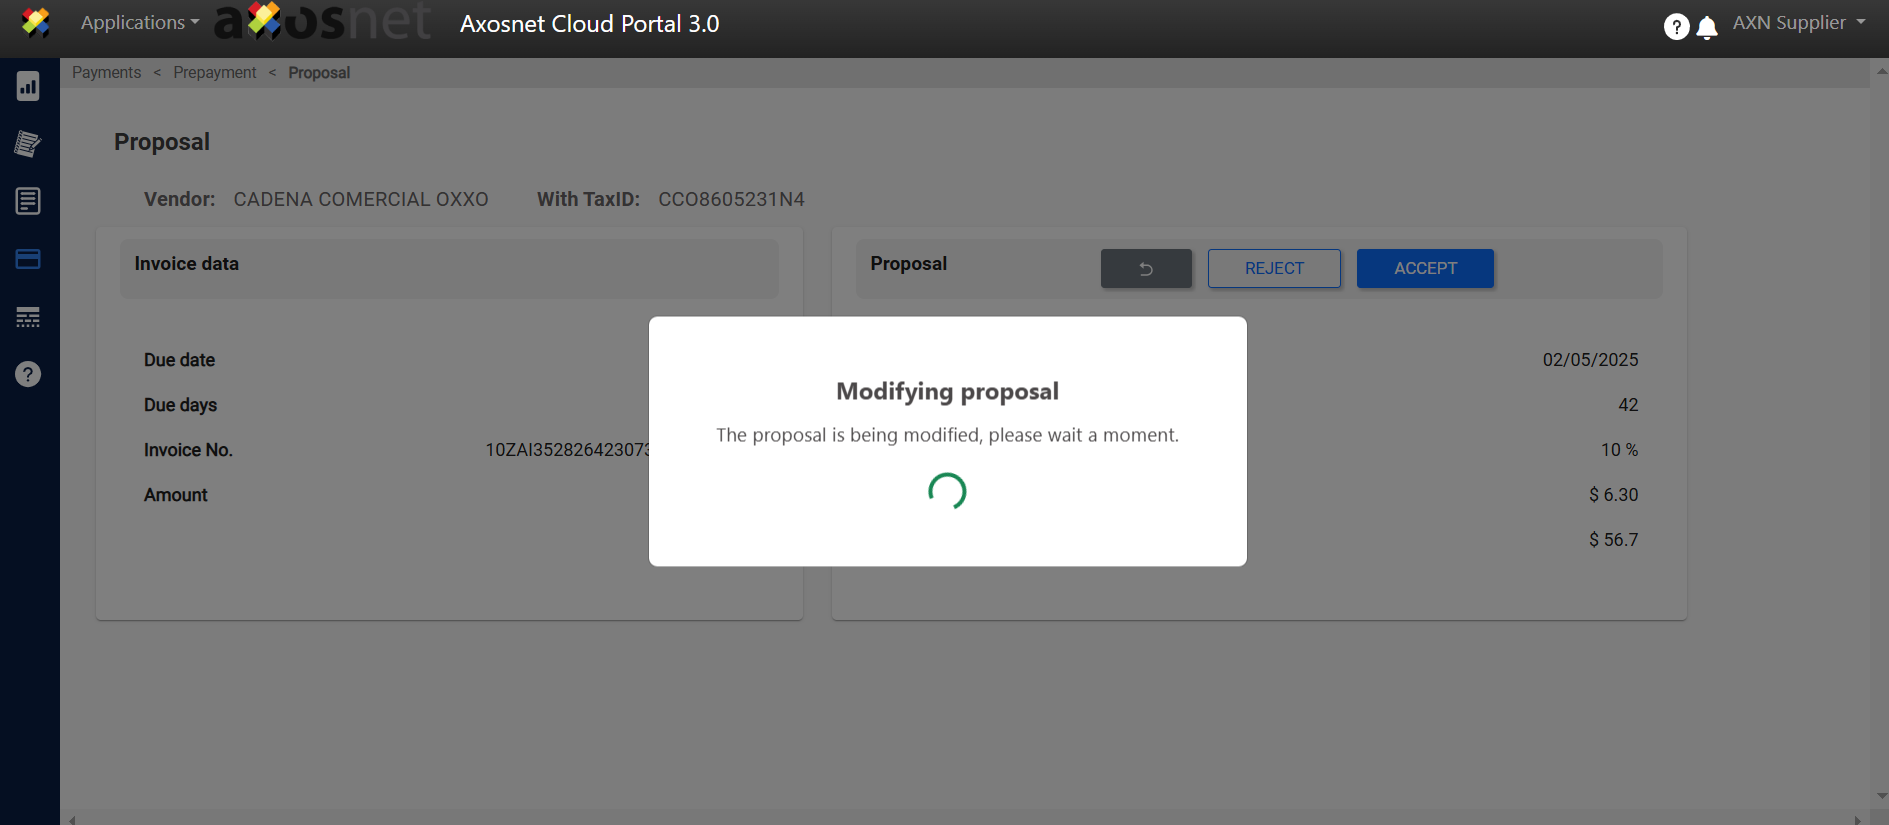
9. The proposal is rejected.
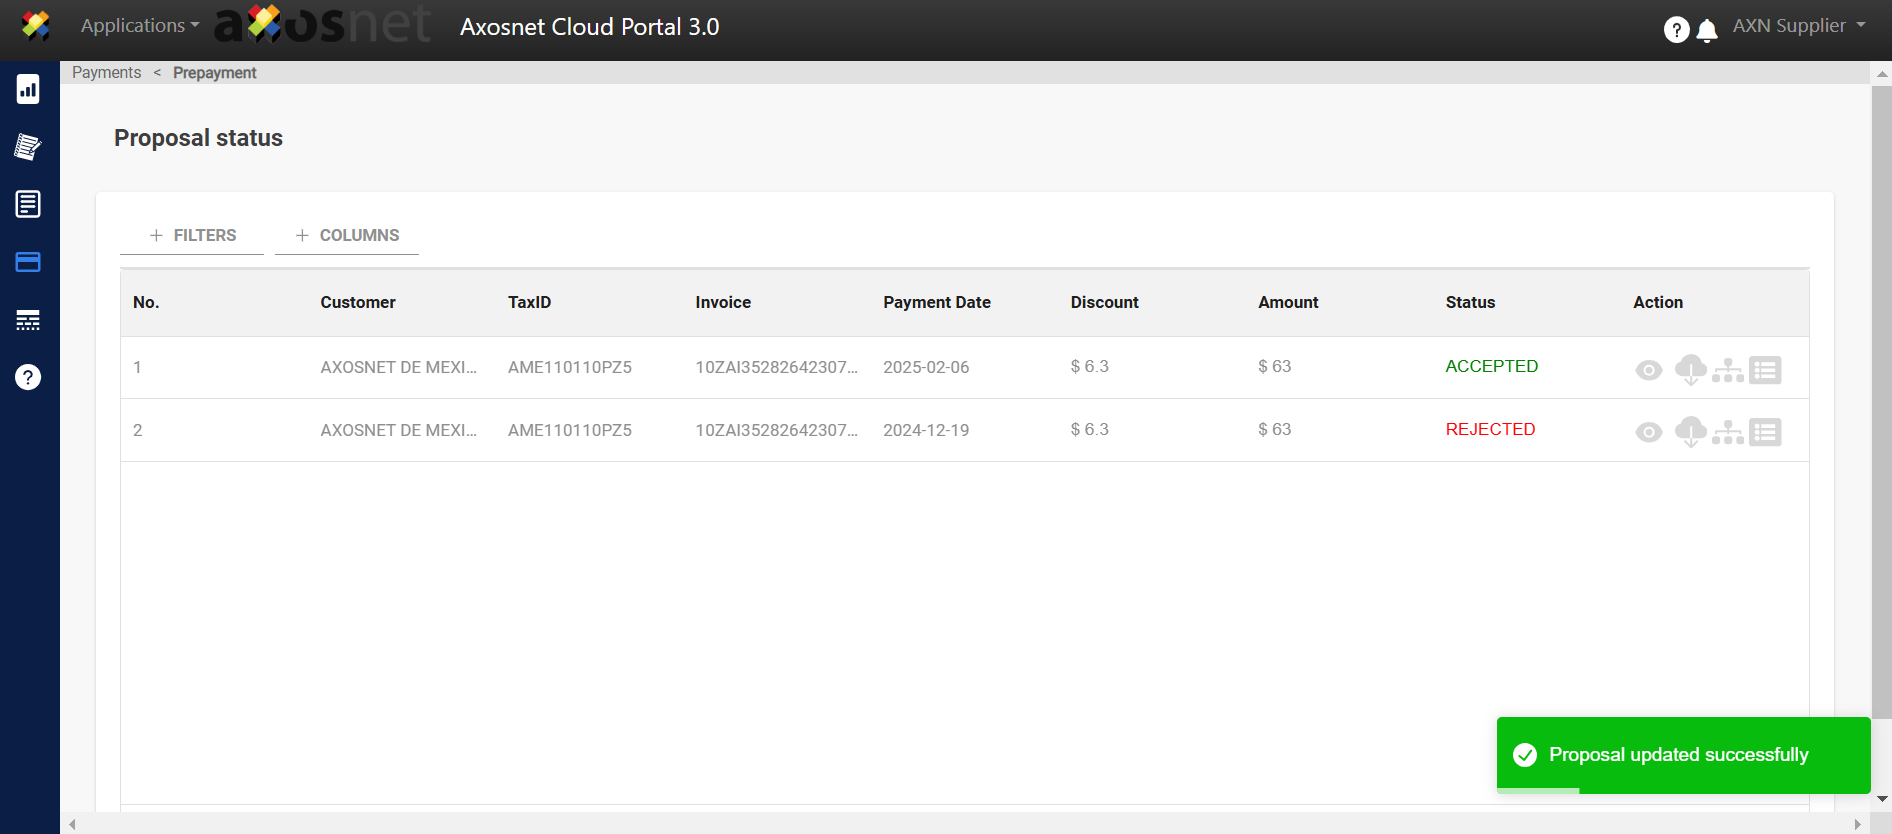
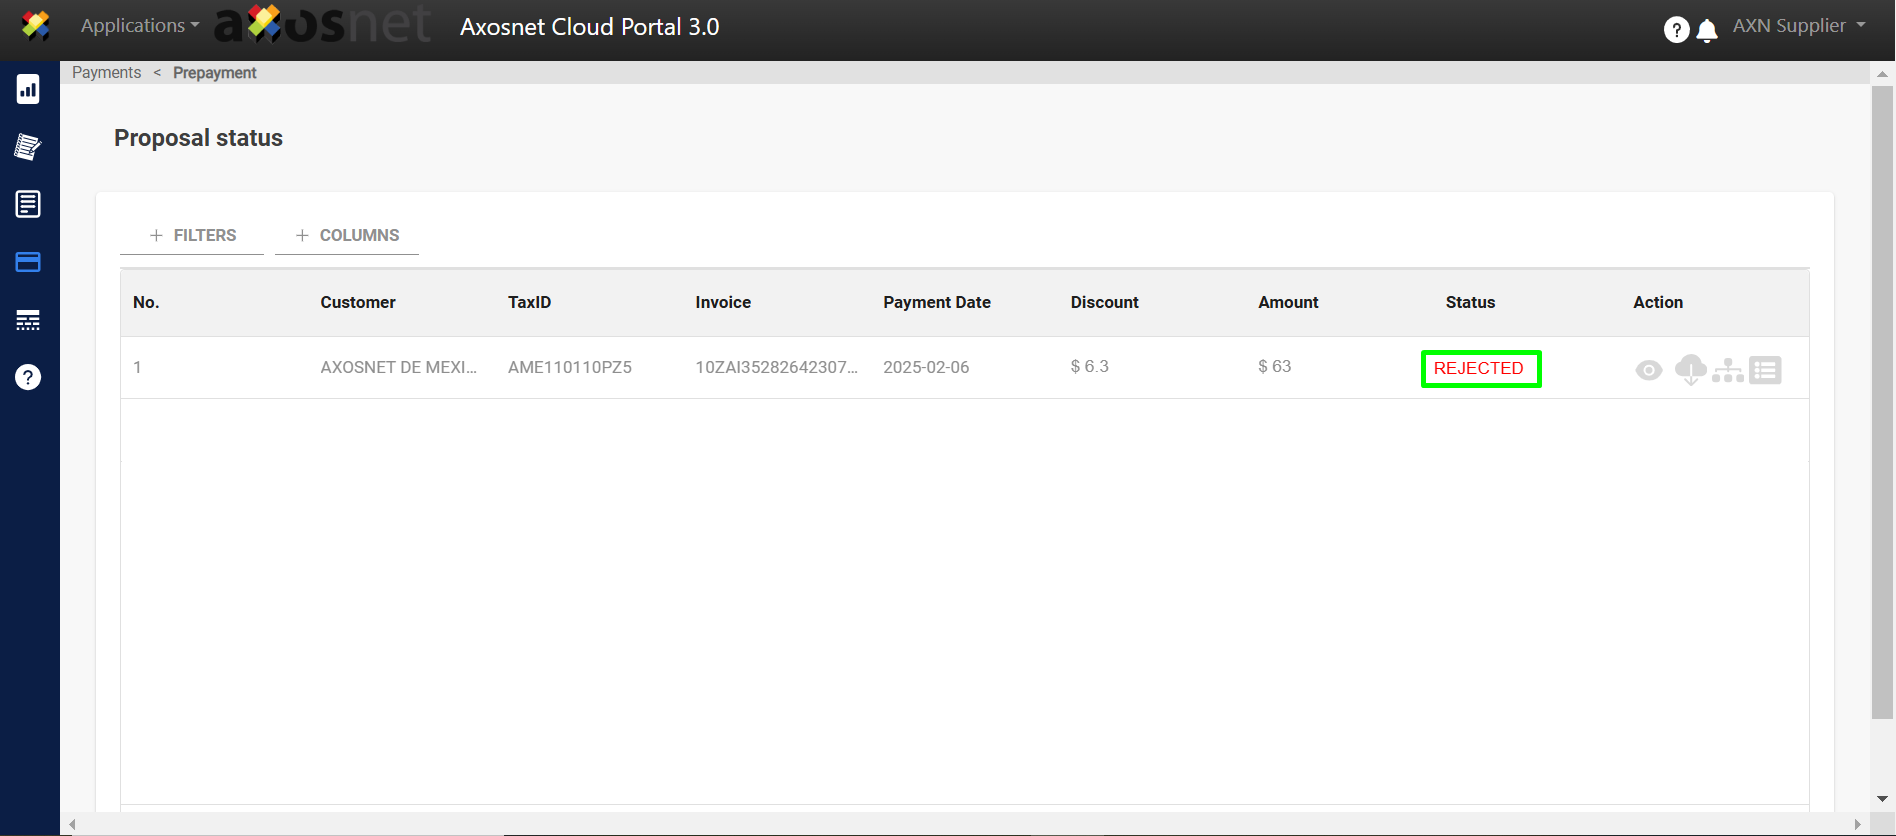
10. The proposal is now displayed with the status “REJECTED”.
How to download a Proposal?
1. When you enter Pronto Pago, the proposals that have been made are displayed.
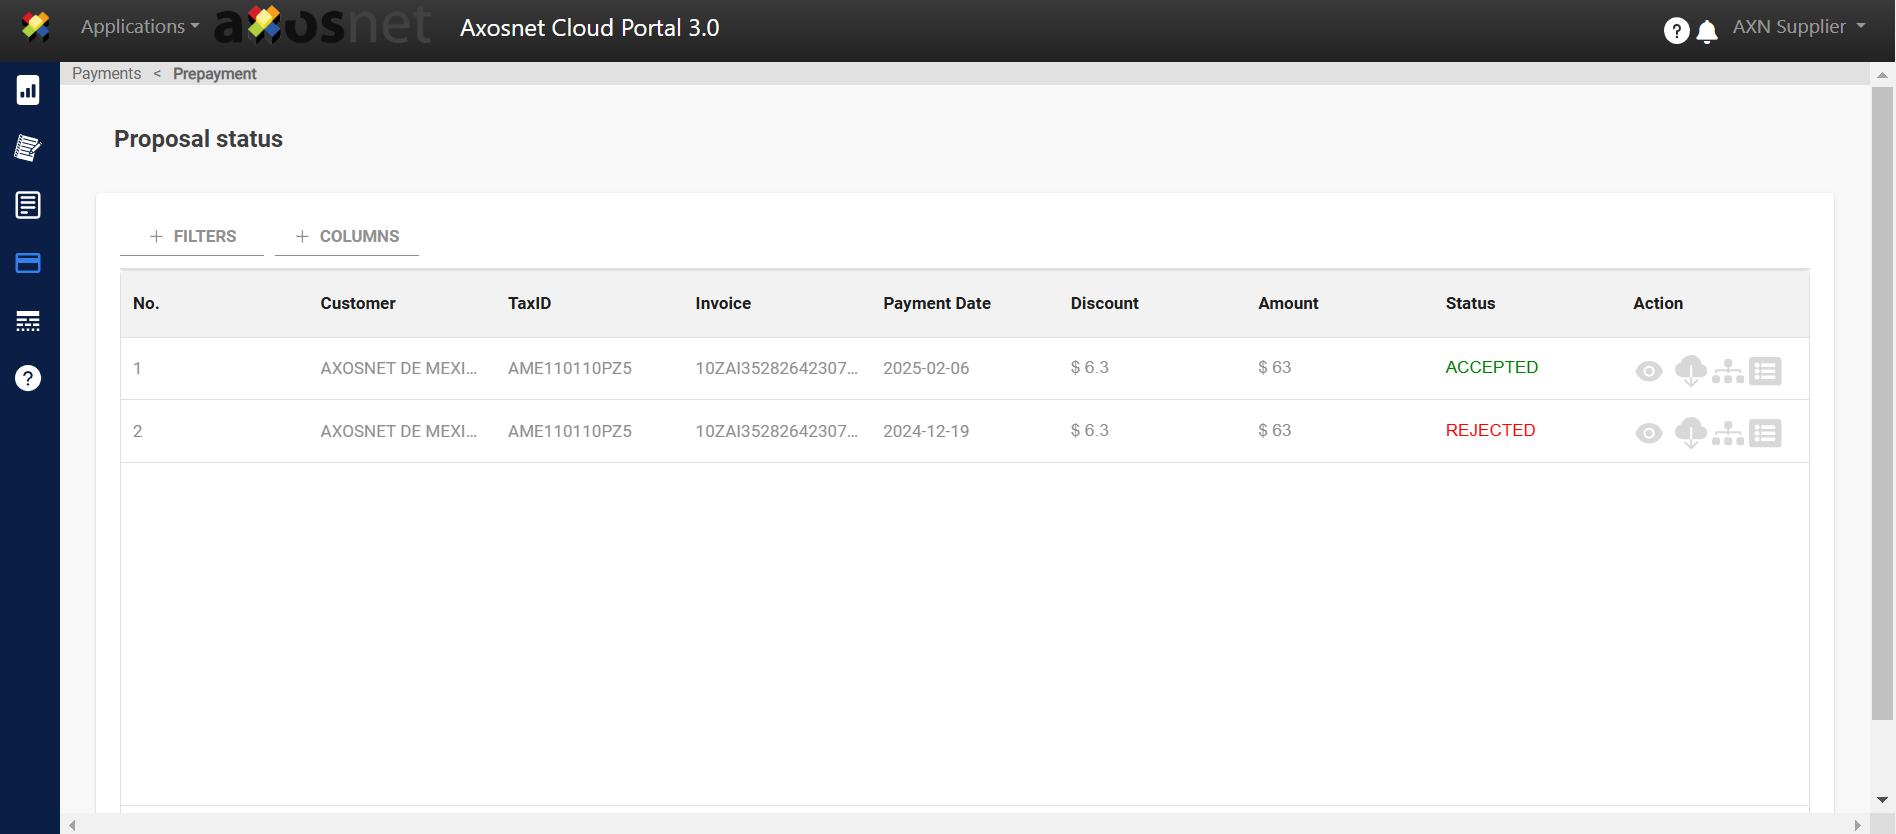
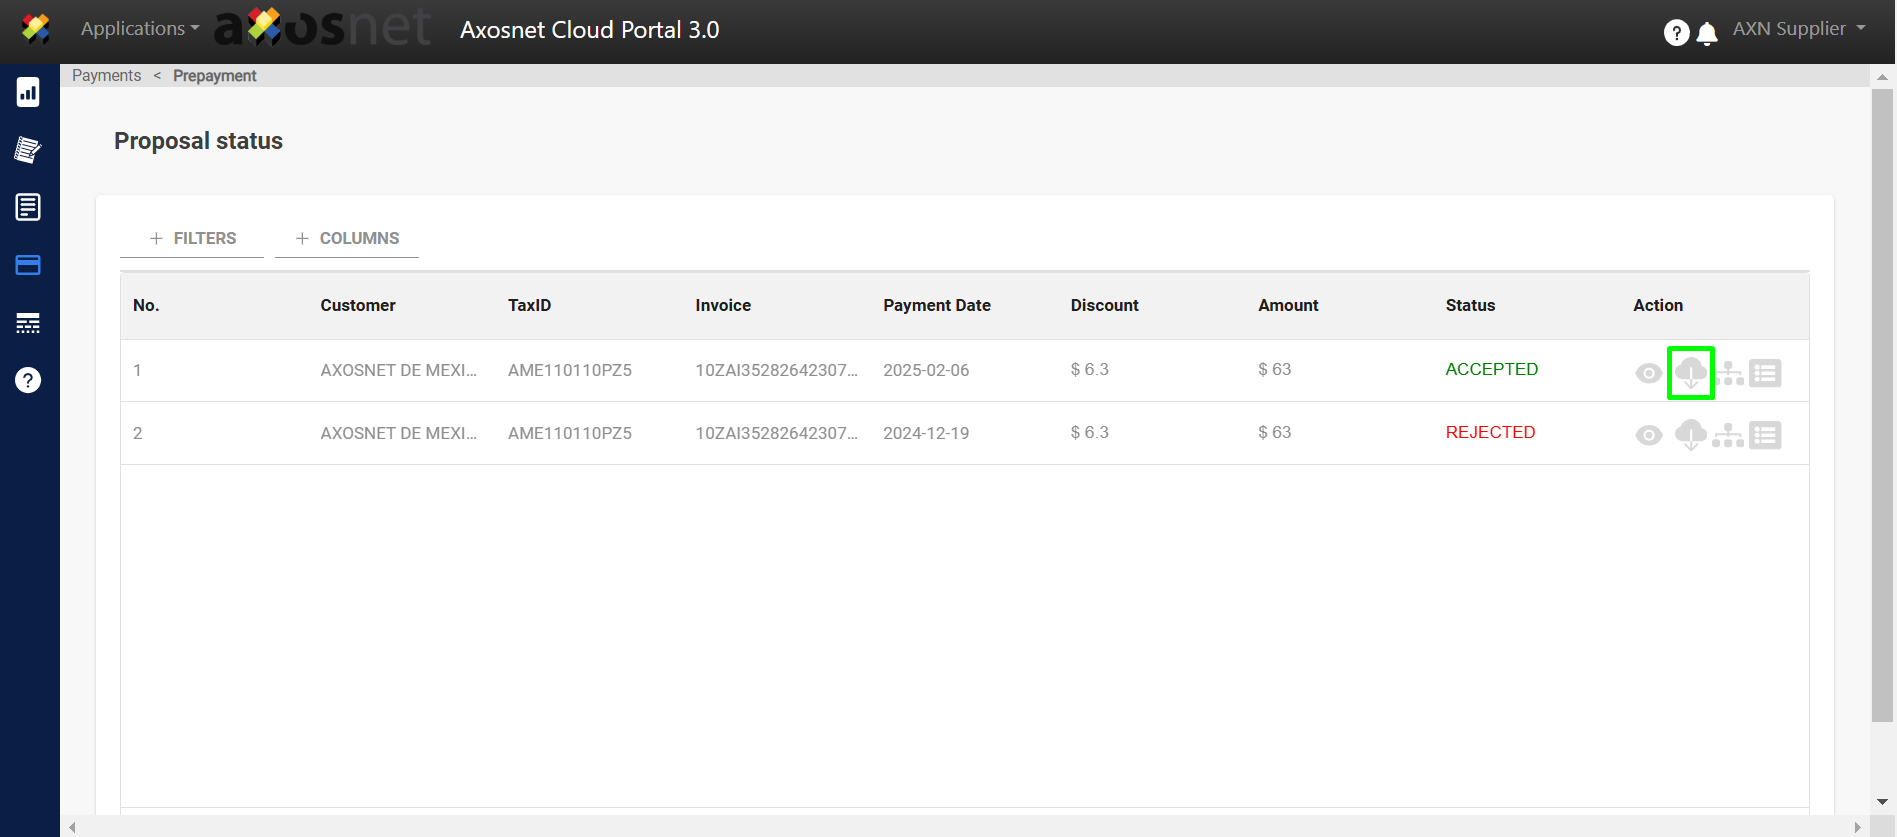
2. Click on the ☁️ icon to download.
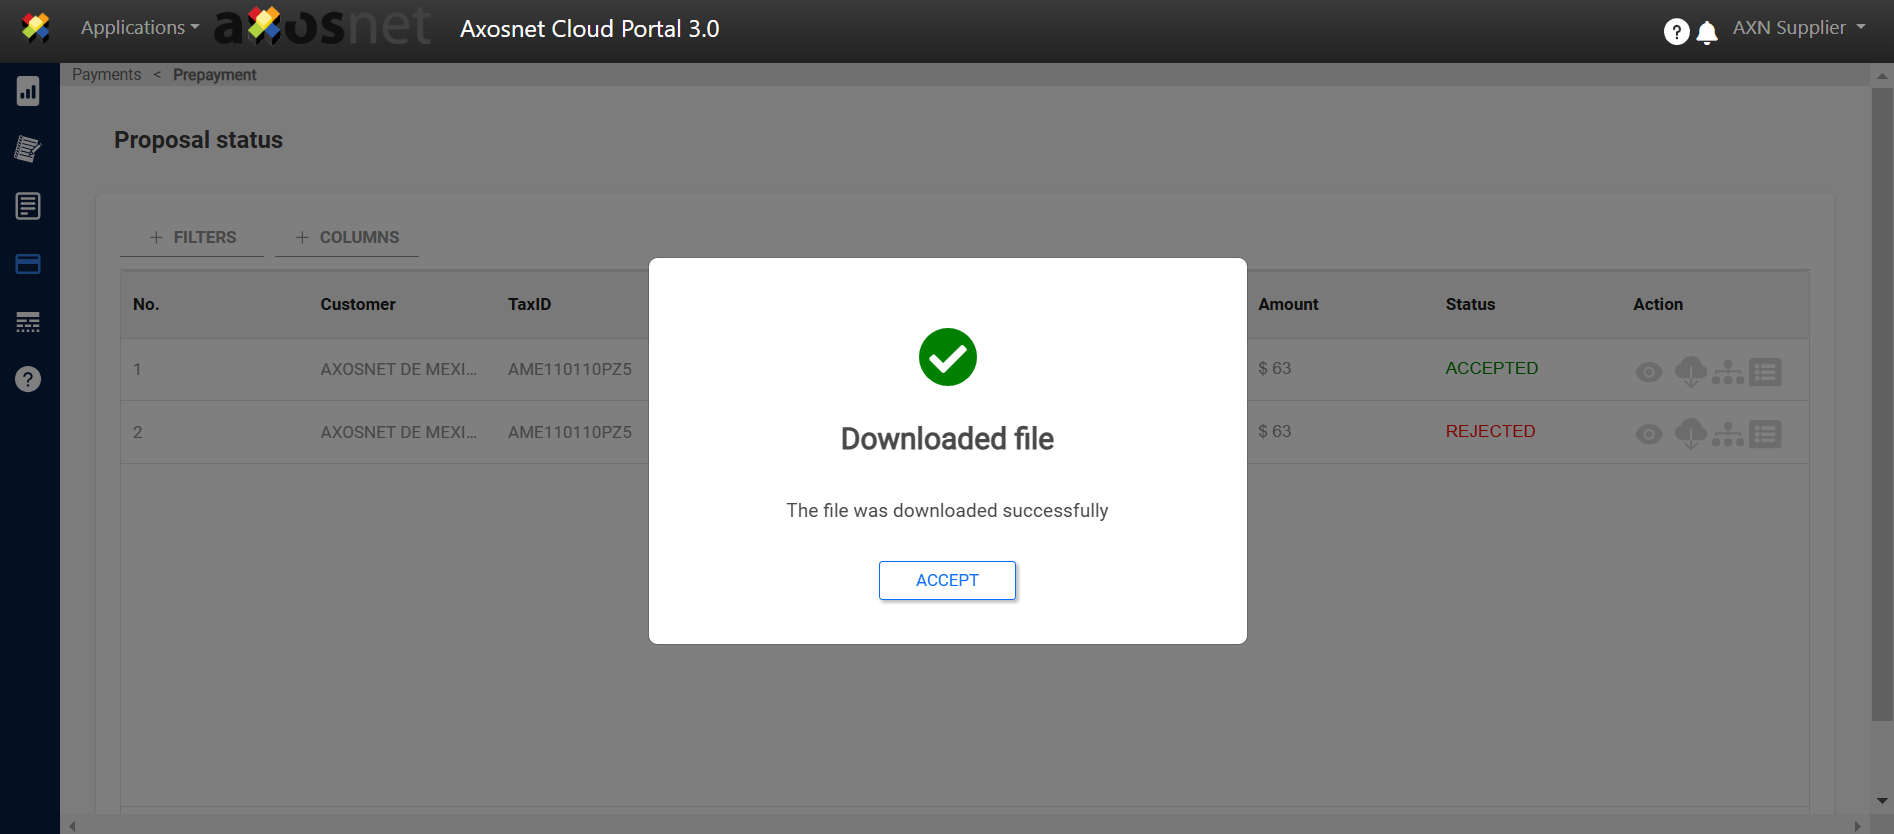
3. The file is downloaded.
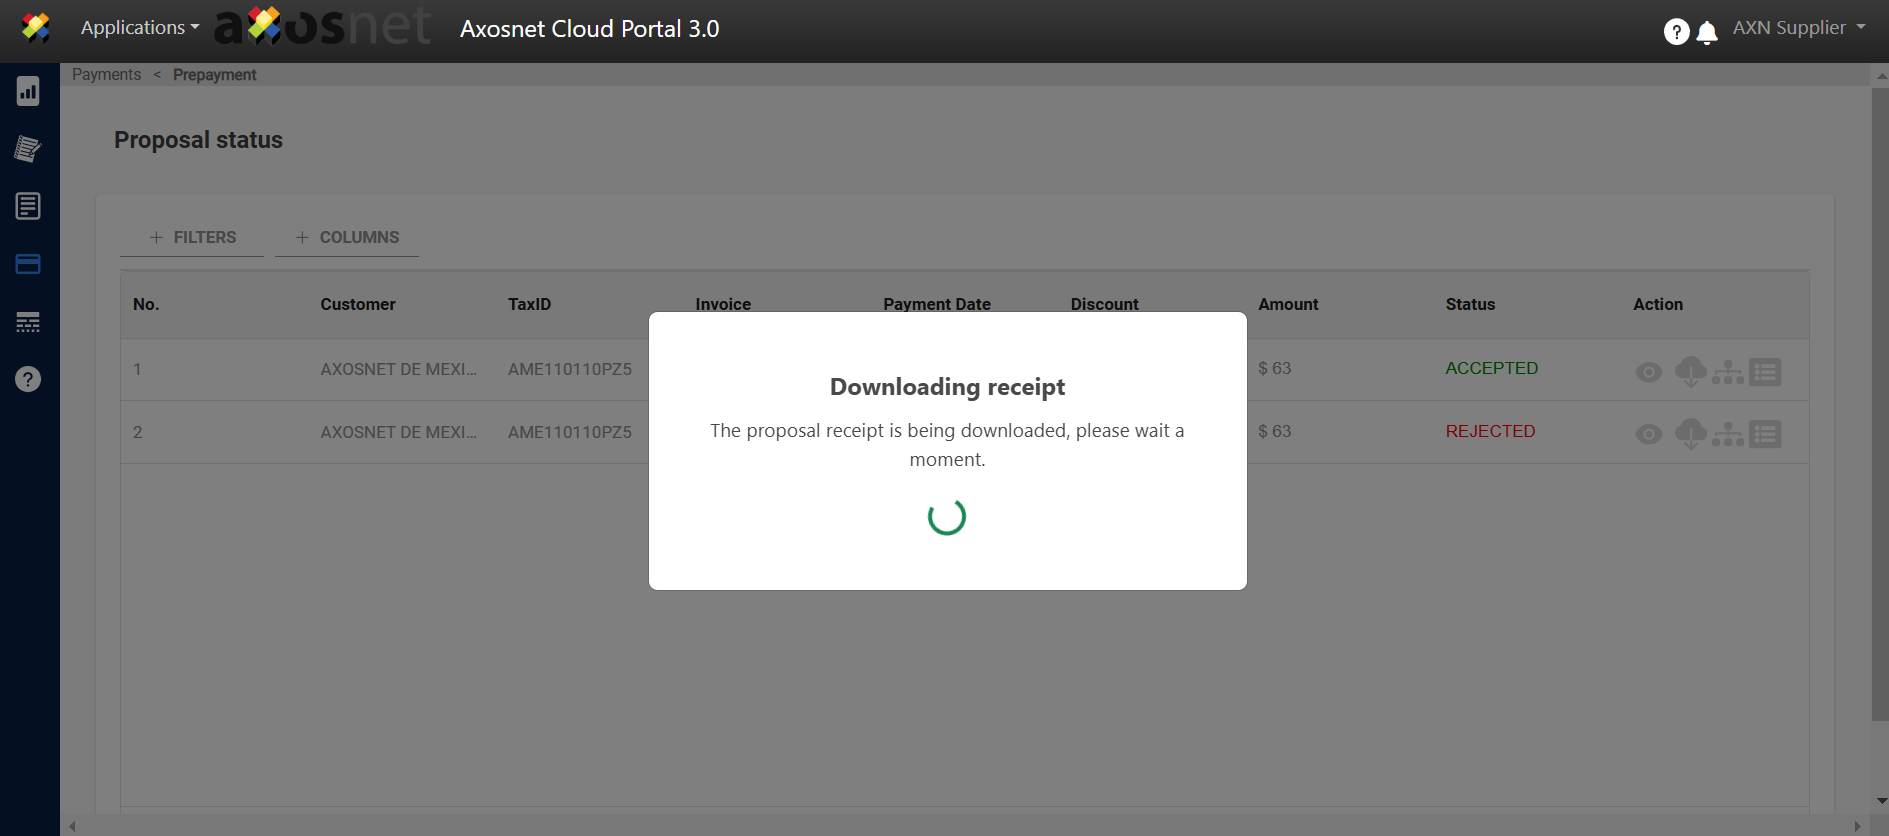
4. A notification of the downloaded file is displayed.
