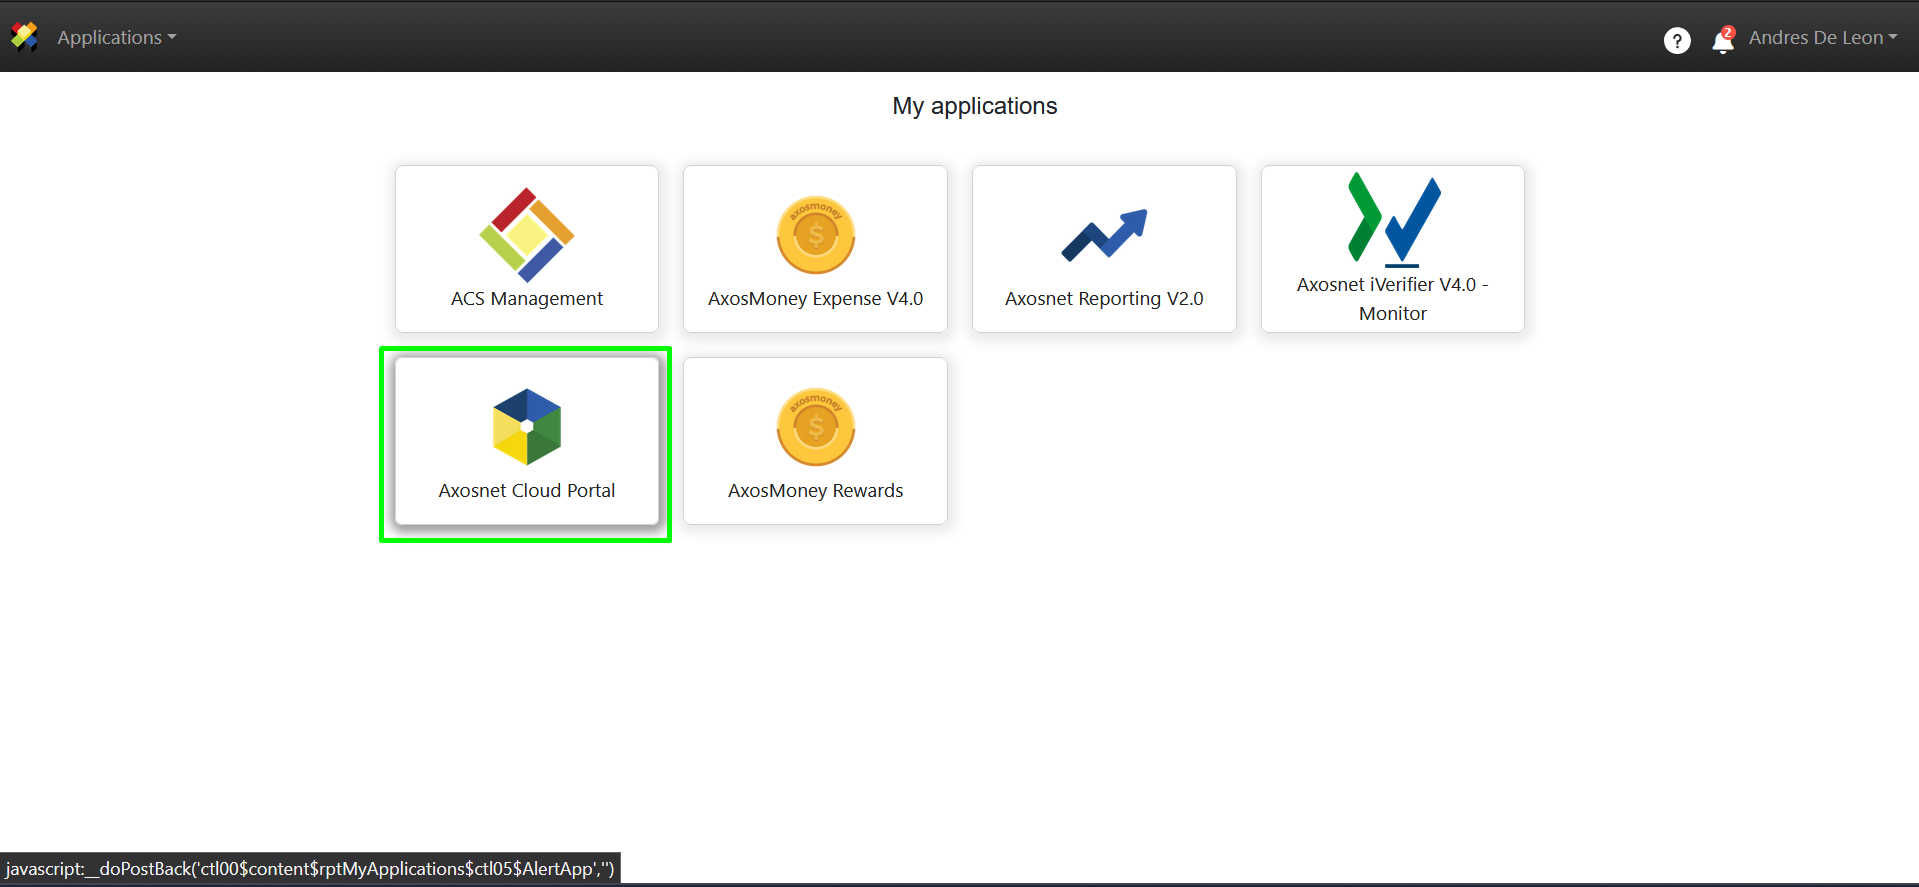
1. Log in to Axosnet Cloud Portal.
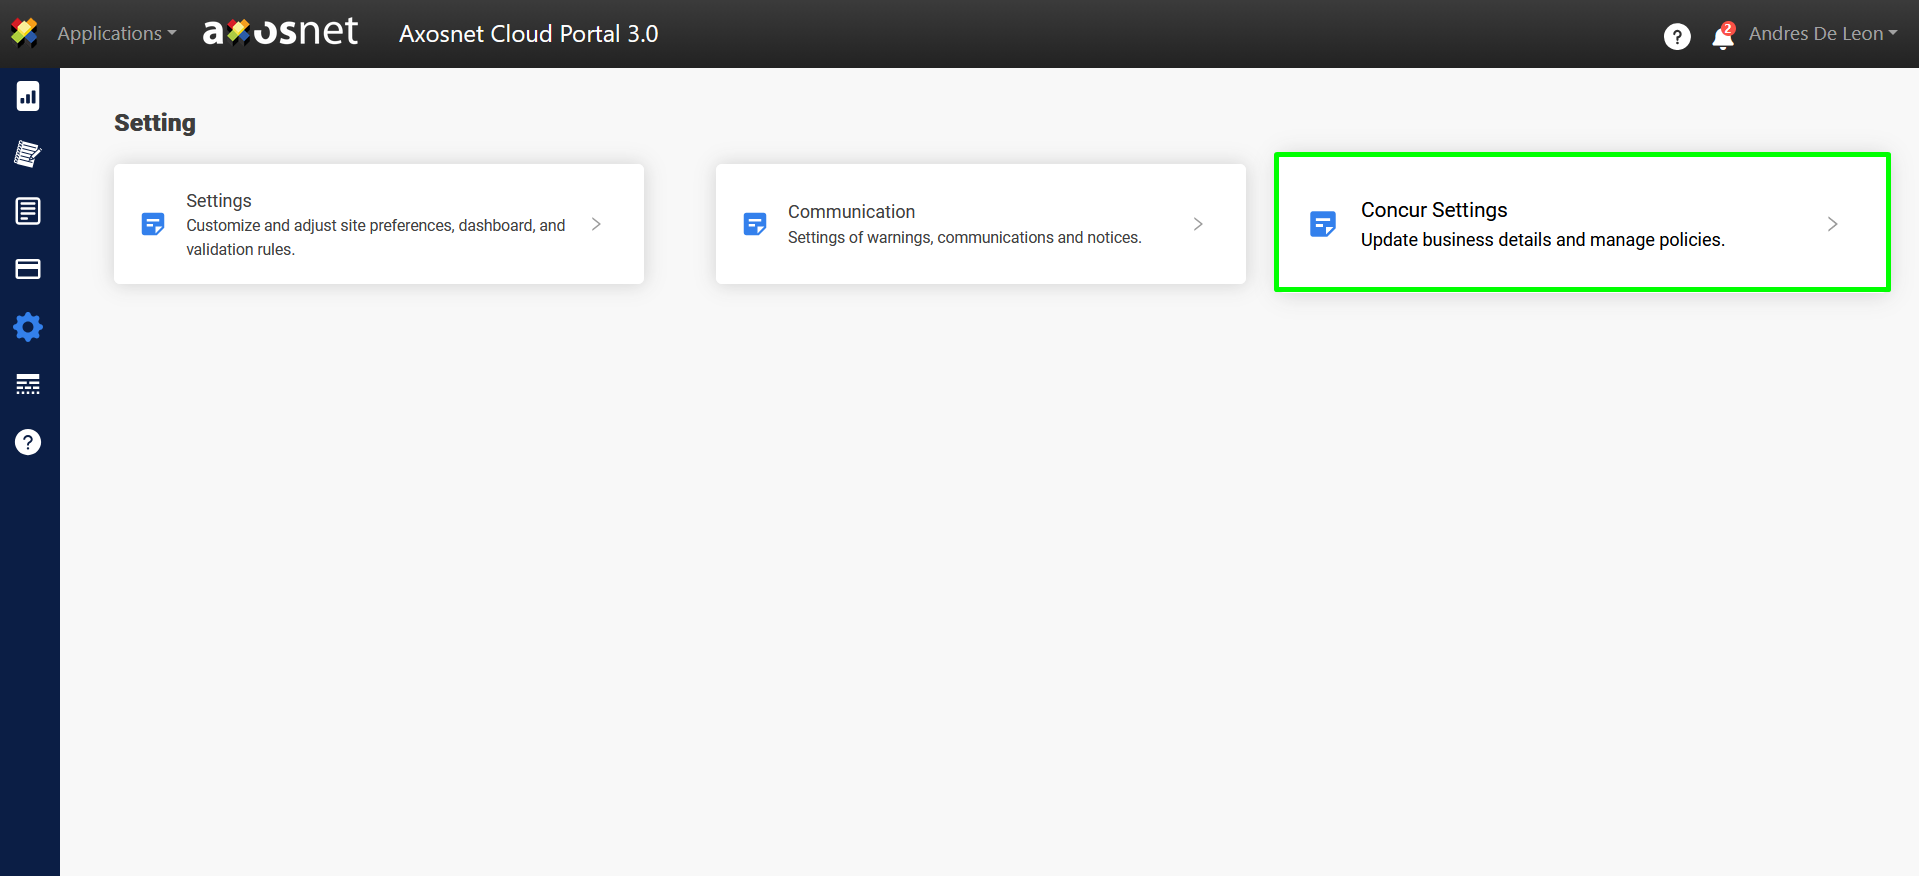
2. Go to the Settings module and select the Concur Settings option.
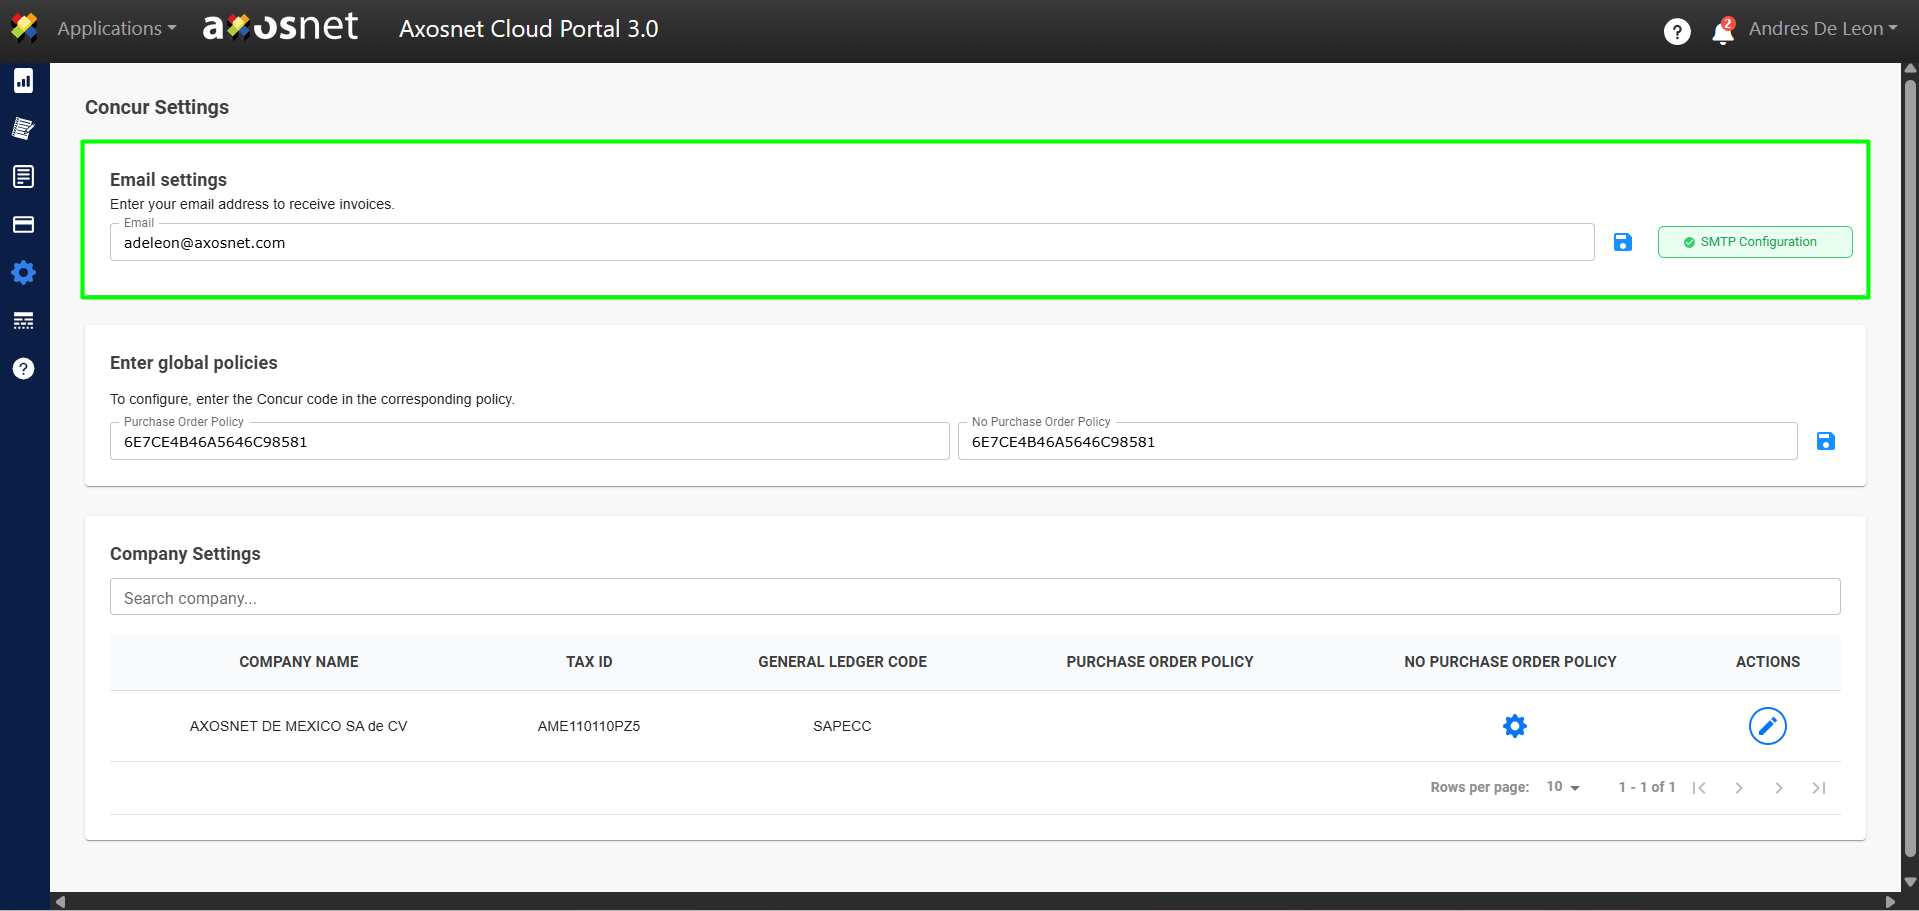
3. In the Email Settings section, enter your email address for receiving invoices and click the Save icon.
Note: To enter an email address, it is necessary to have SMTP Configuration active.
This function allows configuring the necessary data for the system to send emails through an SMTP server. It must be enabled to send email notifications from the system.
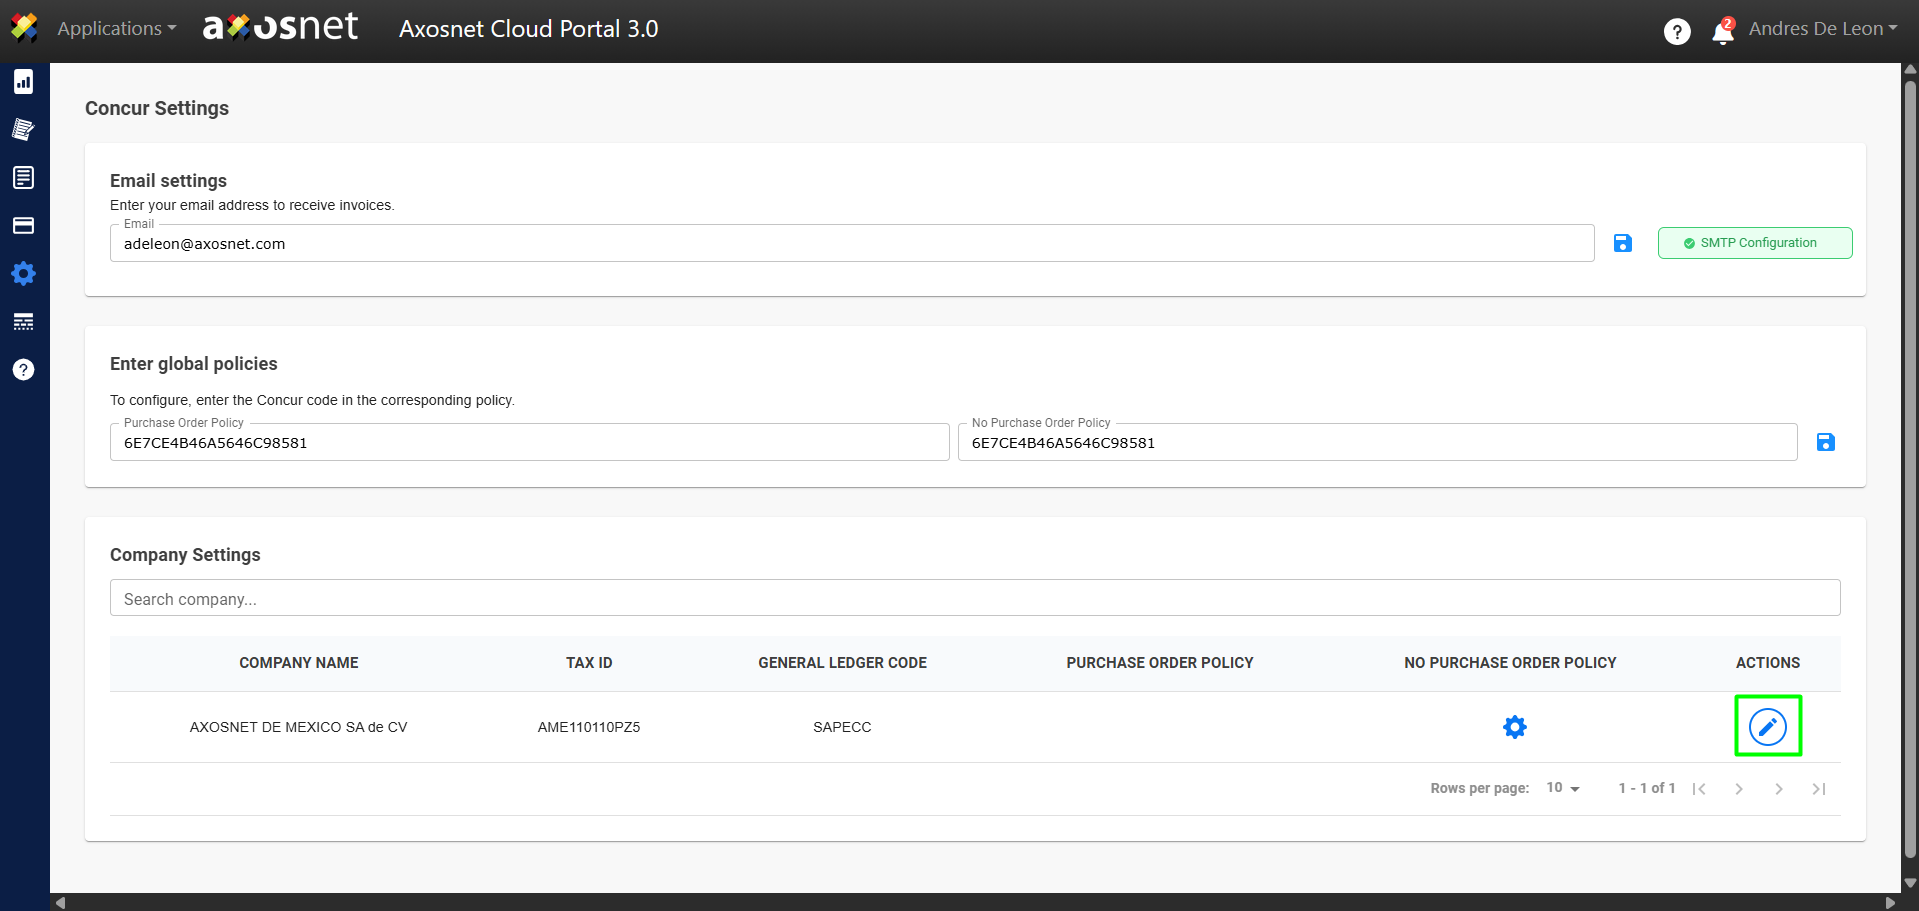
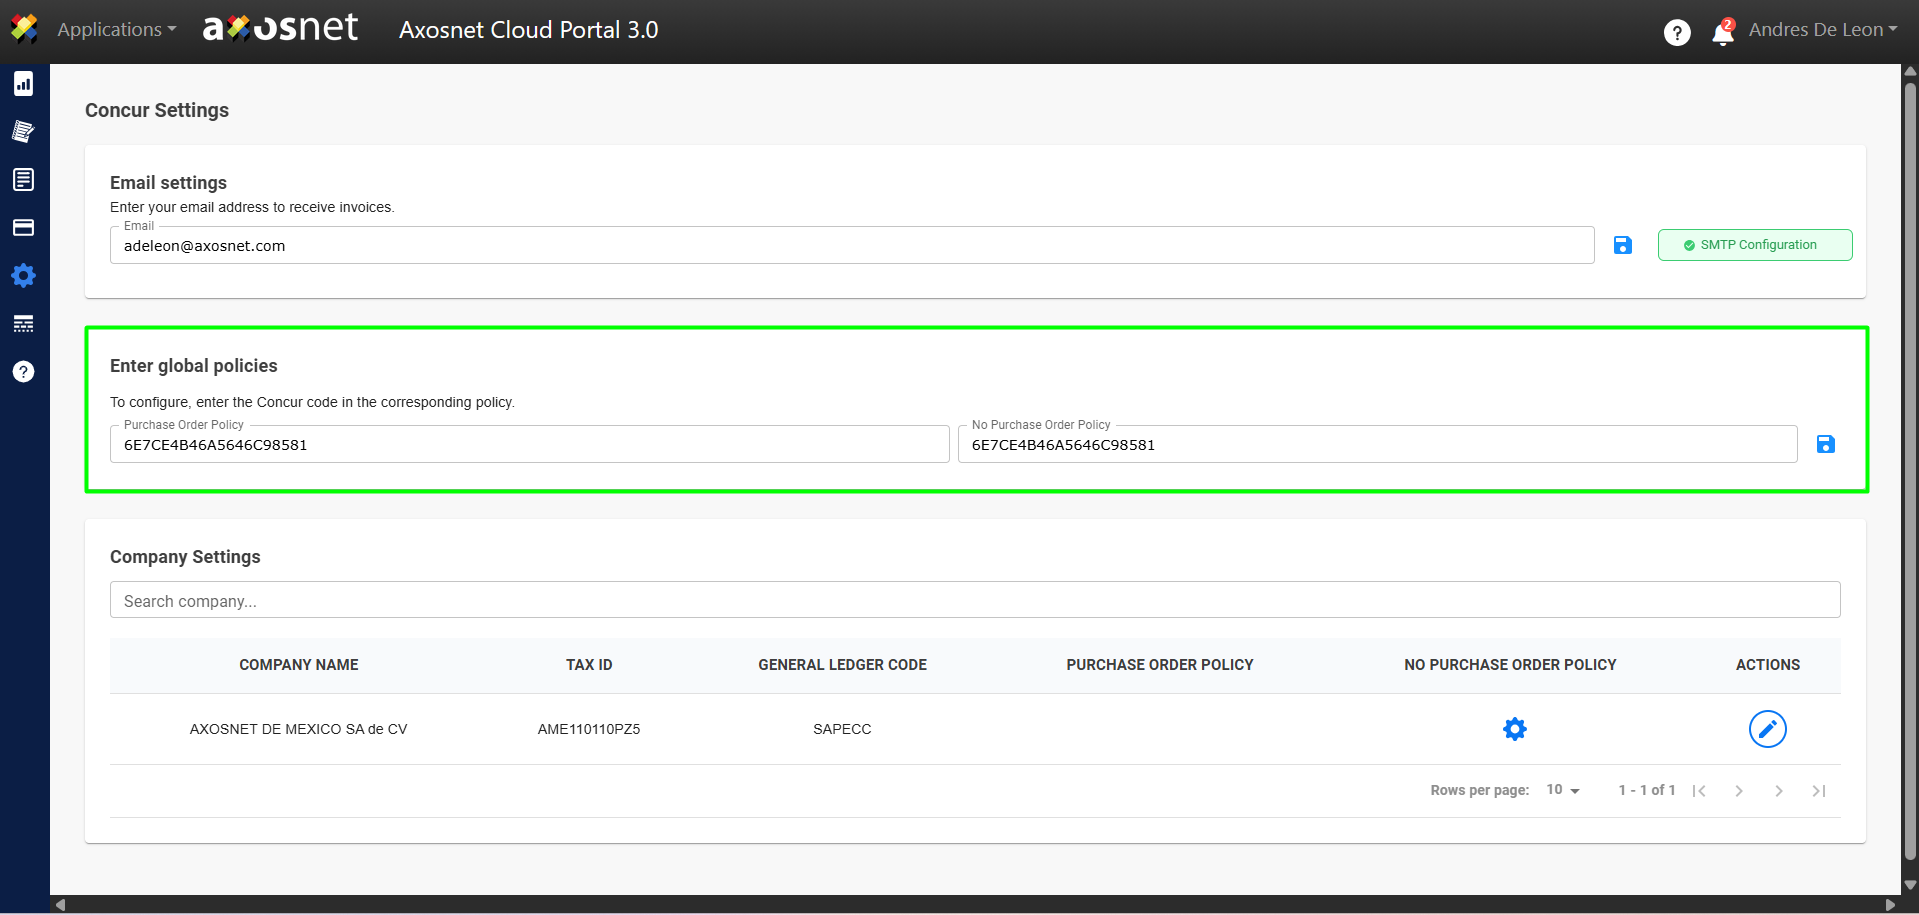
4. In the following section, you can enter a Concur code in the corresponding policy to apply to companies when processing invoices with and without purchase orders.
Note: Clicking “Save” and updating the global policies will apply them to all companies.
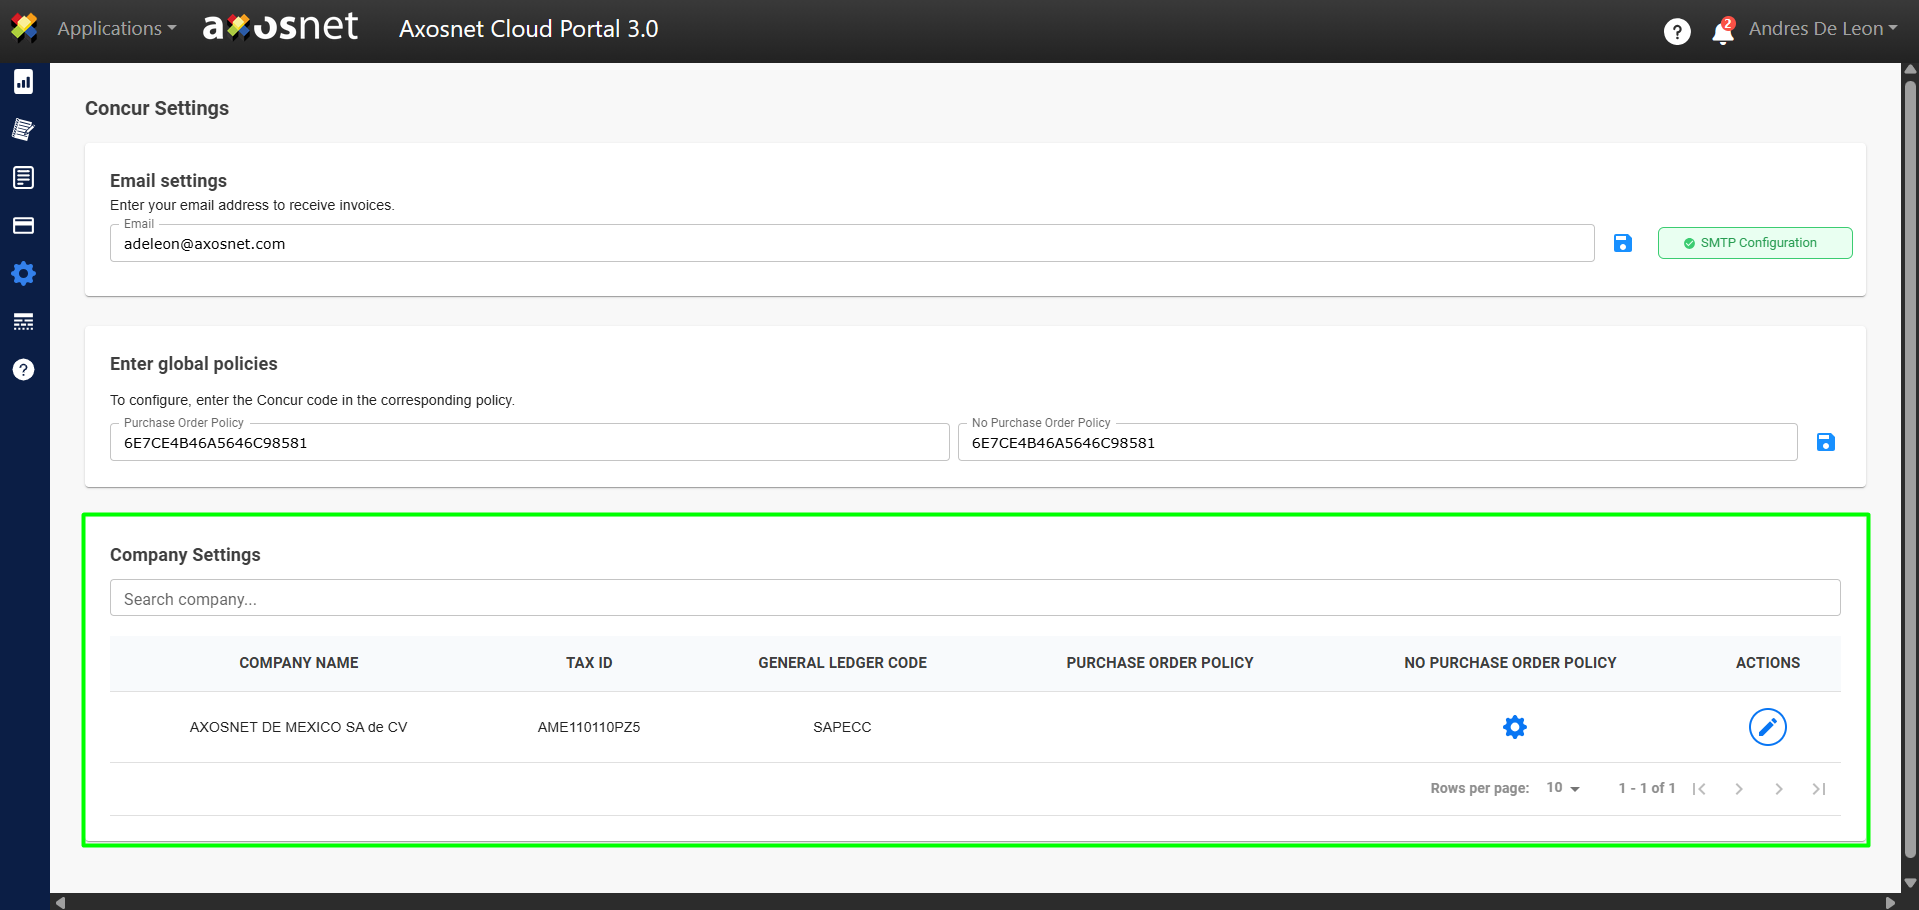
5. In the Company Settings section, you can edit the settings and add custom fields for processing invoices with and without purchase orders.
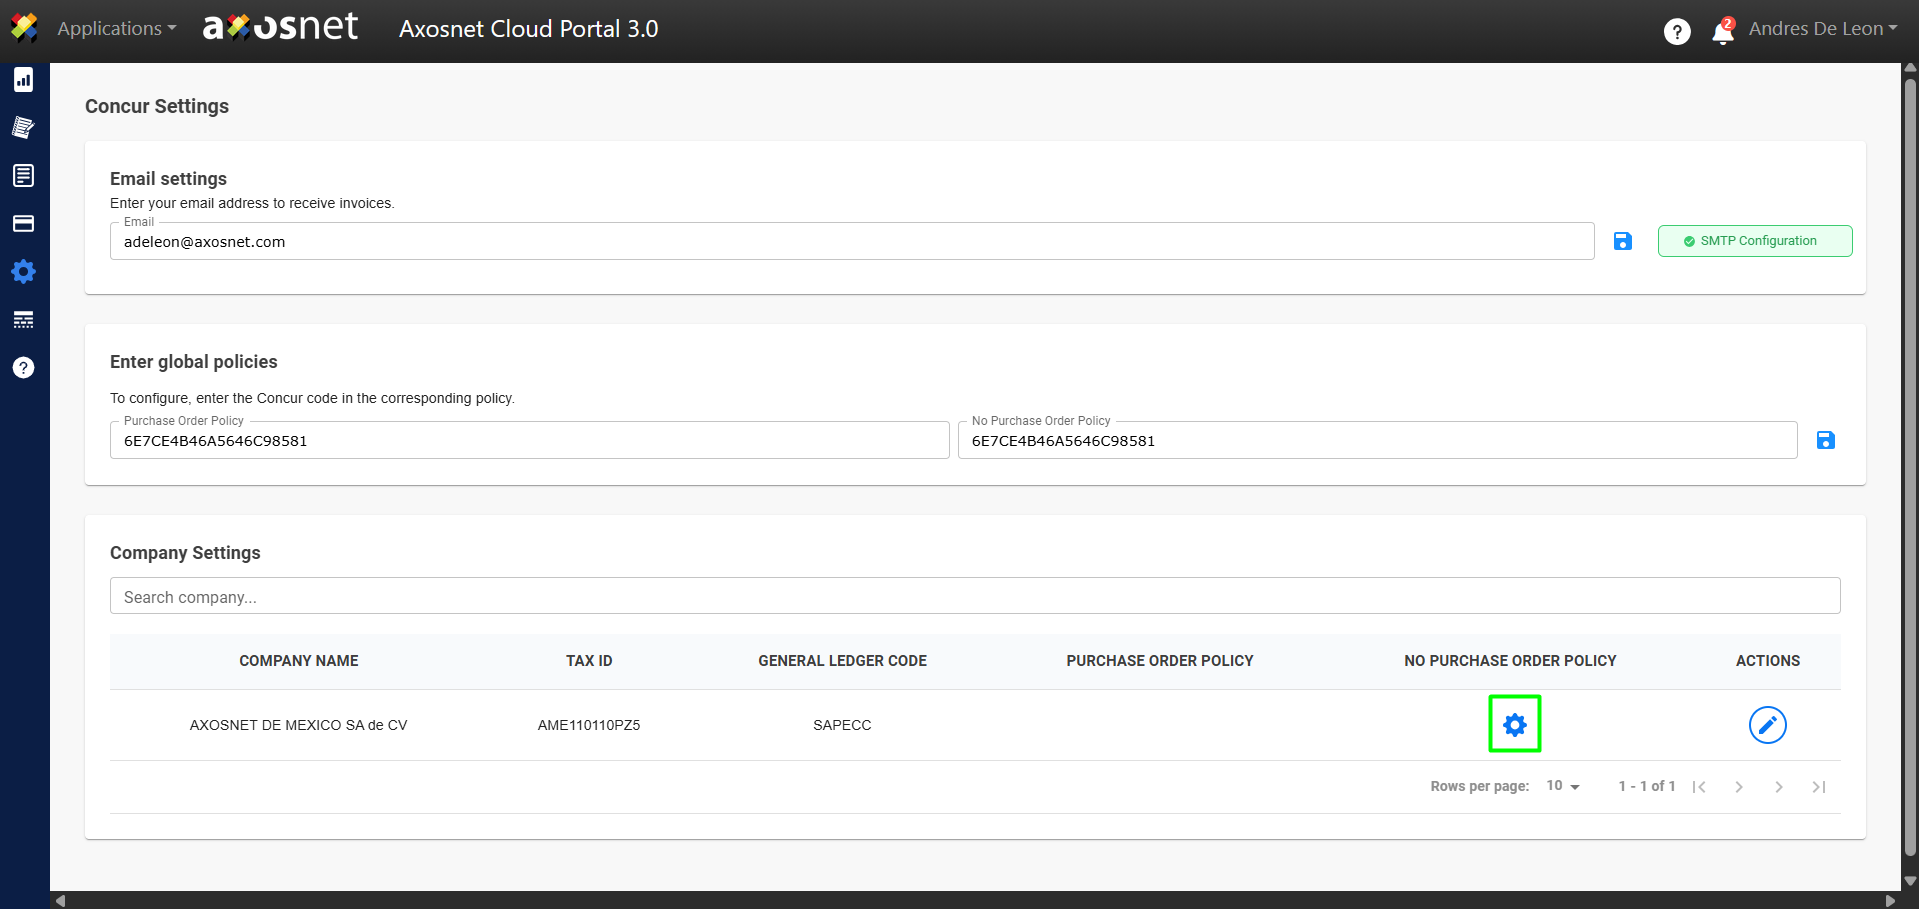
6. To configure the custom fields, click the gear icon as shown in the image.
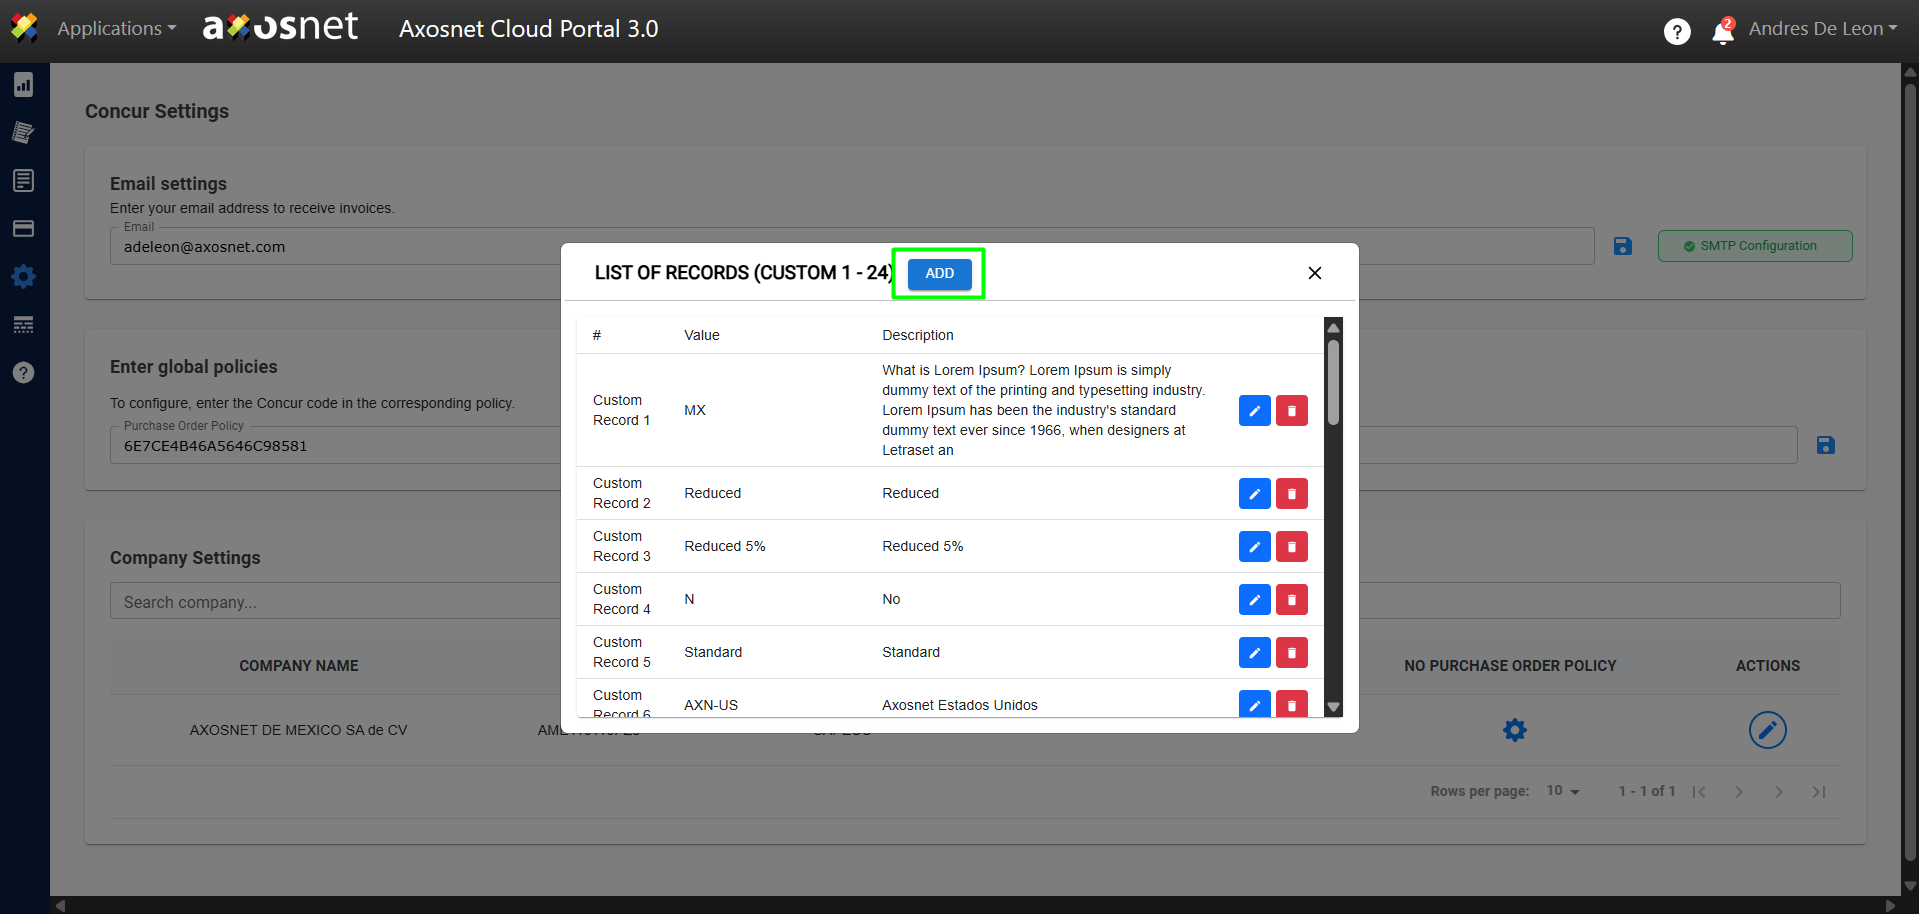
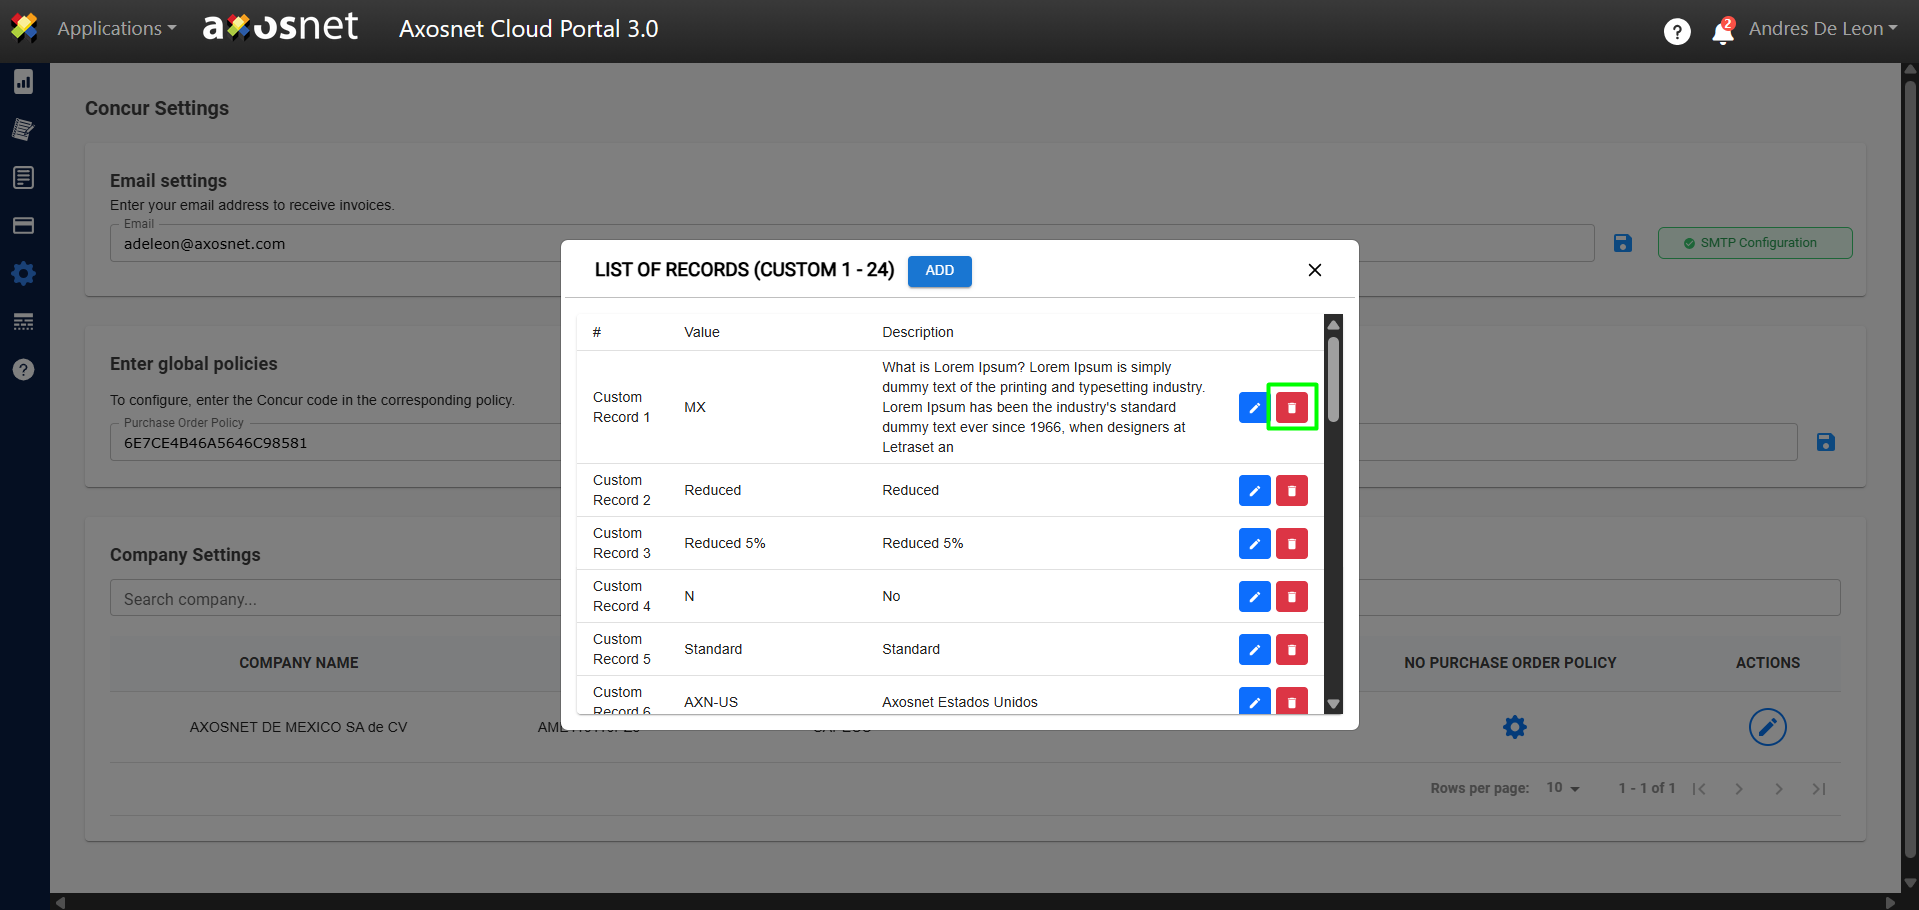
7. A pop-up window will open where you can view the list of these fields, as well as add new ones or edit and delete existing ones. To add a new one, click Add.
Note: You can add up to 24 custom fields.
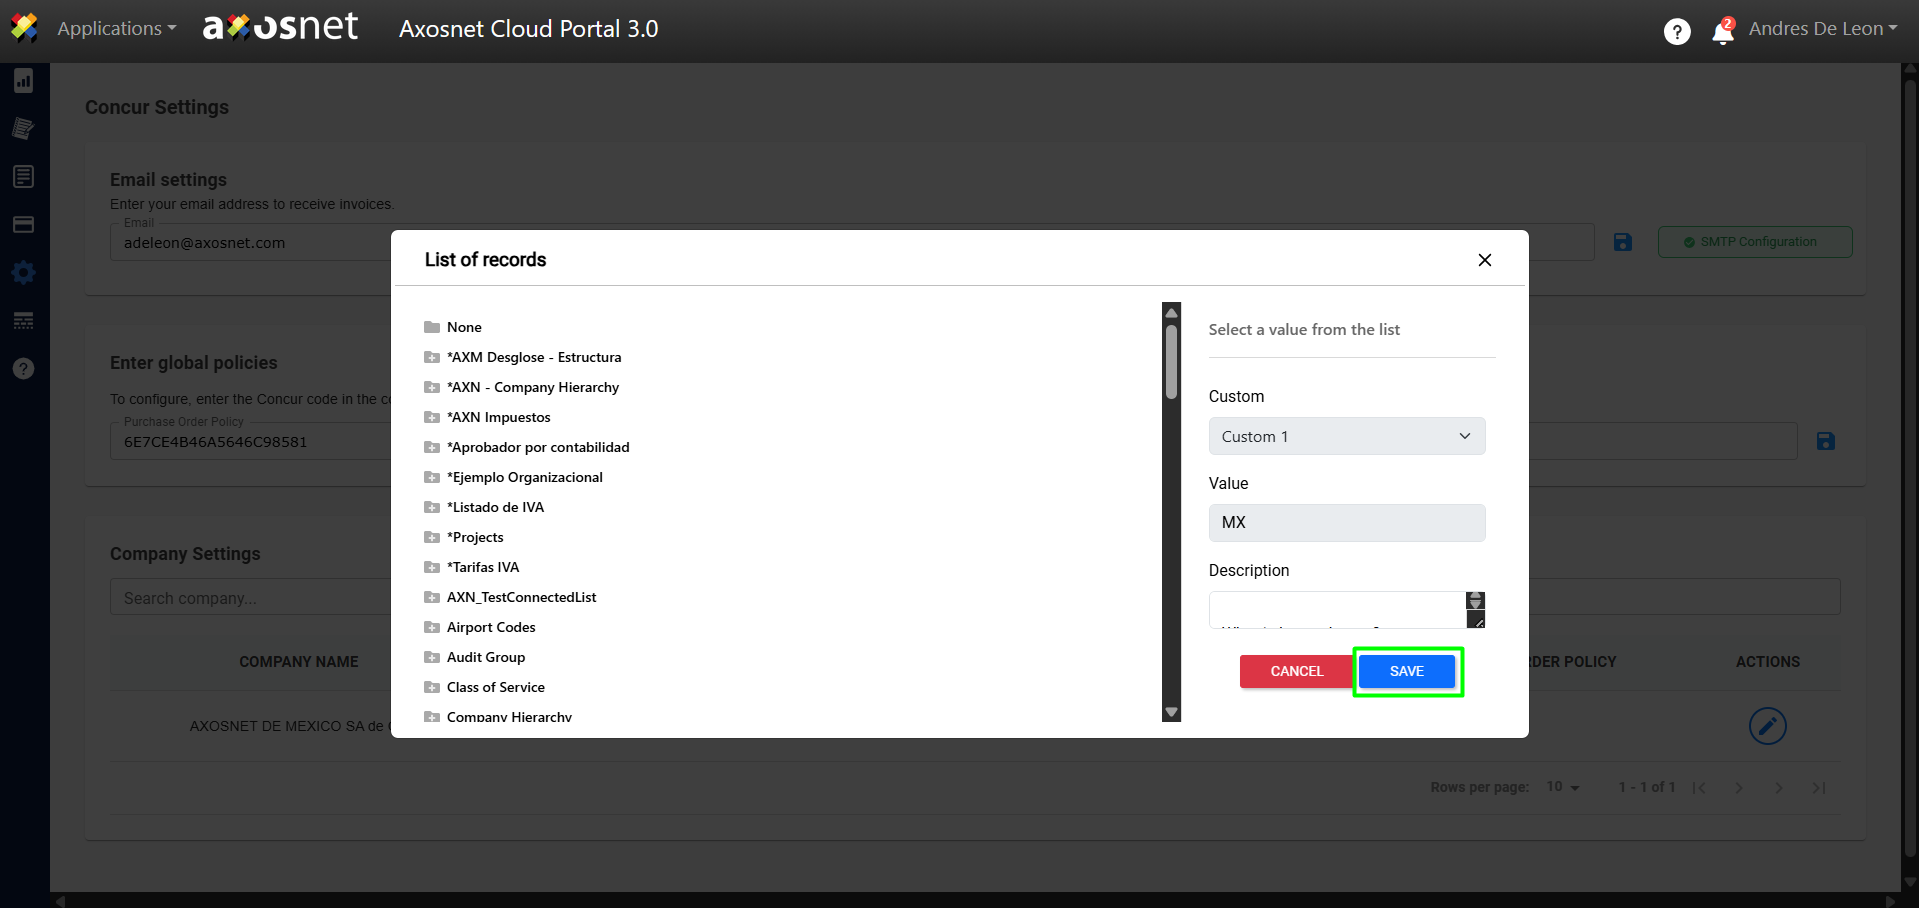
8. A new window will appear where you can select a field from the list of records. When you’re finished, click Save.
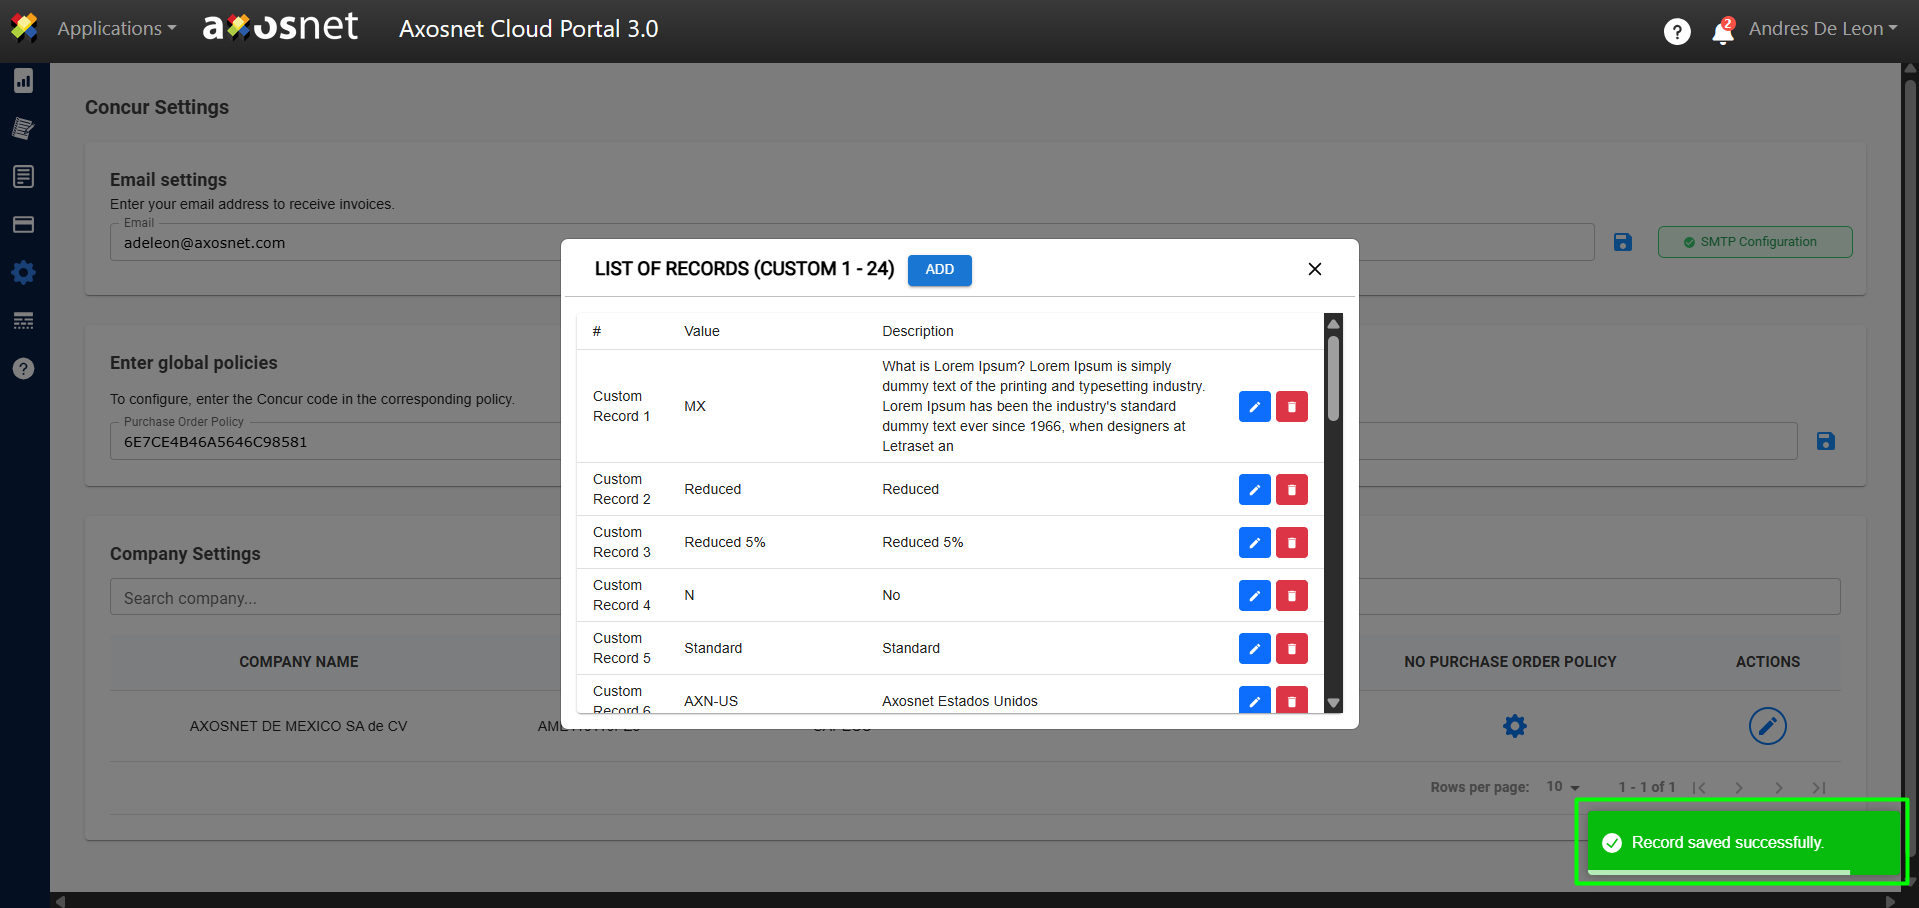
9. A message will appear confirming that the record was saved successfully.
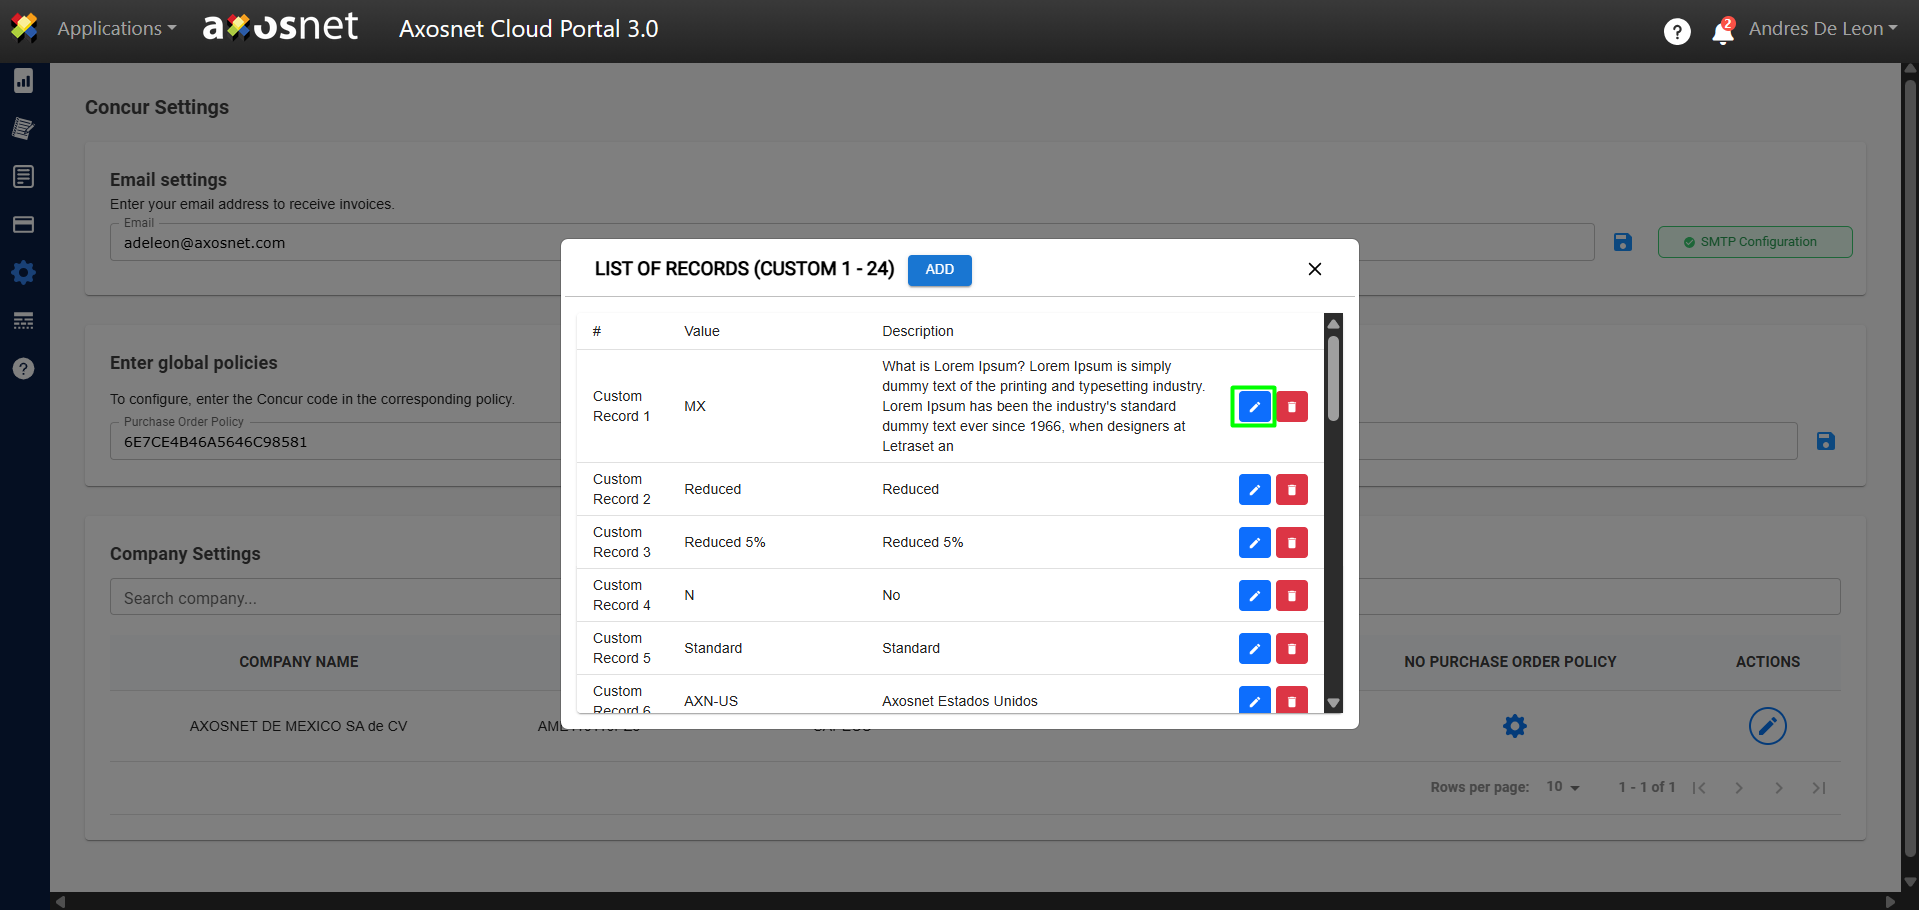
10. To edit a field, click the pencil icon as shown in the image. The same screen that appears when you add a field will open, and you can edit the content.
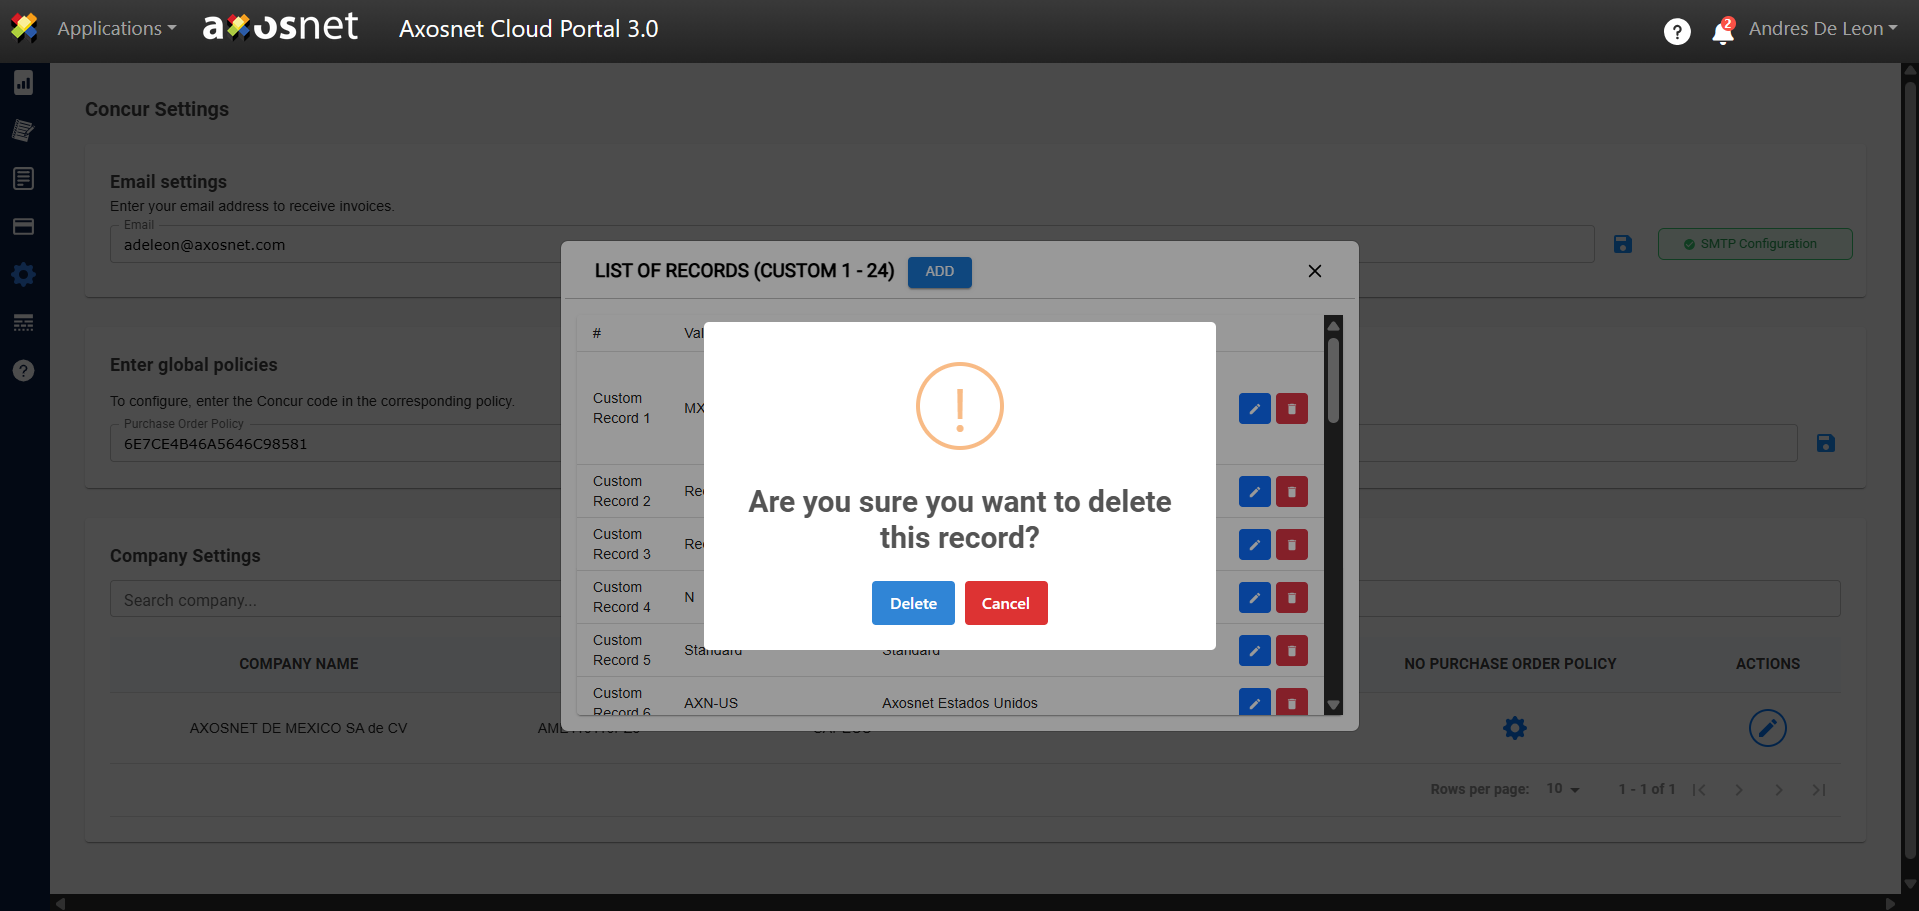
11. To delete a field, click the trash can icon as shown in the image. A confirmation screen will appear.
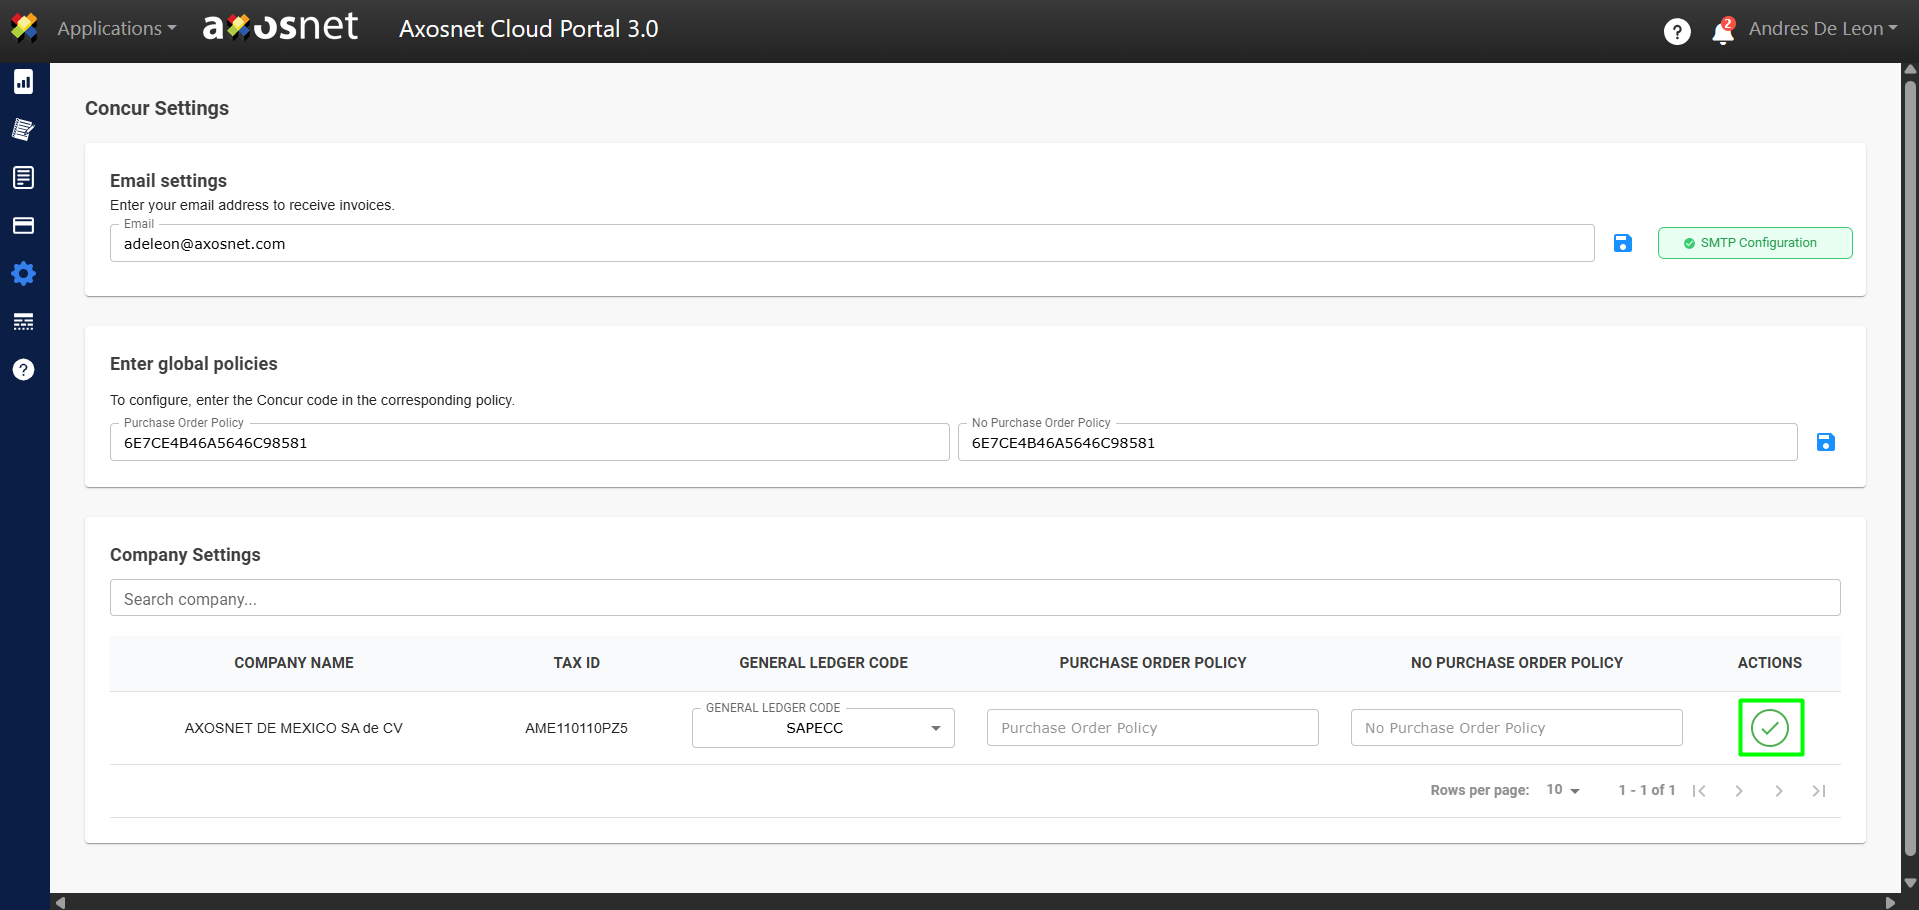
12. You can edit the following company fields by clicking the pencil icon, as shown in the image.
- Genral Ledger Code
- Purchase Order Policy
- No Purchase Order Policy
When you’re done, you can click the checkmark to save your changes.